Spiral Block
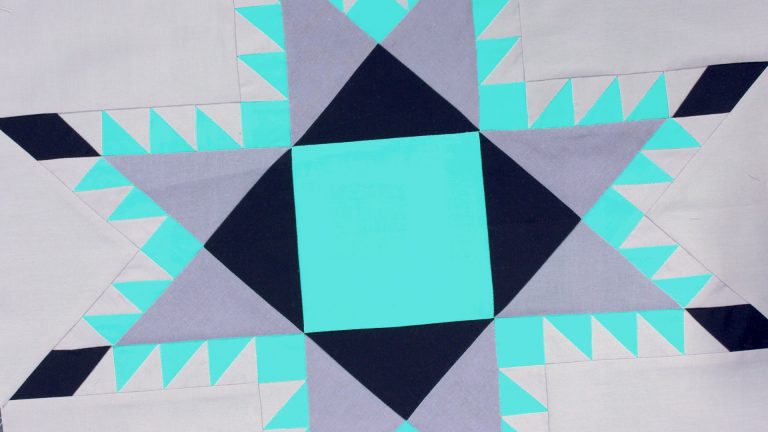
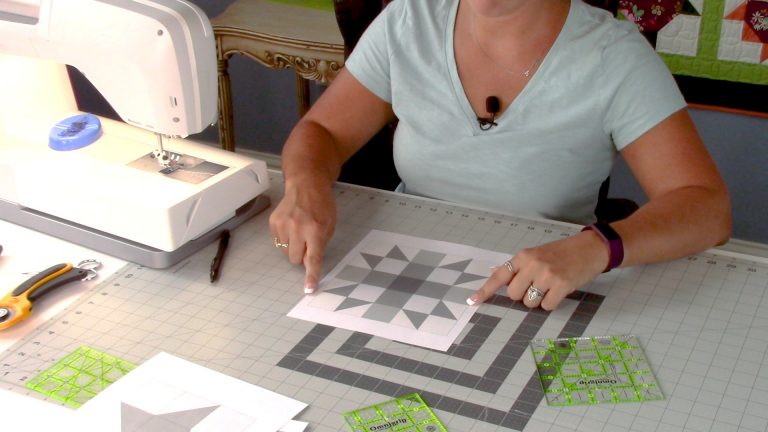
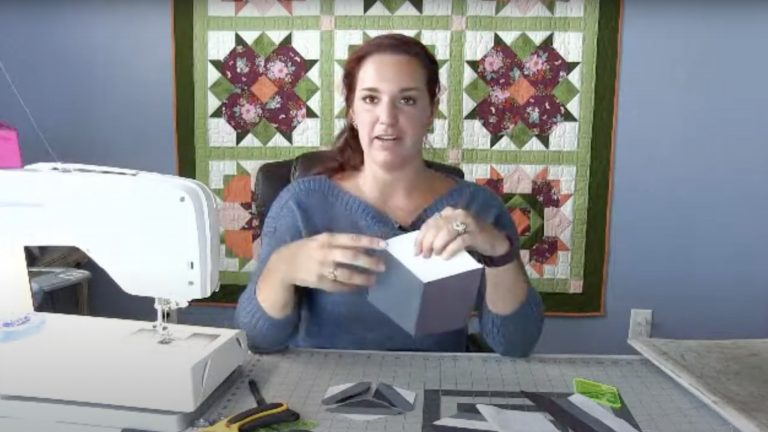
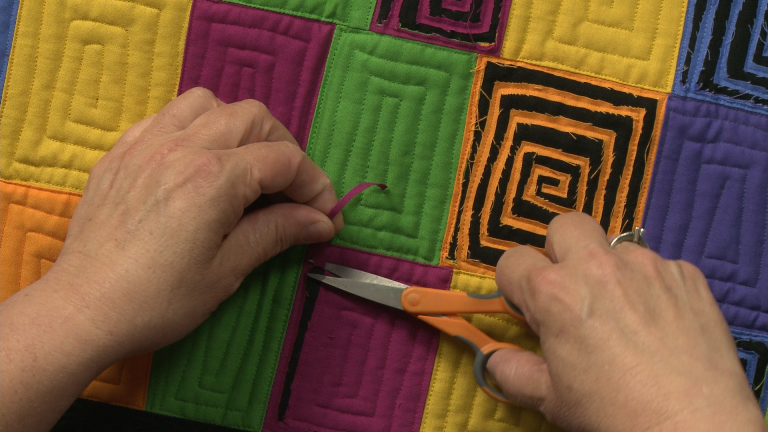
Ashley HoughCreating the look of a spiral block without the use of curved piecing or paper piecing can be done using a snail’s trail block pattern. In this video, Ashley Hough demonstrates this technique.
Snail’s Trail Block
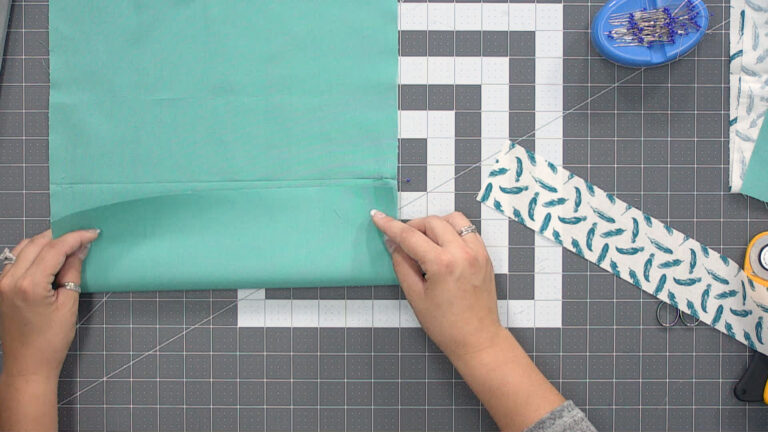
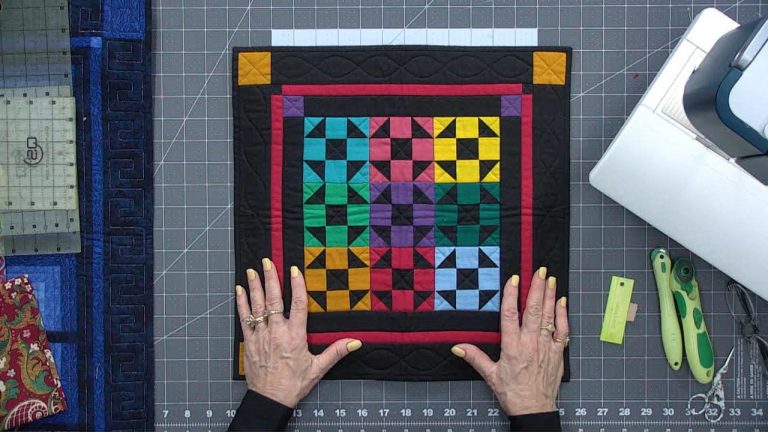
The first step in constructing any quilt block is to cut out all of the pieces that make up the block. A snail’s trail block is made from simple squares, half square triangles, and quarter square triangles.
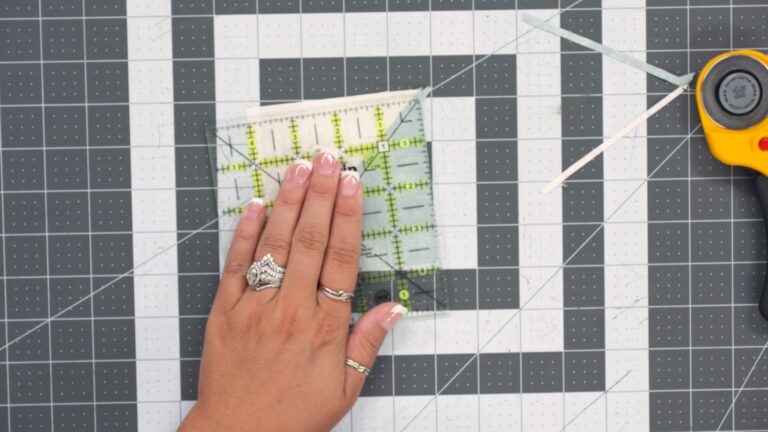
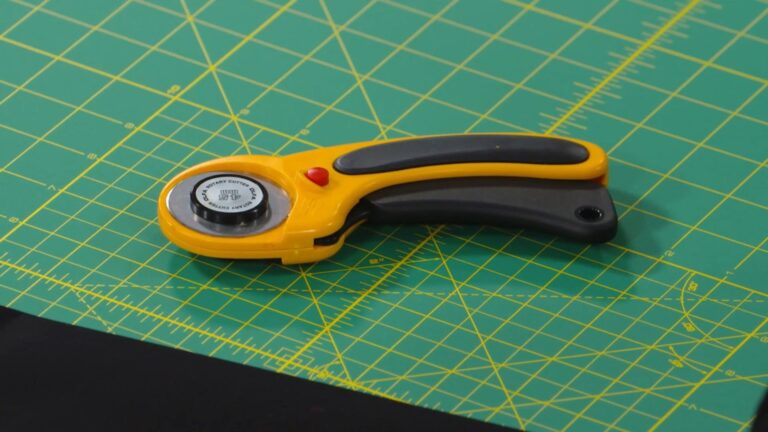
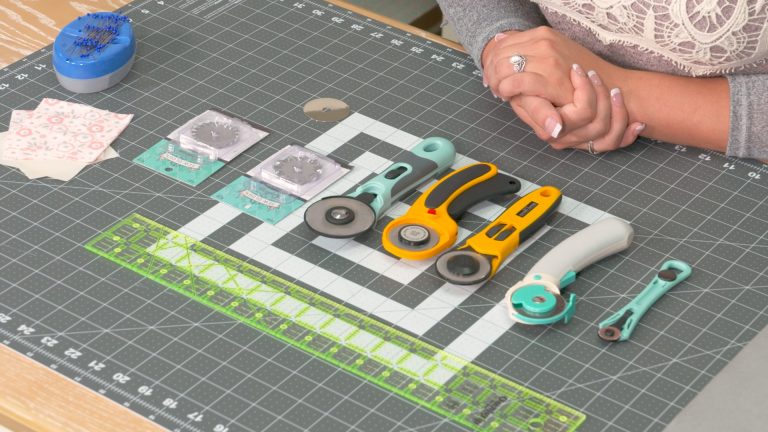
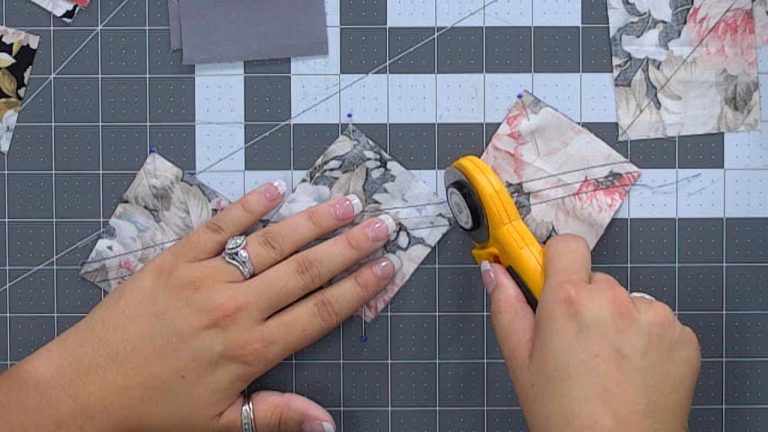
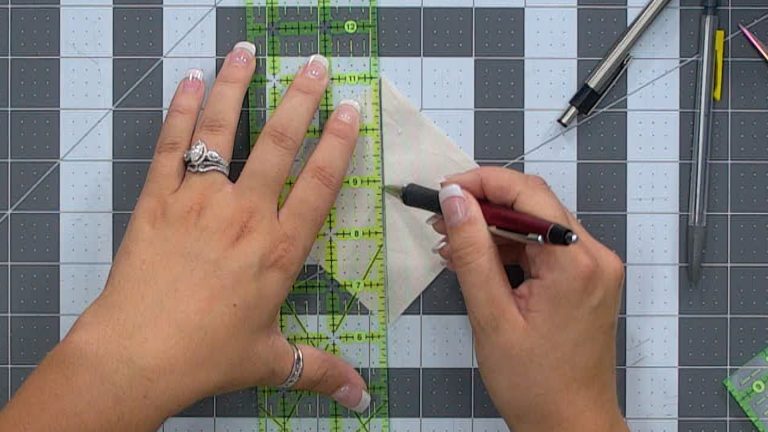
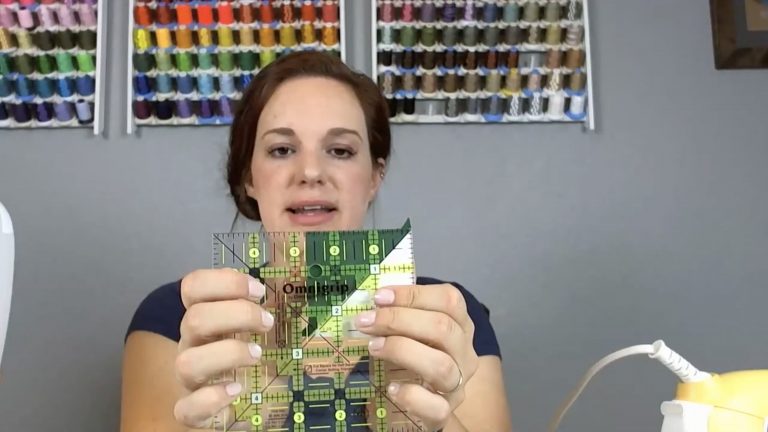
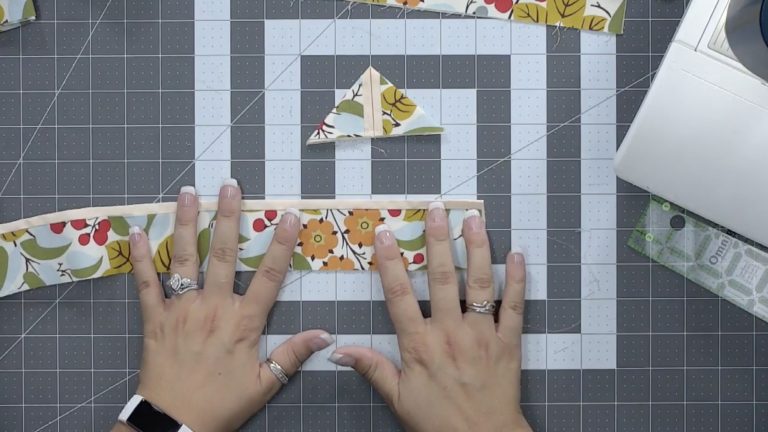
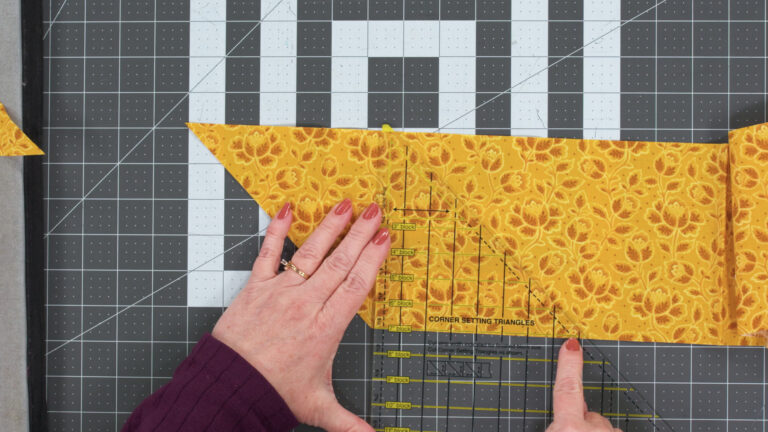
Ashley begins by showing the difference between half and quarter square triangles and explains how to cut them. She also explains that in a block that is constructed like this one, some of the measurements are not what are considered “standard” measurements, but that you shouldn’t be afraid to cut any size listed in a pattern and explains where to find the needed increments on a standard quilting ruler.
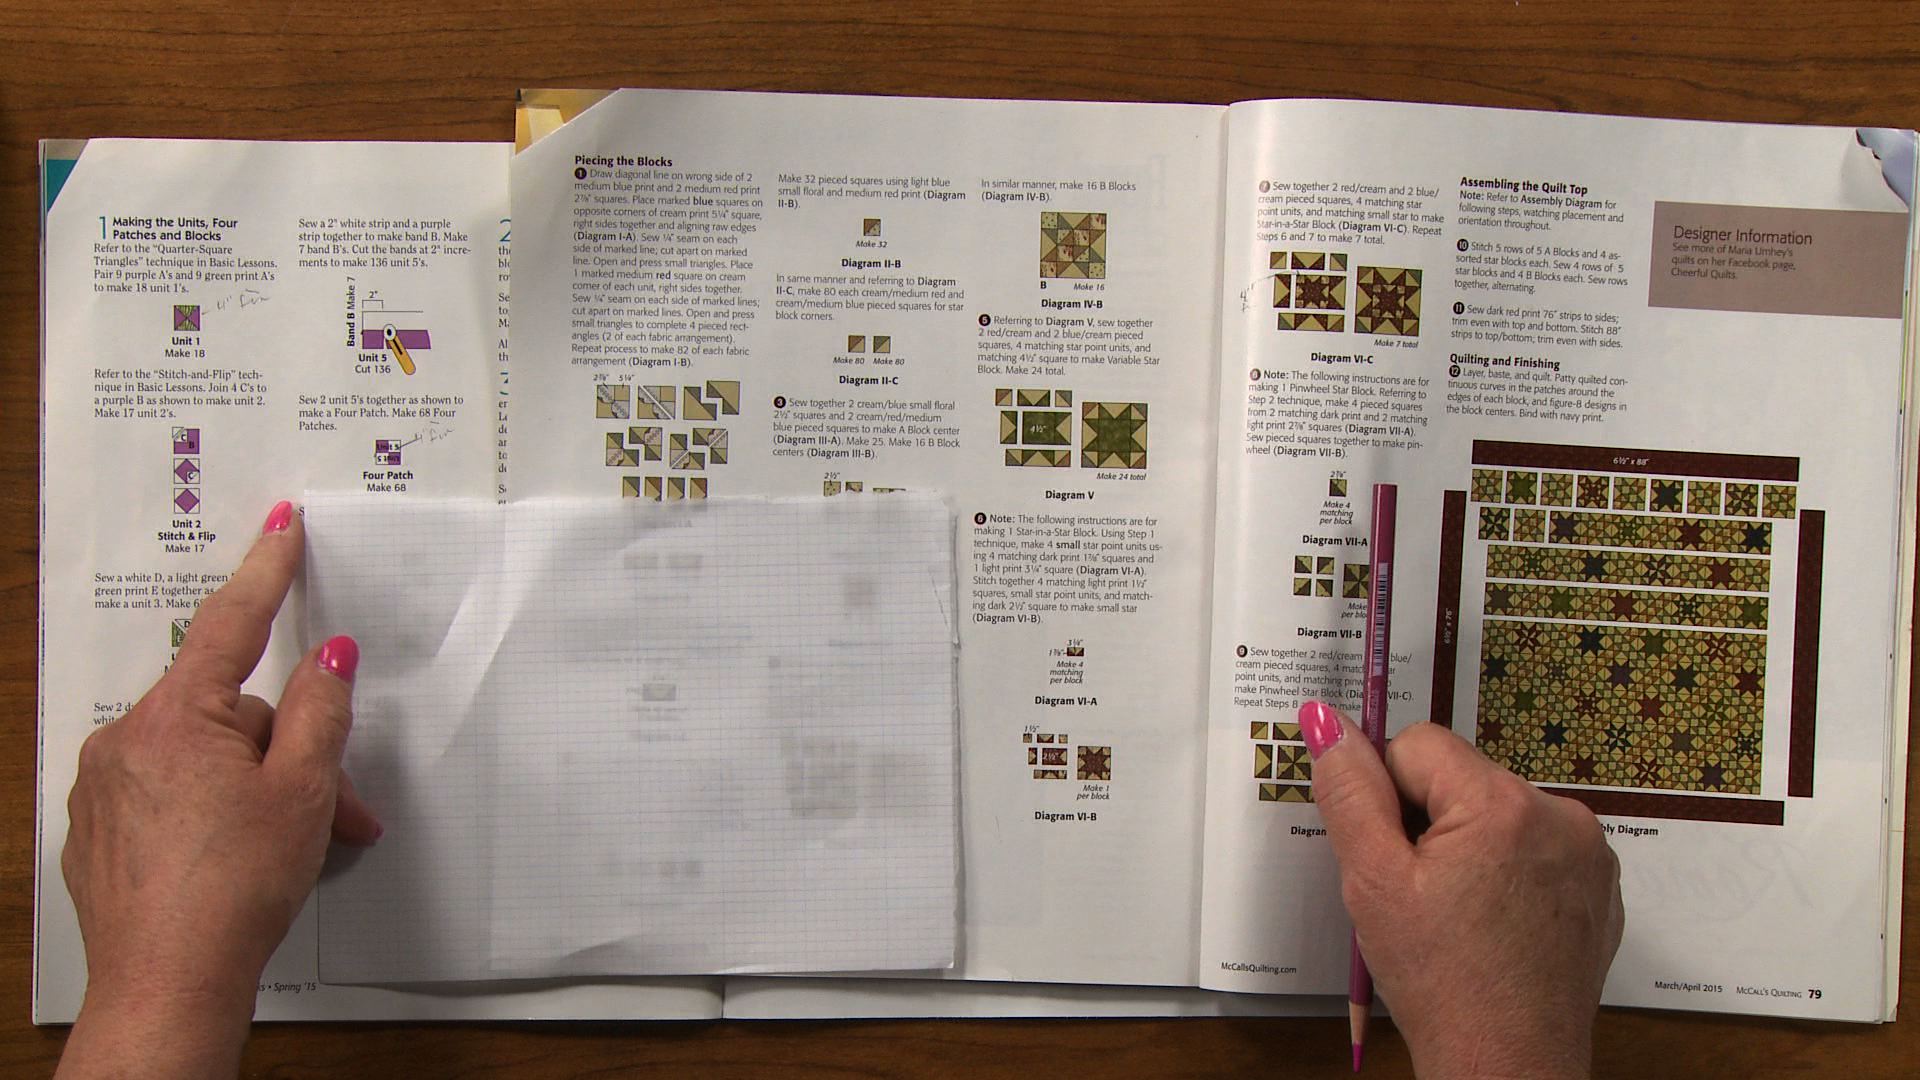
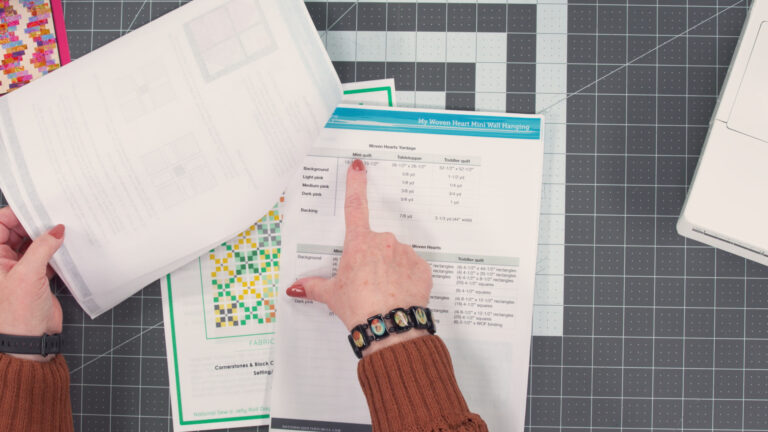
Cutting Instructions
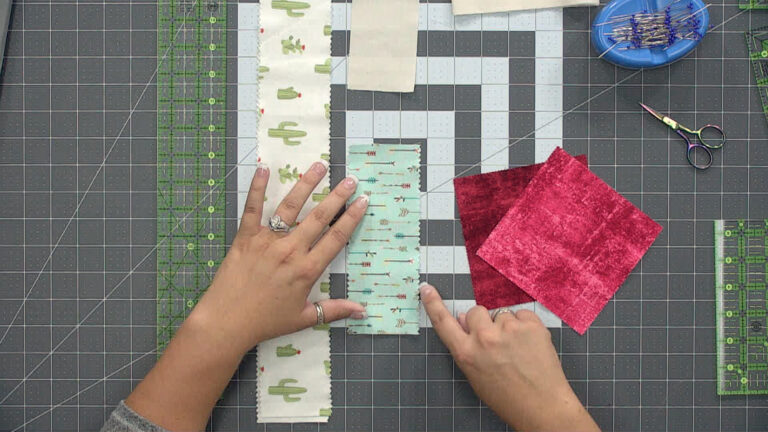
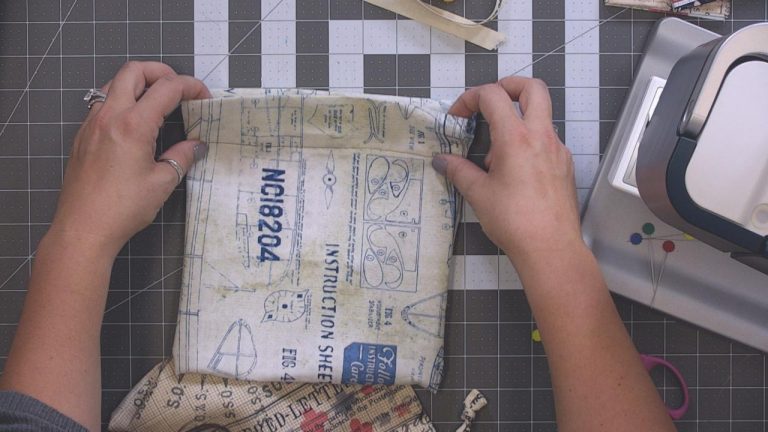
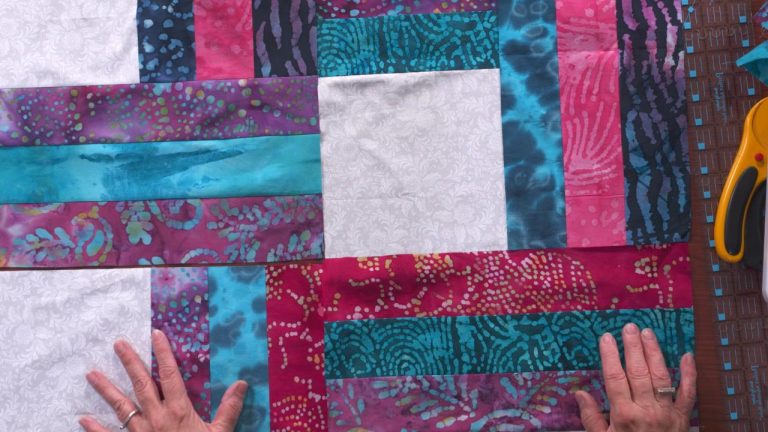
Ashley then shows how to lay out all of the pieces needed for the snail’s trail block once they have been cut. She explains that it is important to lay everything out in the correct orientation on a flat surface so that as you assemble the block, you can place it back down on the surface to make sure the pieces are being assembled in the correct way.
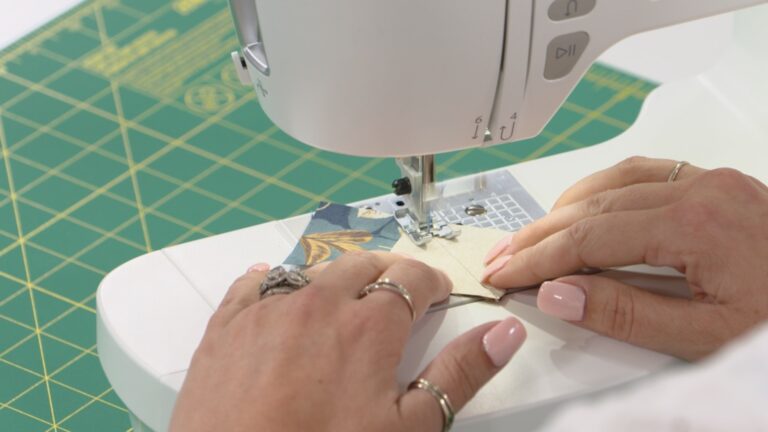
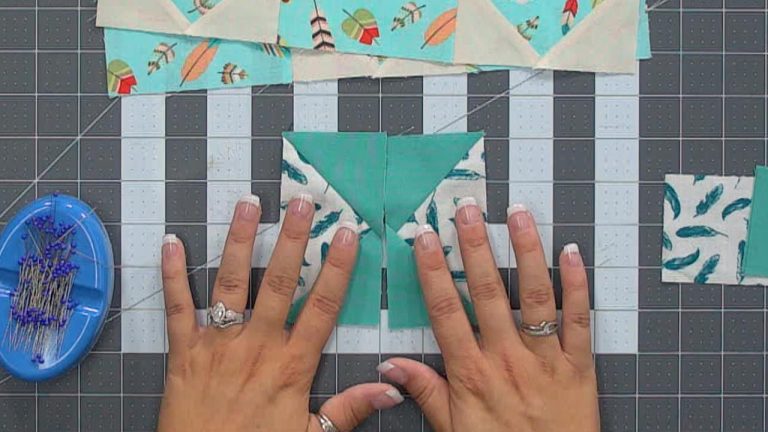
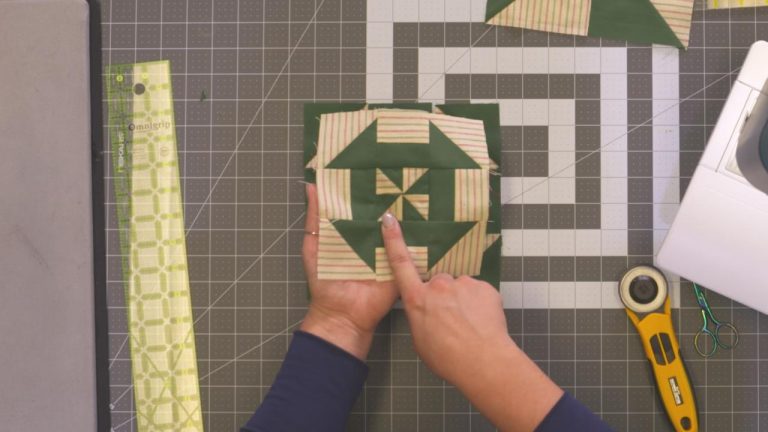
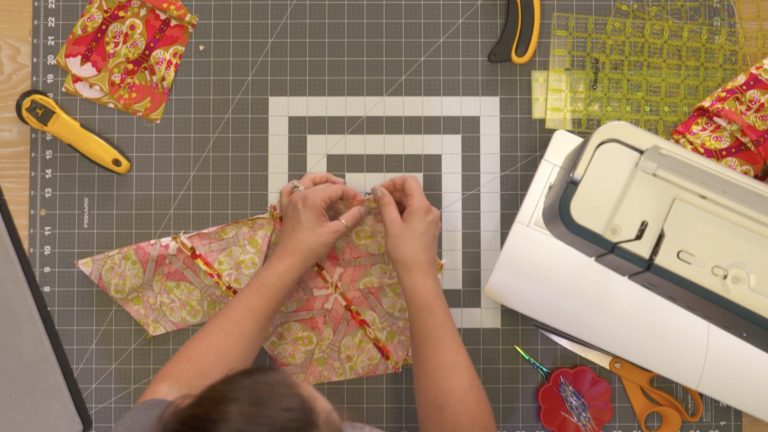
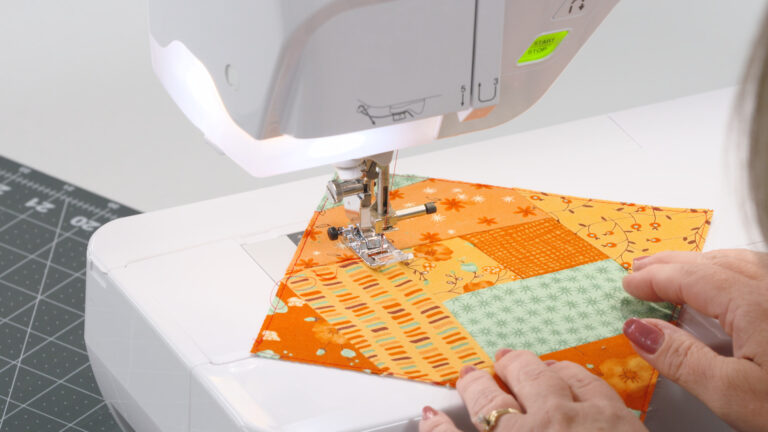
She demonstrates how to start sewing the squares in the center first, which are essentially a quick four-patch block, then shows how to add on the triangles to build out the block. Ashley explains that if you cut the pieces out according to the cutting instructions, rather than sizing up the pieces, you will not need to square up your block as you go.
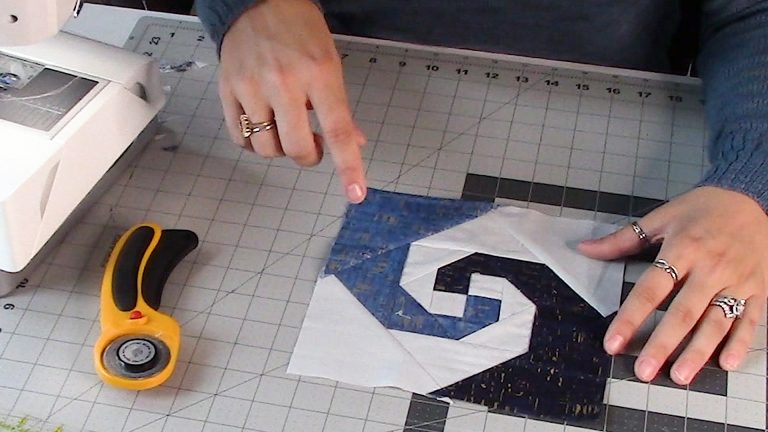
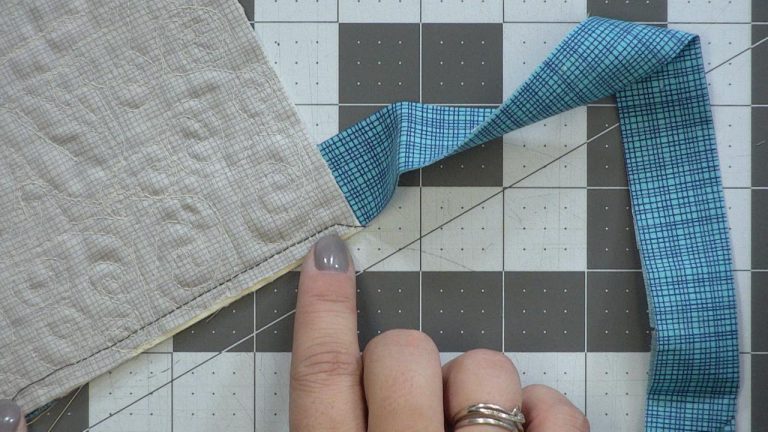
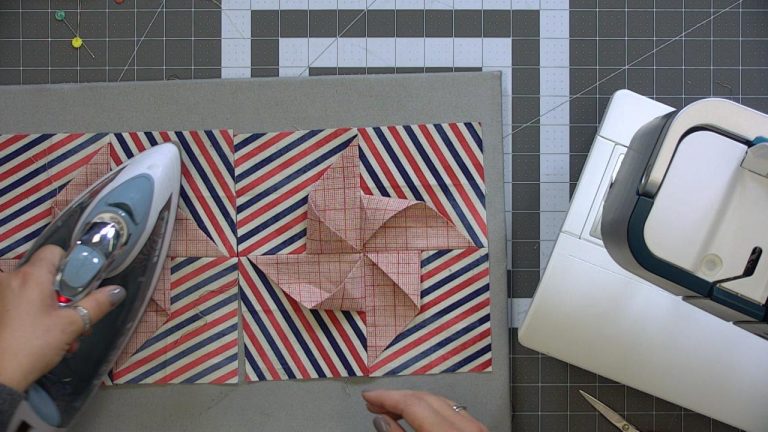
She continues showing how to add triangles to the outer edges of the block until it is complete and the spiral shape is created. Once you learn how to master the snail’s trail block, learn other fun techniques like a partial seams block.
Explore videos by Ashley Hough
You may be interested in
Premium Membership
Unlock exclusive member content from our industry experts.
- 24/7 Access to Premium Quilting Videos, Projects, and Tips
- Step-by-Step Instructional Demos, Patterns, and Tutorials
- 50% Off Video Downloads Purchased in the National Quilters Circle Shop
- Access to Ask the Expert Program
Unlock exclusive member content from our industry experts.
- 24/7 Access to Premium Quilting Videos, Projects, and Tips
- Step-by-Step Instructional Demos, Patterns, and Tutorials
- 2 Full-Length Video Downloads to Watch Offline
- 50% Off Video Downloads Purchased in the National Quilters Circle Shop
- Access to Ask the Expert Program
Gold Membership
$336 Value
Get everything included in Premium plus exclusive Gold Membership benefits.
- 24/7 Access to Premium Quilting Videos, Projects, and Tips
- Step-by-Step Instructional Demos, Patterns, and Tutorials
- 8 Full-Length Video Downloads to Watch Offline
- 3 Full-Length Quilting Classes to Keep for Life
- 2 Printable Quilting Guides
- Discounts on Purchase-to-Own Content in the National Quilters Circle Shop
- Access to Ask the Expert Program
- Exclusive GOLD LIVE Streaming Events
