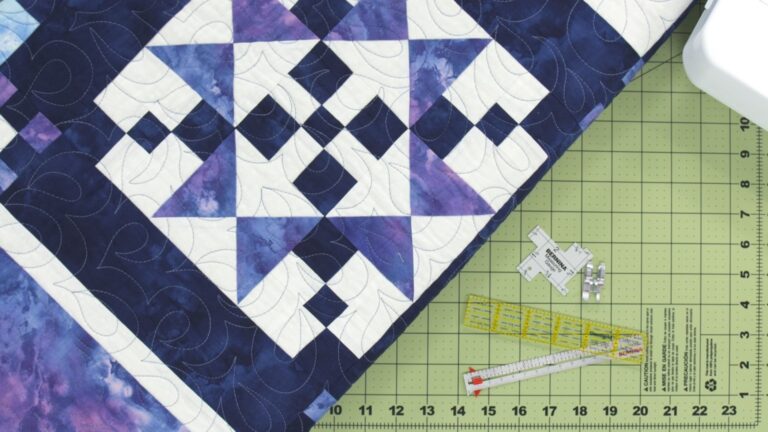
Resizing Blocks
Ashley HoughQuilt patterns trigger our imaginations, but what if you decide that resizing quilt blocks will create the perfect patchwork? Where do you start and what steps do you need to learn for a successful resizing?
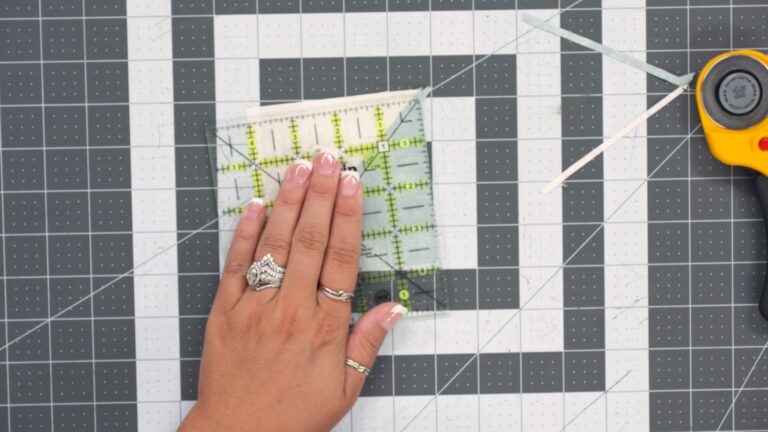
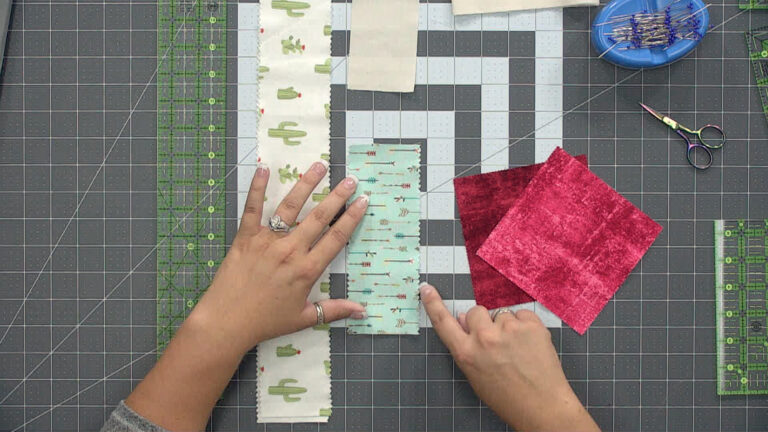
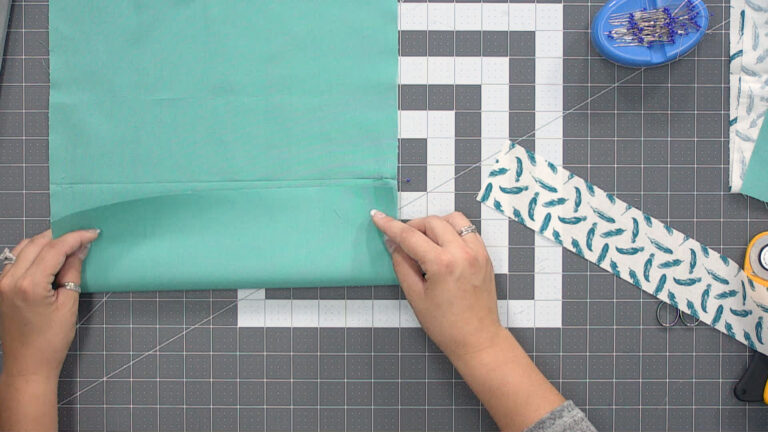
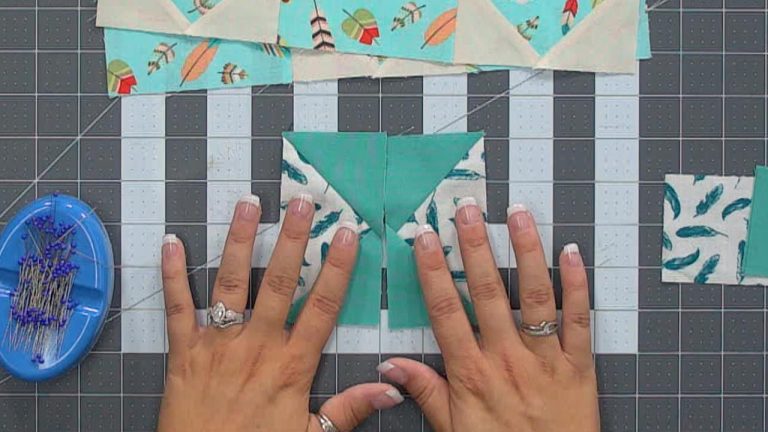
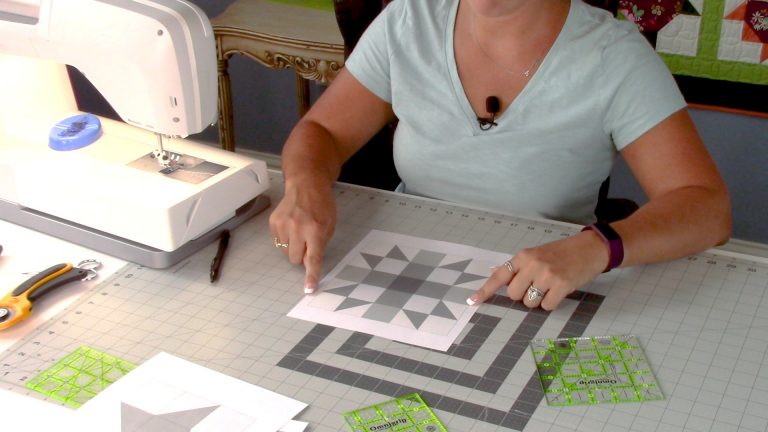
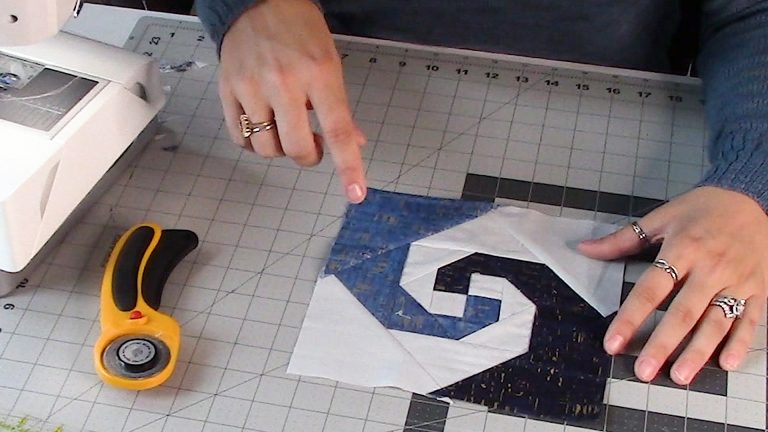
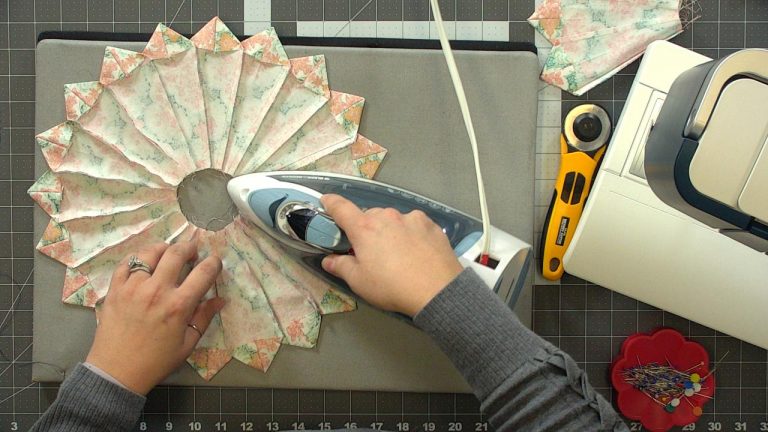
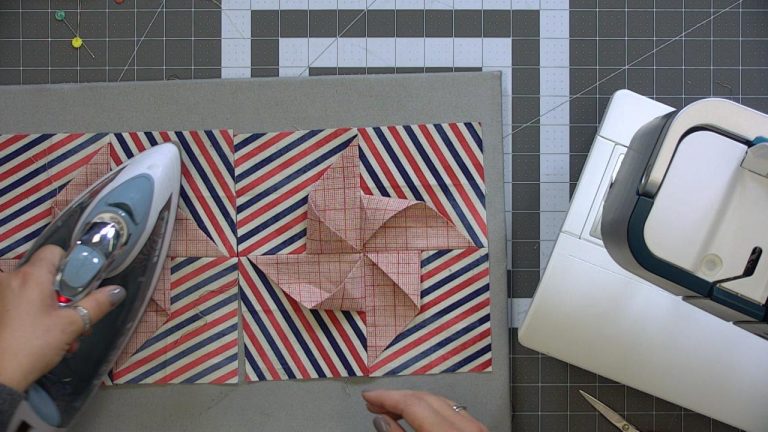
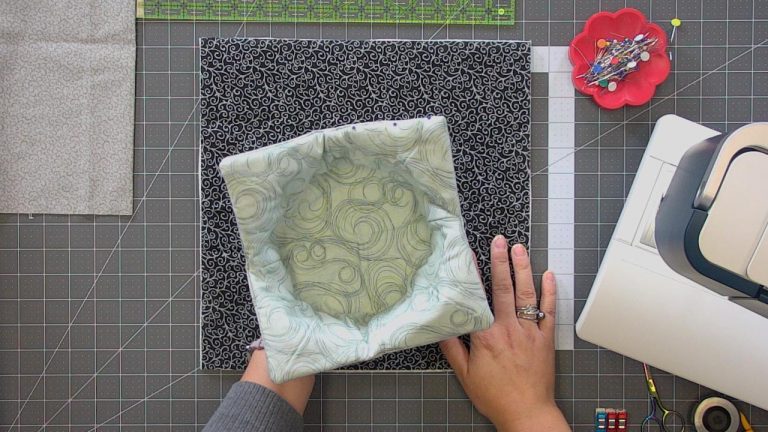
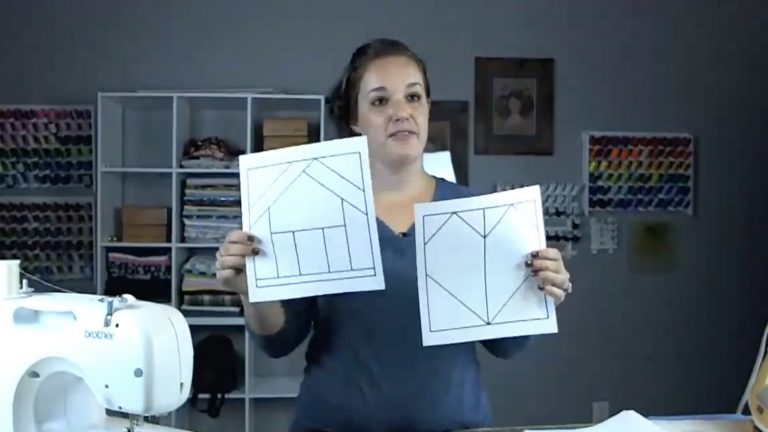
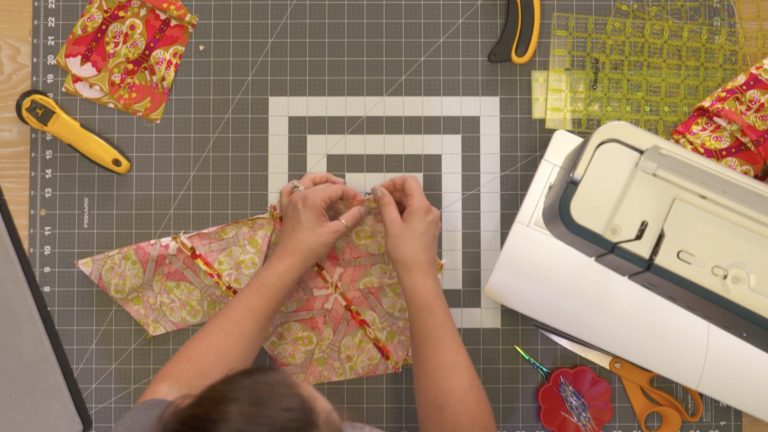
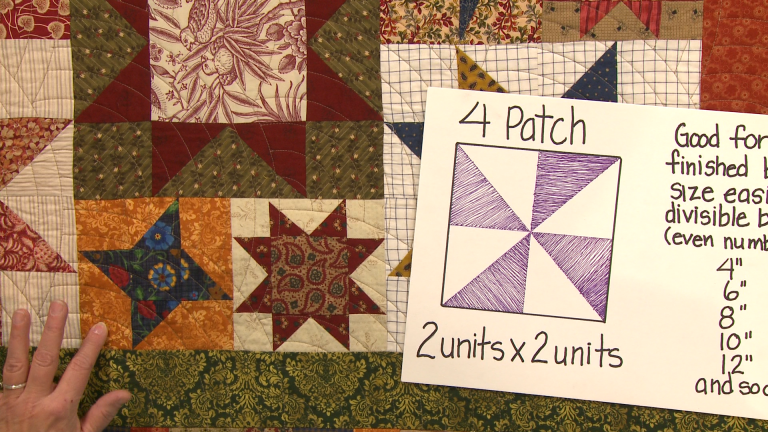
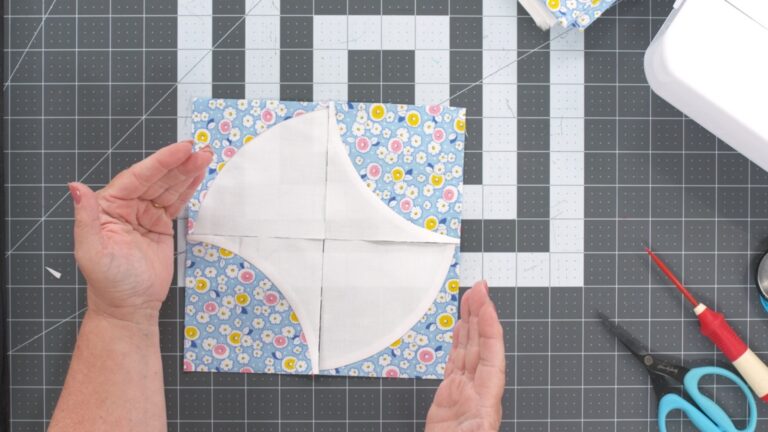
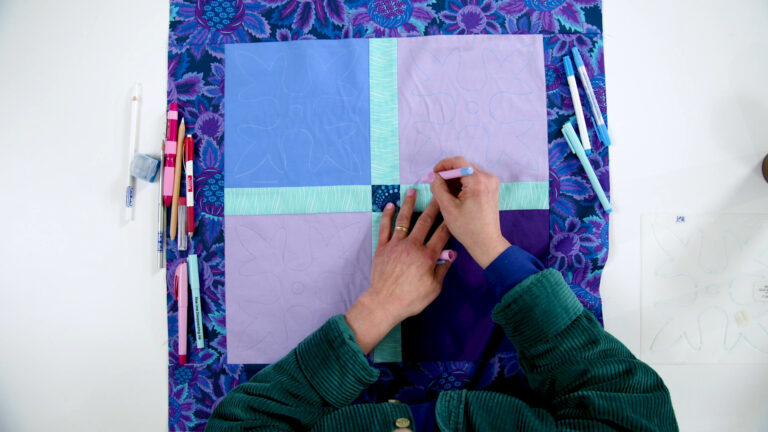
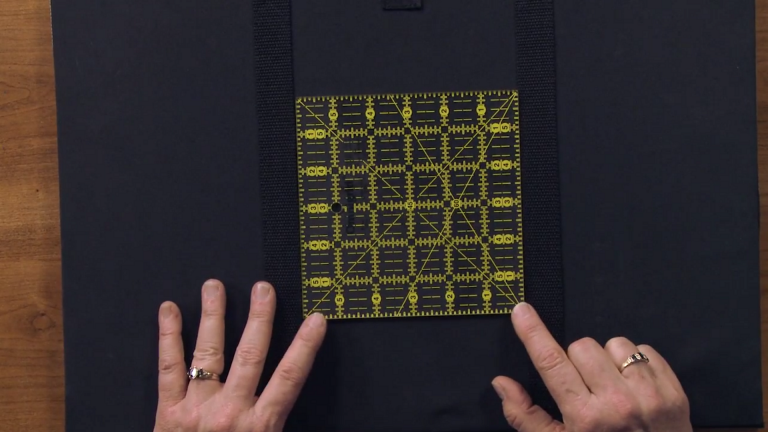
The custom designing process begins by selecting the quilt block that you want to resize. Ashley suggests either drawing or photographing the original block so that you have a place to note new cutting dimensions as work through how to resize a quilt block for your project. The process of how to resize quilt blocks becomes a grid question. You will learn the simple formula for determining the grid of your block. This grid divides the block into units that make the resizing process more streamlined.
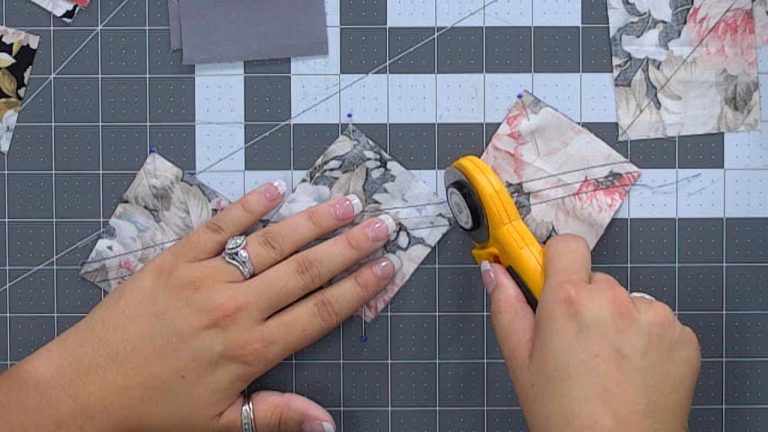
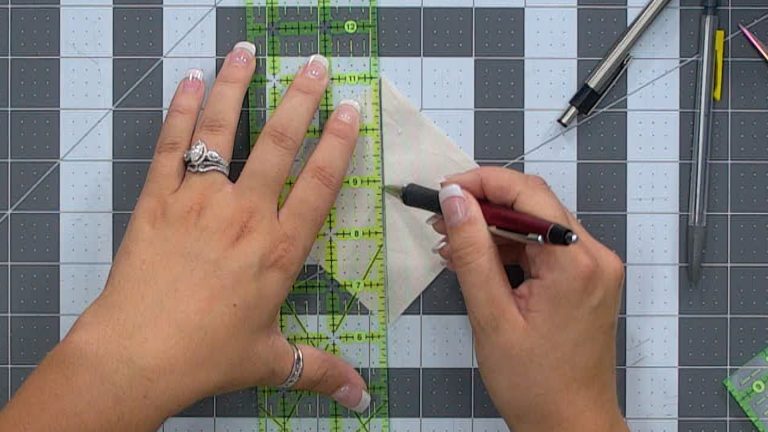
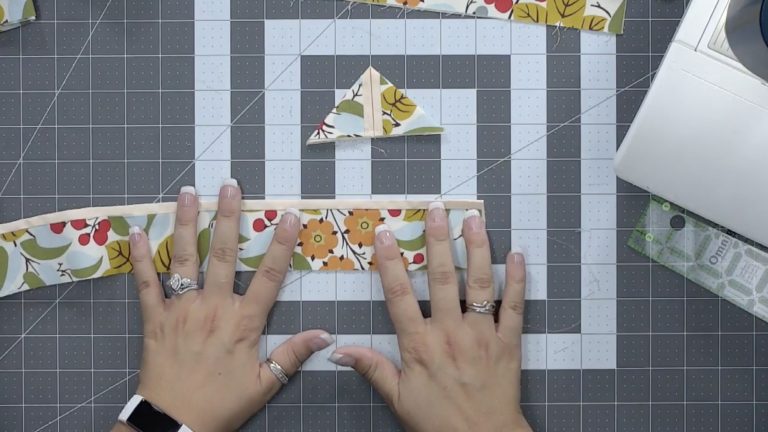
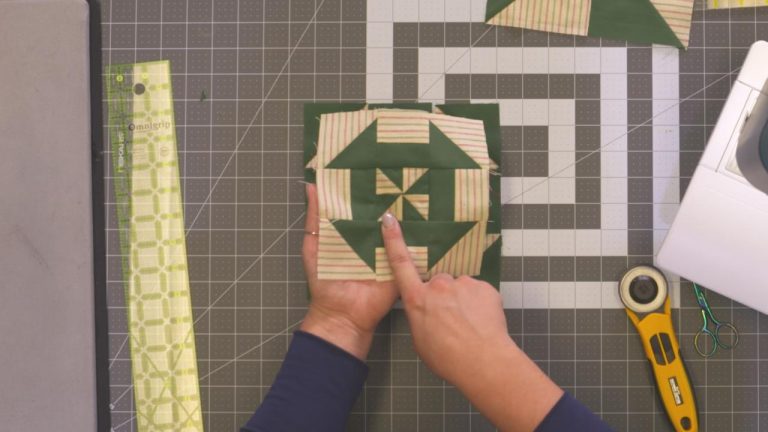
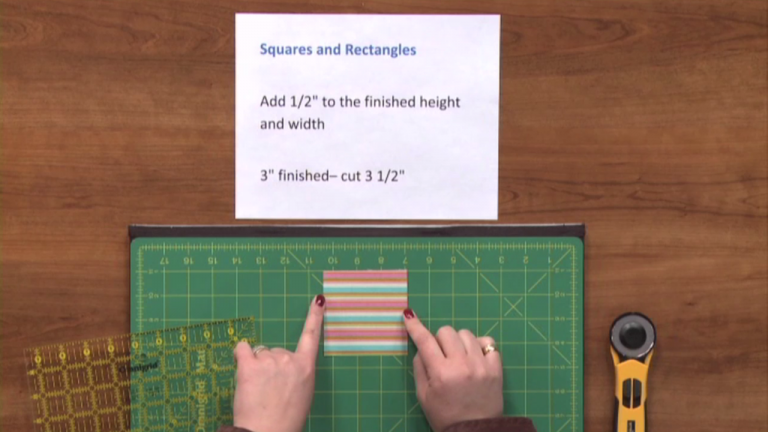
Examining the block to break it down to its most basic units simplifies the process. The quilt block resizing chart and examples Ashley uses can be downloaded to assist you in learning this method. How to change the size of quilt blocks all begins with knowing the size of the original block, then dividing that dimension by the number of horizontal units within the patchwork. In turn, selecting the “new” desired block size, you can then divide that number by the number of horizontal units and arrive at the new finished size of each section. Always remember to add seam allowances for each unit. Keep in mind Ashley’s reference to sizes that are easily divisible by the number of units for example: A 12 inch block is easily divided by 3 whereas, a 8 inch block is divisible by 2, this makes for easy math and easy cutting.
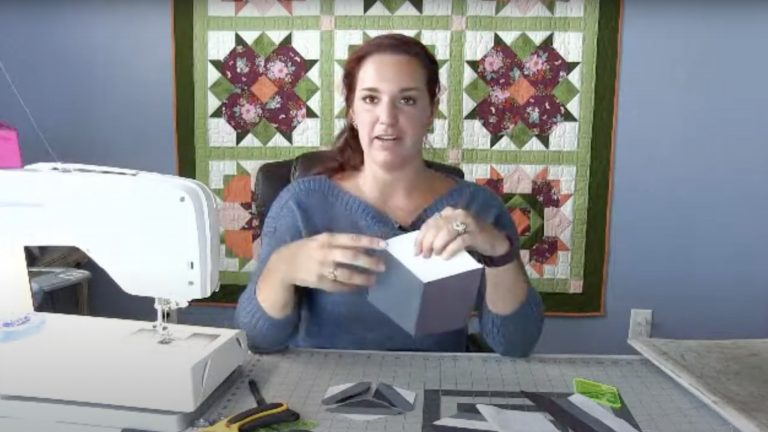
Learning the tips for resizing quilt blocks is a valuable design skill. Applying the grid method with some simple math, Ashley’s step-by-step approach will assist you in customizing perfect blocks for your next quilt.
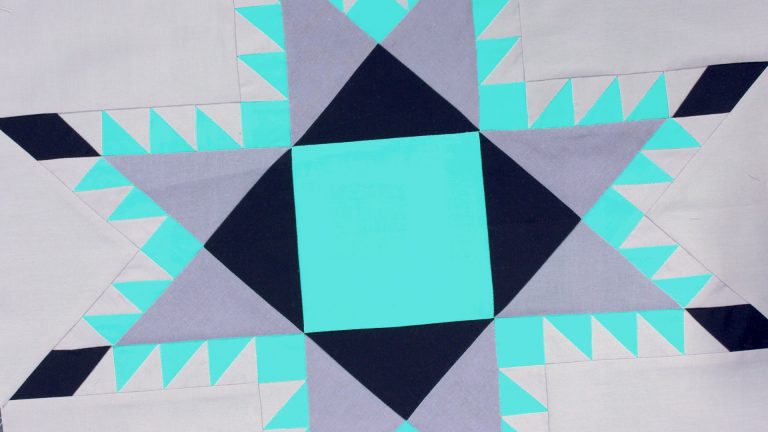
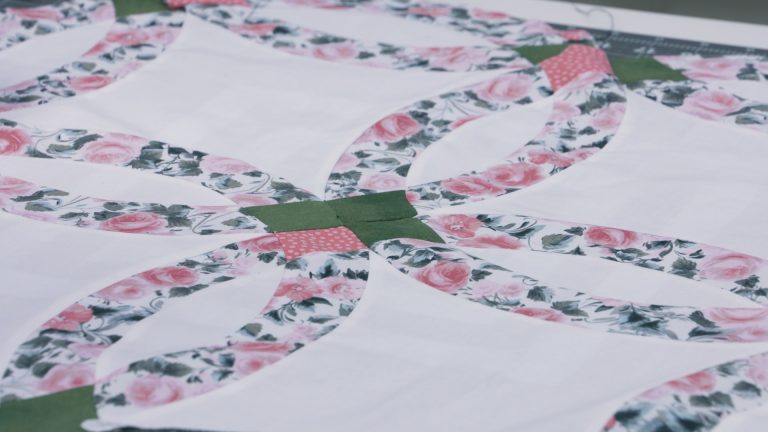
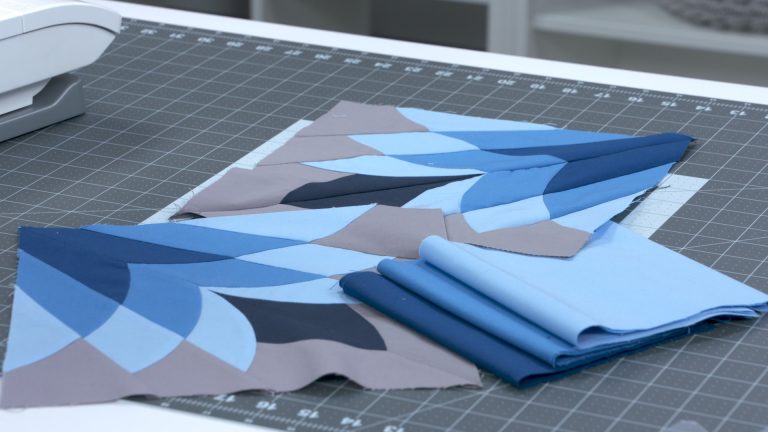
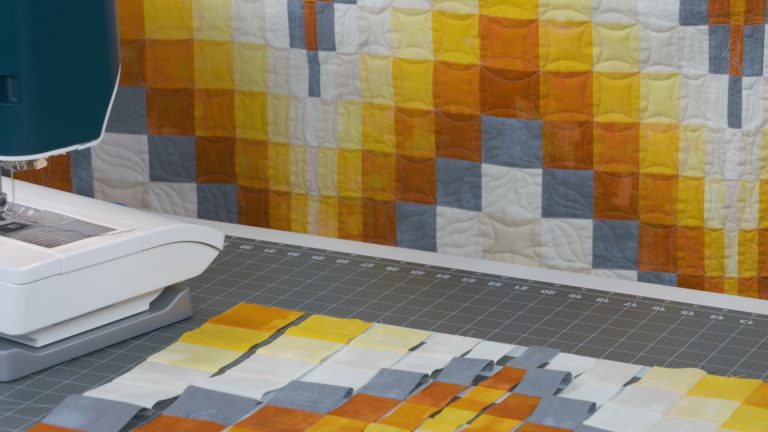
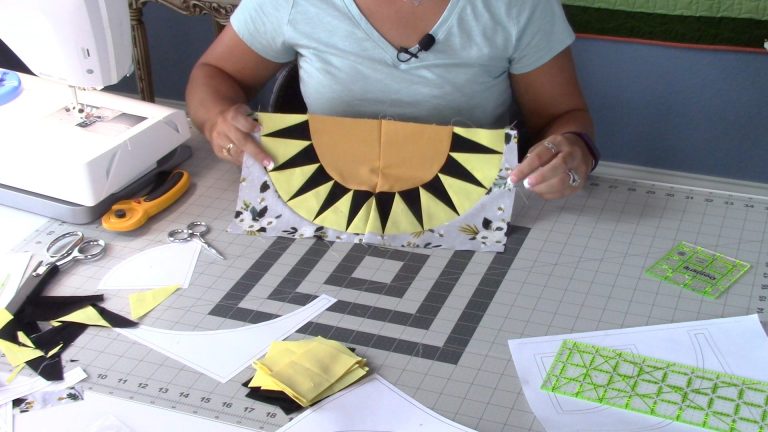
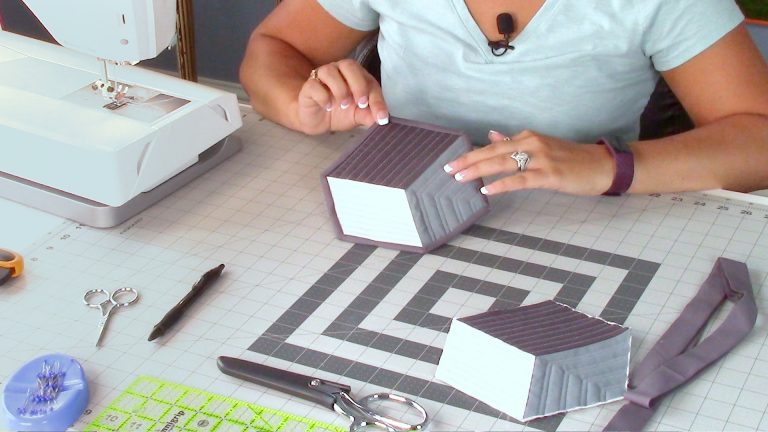
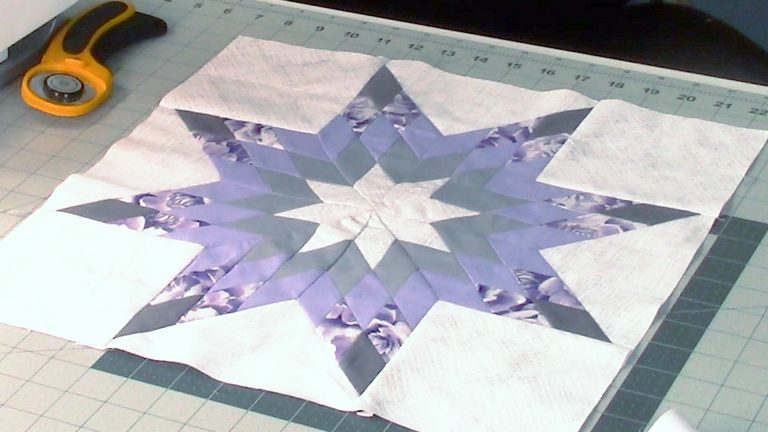
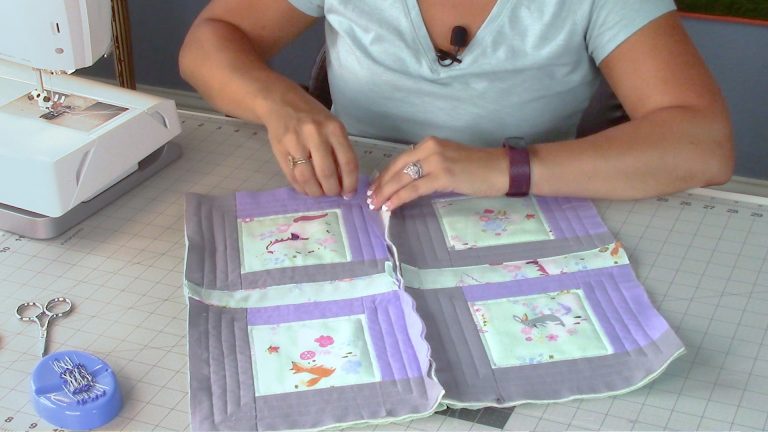
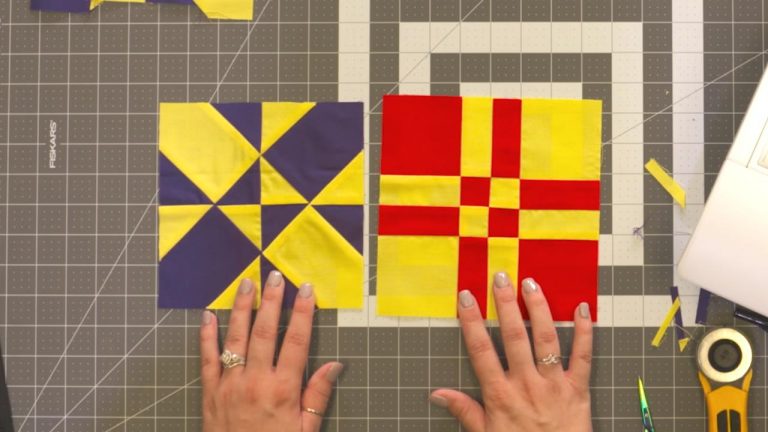
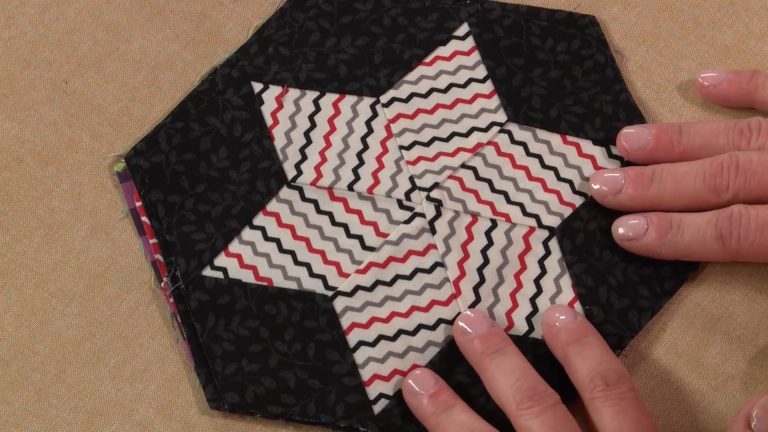
Quilt Block Examples:
Explore videos by Ashley Hough


You may be interested in


Premium Membership
Unlock exclusive member content from our industry experts.
- 24/7 Access to Premium Quilting Videos, Projects, and Tips
- Step-by-Step Instructional Demos, Patterns, and Tutorials
- 50% Off Video Downloads Purchased in the National Quilters Circle Shop
- Access to Ask the Expert Program
Unlock exclusive member content from our industry experts.
- 24/7 Access to Premium Quilting Videos, Projects, and Tips
- Step-by-Step Instructional Demos, Patterns, and Tutorials
- 2 Full-Length Video Downloads to Watch Offline
- 50% Off Video Downloads Purchased in the National Quilters Circle Shop
- Access to Ask the Expert Program
Gold Membership
$336 Value
Get everything included in Premium plus exclusive Gold Membership benefits.
- 24/7 Access to Premium Quilting Videos, Projects, and Tips
- Step-by-Step Instructional Demos, Patterns, and Tutorials
- 8 Full-Length Video Downloads to Watch Offline
- 3 Full-Length Quilting Classes to Keep for Life
- 2 Printable Quilting Guides
- Discounts on Purchase-to-Own Content in the National Quilters Circle Shop
- Access to Ask the Expert Program
- Exclusive GOLD LIVE Streaming Events