
How to Use Quilting Stencils on Your Fabric
ZJ HumbachWith all the different quilting stencils and designs available today, deciding on a quilt design for quilting can be just as fun as deciding on fabric for piecing. ZJ Humbach shows several different ways to mark stencil lines and also gives tips for removing them.
Chubby Crayon
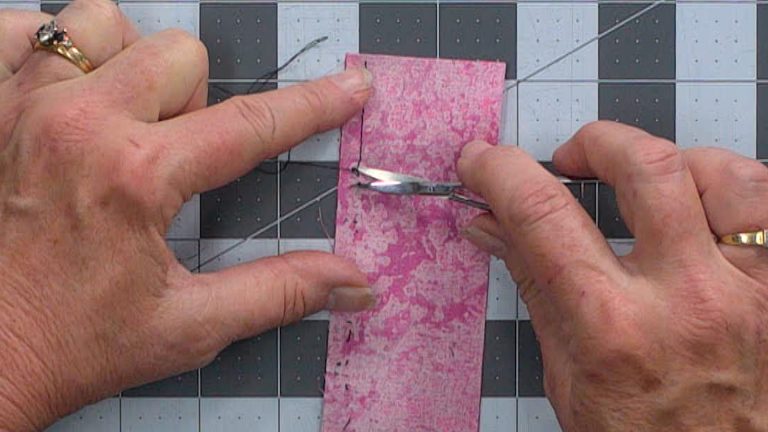
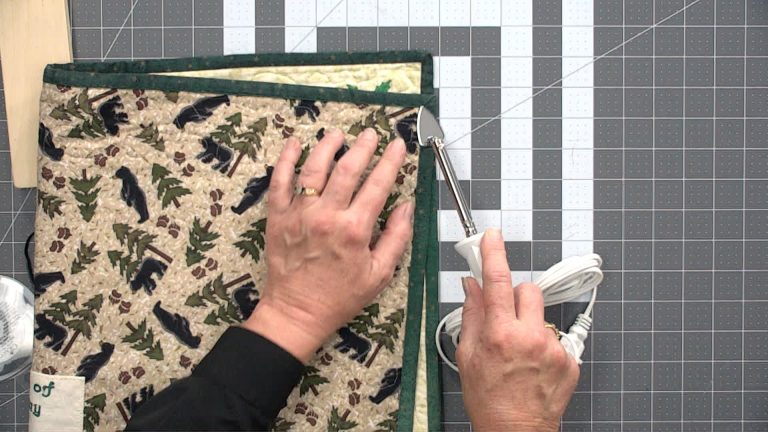
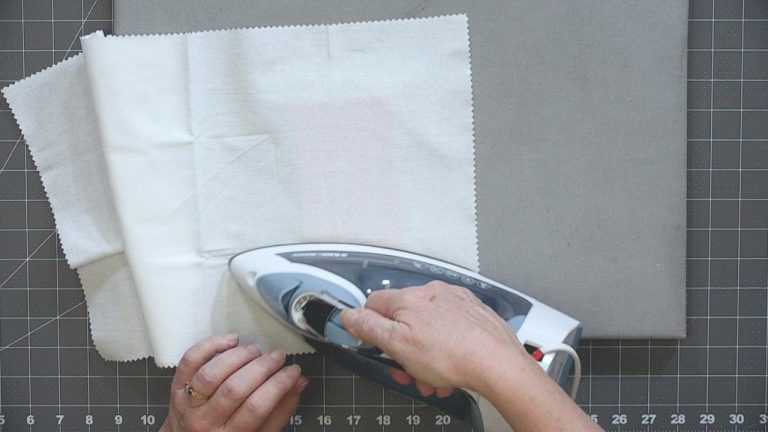
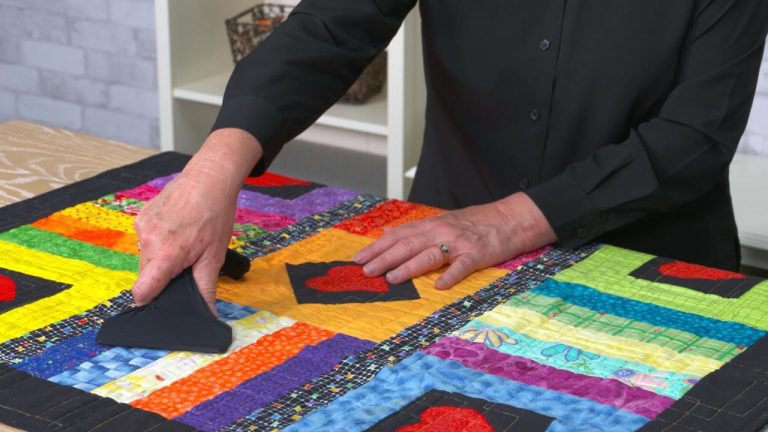
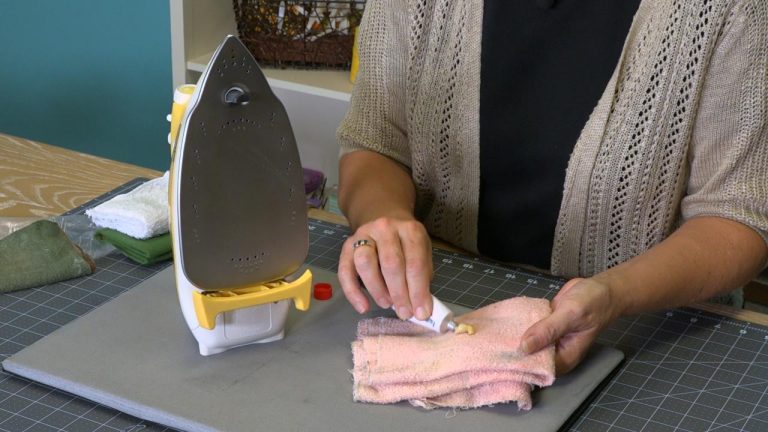
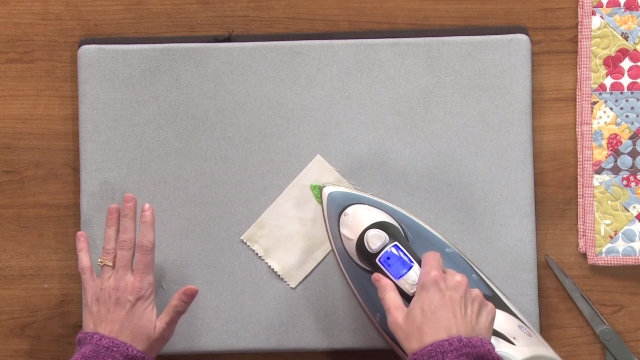
Even though it is called a crayon, this product is actually a type chalk. ZJ demonstrates how easy it is to use quilting tools like this by simply drawing on the fabric or tracing along a quilting stencil. The Chubby Crayon generally comes in a 6” length, which should be more than enough to mark an entire quilt. The crayon is approximately ¼” in diameter and can either be sharpened to a point, or as ZJ demonstrates, used along a side to create a crisp line. Lines drawn by the crayon stay in place until removed with the heat of an iron. It is always a good idea to try out a marking tool on a scrap piece of fabric first to ensure it removes properly.
Marking Chalk
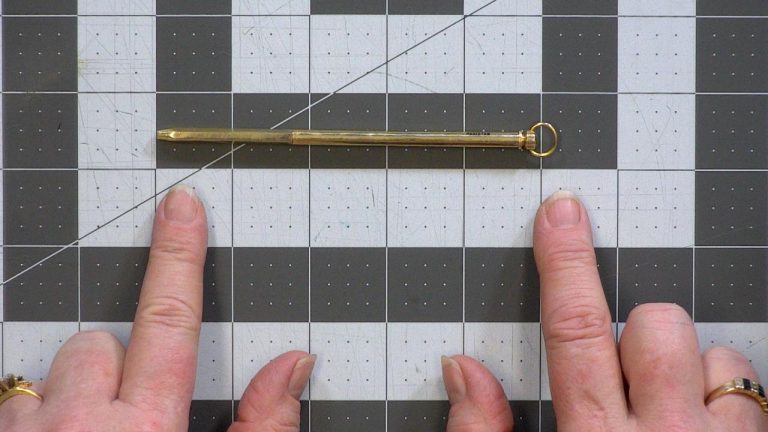
There are several different methods for using chalk to mark quilting lines. One way to mark lines on a fabric is to lay a quilting stencil on top of the quilt and then use a pad to blot chalk in place. ZJ explains why this method is not always a good one to use on larger quilts and shows an alternative method. Using a marking tool that can be filled with chalk and then used like a pencil can create a more visible line, making it easier to see when stitching. No matter which chalk method you use, the chalk can still generally be removed by simply brushing it off or rubbing it with another piece of fabric.
Stencils
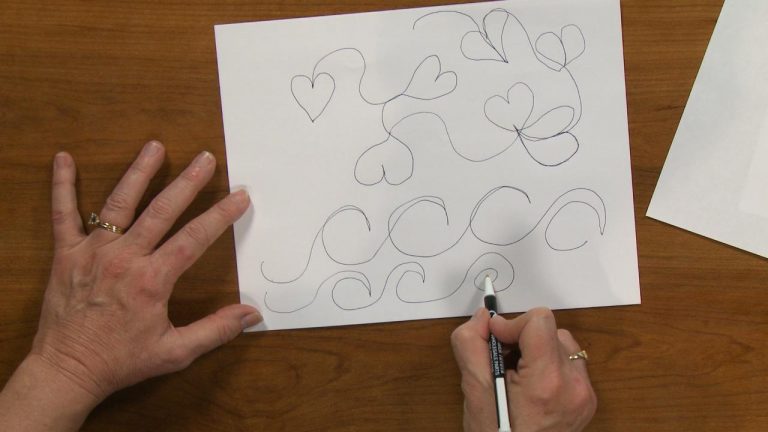
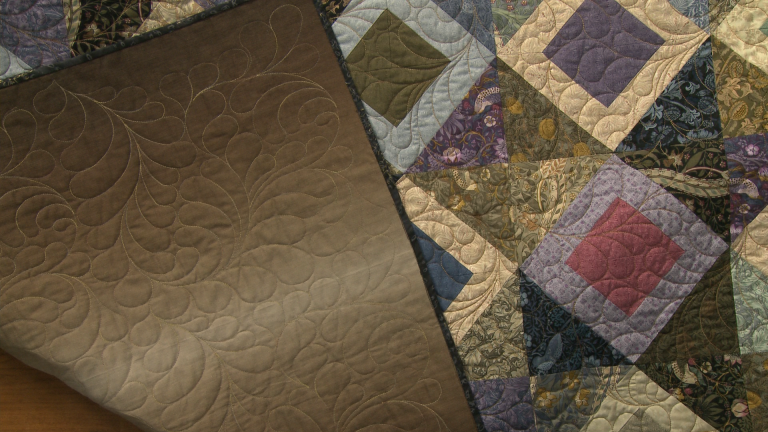
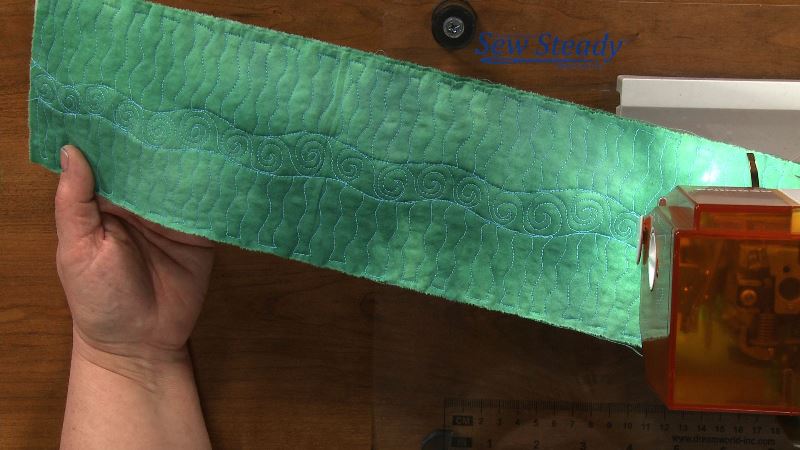
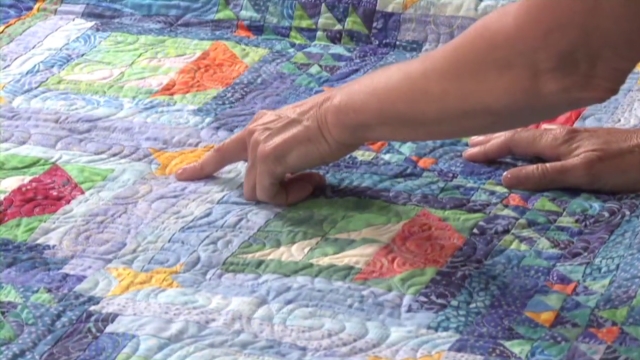
While there are many different quilting stencils available, there are still other ways to draw out a quilting design as well. All of the marking tools in this videos are great for tracing stencils as well as free hand drawing design. Stencils for fabric painting or other fabric designing can also be used to draw quilt designs. Or, you could even create your own quilting stencil.
Share tips, start a discussion or ask one of our experts or other students a question.
Already a member? Sign in
One Response to “How to Use Quilting Stencils on Your Fabric”
Explore videos by ZJ Humbach
You may be interested in
Premium Membership
Unlock exclusive member content from our industry experts.
- 24/7 Access to Premium Quilting Videos, Projects, and Tips
- Step-by-Step Instructional Demos, Patterns, and Tutorials
- 50% Off Video Downloads Purchased in the National Quilters Circle Shop
- Access to Ask the Expert Program
Unlock exclusive member content from our industry experts.
- 24/7 Access to Premium Quilting Videos, Projects, and Tips
- Step-by-Step Instructional Demos, Patterns, and Tutorials
- 2 Full-Length Video Downloads to Watch Offline
- 50% Off Video Downloads Purchased in the National Quilters Circle Shop
- Access to Ask the Expert Program
Gold Membership
$336 Value
Get everything included in Premium plus exclusive Gold Membership benefits.
- 24/7 Access to Premium Quilting Videos, Projects, and Tips
- Step-by-Step Instructional Demos, Patterns, and Tutorials
- 8 Full-Length Video Downloads to Watch Offline
- 3 Full-Length Quilting Classes to Keep for Life
- 2 Printable Quilting Guides
- Discounts on Purchase-to-Own Content in the National Quilters Circle Shop
- Access to Ask the Expert Program
- Exclusive GOLD LIVE Streaming Events
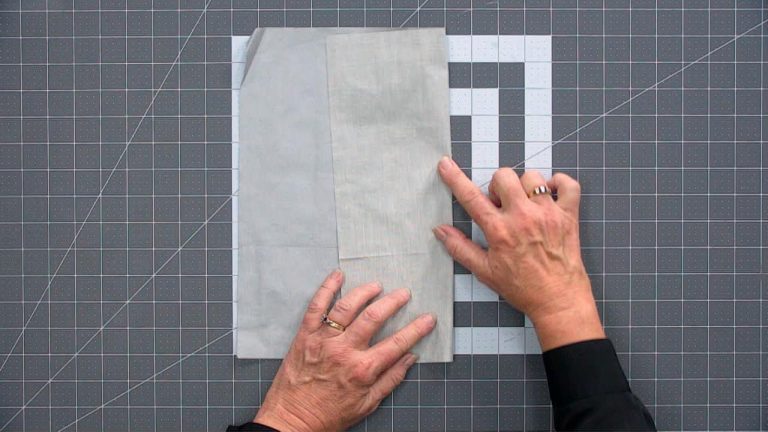

I was always taught to use a cloth between my iron & the wax to soak up the residual wax and protect the iron, but I have enormous respect for Ms. Humbach. Does anyone know why she irons without a pressing cloth when removing the waxy chalk?