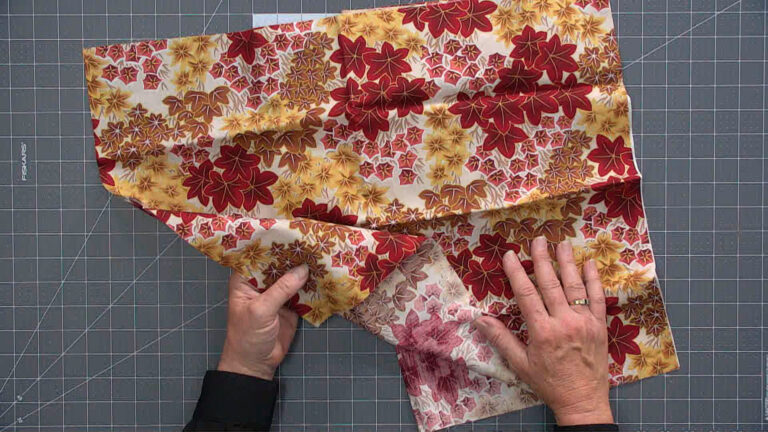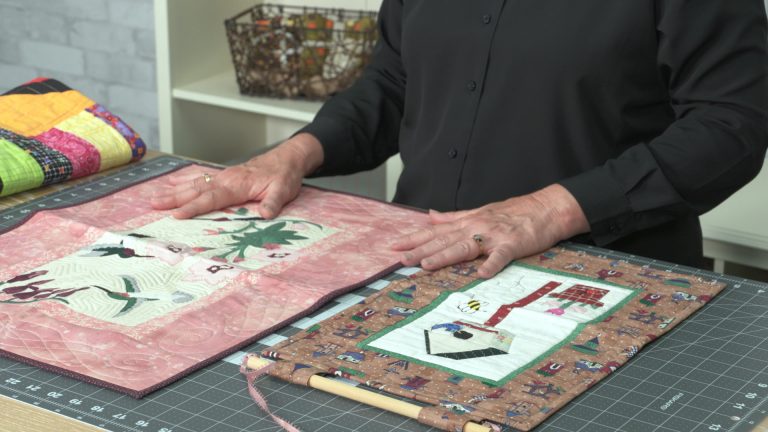
How to Bind a Quilt
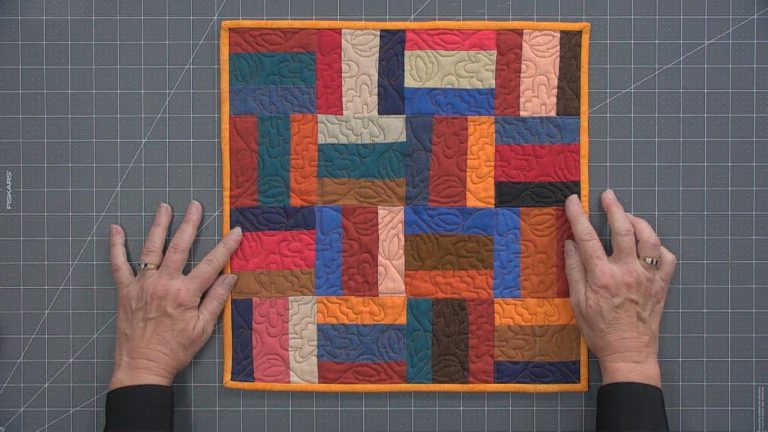
ZJ HumbachOnce you’ve finished piecing and quilting your quilt, it’s time to apply the binding. Learn how to bind a quilt, including learning how to miter the corners and join the ends using a diagonal seam.
Learning How to Bind a Quilt
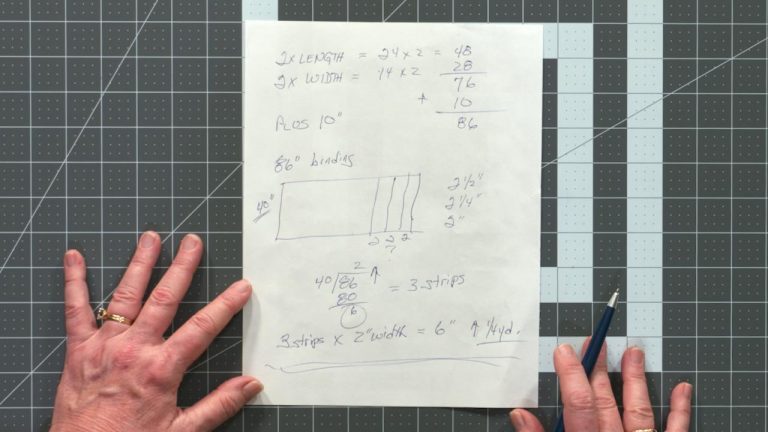
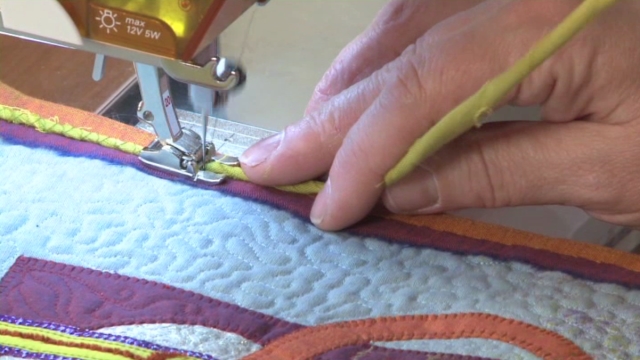
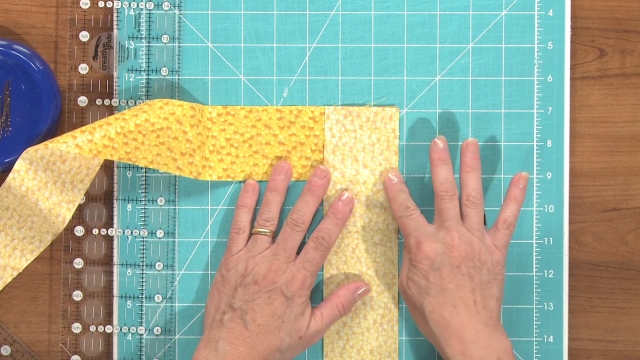
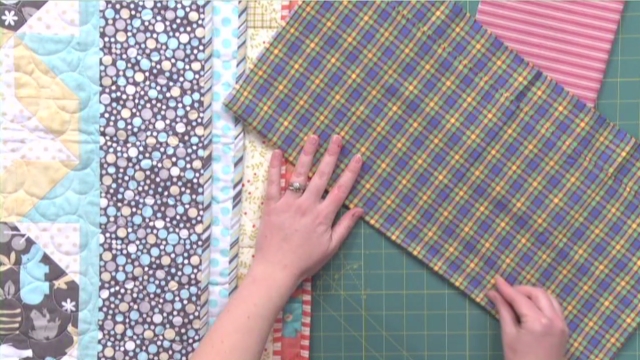
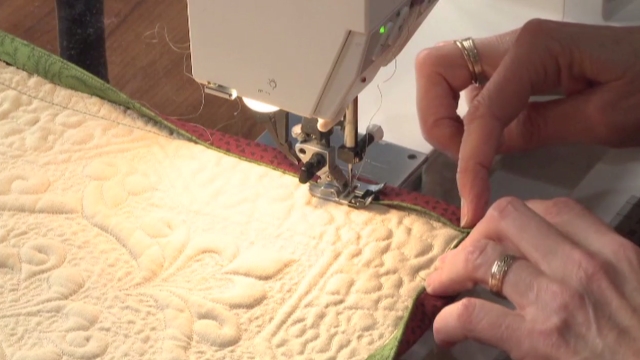
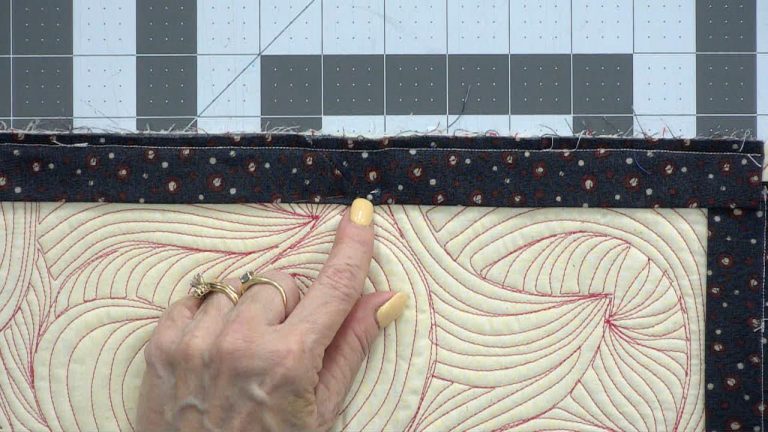
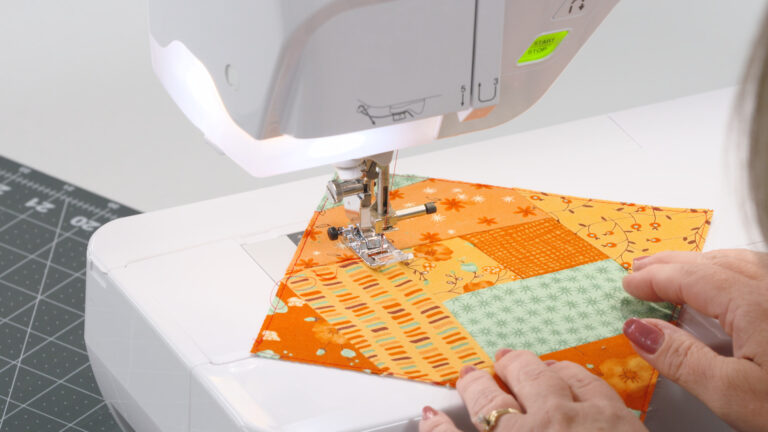
Before you can learn how to bind a quilt, you must know how to prepare quilt binding. After you learn that, ZJ Humbach shows you how to bind a quilt by first explaining where to start attaching the binding to the quilt. She explains that you should start along one of the long edges of the quilt around the center. ZJ shares how starting in the center of a quilt side, as opposed to close to one of the ends, makes creating the mitered corners and finishing the binding ends easier.
She also shares how much of a tail you should leave when starting to attach the quilting binding. This tail is what is used to join the binding ends together. ZJ also explains when you should sew the binding to the back of the quilt and when you should sew the binding to the front of the quilt. Which side of the quilt you begin sewing the binding to first usually depends on whether you plan to finish the binding by machine or by hand.
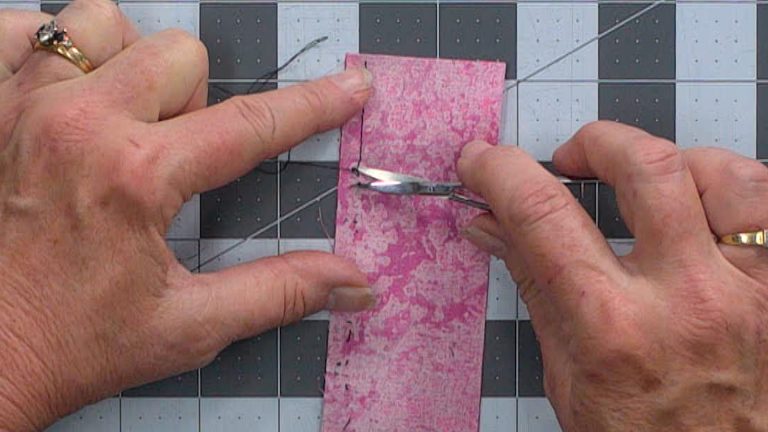
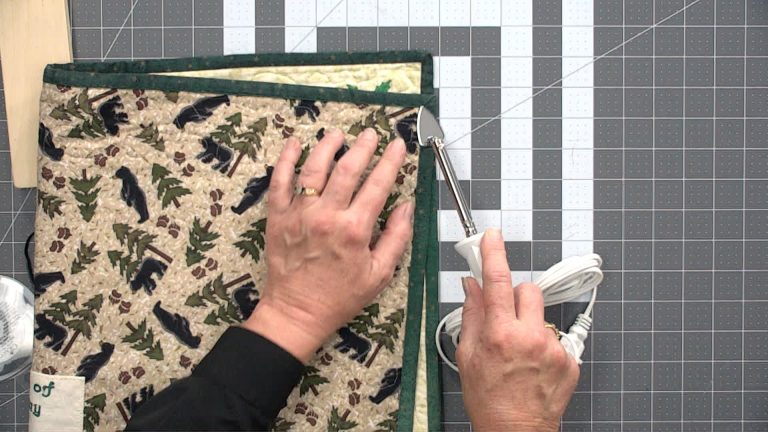
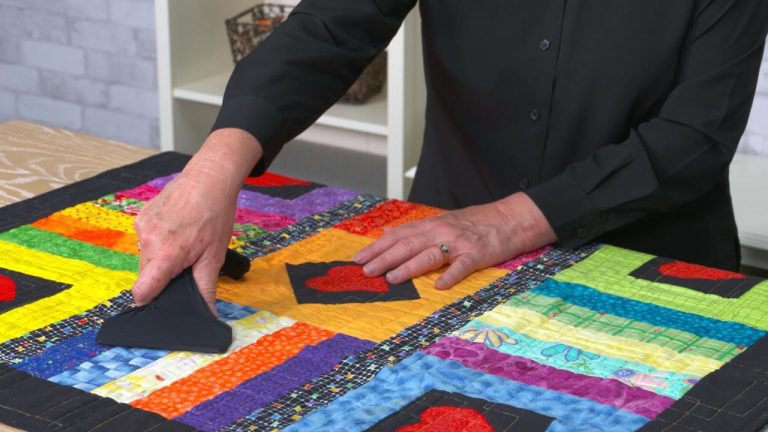
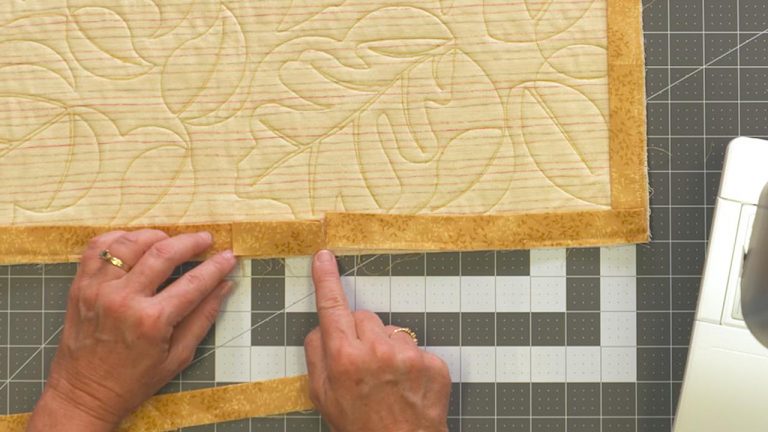
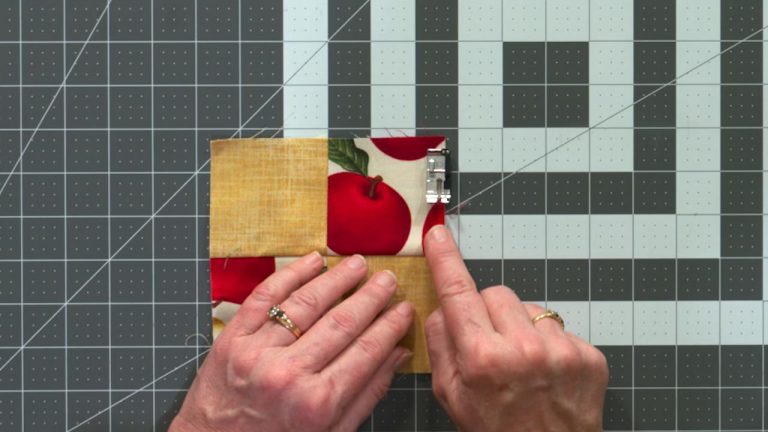
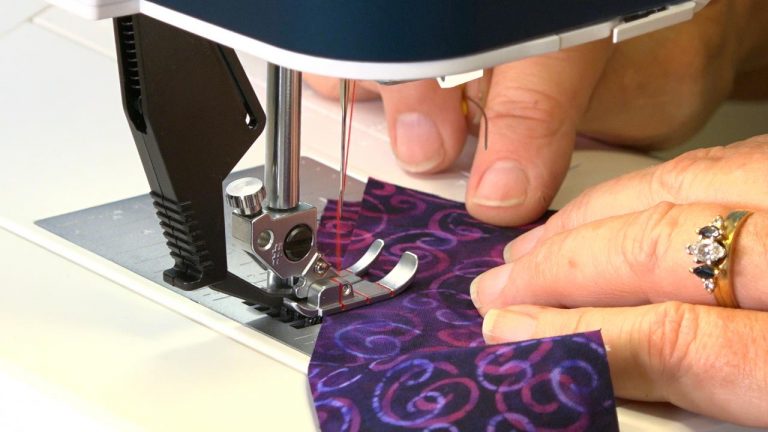
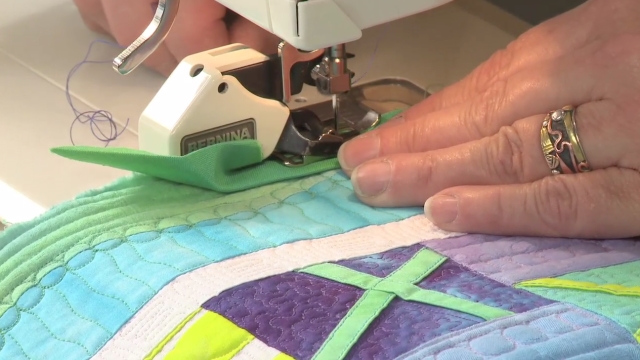
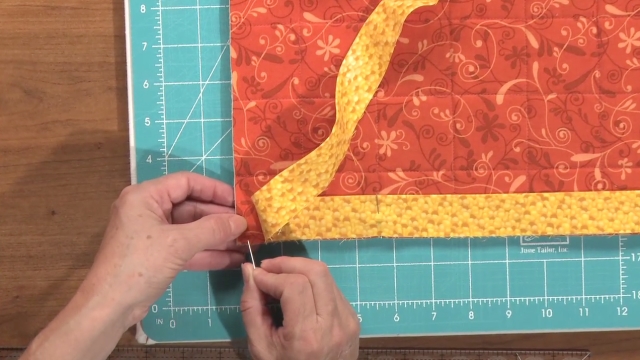
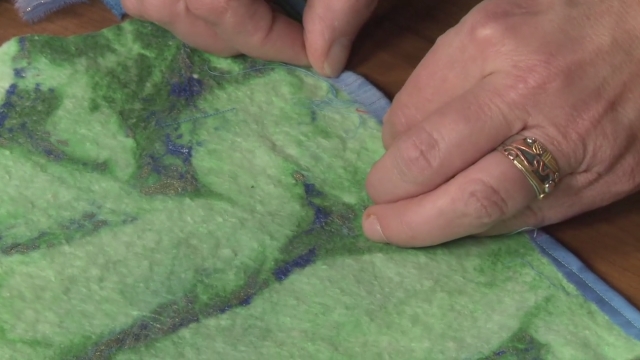
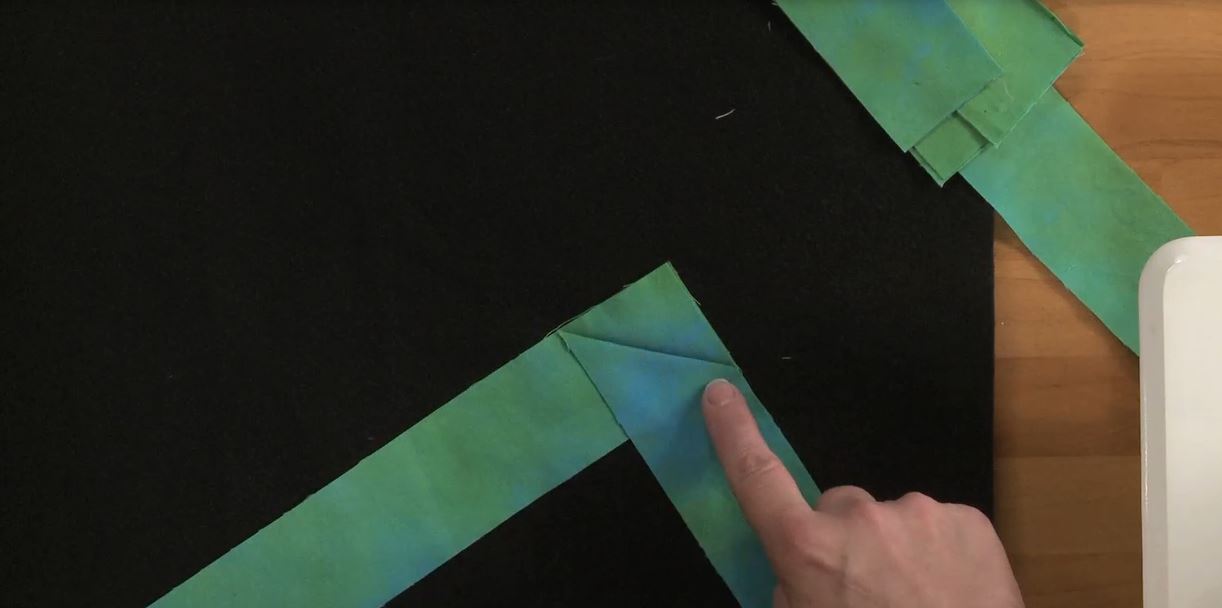
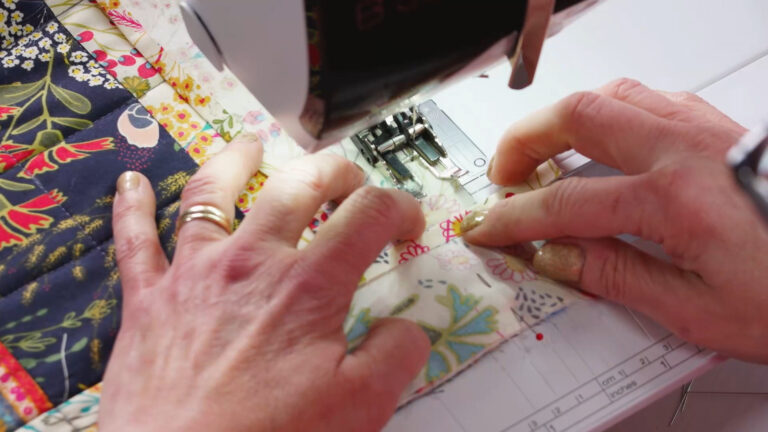
Once you start stitching the binding to the quilt, ZJ offers several tips on how to sew the binding so that it remains flat and doesn’t ripple or become wavy. ZJ then shows how to create a mitered corner at each corner of your quilt. Once you have turned all four corners and attached binding to all sides of your quilt, ZJ shows how to join the binding ends using a diagonal seam. Once the ends of the binding have been joined, pressed, and the remainder of the binding sewn to the quilt, ZJ shows how to press and fold the binding over the edge of the quilt for finishing. For more fun ideas on how to bind a quilt, learn about binding with ripped fabrics.
Explore videos by ZJ Humbach
You may be interested in
Premium Membership
Unlock exclusive member content from our industry experts.
- 24/7 Access to Premium Quilting Videos, Projects, and Tips
- Step-by-Step Instructional Demos, Patterns, and Tutorials
- 50% Off Video Downloads Purchased in the National Quilters Circle Shop
- Access to Ask the Expert Program
Unlock exclusive member content from our industry experts.
- 24/7 Access to Premium Quilting Videos, Projects, and Tips
- Step-by-Step Instructional Demos, Patterns, and Tutorials
- 2 Full-Length Video Downloads to Watch Offline
- 50% Off Video Downloads Purchased in the National Quilters Circle Shop
- Access to Ask the Expert Program
Gold Membership
$336 Value
Get everything included in Premium plus exclusive Gold Membership benefits.
- 24/7 Access to Premium Quilting Videos, Projects, and Tips
- Step-by-Step Instructional Demos, Patterns, and Tutorials
- 8 Full-Length Video Downloads to Watch Offline
- 3 Full-Length Quilting Classes to Keep for Life
- 2 Printable Quilting Guides
- Discounts on Purchase-to-Own Content in the National Quilters Circle Shop
- Access to Ask the Expert Program
- Exclusive GOLD LIVE Streaming Events
