Pre-Cuts Session 4: Think Out of the Box
National Quilters Circle EditorsDescription
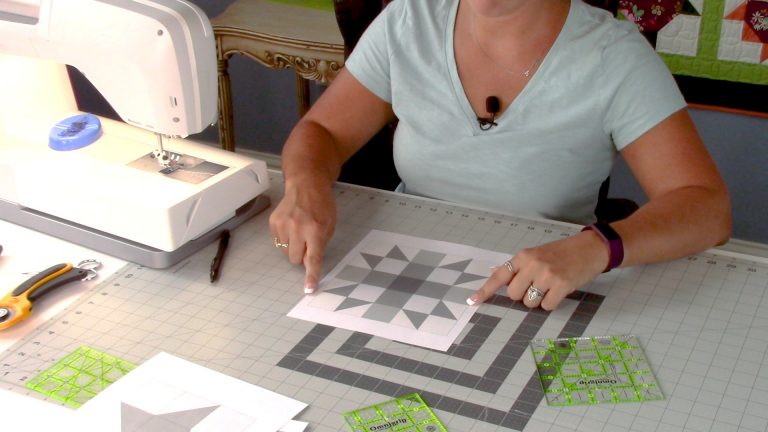
It's time to start thinking out of the box. My goal with this segment is to have you start looking at quilts and quilt patterns in a whole new way and going hmm, what if? So today I wanna walk you through how I play what if and how I've been able to now incorporate pre-cuts into more of my quilting and save more time. This was a special issue publication from "Quilter's" newsletter. And I had a quilt in it, and this is called "Best Fat Quarter Quilts." So like the name said, every quilt in here had to be made from fat quarters and yardage.
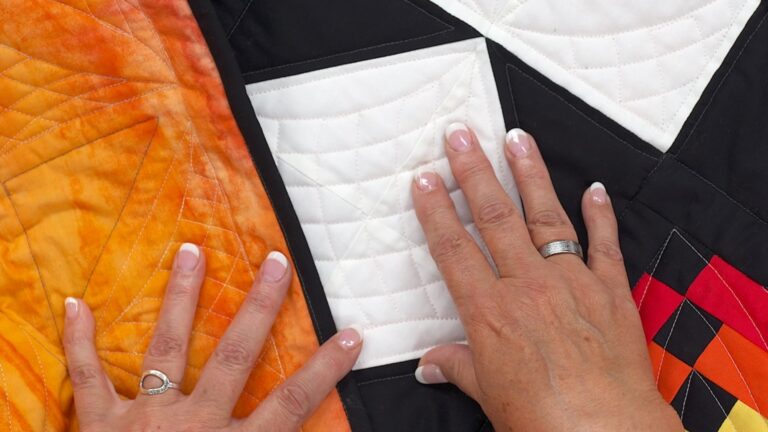
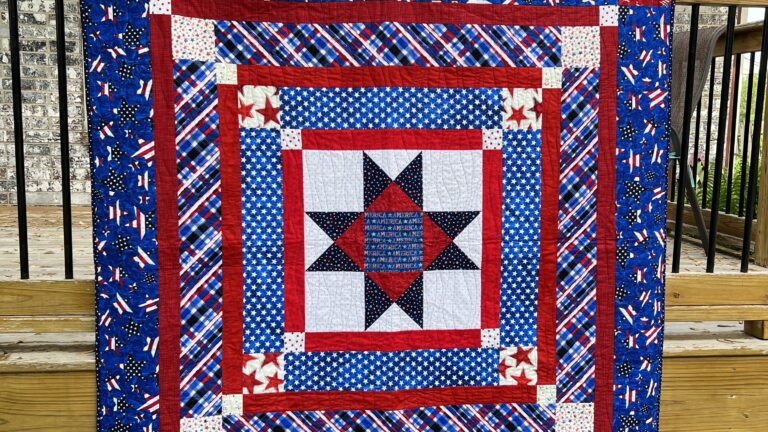
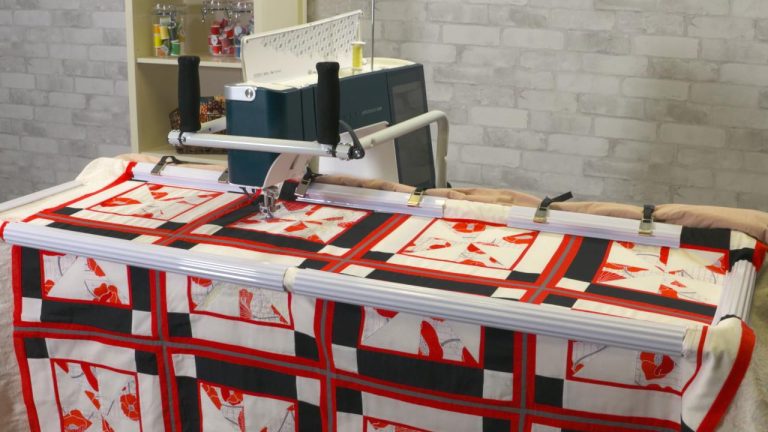
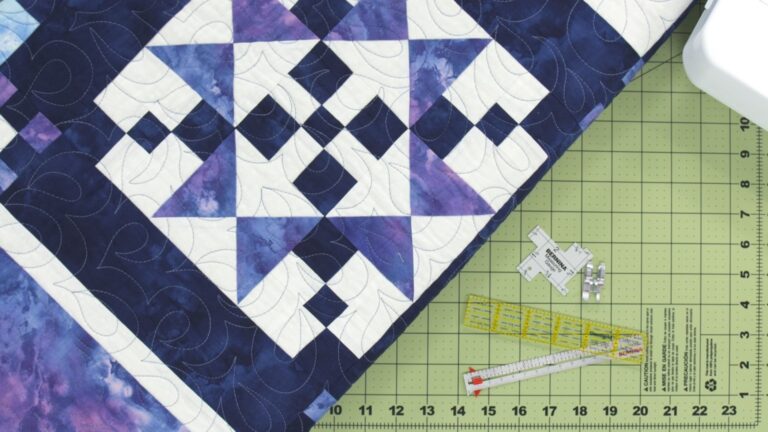
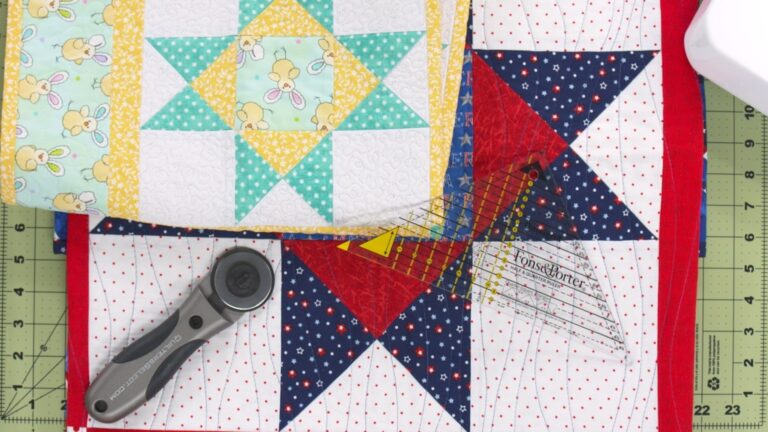
So I made this quilt, designed and made this quilt called American Dream. And it really is one of my favorites. It has a lot of pieces, but it was a lot of fun to make. And the only problem was wow, there was a lot of cutting. In this particular quilt as you can see, we've got our materials box here and we've got all of our rotary cutting measurements.
And then this is the actual piecing design for it and the quilting design. But this one tells the story. It shows how many of what size you have to cut. And in this particular quilt, the As were 3.5-inch squares. And the Ds were 5.5-inch squares.
Hmm, doesn't sound like multiples of 2.5 to me. These literally could not be replaced with pre-cuts unless you wanted to trim every charm down by an inch and a half on each side to get to that 3.5. And you certainly couldn't do it for the Ds because they're bigger than a charm. And if you tried to do it with your 10-inch layer cake, you would just be wasting too much fabric. In order to get the 5.5-inch square, you'd be cutting off 4.5 inches of fabric in both directions just to get one square.
Really not an efficient use of your material. Definitely not an efficient use of your time. However if you look, I've got... My B square is 2.5 by 3.5 which would be perfect for a jelly roll, and I have my Cs which are 2.5-inch squares. Bingo, can you say mini charm?
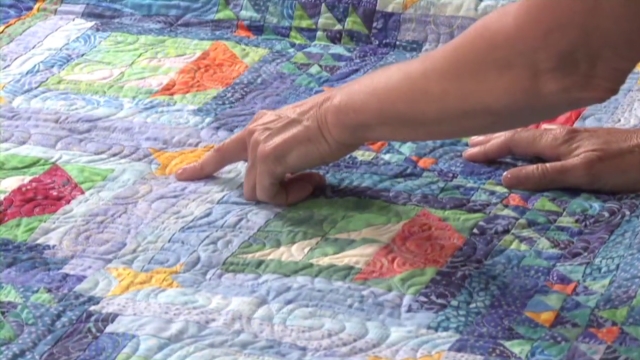
You betcha, that's the perfect size for a mini charm. So let's look at the quilt itself just to give you an idea here. Before I went back to the magazine and looked up the pattern, I was just looking at the quilt in my family room hanging on the quilt rack. And my first thought was oh my goodness. I bet I can use a charm pack here, a mini charm here, or mini charms here.
Definitely I can use my jelly rolls. Hmm, that one looks kind of odd. Oh yeah, I can make this work. I know I can. I started trying to put it together and realize oh man, the seam allowances.
I forgot all about those seam allowances. This isn't gonna work. So that's when I went back to my magazine. I looked up what all the actual measurements were because your quilt kind of shrinks from the quilting on it. So I wanted to see what my actual measurements were.
And that's when I realized that I really could save myself a lot of time with this quilt when I make it again which I'd like to make it again cause it's just, it really is a fun scrappy, quilt. I thought it would be great for a Christmas quilt. I wanna incorporate pre-cuts. So here's what I wanna show you. With this particular one, so we have our Bs are going to be 3.5 by 2.5.
And I need 120 red and 120 blue, all right? So let's look at the math. Here's how you actually start figuring how much you need. If I have a 40-inch width of fabric... Here's my fabric.
And I'm going to be cutting... These are gonna be cut at 2.5-inch strips, all right? Then how many pieces going across at 3.5 can I get out of a 40-inch piece of fabric, all right? Sounds like the old if the train leaves Chicago kind of math problem, doesn't it? But this is exactly what you have to do.
So you're gonna take the 40-inch width, and you're gonna divide it by 3.5, and you're going to come up with 11 point... I believe it's four-two. So we're going to round that down to 11. So we've got 11 per strip, all right? Now we know we can get 11 out of a strip.
You're going to take 120 which is the number of pieces and divide that by 11 to find out how many strips you need. And that ended up being 10.9 strips. So I'm going to round that up because I can't get all my blocks out of .9. So we're going to have 11 strips. So what this means is I am cutting 11 strips at 2.5 inches.
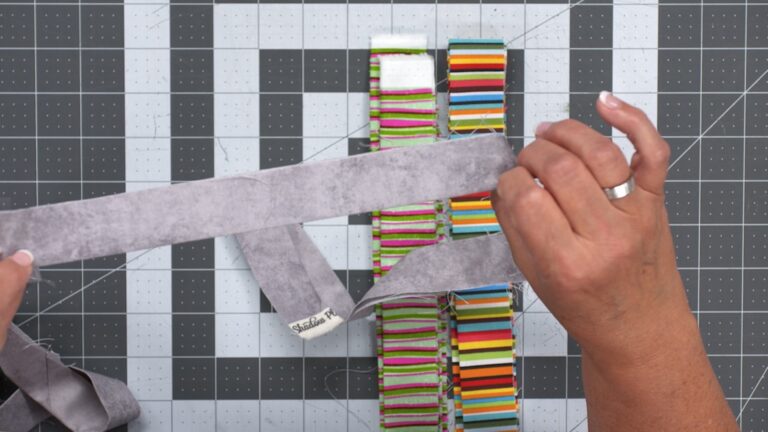
So that's jelly roll. And I have to do that times two because we have red and we have blue. So now I would be having to cut 22 strips at 2.5 inches to make this quilt. The long cut across the width of the fabric is actually the most difficult to make because sometimes the way your fabric is folded, you'll get a little bit of waviness in the middle of your strip unless you're really, really careful. So sometimes you aren't able to use all of your pieces across.
So it's really handy to just be able to go grab 22 strips of jelly rolls that are already cut. And now all I have to do are make my 3.5-inch cuts, and I've saved quite a bit of time and frustration on this quilt just by replacing my B blocks with jelly rolls. How about my mini charms? They're kind of a no-brainer, but I've got 120 of the Cs which are my navy print. If I were to cut those, again my 40-inch width of fabric, my 2.5-inch strips.
And now I've got to go this way, cutting 2.5, right? When we go that way, we're getting 16 patches per strip. And now we're going to divide 120 by 16. And we come up with eight strips. So now you're saving all that cutting.
Not just your eight strips, but then all of your 16 patches across. So you are saving an awful lot of time by just substituting mini charms. That is, that's just huge. So for me if and when I remake this quilt, I am definitely going to be substituting jelly rolls for my B blocks, and I'm going to substitute mini charms for my Cs. That's working smarter, not harder.
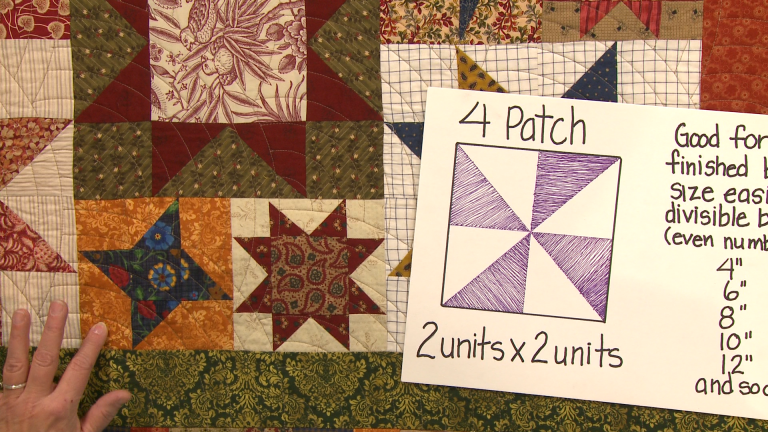
Let me show you another quilt that I looked at on my way here. This is another sweet little quilt that I made years and years and years ago. But you can tell it's quite faded and quite loved. But this is another one that would be a good contender for the mini charms and the jelly rolls. Again, I can replace these squares either with jelly rolls and strip piece these, and have my four patch ready to go.
I can use my mini charms right here for the individual patches if I wanted. Or like I said, I can strip piece. I can use my jelly rolls for this particular piece here. I can definitely use a charm here. Cut it down if I needed to.
There's lots of options. So this would be another great candidate for using pre-cuts. The whole idea is look either at your quilts or more importantly at a quilt pattern if you are going to be using it for a quilt. And before you buy your fabric or before you cut any of your own fabric, look and see, where can I use pre-cuts? And if I can use them, is it going to be in a method that will let me work smarter and not harder?
Don't just use them for the sake of using them. Use them because it really is the right thing to do for your quilts.
Share tips, start a discussion or ask other students a question. If you have a question for the instructor, please click here.
Already a member? Sign in
No Responses to “Pre-Cuts Session 4: Think Out of the Box”