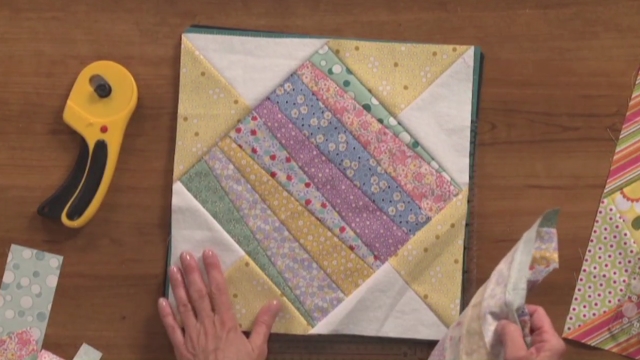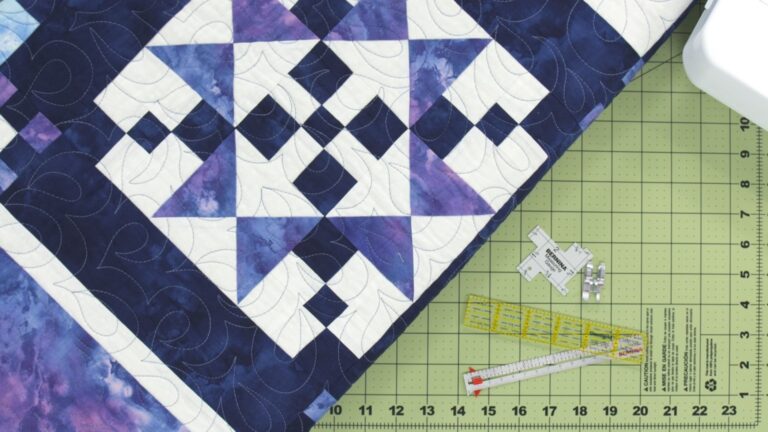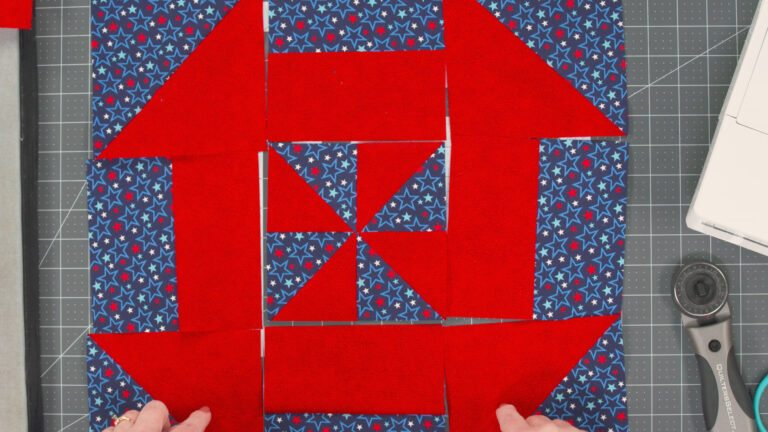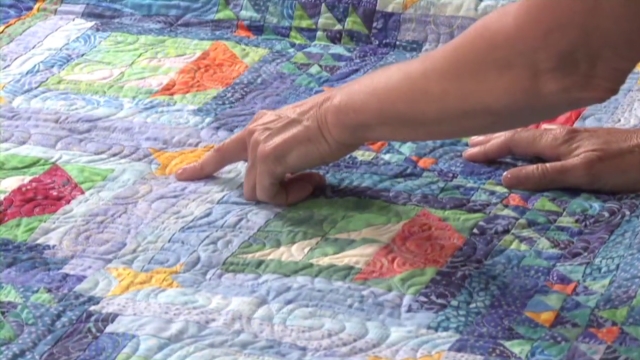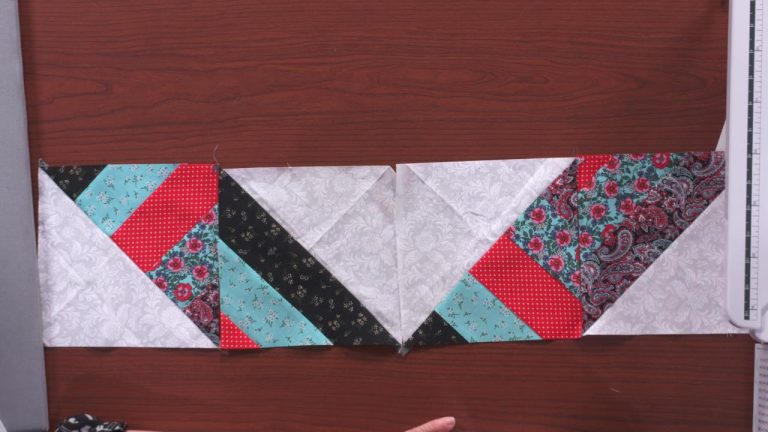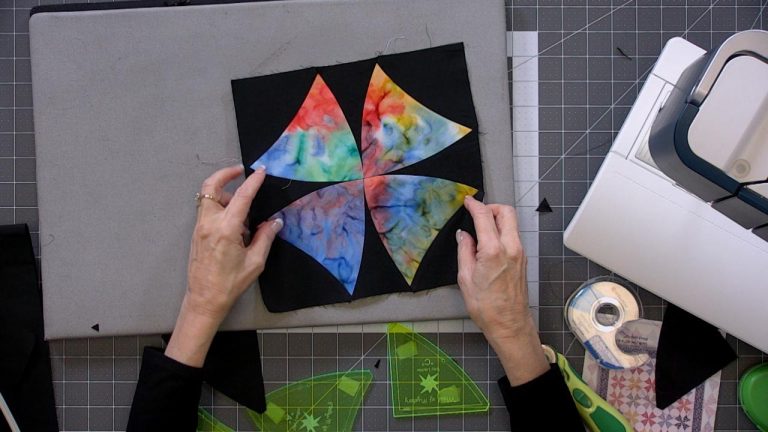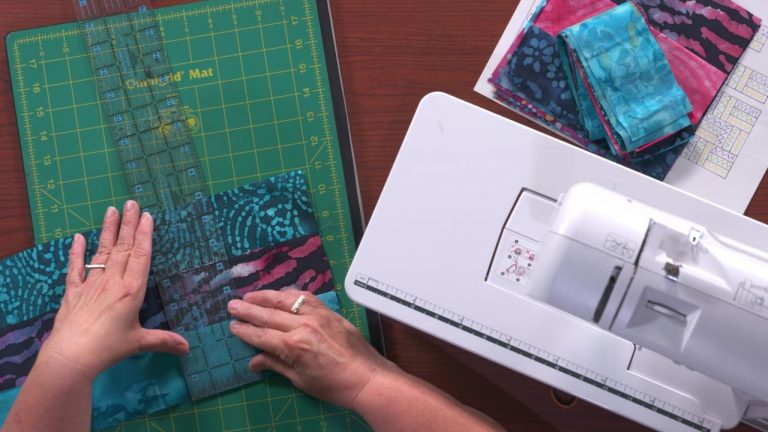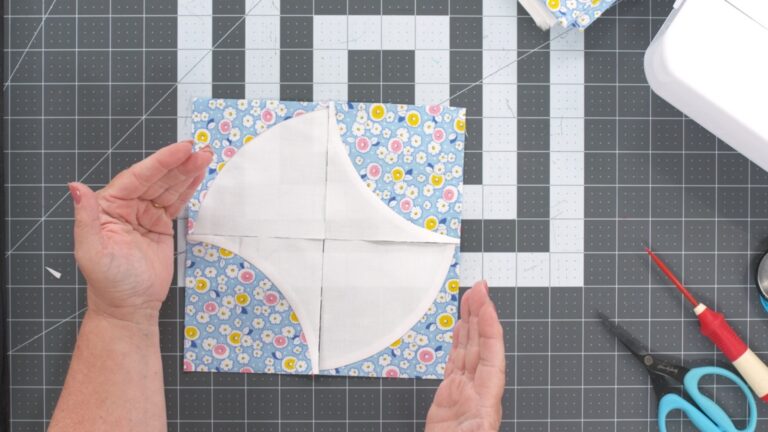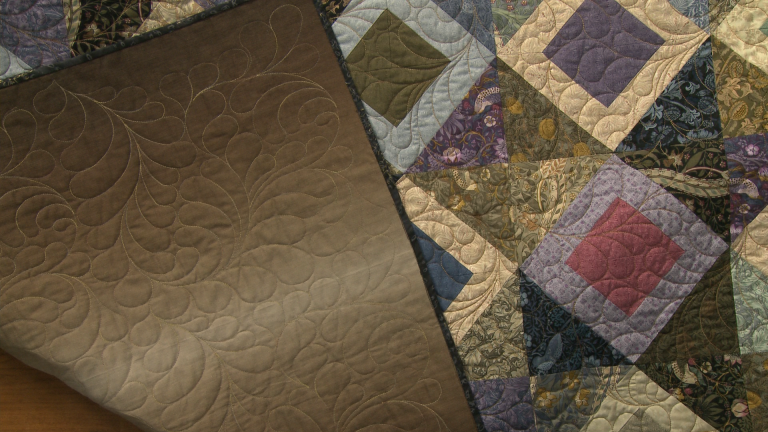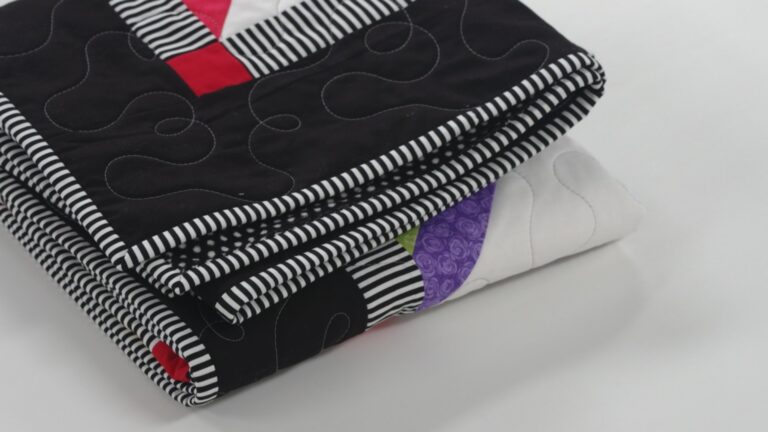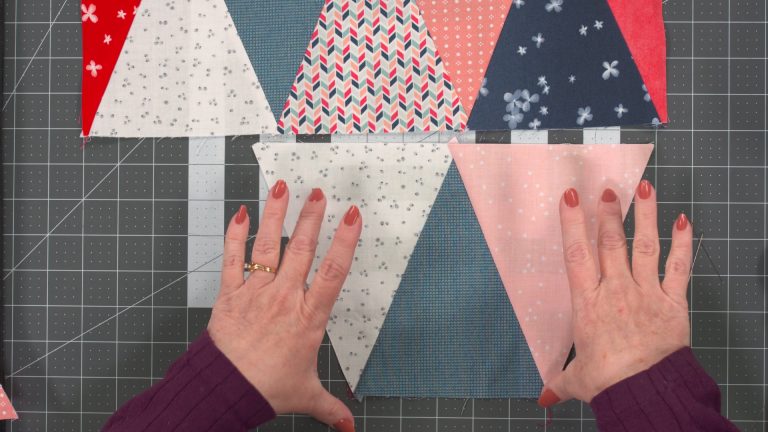
Welcome to the half square triangle quilt class. I am so excited to share this secret with you. Now, there have been books written about the half square triangle, and we'll reference one later, and it's one of the ones that inspired me, but I absolutely love making these quilts. They're so quick and easy to make, and I really love giving quilts as gifts, but let's be honest, we don't always have time to spend learning a brand new block, and making complicated things. This one's extremely easy, and you can do it in bulk, and I'm gonna show you how. So the first thing that you need to do is obviously pick your fabric. Now you can choose whatever you would like. I have a quilt over here as an example. This quilt over here, I have three different fabrics. That's all. And then I've used a solid color to offset, okay? So depending on how big or how small you want your quilt, obviously depends on, you'll buy the fabric accordingly, how many blocks you want, but these are six inch blocks, and I only used three fabrics plus a solid, but you don't have to do that. You can just take whatever you have in your stash, any scraps you have leftover, and you can make six inch blocks like this, or you can make four inch blocks, three inch blocks, two inch blocks. I have a little stack of two inch blocks that I've been hanging on to, so every time I have a little teeny piece, I'll sew it into a little block and stack it, so someday I'll have enough for a baby quilt. It'll be great. So these are wonderfully easy to make. You actually start out with strips, and the trick to making them so quickly is a ruler. This is my favorite half square triangle ruler. There's many different methods of making half square triangles. You can cut squares, sew them across the diagon, you know, draw a line across the diagonal, sew on either side, trim them up, there's all these different ways. I'm obsessed with these half square triangle blocks, so I found the quickest way, and these little grid triangles are wonderful. So I'm just gonna spin this this way. There are numbers down the side of this ruler, okay? You can make half inch blocks, one inch blocks, one and a half, two inch, all the way to eight inch. So if you're attending a baby shower, and it's tomorrow, cut eight inch blocks, you'll get there a lot faster. But anyway, this ruler's very versatile. It's not just six inch blocks, that happens to be my favorite, so we're gonna do that today in the demonstration. The very first thing we have to do now that we've picked our fabric is cut some strips. When you are quilting, you sew with a quarter inch seam allowance. So if we are going to cut a six inch finished block, we have to cut in some seam allowance, which means six and a half inches, okay? So I'm gonna spread my fabric out here. I'm gonna line it up nicely on my board, so I have a nice right angle going right up here, so I don't have to trim anything or move anything. I'm going to line this up with my six and a half inch mark, just so, okay? And then I am going to cut a strip. Oops, I've got some thread hanging on here. There is my first six and a half inch strip. I'm gonna take this, and I'm gonna set it aside, and then I'm going to cut another one. Gonna line it up really nice over here, so I get a nice even cut. Go right to six and a half. I'm gonna cut another strip. Okay, now obviously you'll need more than two strips to get all the triangles you want, but for demonstration purposes, this will work fantastically. So we're gonna lay these two strips right on top of each other. This is what we lovingly call stack and whack. We're gonna stack these up, and then we're gonna whack a bunch of half square triangles out of them. Now the first thing we wanna do, is we have this selvedge edge over here. There's not much of a selvedge edge, but we don't wanna keep it, we wanna cut it off. So I'm gonna line this bottom edge up with one of my lines, so it's nice and even. And then I'm going to use my ruler to cut off those selvedge edges. Now we have a nice clean cut, and we're ready to cut some triangles. I'm gonna flip this over to this side. So my cut is now on my left hand side. I am a right handed person. So if you're left handed, you're gonna do this exactly the opposite. Okay, so how do we use this ruler? Well, you'll see there's numbers here, and there's also numbers here, okay? I want to cut a triangle. So you'll notice right here on the very tip, tip, tip of this ruler, there's a little dotted line. That lines up with the very top of your fabric, so I'm gonna line that up, just like that, and then I'm gonna slide this edge of my ruler right over to the edge of my strip, okay? So I am actually lining up on three sides. I'm lining up here on my dotted line on the side, and look, this is showing me that this cut is going to become a six inch square, okay? So some rulers, this will read six and a half, this one happens to read six, because it's telling you what finished size you're making, so be sure to read the instructions on your ruler. I'm gonna hold this ruler in place, and I'm just gonna run along this edge, just like that. And now I have a stack of half square triangles. So I'm gonna set those aside, and I want to cut more. Now, if we try to do that again, this shape is weird, so here's the thing. This arrow was pointing away from you, the one with your dotted line, remember? It was pointing away from you, now it's gonna point right towards you. So you're just gonna rotate it around, just like that. You're gonna lay it down, and this time you're gonna line up your dotted line with the bottom of your fabric. So you're doing the same thing you just did, except upside down. So I'm gonna put that right there. I'm gonna line up this beautiful line this time. There's my six, even though it's upside down, so I know I'm lined up properly. I'm gonna cut right through them, okay? Now you'll notice, there is a notch out of one corner. There's not a notch over here, but there is over here. We'll talk about that when we get there, but I like to stack them up so the notches are all on one side right there, okay? So I'm just gonna continue in this manner until I have cut as many strips as I can get out of my fabric. Flip this around this way. Line that up nicely. All right. And let's see, I don't know that we can get another one out of this one. Nope, it doesn't look like it, but we can probably get a five inch out. So if you were kind of hoarding your fabric, like I like to do, I would cut this down a little bit and then cut a five inch half square triangle on it, and tuck it into a five inch half square triangle bin to save it for later. All right. You are going to spend lots and lots of time cutting all of these half square triangles. It's gonna take some time. Once you have them all put together, and stacked all up, and ready to be sewn, I'll show you exactly how to sew them all together, using your quarter inch quilting foot.
Share tips, start a discussion or ask other students a question. If you have a question for the instructor, please click here.
Already a member? Sign in
No Responses to “Triangle Quilt Session 1: Introduction & Cutting Triangles”