ZJ Humbach

Session 3: Options and Stitches

ZJ Humbach
Duration:   11  mins

Description

Overwhelmed by the various options and numerous stitches on today’s machines? Wondering what are the features and benefits? This segment will make you savvy in a hurry!
Share tips, start a discussion or ask other students a question. If you have a question for the instructor, please click here.

Make a comment:
characters remaining

No Responses to “Session 3: Options and Stitches”

No Comments

So let's take a look at some of the popular options that are on today's machines. One of my very favorite that I can't live without is needle up/needle down. It's usually indicated by a little picture of a needle on most machines. Again, depends on the manufacturer. When I press this button when I sew, the needle will start and end in the down position.

You see? When I stop, the needle's down. The presser foot came up, so now I can easily pivot my piece of fabric and have perfect 90 degree corners, or have total control on where that's going to be from that last stitch point. I also like it because if I have to walk away from my machine in the middle of something, nobody can come in and move my item out from under the machine, or more importantly, it won't just slip off. So I like needle up/needle down, and it's your preference which way you sew with it.

Another one that I like is tie on, tie off. And on this particular machine, it's indicated by a single stitch or a single line, rather, and then three lines under it. What this function does when you engage it is it will take several stitches at the beginning to lock your seam. Your seam will continue until you're done sewing it, and then when you press it again, it will do that same tie on, tie off at the end of your seem to lock it. Nice feature.

I really enjoy that one. I also like the dual feed. Let me show you that one. Dual feed was originally invented by Pfaff. They held the patent for many years, but recently the patent has gone away and now they don't have the rights to it and other people have come up with their own versions of an integrated dual feed.

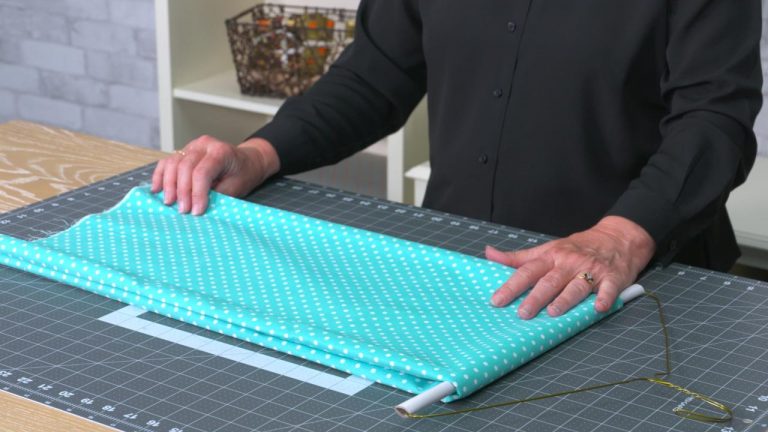
And what that means is normally when a machine sews, your feed dogs on the bottom go at one rate and your presser foot goes at another rate. Integrated dual feed keeps them going through together so that your layers don't slip, your plaids match up, your seams are always going to end up at the same place at the same time, so to speak. It also helps you get over thick fabric. As you can see, this is denim. I've rolled it several times.

We're going to engage the dual feed. You just simply pull the lever down from the back and hook it into the foot. You have to make sure you have a foot on that accepts dual feed. Depends on the manufacturer as to how this mechanism works. It may be a little different on a different manufacturer.

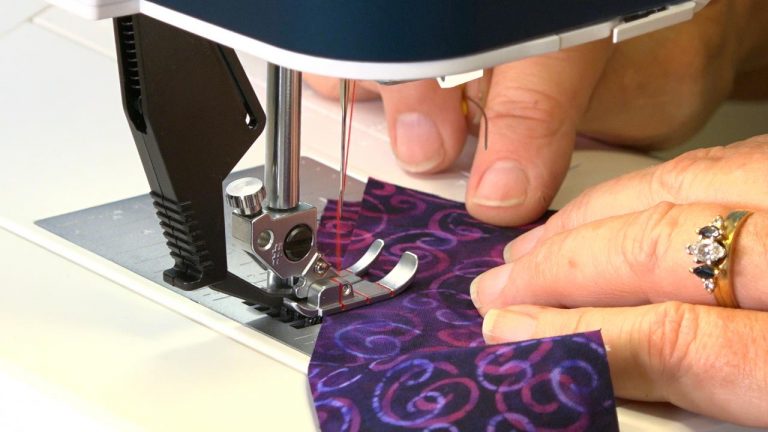
I know for sure that Pfaff, Janome, and Berninas are incorporating it on some of their machines. I'm not sure about other manufacturers, but it's something you might wanna look for. All right, we're going to start sewing on this, just a basic straight stitch, and you can see it had no trouble getting over that. I'm going right onto a sheer fabric from there, and the machine had absolutely no problem going from one to the other. There is slight puckering, but not as much as you would normally expect with that.

You might want to adjust your stitch slightly. I can't think of any situation where you're gonna be going from denim to sheer. It just shows the power of that particular option, all right? Perhaps you've been noticing the machine coming up and down on its own. That happens when I press on the foot because I have an automatic presser foot lift.

This is a question you wanna ask your dealer. Does it have the automatic presser foot lift? If so, is there also a manual lift handle in the back? A lot of us old school sewers like that handle. This particular machine does not have it.

They want you to use strictly their automatic presser foot, or you can press the button and it will come up. Pressing the button gives you two levels on this particular machine, the standard one or you can come up one more that's very high for if you're doing quilts or thick garments. Sometimes you have the option of a knee lift. It's a lever that you slip into a hole in the machine and then you can lift the presser foot by simply pressing against it with your knee. So these are all important questions to ask when you get to the dealer.

Now, you've also noticed as I'm sewing, when I'm done, I can press the little scissors and the machine will automatically cut the thread for me, lift the presser foot, and I don't have to worry about threads. On the back, it does leave a tail that you can come back and trim later, but at least you aren't having to constantly grab for scissors while you're sewing. For those of us with older eyes, the automatic threader is a godsend. This particular machine has one of best auto threads that I've ever seen. It is totally auto thread.

I simply come across here, put it into this little tension disc, if you will, and then hit the thread button. The symbol is a needle with a thread through it. And just like that, the machine is threaded. I just simply have to pull it through. It is a godsend, especially late at night when you can't see the needle and you're trying to get it threaded.

Some other features that are very nice that may or may not be on a machine or may not be visibly obvious with a button, would be a start/stop button. A lot of machines have it where you simply press the button to start sewing rather than pressing on the foot pedal. It's a wonderful feature for children. It's also a very nice feature for anyone who might be handicapped or have weakness in their legs. It's just a nice feature, very, very convenient.

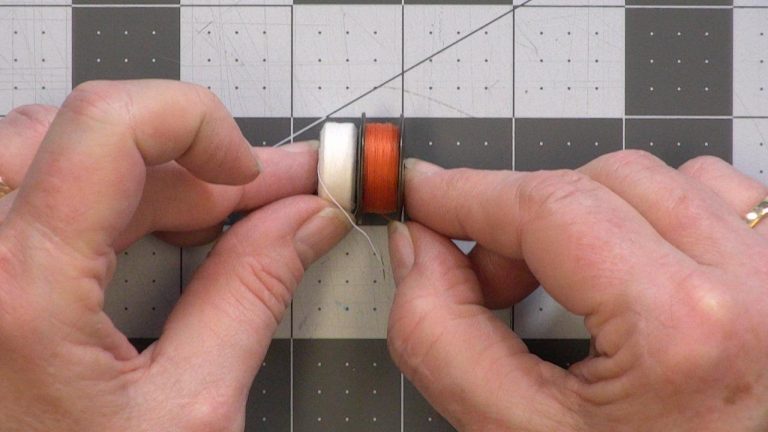
It takes a little bit to get used to it for those of us that are used to the foot pedal, but it's a nice option to have. Another one is a lot of machines will have a low bobbin indicator. Some manufacturers have gotten away from it when they use the drop-in bobbin because they feel you can just look at the bobbin cover and look through it and see where your bobbin is at. I find I still like it because when I'm sewing, it covers up the bobbin case area and sometimes I just don't think to look, where a flashing light or a little bell reminds me, hey, you need to look at your bobbin. But again, see if it's on the machine that you're looking at.

And then another one that I really like is a lot of machines have a little slider on the electronic machine, so you may have to go in and set it digitally, is speed control. And for times when you need to sew slower, it's a great option. It's wonderful for children learning to sew because the machine isn't going to run away and scare them with speed. Or if you're like me and you like pedal to the metal, you shove it all the way to the right and off you go. But you have control over your speed.

So that's a quick look at the options that you may wanna consider when you're out purchasing your machine. When it comes to stitches, it's overwhelming. A machine could have anywhere from a select handful of basic stitches to do the job all the way up to hundreds. On the electronic and computerized machines, the stitches are all done in software. They're very easy for the manufacturer to create the stitches.

They're very inexpensive for them to create. So that's why they will overwhelm you with just literally, I've seen machines with hundreds and hundreds of stitches. So you need figure out what do you really need and not be overwhelmed with bells and whistles when you get to the dealer. For piecing for my quilters out there, all you really need is a good straight stitch. For my sewers, you're probably gonna want that zigzag capability for finishing seams, for buttonholes, for doing other sewing tasks.

The basics that you're gonna want that every machine should have would be a straight stitch, several variations on a zigzag stitch. And when I mean variations, the classic original zigzag goes zig, zag, zig, zag, zig, zag, and at those where my finger hit, those are the points where a stitch is taken. You also have a special zigzag where it goes, zig, stitch, zag, stitch, zig, stich, zag, stitch, zig. So by doing that, it's a stronger stitch. It's great for repairs.

It's great even for applique. It's good for a lot of things. That's a nice stitch to have. You'll also see the zigzag where it's on the diagonal, almost like a lightning bolt that's a nice option. It just gives you more variety with your stitches.

And of course, then you're going to have an assortment of straight stitches. So your basic straight stitch will have a triple stitch, forward, back, forward, forward, back, forward and so on. I also like to use that stitch for top stitching. It makes it stand out and becomes a great decorative stitch. They do the same thing with zigzag.

And the reason it's a triple stitch is because it's for knits and it will stretch. Most machines are going to have a blind hem stitch on it, which is a nice option. A blanket stitch. My quilters will like that for applique. My sewers will like it for putting on pockets and adding a little bit of a decorative touch.

Should have a darning stitch on there. An assortment of buttonhole and islet stitches. The higher up you go in the machines in price, the more buttonhole and islet options it will have. Again, how many do you need? If you're doing tailoring, you may want a lot of different button holes.

If you're just doing basic sewing, one, two, three may be more than enough. And of course they will always include a few decorative stitches, such as little flowers, dinosaurs, geometrics, whatever. It depends on how much you actually use decorative stitches or think you might want to. So keep in mind the options and stitches and don't be swayed by the bells and whistles when you get to the dealer.

Get exclusive premium content! Sign up for a membership now!