
Quilt Backing Tips for Reversible Quilts
ZJ HumbachA quilt backing is usually one of the last things quilters think about when planning out a project. Rather the fabric, pattern and quilting motif or design comes first. ZJ Humbach explains why it is important to think about a quilt backing from the very beginning.
Planning
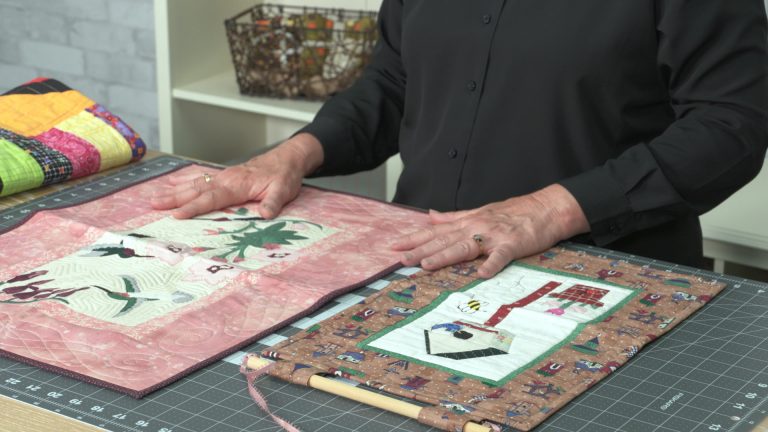
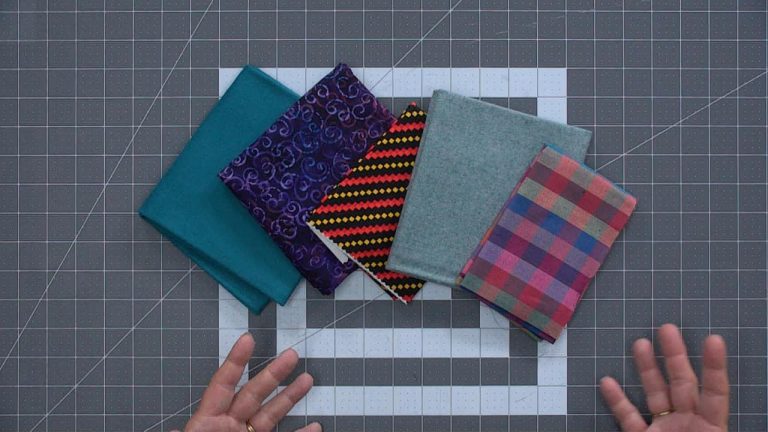
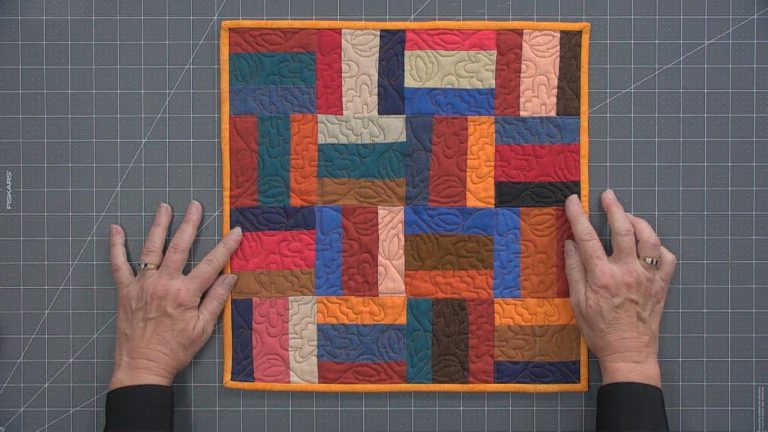
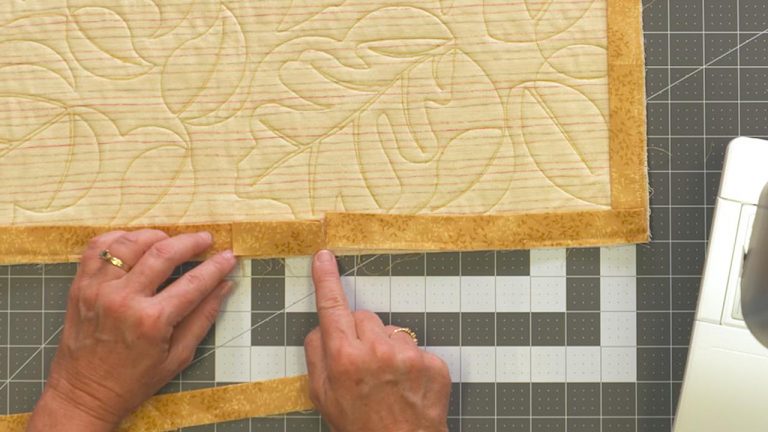
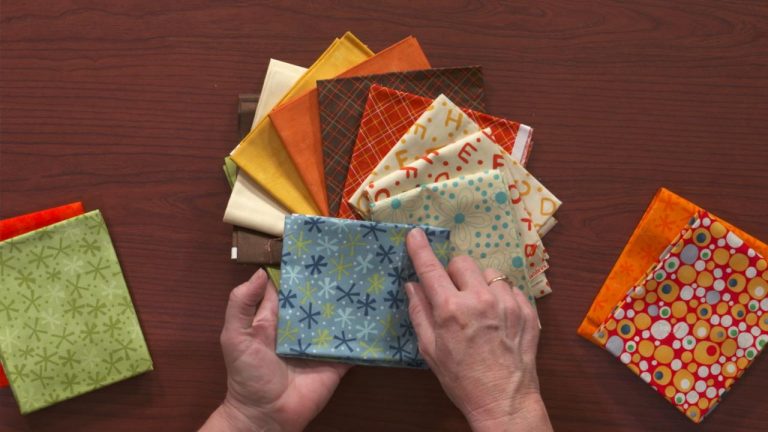
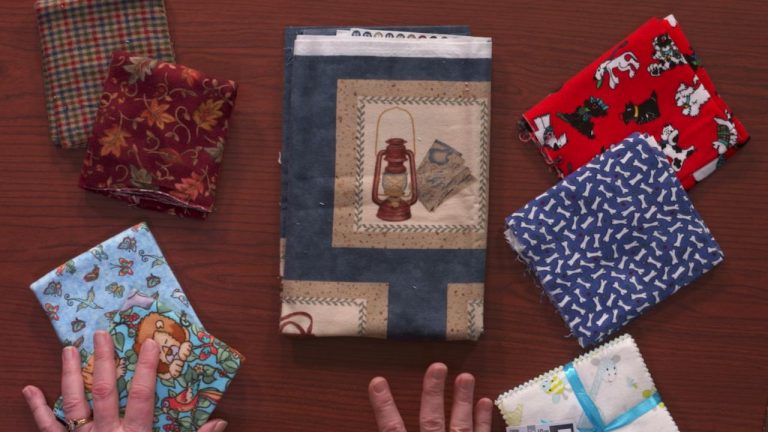
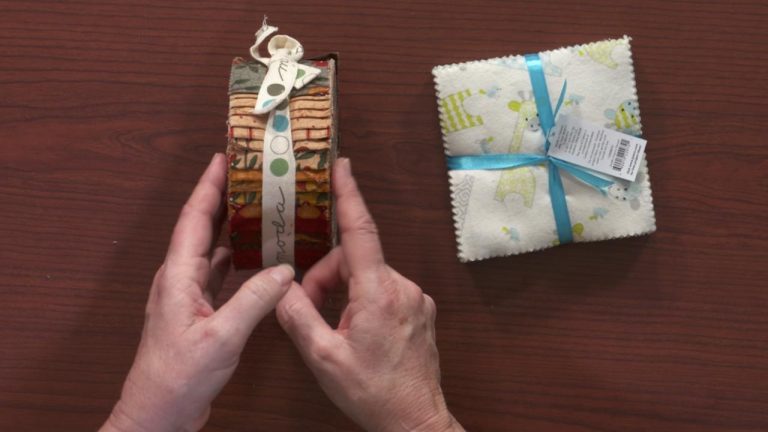
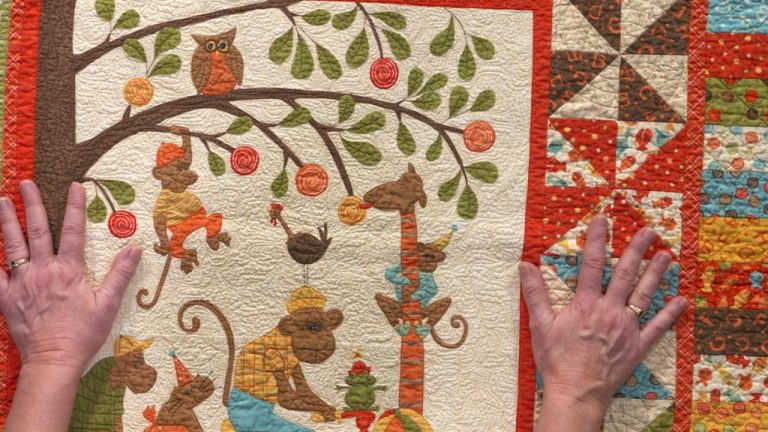
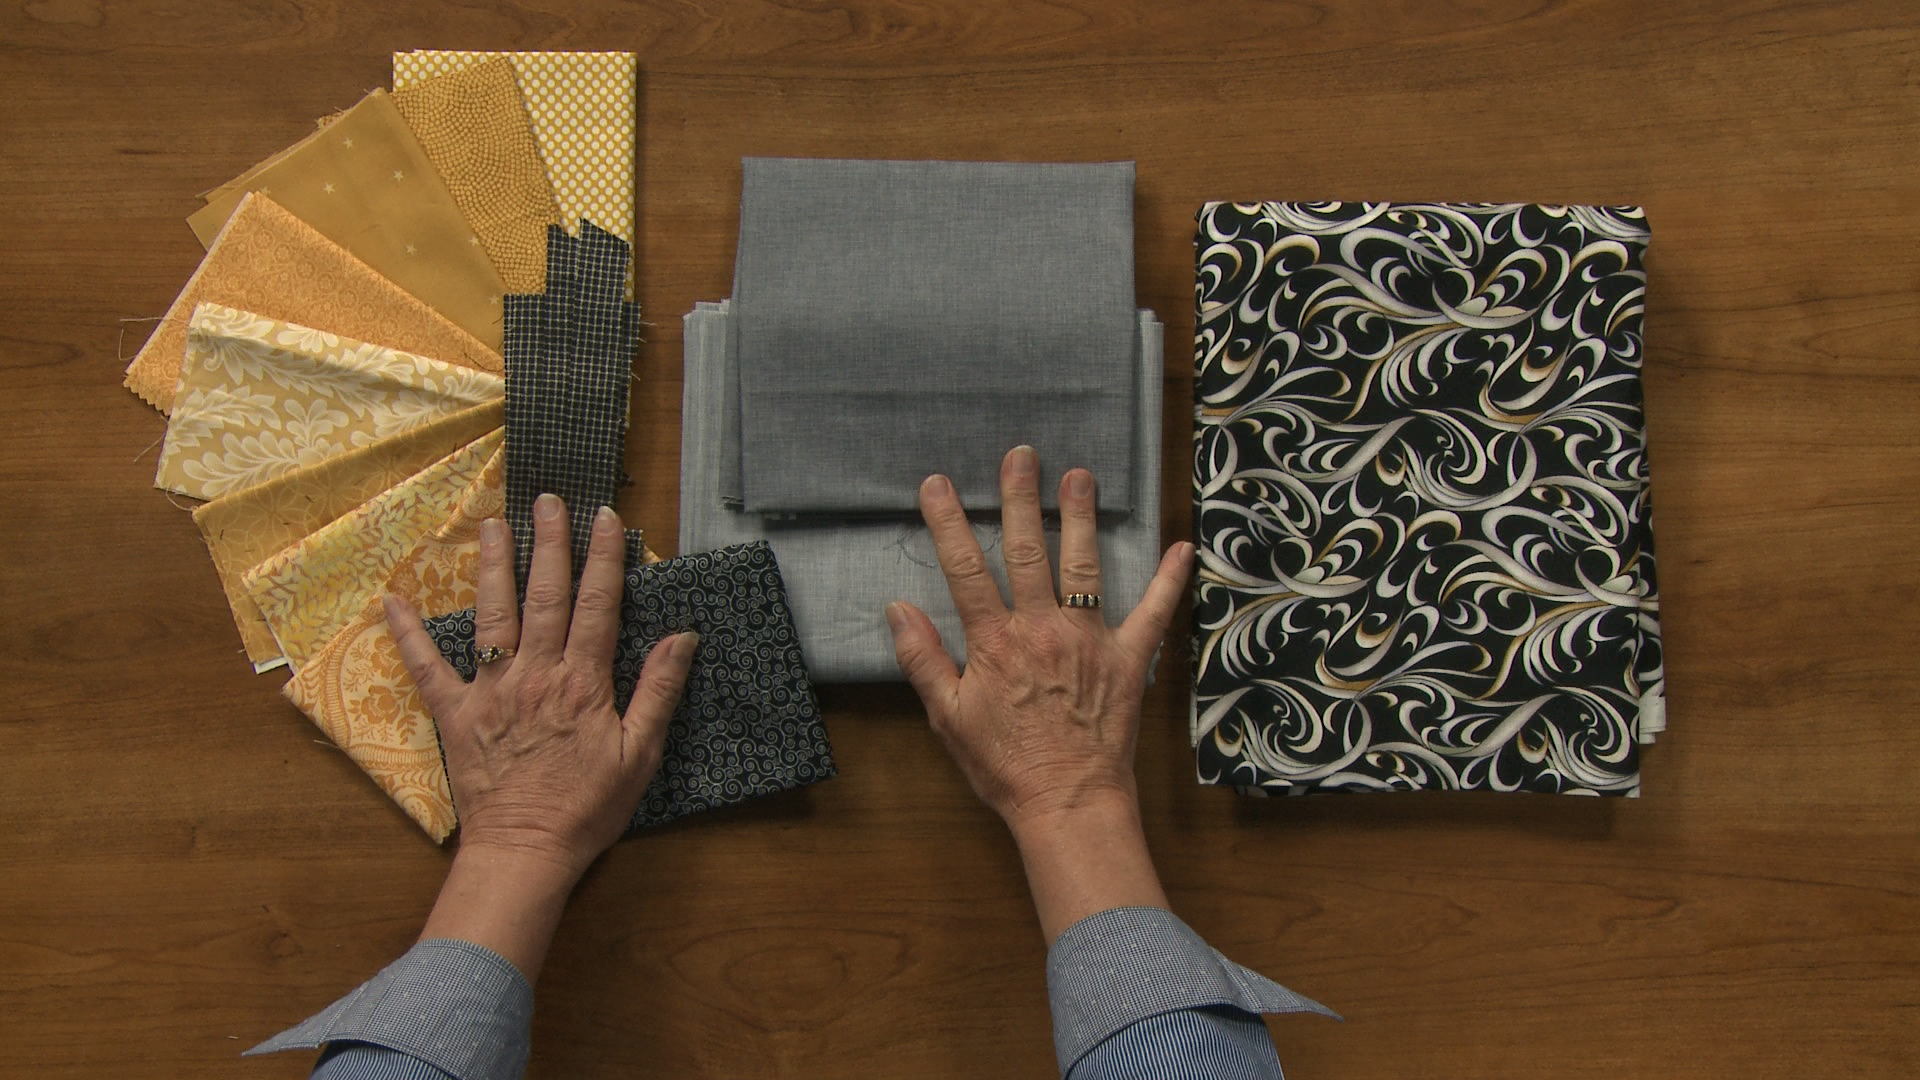
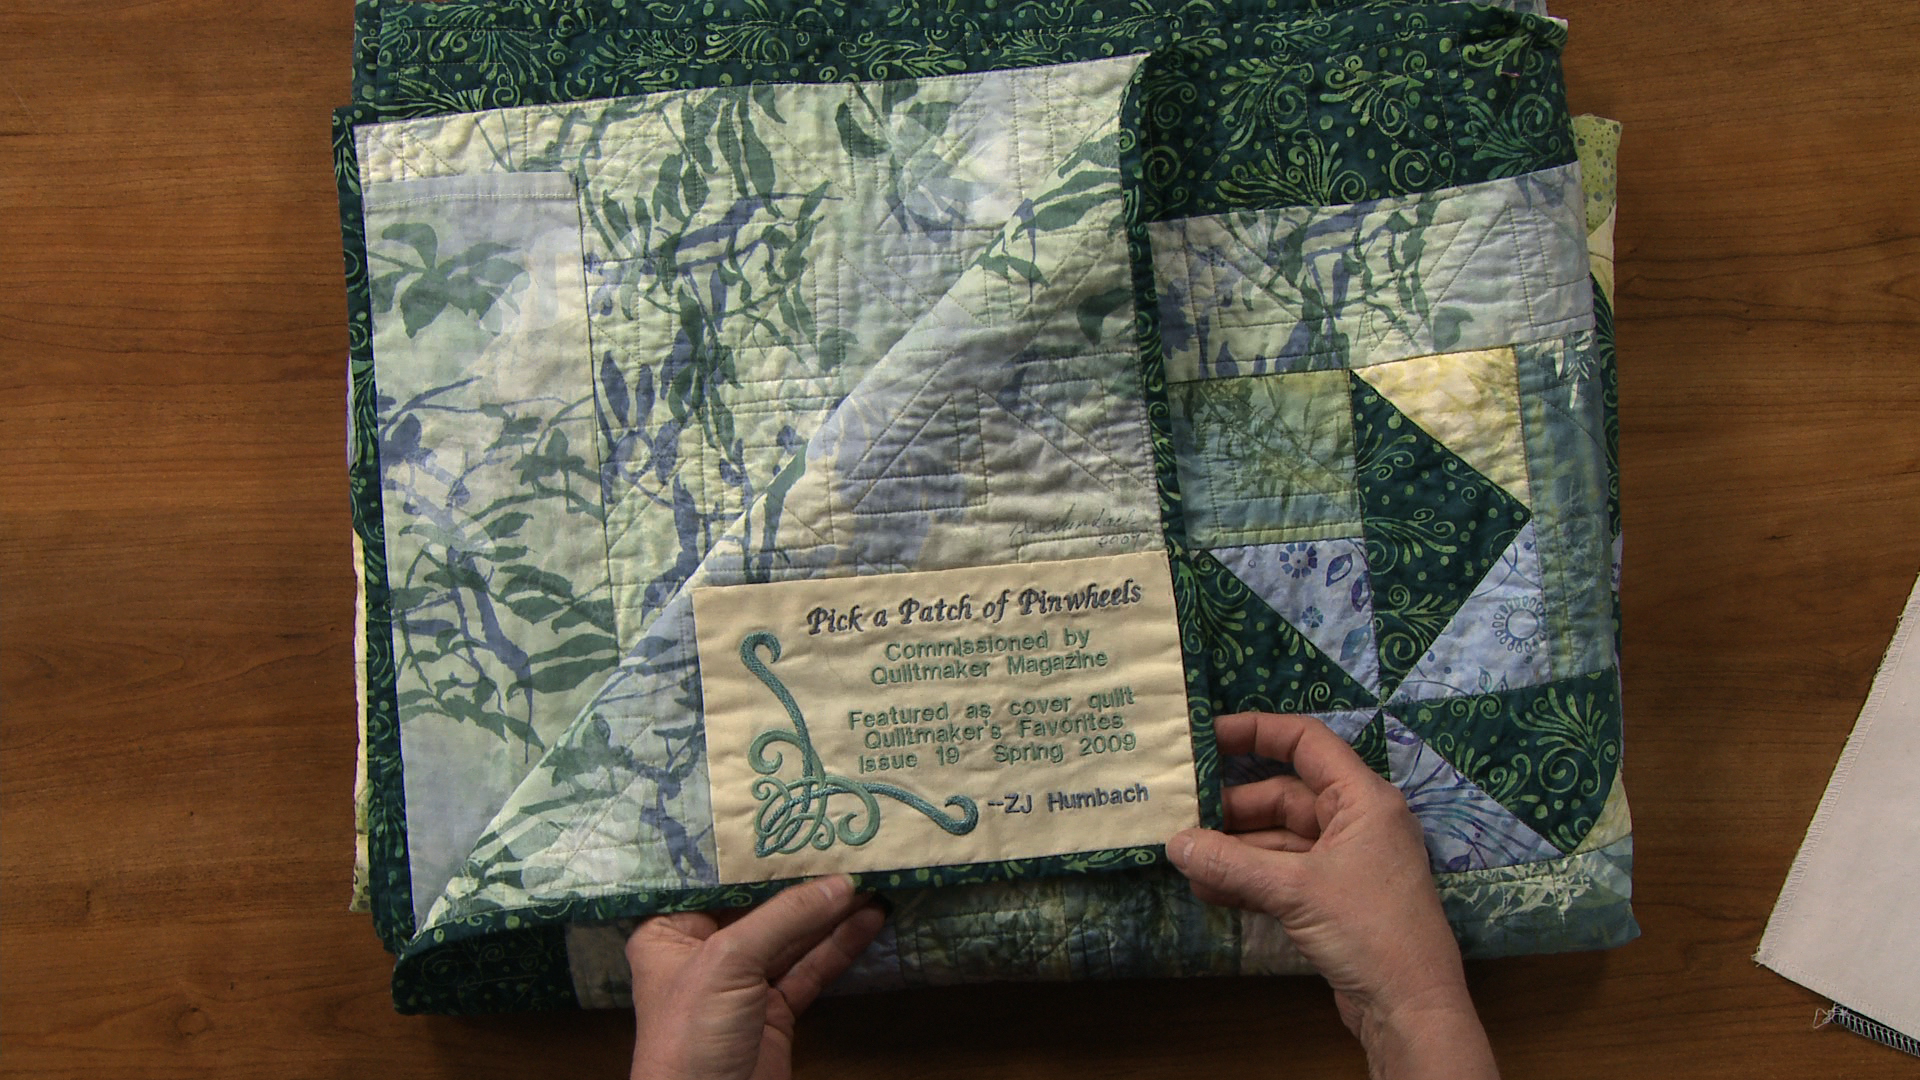
Whether you plan to quilt a quilt yourself or send it to a professional longarm quilter, ZJ explains why planning ahead for a quilt backing is important. Not only do you need to ensure you have enough fabric, you also want the fabric you choose to match or complement the quilt itself. ZJ shares several examples of quilts she has both pieced and quilted that show how matching a quilt backing and binding to a quilt top can make it look even more professional.
Quilting
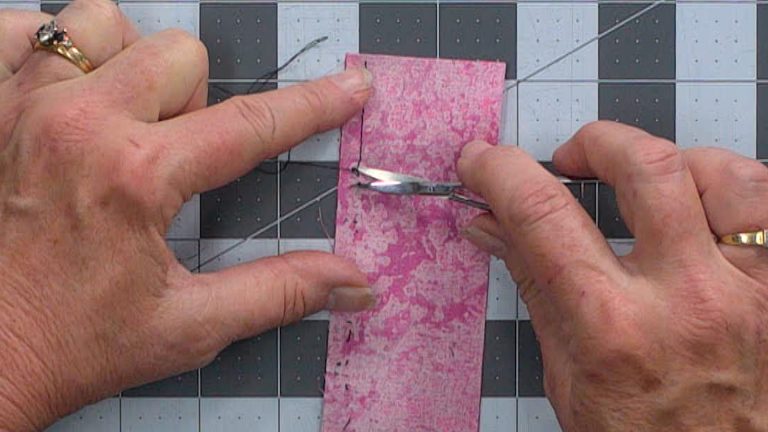
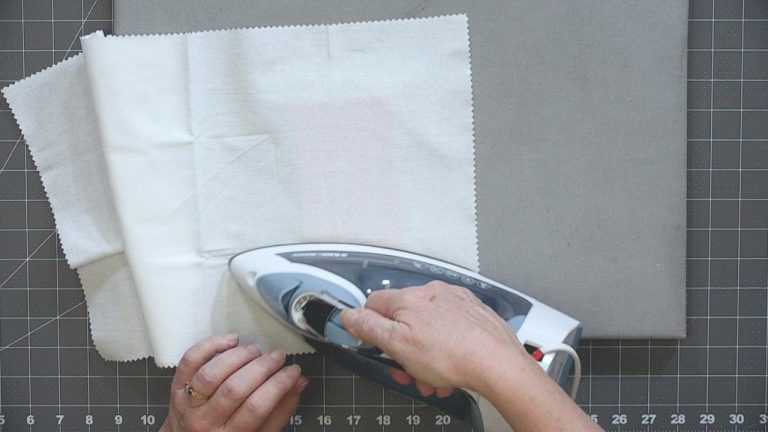
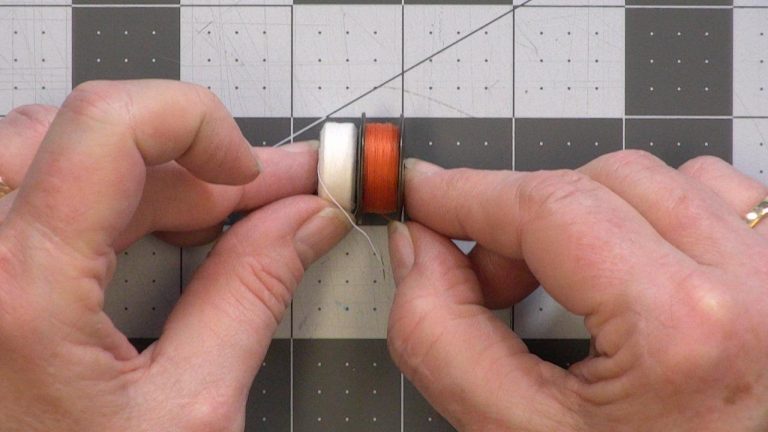
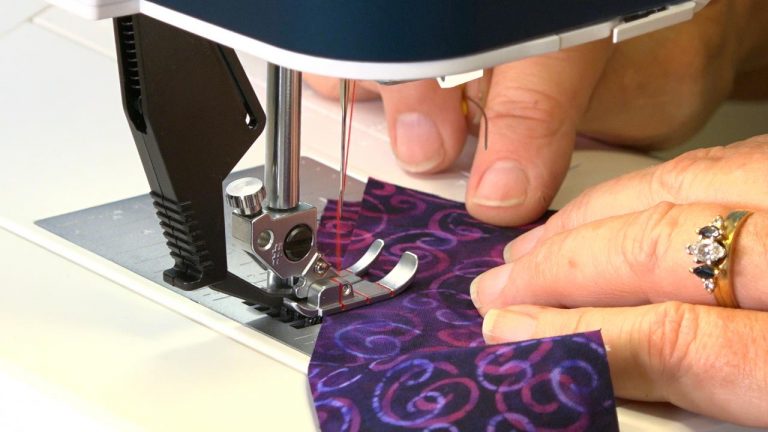
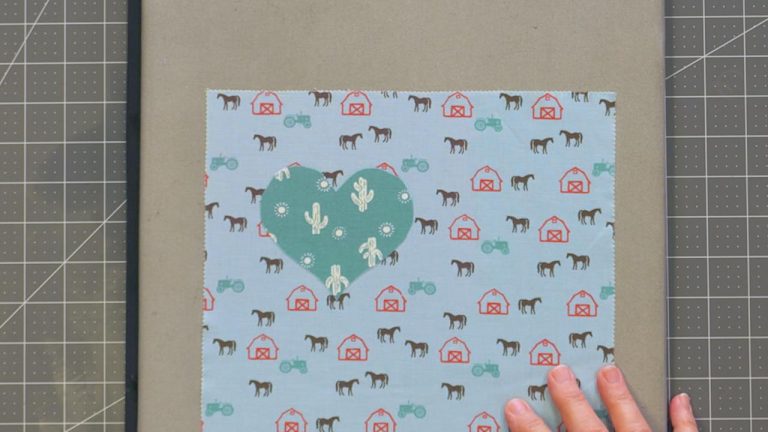
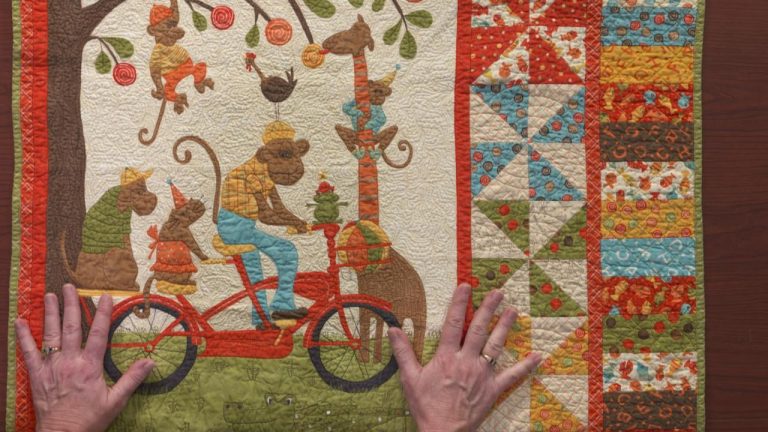
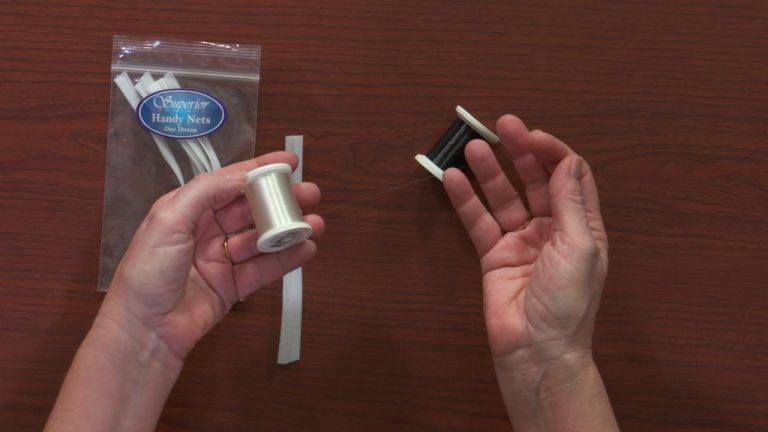
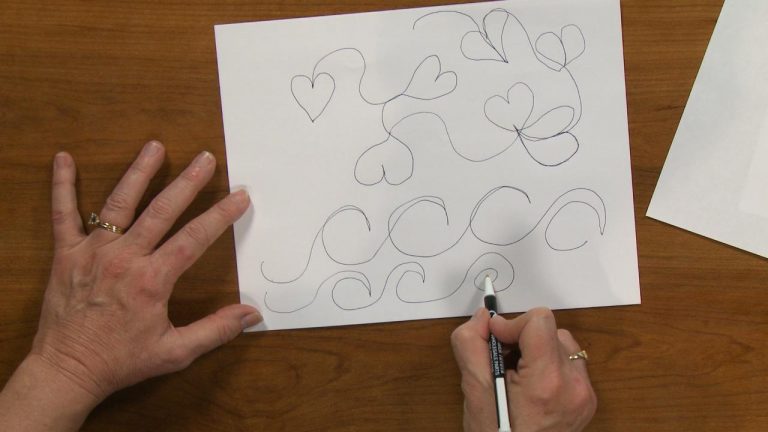
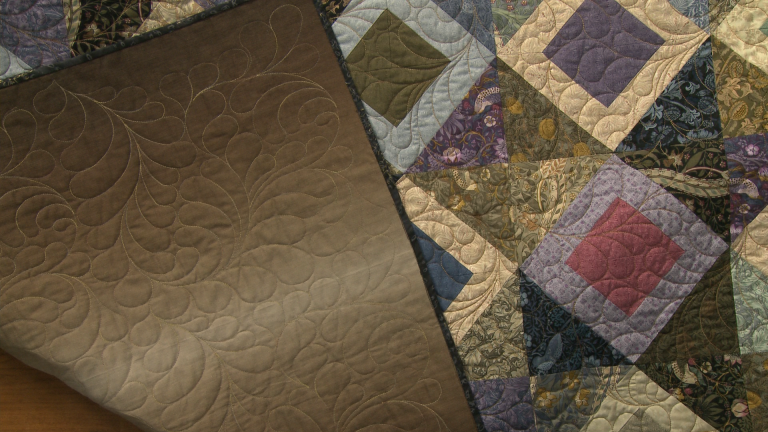
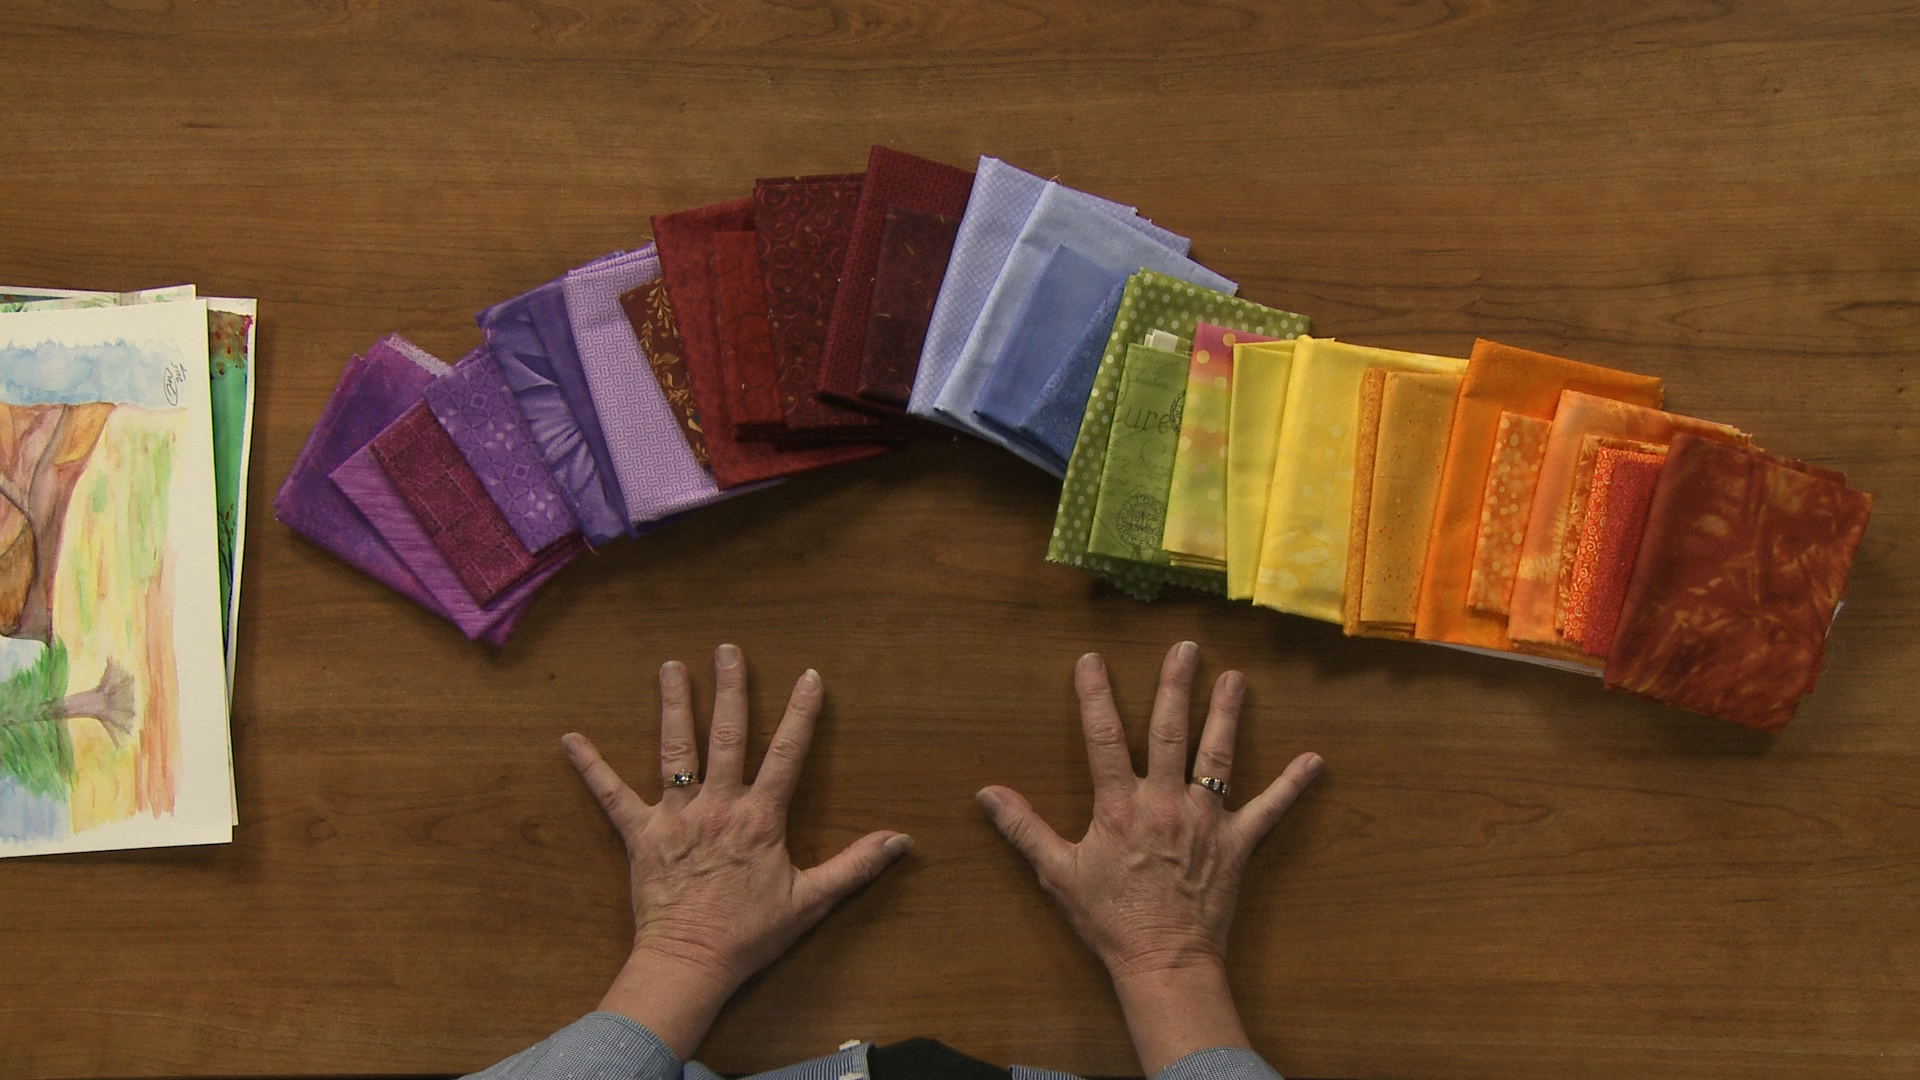
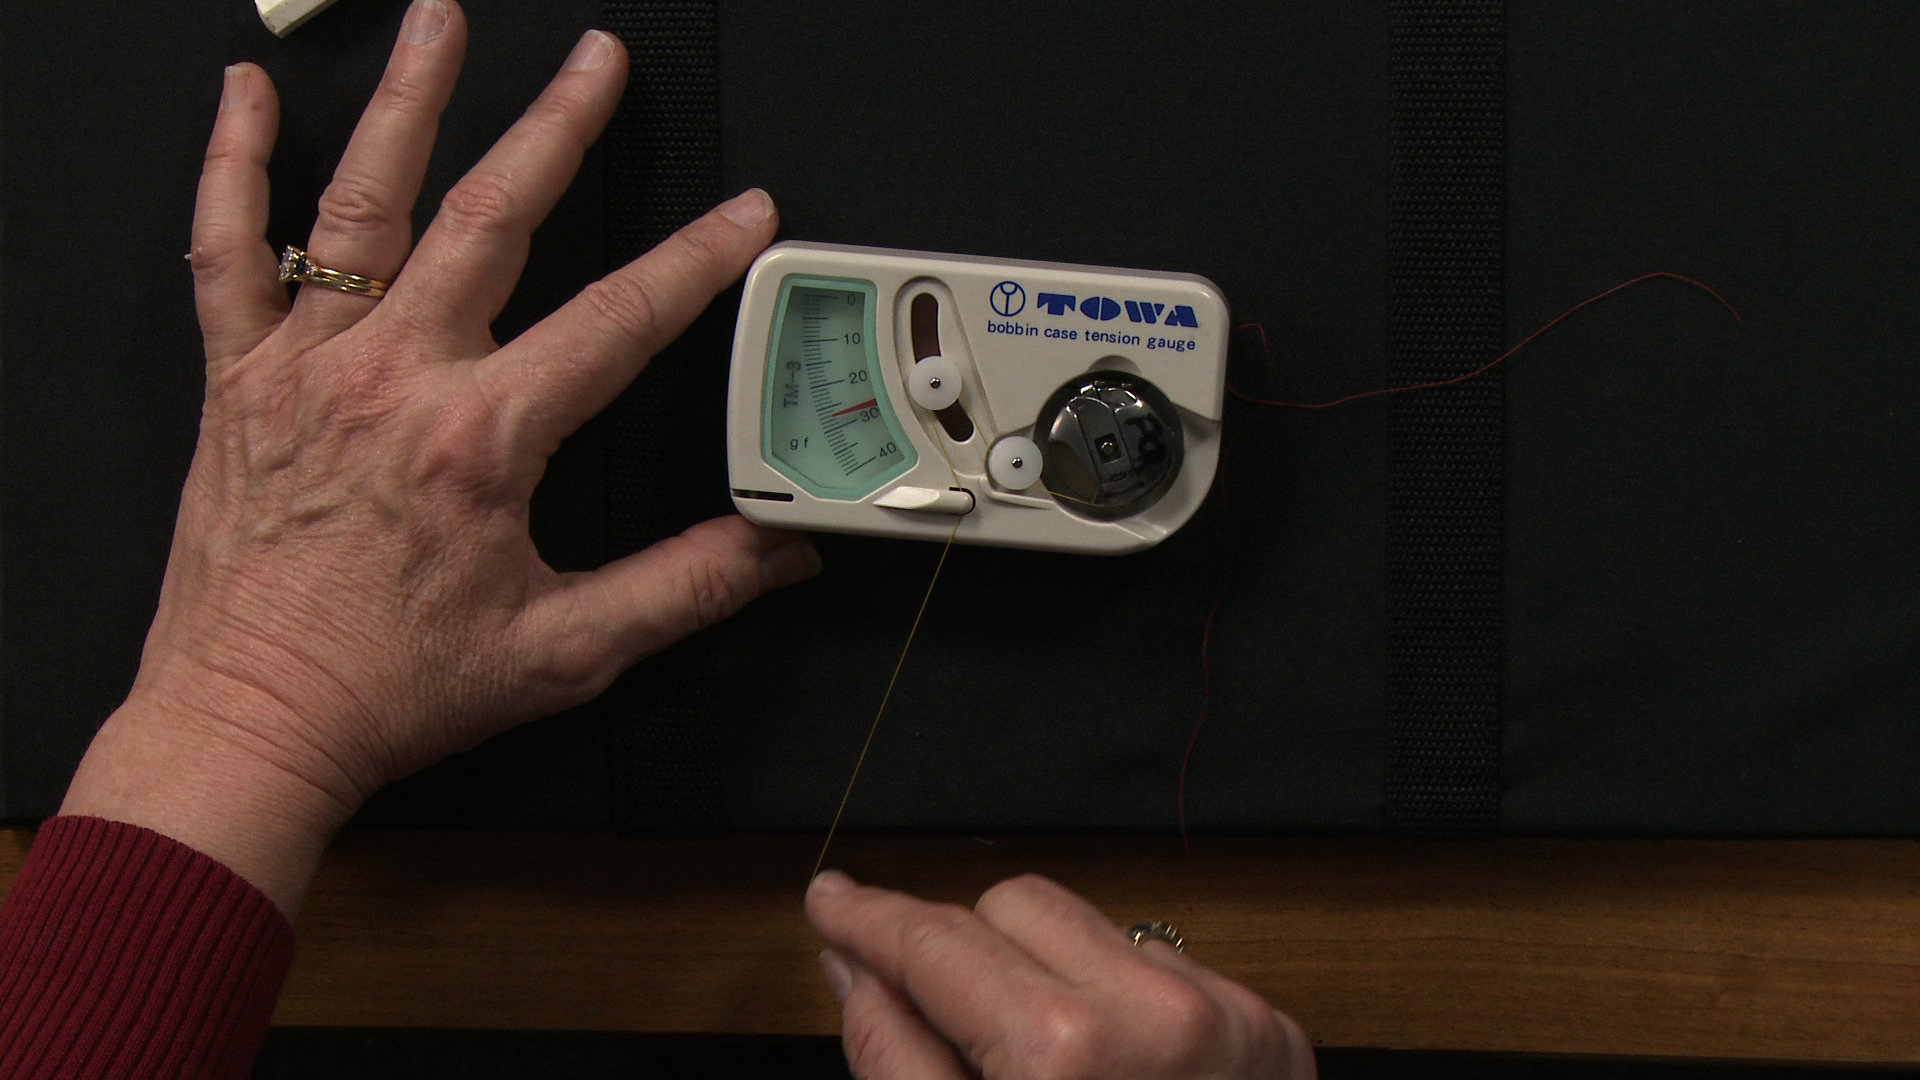
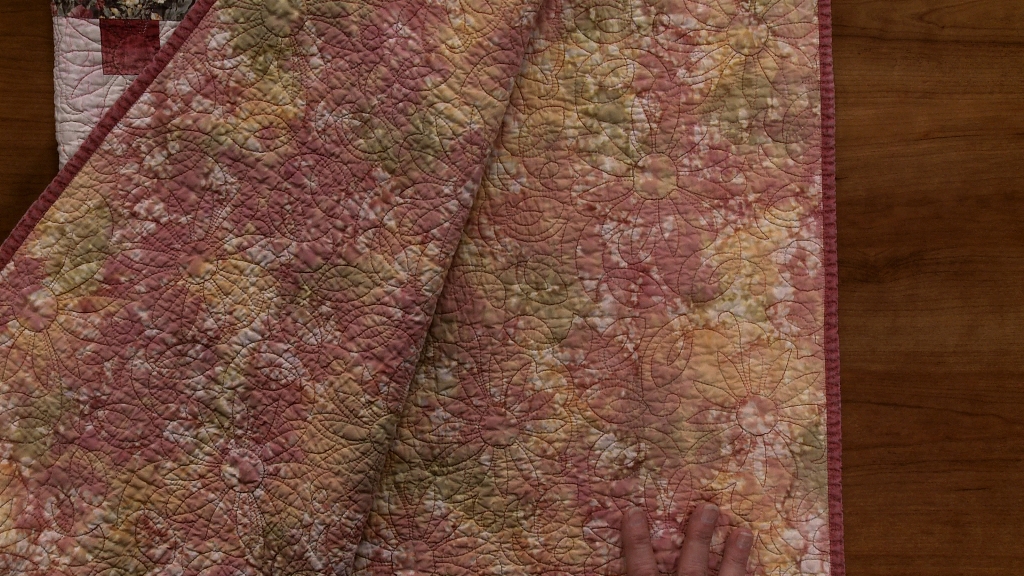
If you choose a quilt backing fabric that you really like and quilt an all-over design, the quilt can end up being reversible. The front has a pieced quilt top, while the back has a whole cloth quilt look. ZJ shares an example of a quilt she backed with an ombre fabric that can be used as a reversible quilt. She also gives suggestions for what kind of thread to use while quilting, whether doing a planned motif or free motion quilting, to enhance the quilting on both the front and back of the quilt.
Piecing
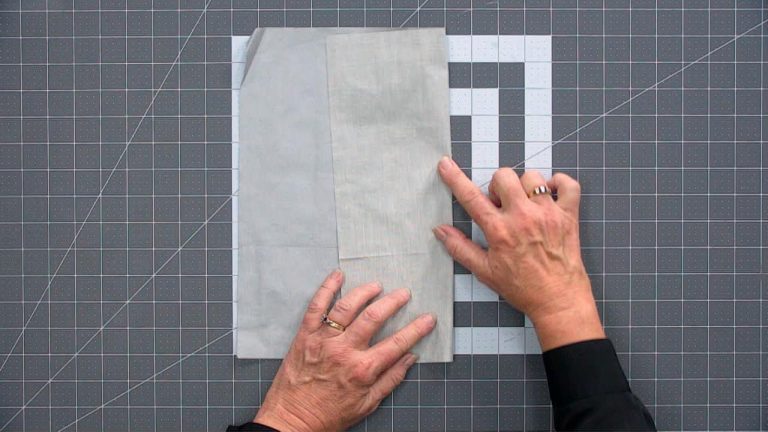
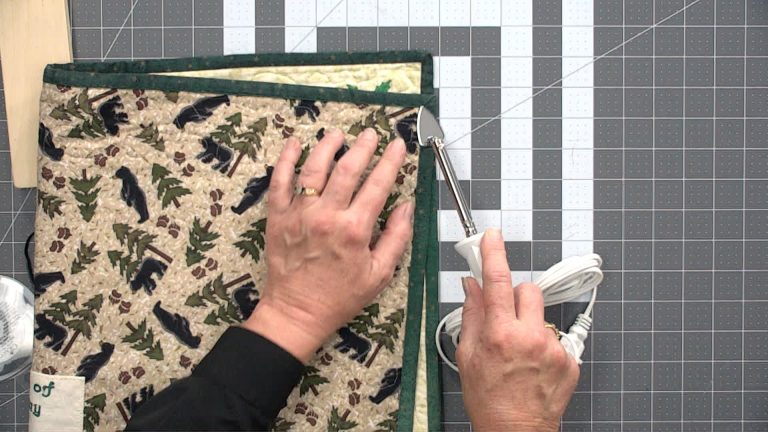
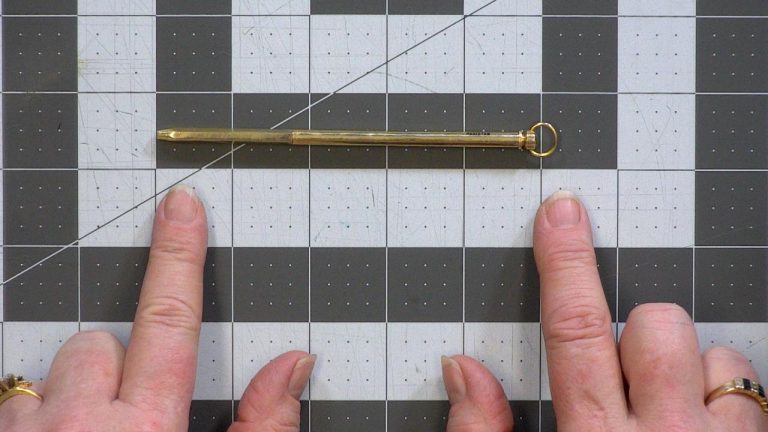
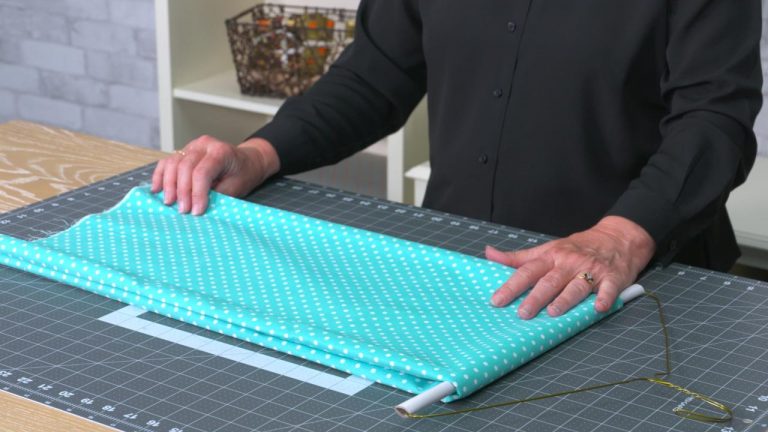
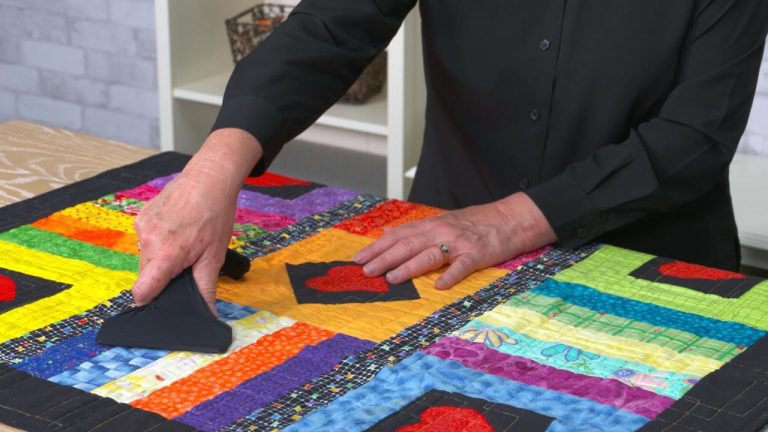
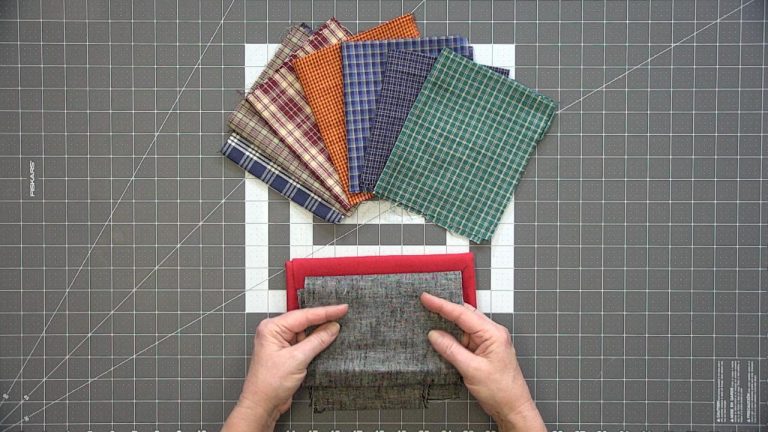
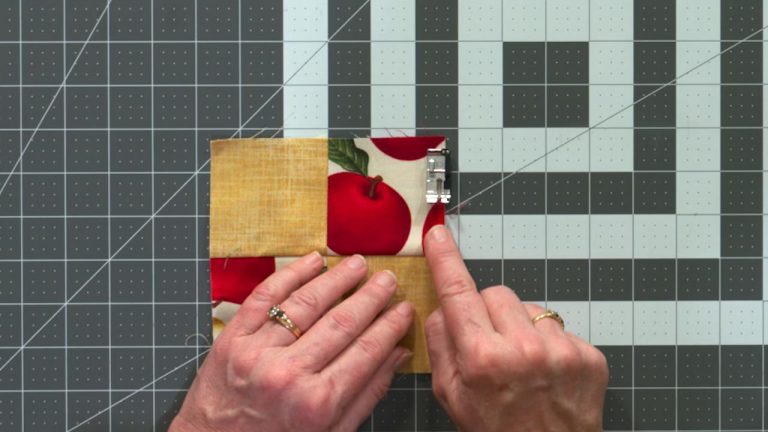
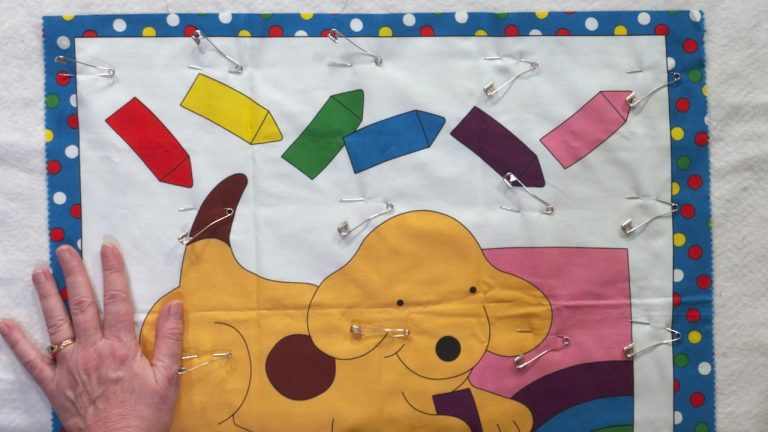
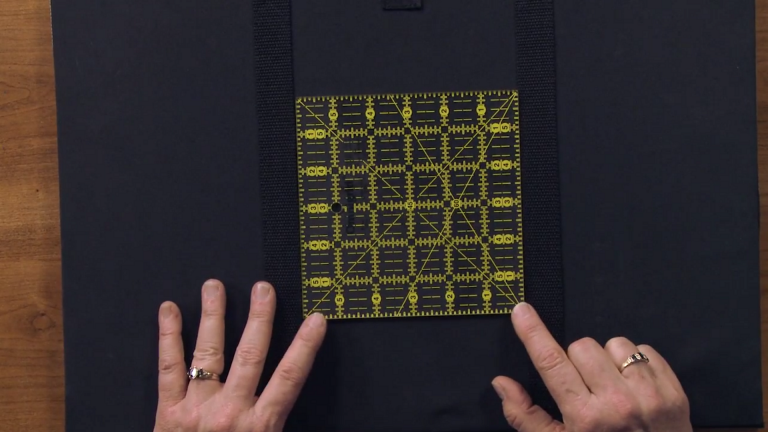
Today, piecing isn’t just for quilt tops. Whether you are piecing your quilt backing because you simply ran out of fabric or you are choosing to make a reversible quilt with two pieced sides, ZJ has several helpful tips. She explains how you can both plan out a pieced quilt backing as well as randomly piece large remnants together. If you plan out a pieced backing design, ZJ explains how to lay out and layer the quilt so everything stays lined up during the quilting process.
As quilters, we spend a lot of time, money and effort to produce beautiful, beautiful quilt tops. But once we're finished, we're in a hurry to get the quilt put together and too often, we forget about the backing. As a professional quilter, I've seen a lot of interesting backs in my time and some are much more conducive to the quilt than others. So today I'd like to give you some tips on your backings and also show you how to make some reversible quilts and things that you'll need to take into consideration if you do do a reversible quilt. This was a quilt that I put together a few years ago from a beautiful collection of fabrics that I received as a gift.
And I really enjoyed it. It was a lot of fun, but when it came time for the back, I wasn't quite sure what to do. And I knew I was going to do an all over feather design that just really seemed to fit with the fabrics that were on here. And I was looking at the quilting store for some fabric and I found this incredible, I guess you would call it an umber fabric. And it is a fabric that if you were looking at a Chevy truck a few years ago you would call it a fog job.
It goes from dark all the way to the light and then starts fading back out to the dark again. And I just knew this would be perfect for the backing. The thing that I like though was it actually gives a whole cloth effect with the quilting. So this quilt with its very gated thread on the back can be used as a quilt when you have it on this side, and it is equally as beautiful when you turn it to the front side. It really compliments it.
And the other thing to consider is when your quilt is on the bed in particular or even if it's a lap quilt, when it turns back, how well does it compliment your fabrics? Does it look pleasing? I think that's something to keep in mind. You also want to consider what you're going to do for your binding and will it accent the backing, or will it just detract or not make a statement? I think every part of a quilt is equally important and you need to pay attention to each and every detail.
So this particular one, as I said is more of a whole cloth quilt, but you could, if you wanted have pieced, let me get this turned around a little bit. You actually could piece large strips. For instance, you could do one, oh, that's about maybe 12 inches and another one here, that's maybe four inches, and maybe one that's six and one that's two and go on out and you could actually piece your back and have the same effect, almost as this fog job type of fabric. Let's take this aside and we'll show you another one. Now talking about a pieced quilt.
This was one I did many, many years ago and you can tell it's had a lot of love. It's still kind of holding up there for me. But I wanted to do something a little bit different and to incorporate the fabric from the front into the back. So on this one, I did sort of a border for the back with the plain inside, and you can see how the quilting shows up and it gives a very interesting look. This type of quilt back is a little more difficult to do though, because it is symmetrical, meaning it's balanced on both sides.
And what happens when we quilt, our quilts tend to crunch together and sometimes it doesn't always stay perfectly aligned. So there are some tips for making sure that your quilt stays aligned that I will share with you in just a minute in the video, but realize that that is sometimes difficult to do and it won't always come out perfectly even. So I prefer to tell people to do a more asymmetrical quilt back. Now, backings, here's another oldie, but a goodie. I made this for our camper and it's just the yellow brick road pattern.
Something very simple. And since it was going into the camper, I really didn't want to spend a lot of money on the backing. So I went to my stash and literally just started putting fabric together. There really wasn't a plan in mind. Let's see if we can fix this so you can see it better.
And so, as you can see, I've got a smaller piece here, probably a portion of a fat quarter. I've got some yardage here, as we go up we've got more yardage in here. I decided to add a little bit of interest to it and use up some more fabric that I had, and coordinated on the other side. But if you notice, this is not necessarily in the center. And then as you come through to the other side, I just put a big piece of blue there to finish it up.
It's nothing spectacular but it's a great to use up your scraps. Now, if you notice here, the pieces are bigger and why that's important is because if you get too intricate and detailed on the back of your quilt with your piecing, you're going to start having your seam stacking up and adding unwanted bulk and it will be uncomfortable on the quilt. It will also be harder to quilt if you go through those stack seams and you're going to probably break needles. As a long-arm quilter, when I have a quilt come in with a back that's very detailed, I really cringe because I just really don't know how it's gonna line up with the seams and if my needle is going to be able to get. Usually it will get through it but the hopping foot that is around the needle, it's a little round foot that comes up like this from the needle, and the needle goes down in the middle of it.
It has a low tolerance for going over the seams and sometimes if it gets caught on it, it can damage a quilt. So I really encourage people if they're going to do a pieced quilt back, use larger blocks, try and minimize your seams but go ahead and have fun with it. So how can you figure out what to do? Well, on the last quilt you saw where it was just randomly pieced. On this particular quilt, it's just a simple block quilt that I patched together, pieced together, simple patches.
And I wanted to kind of carry the theme through on the other side. So what I did was I used my blue fabric that I originally was going to use for all of the backing, but like most of us, I mismeasured and didn't have enough. So I said, well, let's have fun. The top part is where it will come down either on the bed or on somebody's lap. And I just went ahead and put some borders and then stacked my fabric in offset pattern here, like a brick pattern.
And these were just leftover pieces from the front of the quilt. I think it makes an interesting design. It is one that did not need to be centered on my machine. So it was very easy to do. And as you can see, there are minimal seams.
And by offsetting, then I didn't have seams coming together where it would like as if I had a square there. If I had gone with just squares you would have more seems stacked together. So this stayed pretty flat. It was a great way to use up the scraps and also added interest to the quilt. Well, let's turn this one back over so you can see.
So now when the quilt turns over, this is the effect that you have. And I think it's rather pleasing. On this particular one, I used the same blue for the binding and it just pulled it right together and it was very easy to do a machine finish on this one rather than having to hand sew. I tend to prefer finishing my quilts with a machine binding for several reasons. First of all, I don't like to do hand sewing.
Second of all, this is a lot faster and I find for utility quilts and bed quilts in particular, it is a lot more durable than the hand stitches that oftentimes will come out or get caught on something. So for my quilts, whenever I can do the machine finish, that's what I like to do. It's not always perfect but you have to really look close to notice that I got off a little bit in a few places. So that's another tip for your binding is you may wanna have it matched more toward the back rather than the front, because on the front you just really aren't going to see it that much cause your stitching's right along the edge of the binding there, and on the front, it's nice and neat. When it comes to quilting a reversible quilt, I really recommend using what we in the business call a pantograph.
And a pantograph pattern is one that repeats all over the quilt. As you can see, this has a floral. It's supposed to be roses and it repeats from edge to edge and top to bottom. It's very similar to wallpaper for a quilt. It's a repeating design.
The nice thing with a pantograph is that when it's on the back, you aren't having to worry about, if I had stitched around these blocks or done a fancy design within the block, it might not match up with what's going on the back, so then it becomes distracting. So in this regard, the pantograph is a perfect choice for a reversible quilt, plus if you're sending it to your long armer, it's probably gonna be a little less expensive than a custom quilt job would be. Now, if you absolutely have to have a perfectly pieced reversible quilt, I'll give you a few tips for that. This is a little quilt that I did and this is the front of it. And as you can see, I did all over stars.
So again, that pantograph pattern. And you probably can't see it, but I can definitely feel it. Right here is a big intersection of the seams from the triangle pattern all coming together. So there's quite a bit of bulk there. And that was something that I really have to watch going over with my machine.
Now on the back, in this particular case when I made this quilt, I decided I wanted the true reversible quilt. And I did do a symmetrical back. I guess my creativity wasn't on that day. So in this one you can see where the design is very symmetrical, but it's a lot of fun for a little toddler, little baby on their quilt, and it's bright and it's cheerful and it's just kind of the way it ended up. So what I did for this one was I put the same border, front and back, and that way it is a little less noticeable if I'm off and then I also used the same fabric for the binding except I cut it on the diagonal just to give one more interesting detail to the quilt.
On a true reversible quilt like this, you probably want to do a hand finished binding. That would be the ideal, but again I don't always do the ideal. So I did finish this by machine because it is just a baby quilt. And again, it blended in very well because all the fabrics were the same. When you go to quilt your quilt, there are several considerations that you need to remember.
First of all, any borders that you have for your back, like we have here, cut them wider than what you normally would allow. So in this case, because it was on my long arm, and especially if you're working with a long arm quilter, they typically want an extra eight inches wider and eight inches longer than your quilt measurement. That means on the side, we need an extra four inches beyond what your border is. So to make sure that it all lines up, I recommend cutting this outer border with the four inches here, plus whatever the width of your border is. And in this case, it's about three inches.
So I allowed seven inches here for when I cut this border. As a longarmer, it is almost impossible to get these to match up where it is perfectly centered. It takes a lot of work. So don't be surprised if your longarmer includes an extra charge for that. For longarmers out there, the tip that I give you is when the backing comes in, fold it in half vertically and put a pin top and bottom, fold it in half horizontally and put the pin on each side.
Do this on your backing and your top. When you attach the backing to the frame, then you're going to want to gently over your batting, lay the quilt down so that the pins match up at the sides and at the top. And if you do that, you will get fairly close to being even. Again, it may get off a little with the quilting but I think you'll find that you'll definitely be within a ballpark of tolerance that is acceptable to you and your clients. If you're doing this at home on your domestic machine you're going to want to do the same thing when you lay your quilt out on the floor I would also for home quilters, you know, doing it on their domestic machines, try and mark the exact center top and bottom.
And when you get ready to lay it out, make that be your very first point. So lift your fabrics up and really try and make sure that you are dead center. Then from there, you're going to want to work out and pin, and you are going to want to pin no further apart than the width of your hands. So you are going to be pinning quite frequently here, pin, pin, pin, pin. So you basically have about a three to a four inch square at the most where you've got it pinned.
And the important thing is you're trying to keep this all together so that when you're turning it over, it looks even. Another trick was my border on the front is wider than on the back or vice versa so that you aren't trying to see, oh my gosh, is that exactly the same? It's visually different. So any errors are less noticeable. The mark of a good quilter is not how well she makes the quilt.
It's how well she hides her mistakes. So these are just some tips to help you along if you're going to do piece backings or have a reversible quilt. The final tip I will give you besides doing the all over type of design is when it comes to your thread, match your thread to the top and then match it to the bottom. The two threads do not have to be the same. So if you have something that's drastically different, feel free to change that thread so that you get the look that you want, or think about your quilting ahead of time and as you're picking out your backing think ahead to what you're going to quilt your front with and then try and coordinate your backing fabric if you prefer to use the same thread top and bottom.
A lot of people do, they feel that it is a little more forgiving in case the tension isn't perfectly on, but if you don't mind playing with tension, you should be able to get it where you don't see the difference top to bottom. So I hope you will get creative and make some interesting quilt backs and that these tips will inspire you and also help you to do a quilt that you will in the long run be very happy with and not find that you had a lot of frustration or problems as you put it all together.
Share tips, start a discussion or ask other students a question. If you have a question for an expert, please click here.
Already a member? Sign in
No Responses to “Quilt Backing Tips for Reversible Quilts”