Quilt Designs Basics Session 1: Introduction
National Quilters Circle EditorsDescription
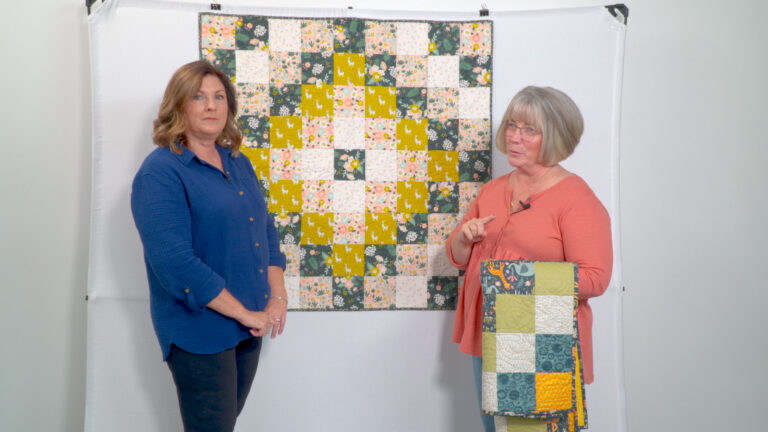
In this session I will show several quilts and talk about how they were designed, introducing the types of blocks used the type of setting used, sashing and coping strips that are present and borders. While showing the quilts I will give an overview of how the three pillars of good design are used in each quilt; balance, unity and variety.
For you understand how to build a quilt, your best way to do that is to break down a quilt that you already own or to look at some quilts in some pictures, so that you can understand how that quilt got put together. Every quilt kind of has a roadmap, if you will, of how it began and how it grew and then how it finished. And I'm going to give you some nomenclature, some words that describe those things. What a lot of people don't understand is that a lot of the nomenclature gets messed up. So when I say the word nine-patch, a lot of people think of a block that has nine squares that are all different fabrics or a four of one color and five of another.
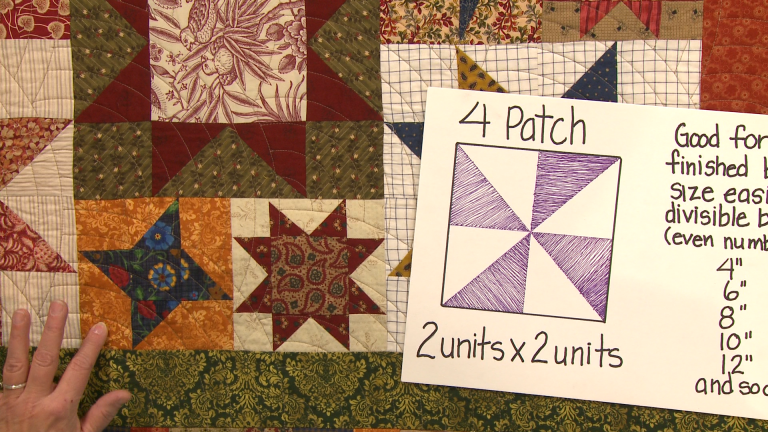
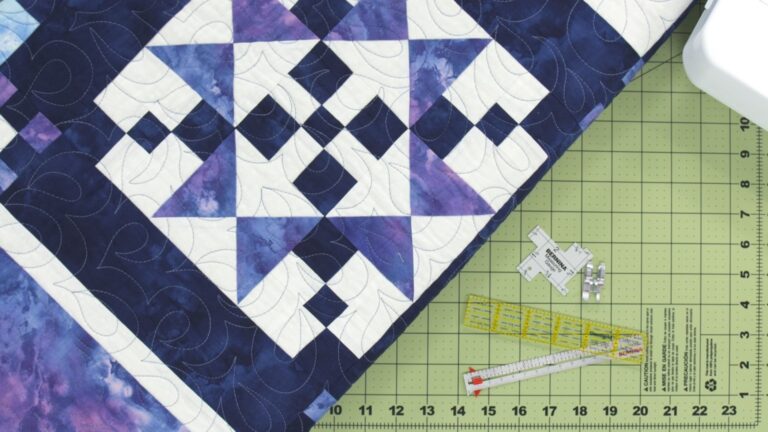
A nine patch is simply a block, any block, that has nine equal sized patches in it. It can be divided, those patches can be divided into lots of different ways and become lots of different blocks, but its basic structure is a nine patch. So we're going to start working with blocks. We're going to talk about sashing, we're going to talk about pieced borders and bringing all of that together, but we need to understand those basics first. As we look at this quilt that has lots of different star blocks in it we can break them down to basic types of blocks.
So this block right here is a 16-patch, it has four equally sized blocks across and four down, and four times four is 16. Whereas this is a nine patch, it has three blocks across and three blocks down that are equal sizes, it's a nine patch. And this little guy right here is a four patch, it has four equally sized blocks in it. And those are their basic structures. What happens inside those blocks is a different thing and we'll get to that later Here on this quilt we have a lot of blocks that are the same, they're all wonky stars.
And so each star has some variety to it but they're all nine patches. One, two, three, one, two, three, three times nine is, excuse me, three times three is nine and it's a nine patch. We also have some wonky piecing in our sashing and then a somewhat wonky border out here. But everything's pieced. This quilt has what's called a straight set or a traditional setting to it where things are set in rows both horizontally and vertically.
This one has a little bit of difference from most straight sets in that some of the blocks are offset. And we'll talk more about that again. This one has a diagonal set, the blocks are set on point, so the rows come diagonally. This next quilt is what some people will call a row quilt and most row quilts are set with a horizontal setting. This has lots of different rows filled with blocks that are the same as each other.
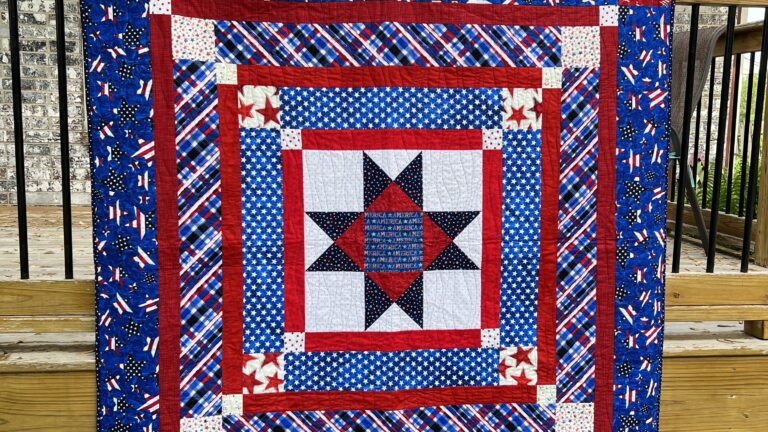
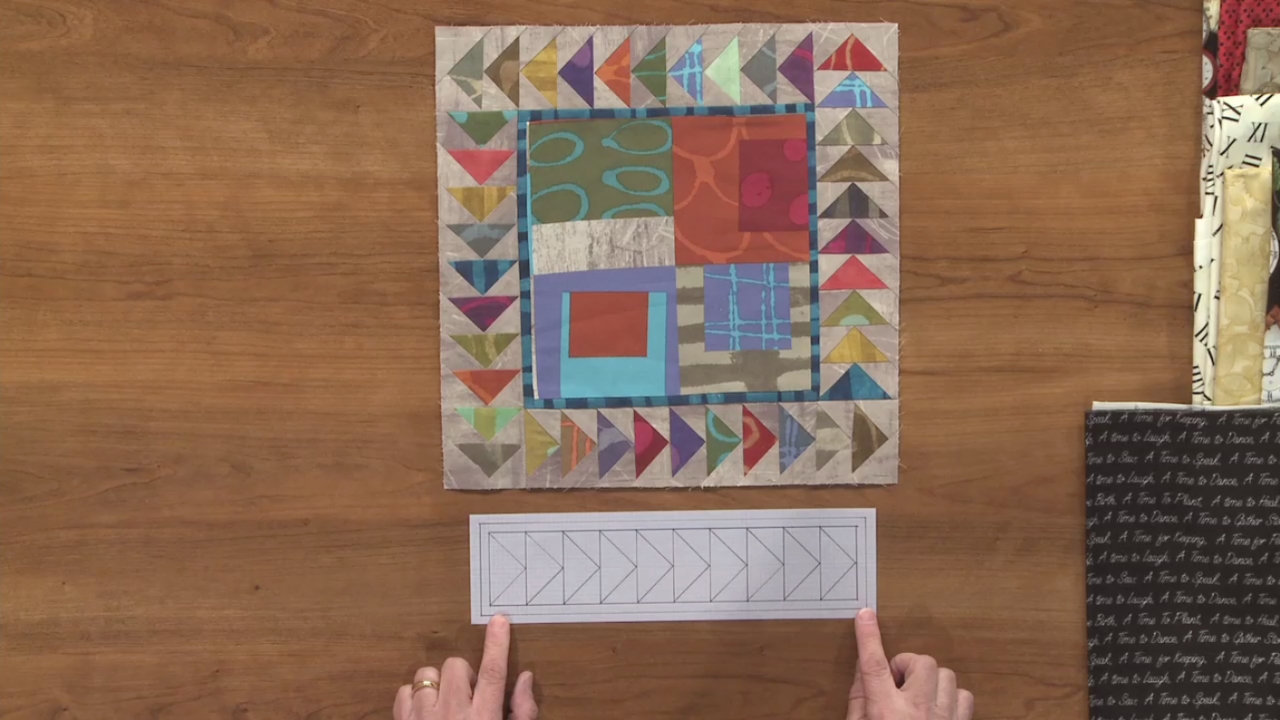
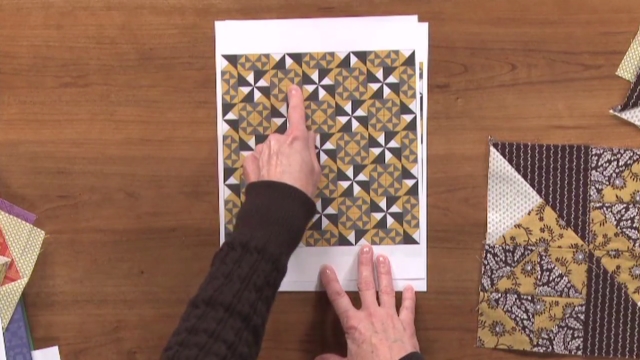
Here we have the common pinwheel and the pinwheel is a four patch, four equally sized patches. This quilt has a setting that's called radial or medallion, its design starts in the middle and gets built outward. And it has basically one pieced border after another around a very simple block. And I have to know the math to make all of these borders fit the previous border, and that math is as simple as you can imagine. Everybody thinks it's difficult, it's not.
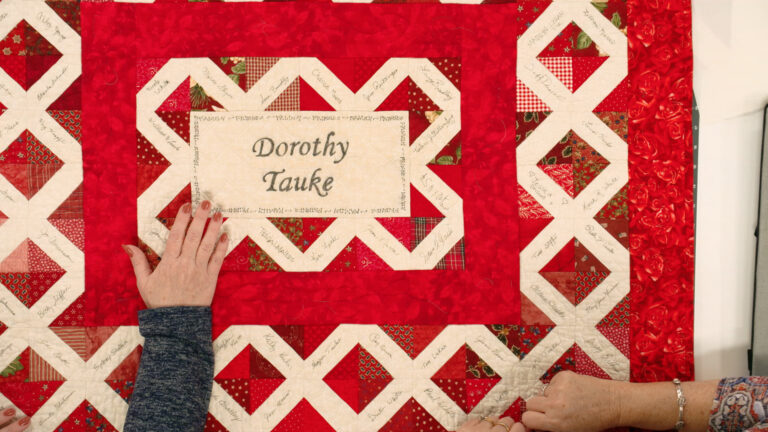
Here, we have another medallion style quilt or quilt top. Again, the design starts in the middle and it builds out, only here, it's longer than it is wide, and we can do that with a medallion set also. And then these two are what's called offset, that means that the blocks are not sewn together in easily recognizable rows. And it just takes some practice to learn how to make units from units that you can sew together and then put together into a quilt. This also has pieced borders.
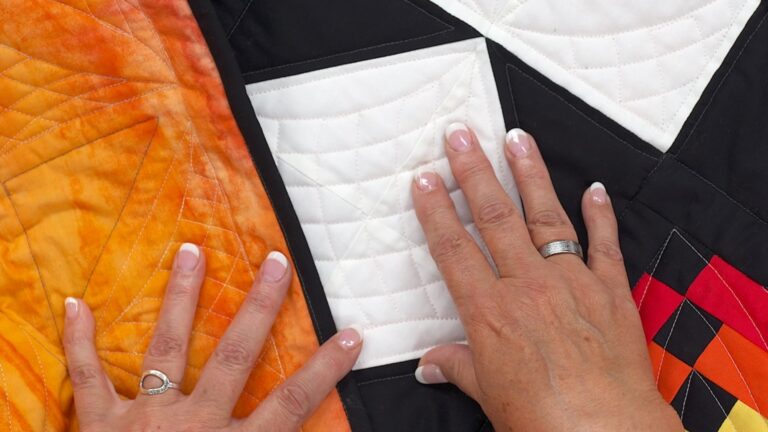
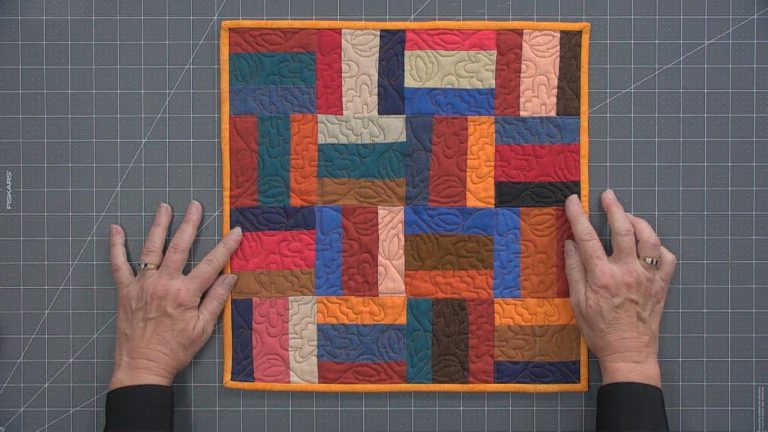
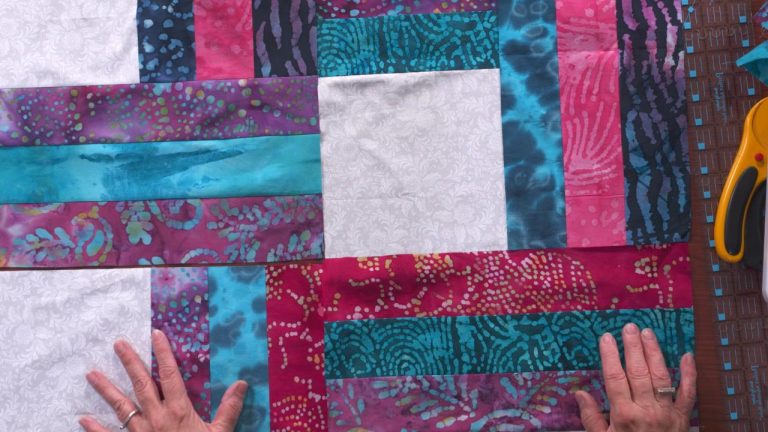
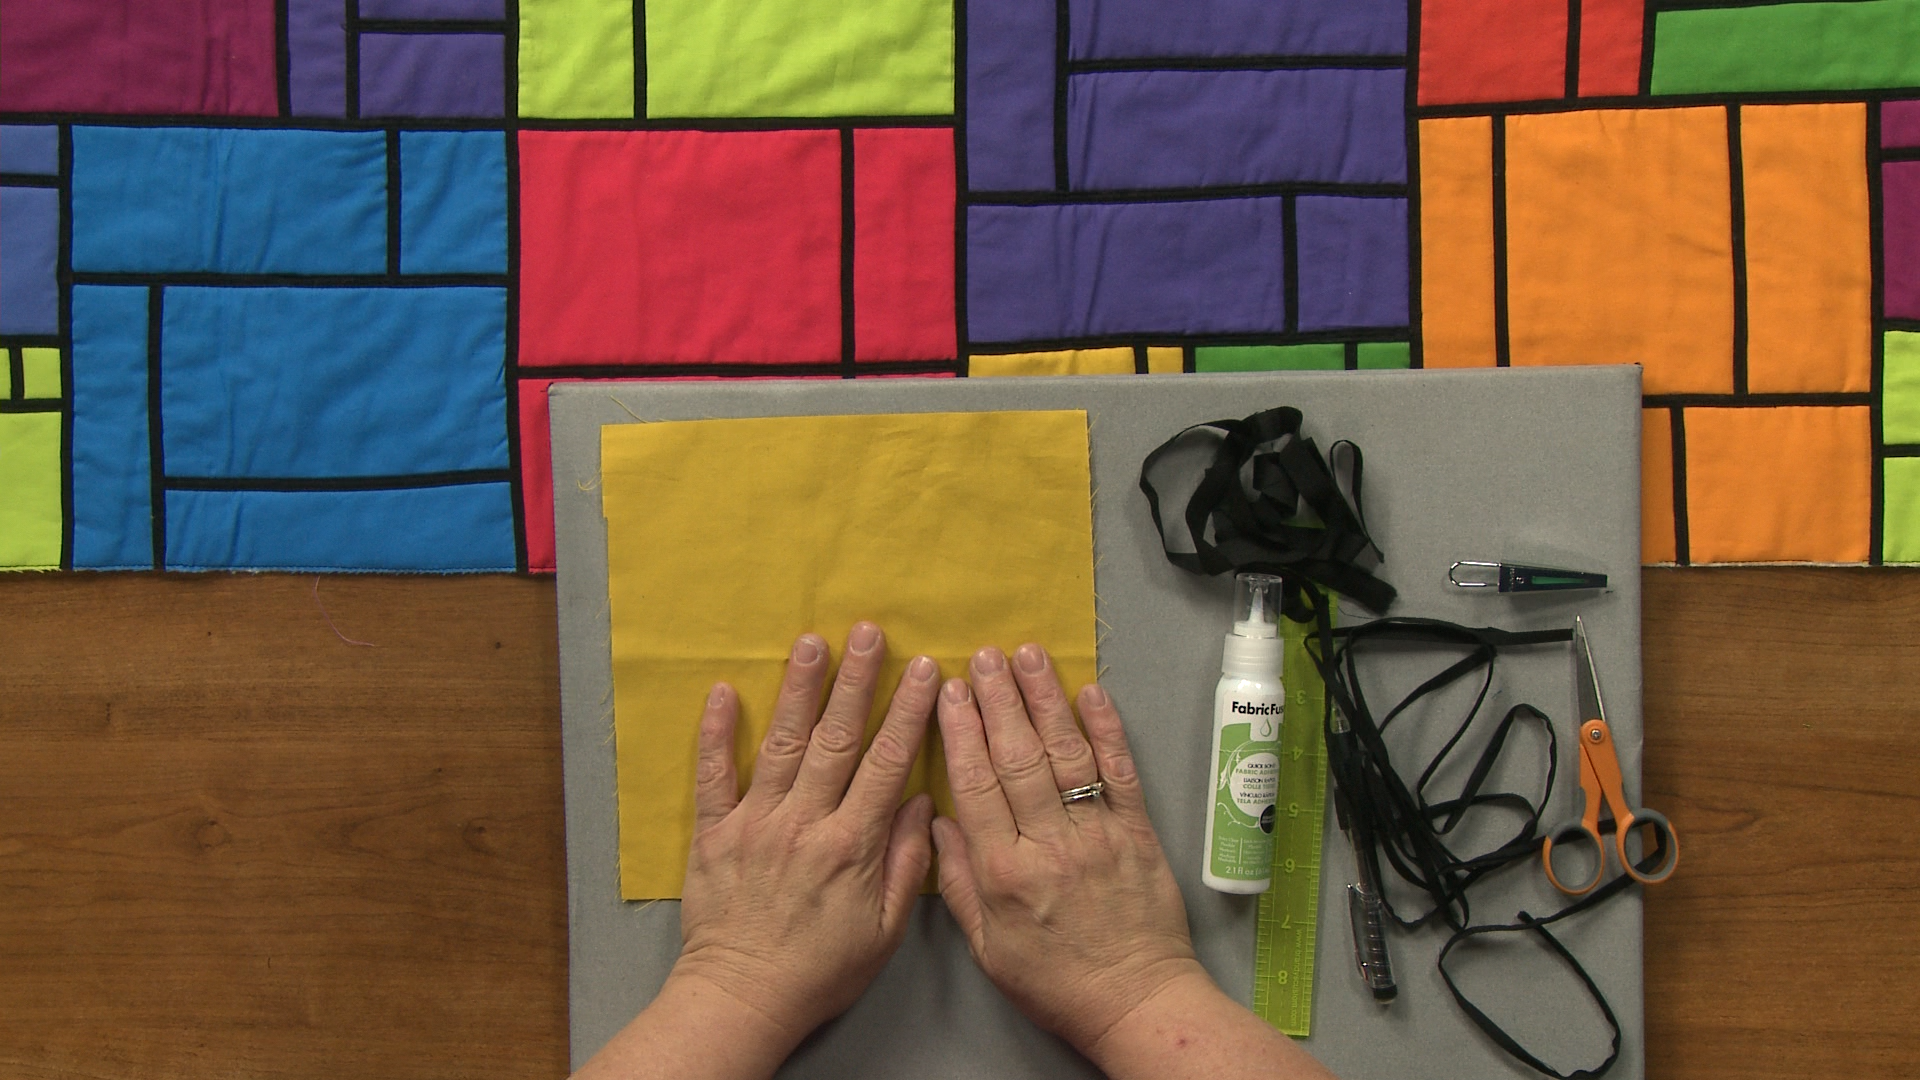
In making those pieced borders fit the quilt we use this wonderful little inner border that we call a coping strip and that simply helps us cope with the size of the center of the quilt versus the size of the border. And then finally we have another top that is nothing but offset. So we've taken lots of squares and rectangles, basically one patches, they're all just one unit and put them together and created something that has this wonderful floating effect. So once you understand what makes up that quilt it's easy to design that quilt. So come on and play with me, we're going to go build some blocks next.
Share tips, start a discussion or ask other students a question. If you have a question for the instructor, please click here.
Already a member? Sign in
No Responses to “Quilt Designs Basics Session 1: Introduction”