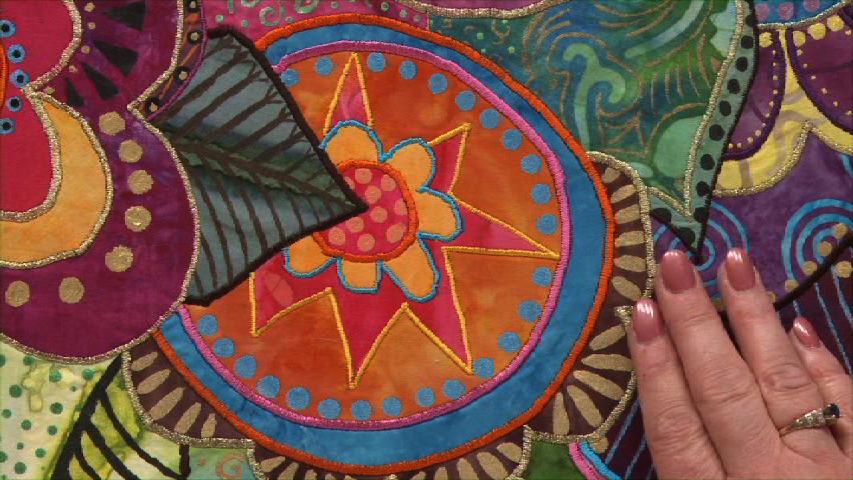
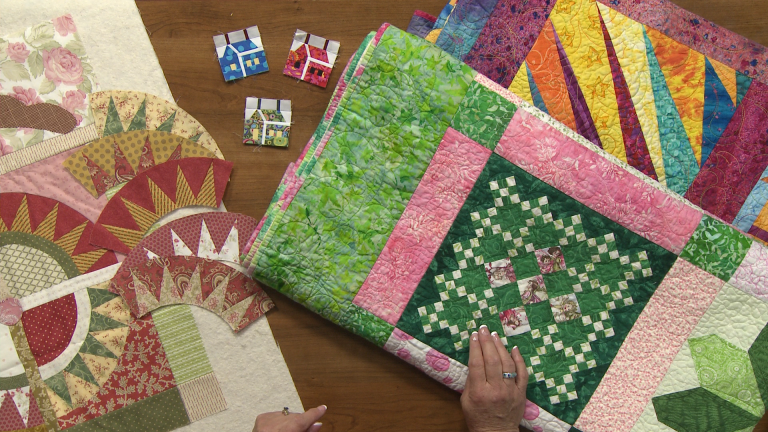
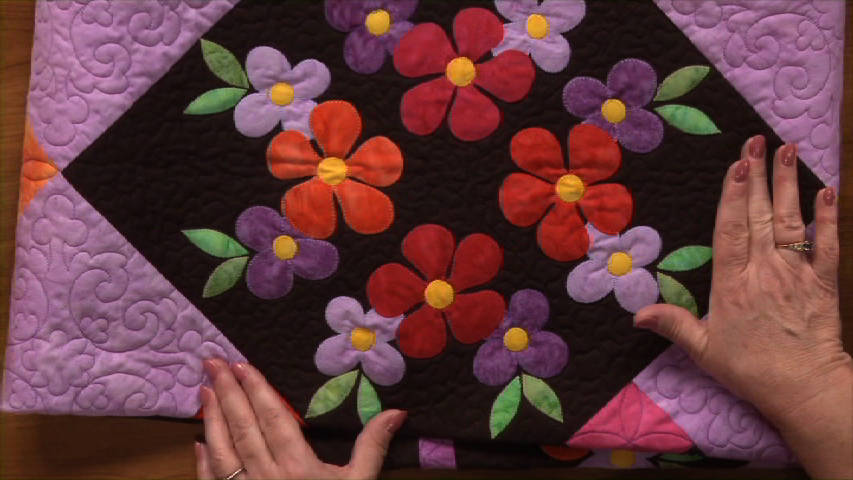
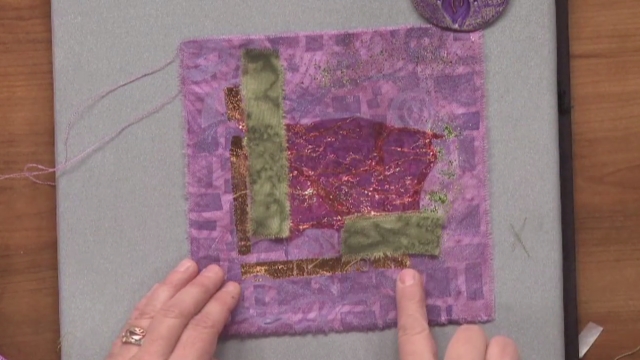
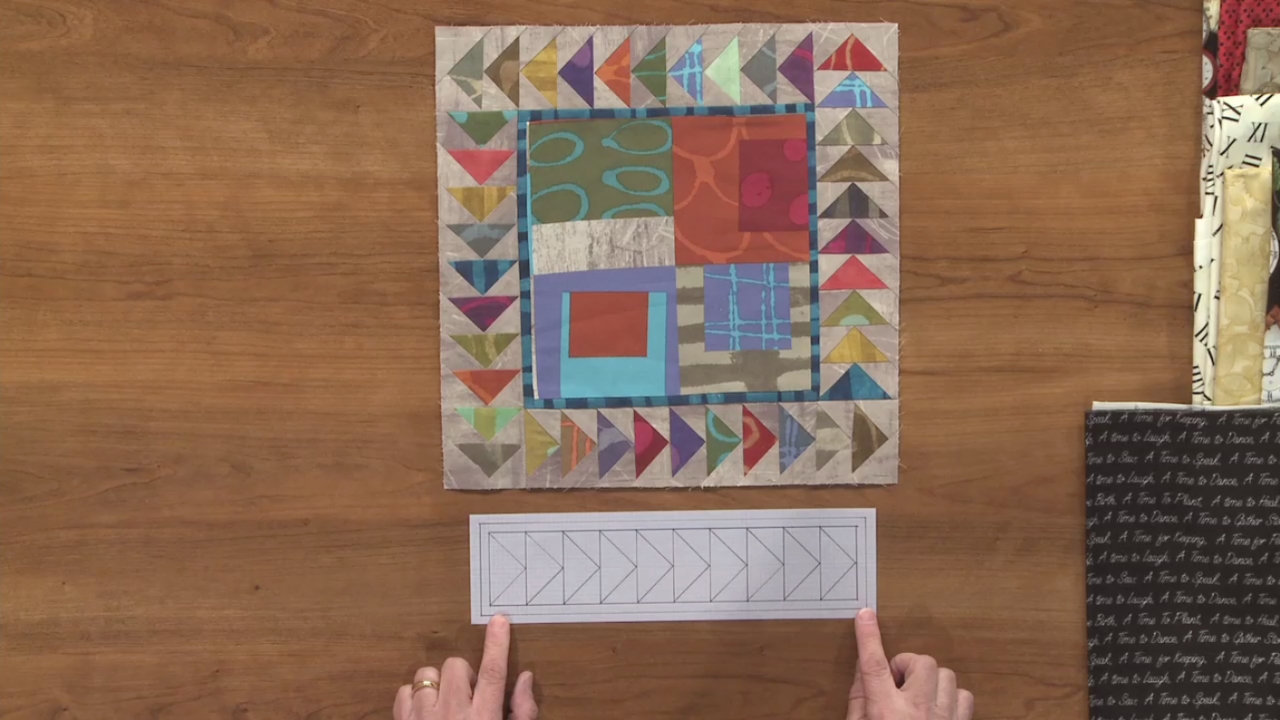
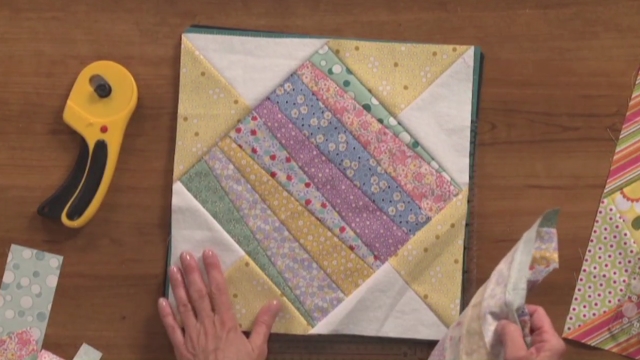
Okay, I'm sure you've had times when you wish you could make your own pattern, and paper piecing is, for me one of the most important times to be able to make your own pattern. For instance, if you aren't really comfortable piecing, in terms of you're not getting things just the way you want them to be, and if you're like me and you really like the precision, of the paper piecing pre, you know, finished product, without all the piddly, piecing, and cutting and making everything just right. Okay, Something like a bear paw, could be something that you could turn into a paper piece pattern, and here's how you would do it, you think in terms of units and whether you would need more than one, so if we're looking at this right here, okay, this would be one unit, right there, yeah, okay. Now, obviously you're going to have four of those per block, That, how about in here? What kind of sewing would you need to do? If you wanted to do this in a paper pieced way? Well, you would end up having, sections that look like this, and like this, because what you're doing, you have to when you're doing some of this, you have to make sure, that whatever seam you sew next, completely covers the, where the seam that it's going up against. So in other words, if I want it to piece this whole thing as one unit, how would I do that? I could do one, two, three, four, and five. Whoa, That would work, What if I wanted to do it? The whole thing is one? Well, okay. One, two, three, four, five, no, I could do five, but now what? Here I am again and I want to keep going, well I can't sew that on because it has to be sewn here too, so what I would do, if this were mine, this would be one unit here, and this would be a second one, and that's how I would do it. One, two, three, four, five, and then over here, it would be one, two, three, four, five, and then you would sew the two together, and there's your bear paw. Okay, So how do you draft that? How do you make a pattern, a foundation for that? Well, what I'm gonna do is I'm gonna measure it, is that supposed to finish at four inches? Excuse me, ah, let's see here, how big should that be? three and a half inches. Okay, So I'm gonna go to my graph paper, now, I have graph paper here that is eight little squares to the inch, because that way I get eighths of an inch, per, pretty, self-explanatory. Three and a half inches, that's how big that was, okay, so I'm just gonna draw a three and a half inch square. I like these rulers because they match the paper, and that they're eight squares per inch, okay, So three and half that way, and three and a half this way, okay, and just keep going, all right, there's my three and a half inch square, okay, if I look at this, I come back, well, one, two, three, they're all going to be an inch, no, three and a half, they're not. So how are we going to work that out? One, two, three, you have three and a half divided by three, that's not gonna work out very well, is it so, because three and a half divided by three, everything's gonna have to be one and an eighth and a little smidgen. So what I'll do is I'll change this finish size, instead of three and a half, what if it finishes at three and three-eighths? That's gonna work, okay, so I can just draw this again, I'll do three and three-eighths this time, and here we go. And because I'm having two units, I'll go ahead and draw a separate units, so now I know three and three-eighths, that's one and one-eighth here, one and one-eighth here, so two times one-one-eighth is two and a quarter, okay, so now I'm gonna go over to two and a quarter, and then three and three-eighths again, there we go, okay. Well, these were one and an eighth each, excuse me, so I need to come up one and an eighth, right there, and then draw another line at one and an eighth here, like that, and then I have two diagonal lines, like that, and like that. Of course when you're doing this at home, you're gonna be a little slower, and you're gonna be more careful, but one, two, three, four, five. And what else do I have to do? I have to flip it, I have to reverse it, if I had that as my pattern just as it is, what would happen when I sewed it, is that it would look, it would be, you can't really see it there. It would be the reverse image, okay, so how do I do that? Well, I've drawn it like that, and what I would do, some machines some copiers will actually reverse it for you, okay, If you don't have a machine that will do that, what you can do, is just what I started to do, you fold it over, and you can make yourself markings, you know, sort of on this, well, where should it be and where should it be, you can fold it under too, if you have a light table at home or you can just tape it to a window, this one's not very complicated, but if you have something complicated, and you really had to see how it would look, you could see that through, by taping it to window. Okay, and then I would do the other piece, now, I'm gonna leave more than half an inch, because I want to add seam allowances, so I'm gonna go over here for this one. Again, it's three and three-eighths inches long, oops, there we go, and one and an eighth wide, because there's only one square now, okay, and three and three-eighths, oops, so as I said at home you're gonna be really careful about this, here we go, excuse me, and then, so here's my one and an eighth for that square, and I'm gonna measure one and an eighth up, it's this one right here, and then, oops, bring it back so I can see, I'm gonna do my lines, like that, and I would just do one, two, three, four, five. Now for this one I could do one, two, three, four, five, I couldn't reverse it here, cause if this was one, well the next piece it would only be half of a seam, Do you see that? And that's not gonna work, cause you sew that well then what, so you can go this way, on that one it doesn't matter, but on this one it does, and then you would sew them to one another, after you finished piecing. Okay, another way that you can look at it, when you know that you have to reverse it, is to look at the back of the image itself, and I can see how this should be, well, it's the same exact unit, do you see that? As the one I drew? The only difference is the slant, so then I could come back here, I could erase these guys, and just draw them like that, and like that, a really quick and easy way to reverse it. Okay, the same kind of thing, happens if you want to do, a flying, excuse me, a feathered star. now these are trickier, and what I would do on this one, I would take this to, like a Kinko's, or somewhere maybe at home you have a really good, I would blow it up to the size I wanted, and then I would trace my units, and in looking at this, okay, what is a unit? Where would you even start? Well, you might have to analyze it for a little bit, but you can see how you can piece this center square, much the way we piece that center square in the flower earlier, okay, so there's one, and that could just be one, two, three, four, five, and then you have all these over here, Well, how would we do that? Okay, so I'm going to start by going like that, okay, So this could be, a unit here, like that, Could I do that? I could. And then if, I went down like this, could that be a unit? Well, yes, it could be, and here's how, if I did one there, let me just make it, this might be easier one, two, three, four, five, I'm sorry it's hard to see those six, okay, those are all sewn, I could add that on then seven, and add that one on for eight, yay, so we have this unit, and we have this unit, but what happens out here? Well, Hmm, I'm not really sure that's too well, I might have to do it a little differently, and so again, maybe I could do something like this, that unit, and that unit, do those separately. And then I could at that kind, so if I did this first, and this is how it works, you play with it, if I did that first, so that, to that, okay, good, yay, and then I could so add this onto them, and so that onto here, so you ended up playing around, until you can come up with, what's gonna work. Sometimes you can't really get a big unit, but you can get enough, you could definitely piece these guys on, and then sew them onto the other thing, so you, at least the part that you have most difficulty with you've taken care of, and there are of course , all kinds of patterns online, for feathered stars that are paper pieced. Okay, couple of quick things, the flower that I showed you earlier, this is how it started out, believe it or not, isn't that a mess? Isn't that just, what is that? but as you can see, it turned into, all of the elements, that we were working with today, like that. And the way I did it was, I just started drawing, until I sort of knew I wanted something like that, something like that, I know that these all have to match, and it's really easy, once you have this, what you can do, if you're using this blue eight two squares to the inch paper, on my photocopier, if I set the contrast down, so it's not very high, the blue disappears, and I'm left with just this, so, that's pretty cool. And then what I did was once I have, each individual thing drawn, then I take a ruler, and I just go ahead and add that quarter inch seam allowance, and you can make yourself, as many of these as you want. Same thing with the geese, the geese I just plain drew, flying geese are always twice as long here, as they are here. So that's three inches, this is one and a half, and it's just easy because you know that in the middle of that one and a half, you're gonna draw a line, you draw however many you want, and you add that quarter and seam allowance and you're set. And here's one more shape, that I was just gonna show you, that I was playing around with. I think this, I love borders like this, but they're really hard to do, if you were doing a template, let's say you had to do a template to do this, okay, so you need the seam allowance on here, like that, like this, okay, and then you're gonna want to go a quarter of an inch above and below, okay, so here we go, here is your template, that shape right there, is what you're gonna be cutting out, over and over and over and over and over and over again, I don't wanna do that, so instead if I make this this drawing here, and I've measured between the things, and they're all the same, this is four inches, the gap is two inches, and you know, it's very easy to draw, I add my quarter inch seam allowance, I can do as many of these as I want. And if I really wanted to, instead of having the end be squared off like that, I can go ahead and put my quarter inch seam allowance, on this angle, like that, and when I do that at both ends, if I were to do that, I could do it here too, same way, like there, and I could just piece this, and then sew it to the next one and the next one and the next one, and I'd have that border all done and ready to go. So I hope that gives you some ideas, about how you can draft your own, it's really not hard, you know, go for it, you've got nothing to lose, It's kind of fun. And when my kids were little they really liked drawing designs and seeing how we could paper pieces, so, have fun, and next time I'll just give you a few resources that you can look into. If you're been intrigued by the paper piecing I've been showing you.
Share tips, start a discussion or ask other students a question. If you have a question for the instructor, please click here.
Already a member? Sign in
No Responses to “Foundation Piecing Session 7: Creating Your Own Paper Pieced Pattern”