
Cutting Long Quilt Borders
Heather ThomasCutting long quilt borders that are perfectly straight can be difficult. Heather Thomas shows you her technique for folding and cutting borders that come out perfect every time with no waves, ‘elbows’ or any other issues.
Folding and Cutting
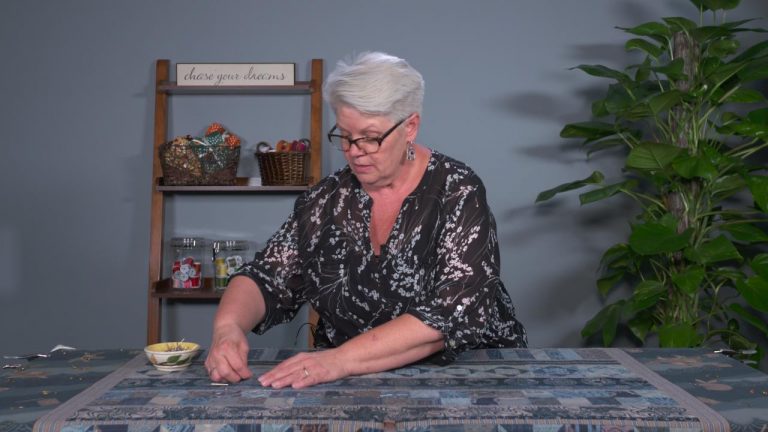
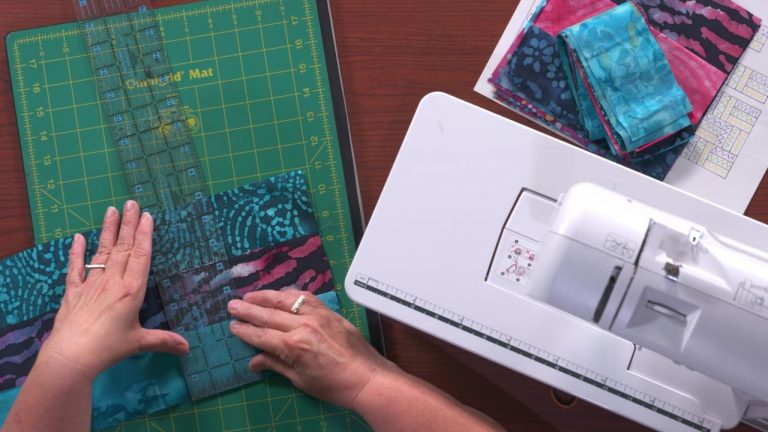
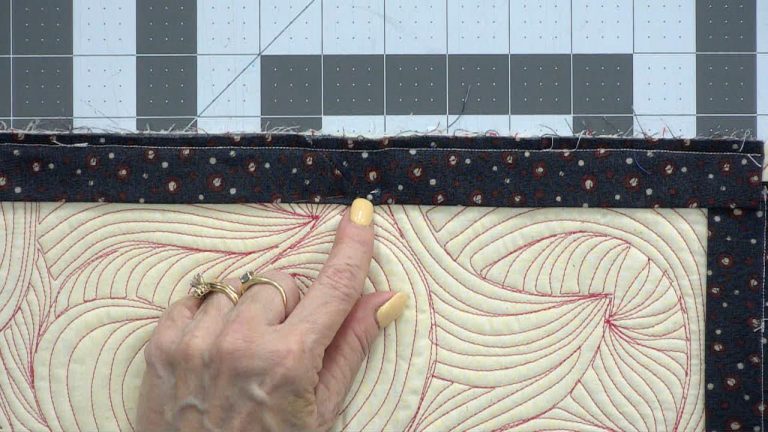
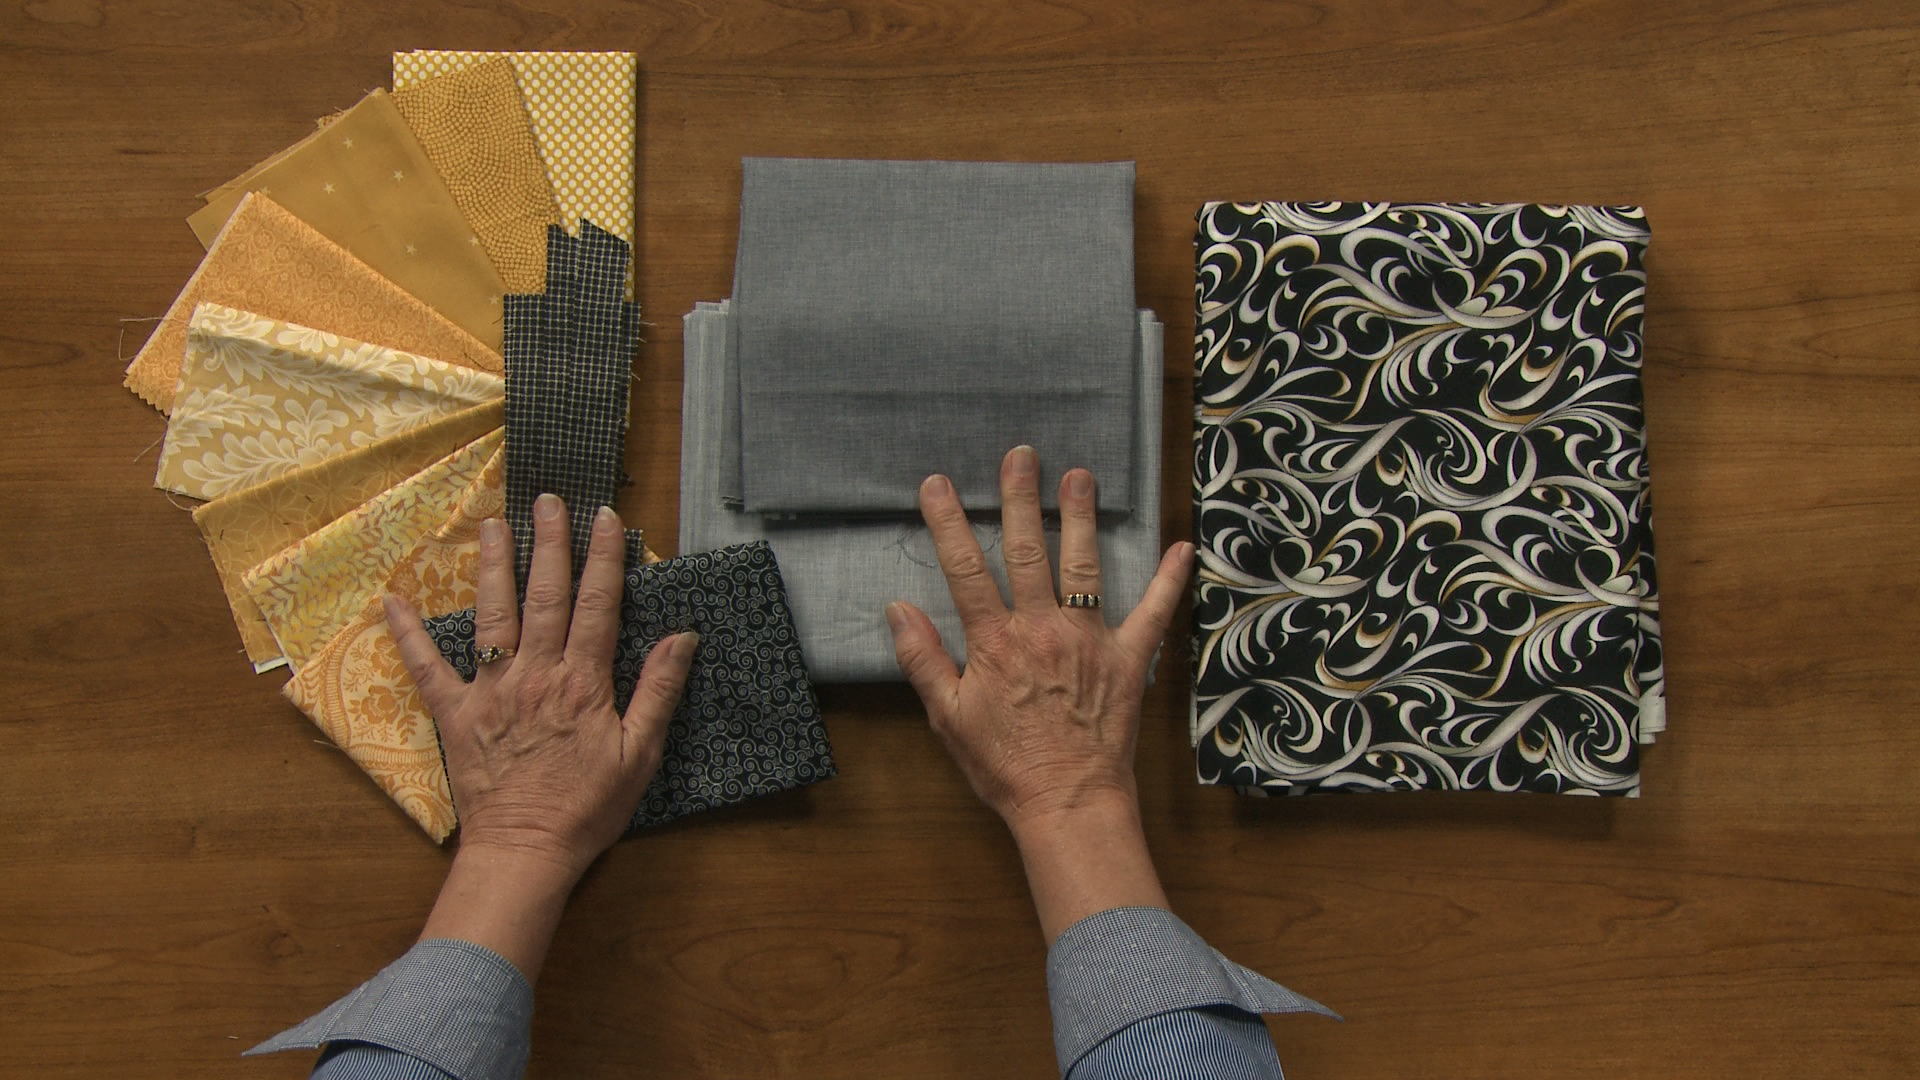
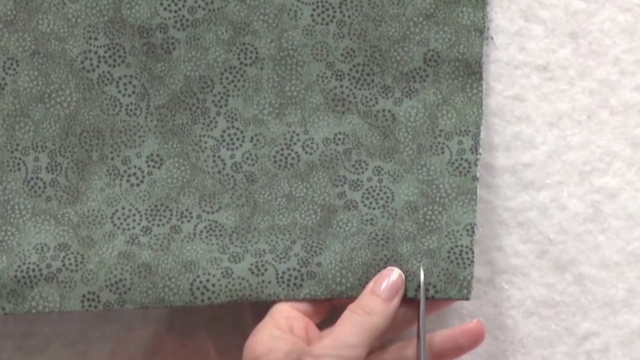
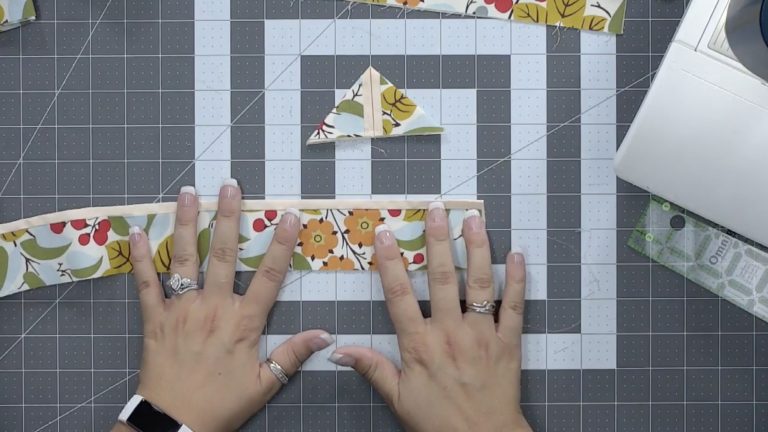
The first step in cutting long quilt borders is folding your fabric down to a manageable size that will fit on your cutting mat. While this may seem simple, there are several steps that need to be taken to ensure that the fabric is on the straight of grain and as flat as possible. Heather explains how she gets the fabric on the straight of grain by ripping two edges. Once the edges have been ripped and pressed if necessary, she aligns them and works at smoothing out the fabric to a fold. She explains that when cutting long quilt borders it is important to always do this step and refold the fabric rather than use the fold already in the fabric as it is not usually on grain. Heather then shows how to fold and align the fabric further to get it to fit on her cutting mat. She also shares a fun tip on how to use a long ruler to make sure the fabric has a crisp fold and is as flat as possible. Heather then trues up an edge and explains how the fabric is now ready to be used to cut long borders. She then talks about the different ways the fabric can be positioned when cutting the borders depending on whether you like to cut based off of the marks of the ruler or the marks of the cutting mat. She then cuts a long border and unfolds the fabric to show that it is straight with now waves, elbows or other issues. Once you’ve mastered the technique of cutting long quilt borders, learn more about working with borders.
Share tips, start a discussion or ask one of our experts or other students a question.
Already a member? Sign in
12 Responses to “Cutting Long Quilt Borders”
Explore videos by Heather Thomas
You may be interested in
Premium Membership
Unlock exclusive member content from our industry experts.
- 24/7 Access to Premium Quilting Videos, Projects, and Tips
- Step-by-Step Instructional Demos, Patterns, and Tutorials
- 50% Off Video Downloads Purchased in the National Quilters Circle Shop
- Access to Ask the Expert Program
Unlock exclusive member content from our industry experts.
- 24/7 Access to Premium Quilting Videos, Projects, and Tips
- Step-by-Step Instructional Demos, Patterns, and Tutorials
- 2 Full-Length Video Downloads to Watch Offline
- 50% Off Video Downloads Purchased in the National Quilters Circle Shop
- Access to Ask the Expert Program
Gold Membership
$336 Value
Get everything included in Premium plus exclusive Gold Membership benefits.
- 24/7 Access to Premium Quilting Videos, Projects, and Tips
- Step-by-Step Instructional Demos, Patterns, and Tutorials
- 8 Full-Length Video Downloads to Watch Offline
- 3 Full-Length Quilting Classes to Keep for Life
- 2 Printable Quilting Guides
- Discounts on Purchase-to-Own Content in the National Quilters Circle Shop
- Access to Ask the Expert Program
- Exclusive GOLD LIVE Streaming Events
I’m brand new to quilting. Which “ends” do you rip? The selvedge sides or the other two sides? If you buy a kit, will there be enough extra fabric to tear any off? Do you start to rip with a scissor snip?
Thank you so much for sharing these simple techniques. This will help a lot.
Thank you so much for your wonderful instructions! I feel very confident after watching you.
Question…..are you cutting on the straight of grain? Not really clear on the video
I would love to get a response to what to do when the fabric is still wonky after ripping - the straight of grain edges are not perpendicular to the selvages.
Is there any reason not to tear the border strips to desired width (other than the annoying strings?)
Excellent technique. But what if the fabric has been skewed on the bolt? Even tearing the ends leaves it wonky. I have learned to slightly stretch fat quarters and other small pieces of fabric to get warp & woof lined up squarely, but what about a really long piece that is skewed?
Great instructional video - first time I have seen the ruler tip, and even though my quilt shop tears fabric rather than cuts it, this is the first time I have seen someone do this to cut strips. Great lesson
Unfortunately this video is not playing for me. I am so sad because I have this exact problem and need the help!!
Wonderful teacher! Clear, succinct, good filming. Best I've seen in.... almost ever.