KH
Fabric Weaving for Quilters
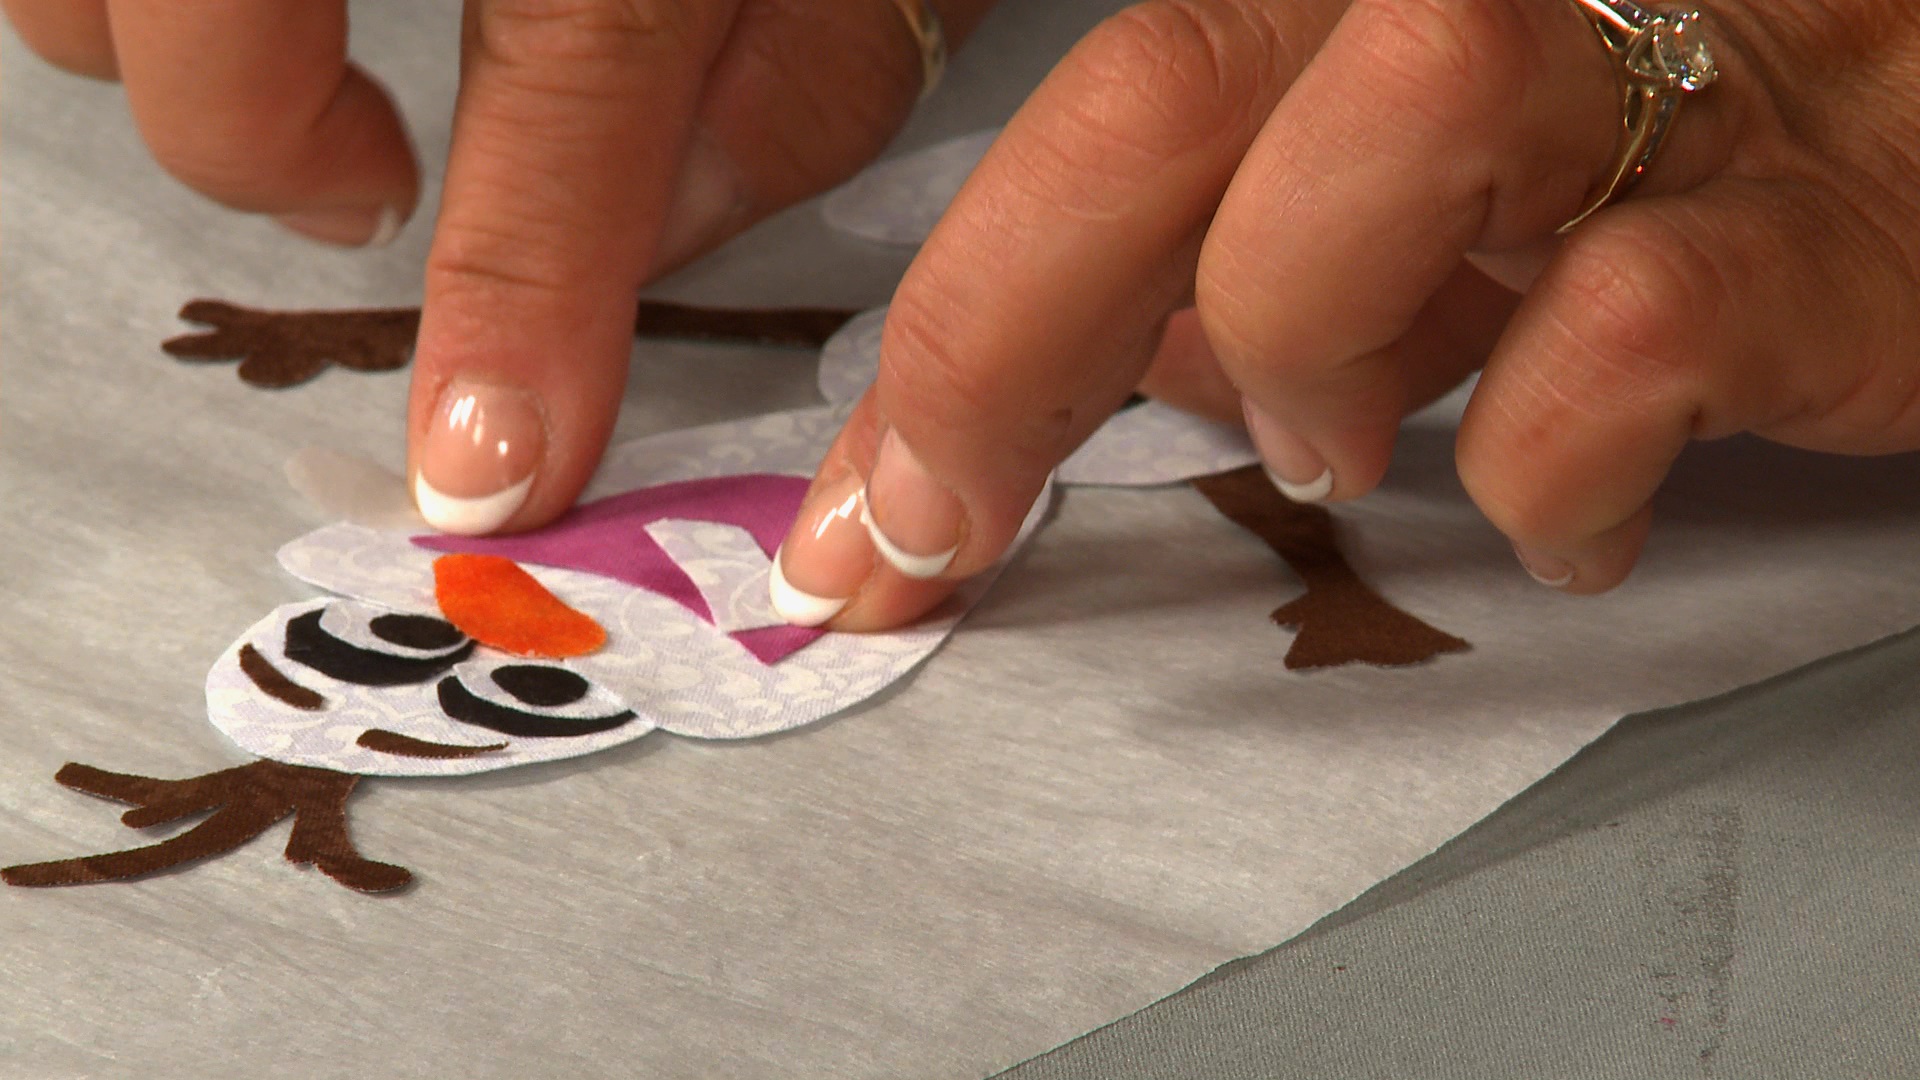
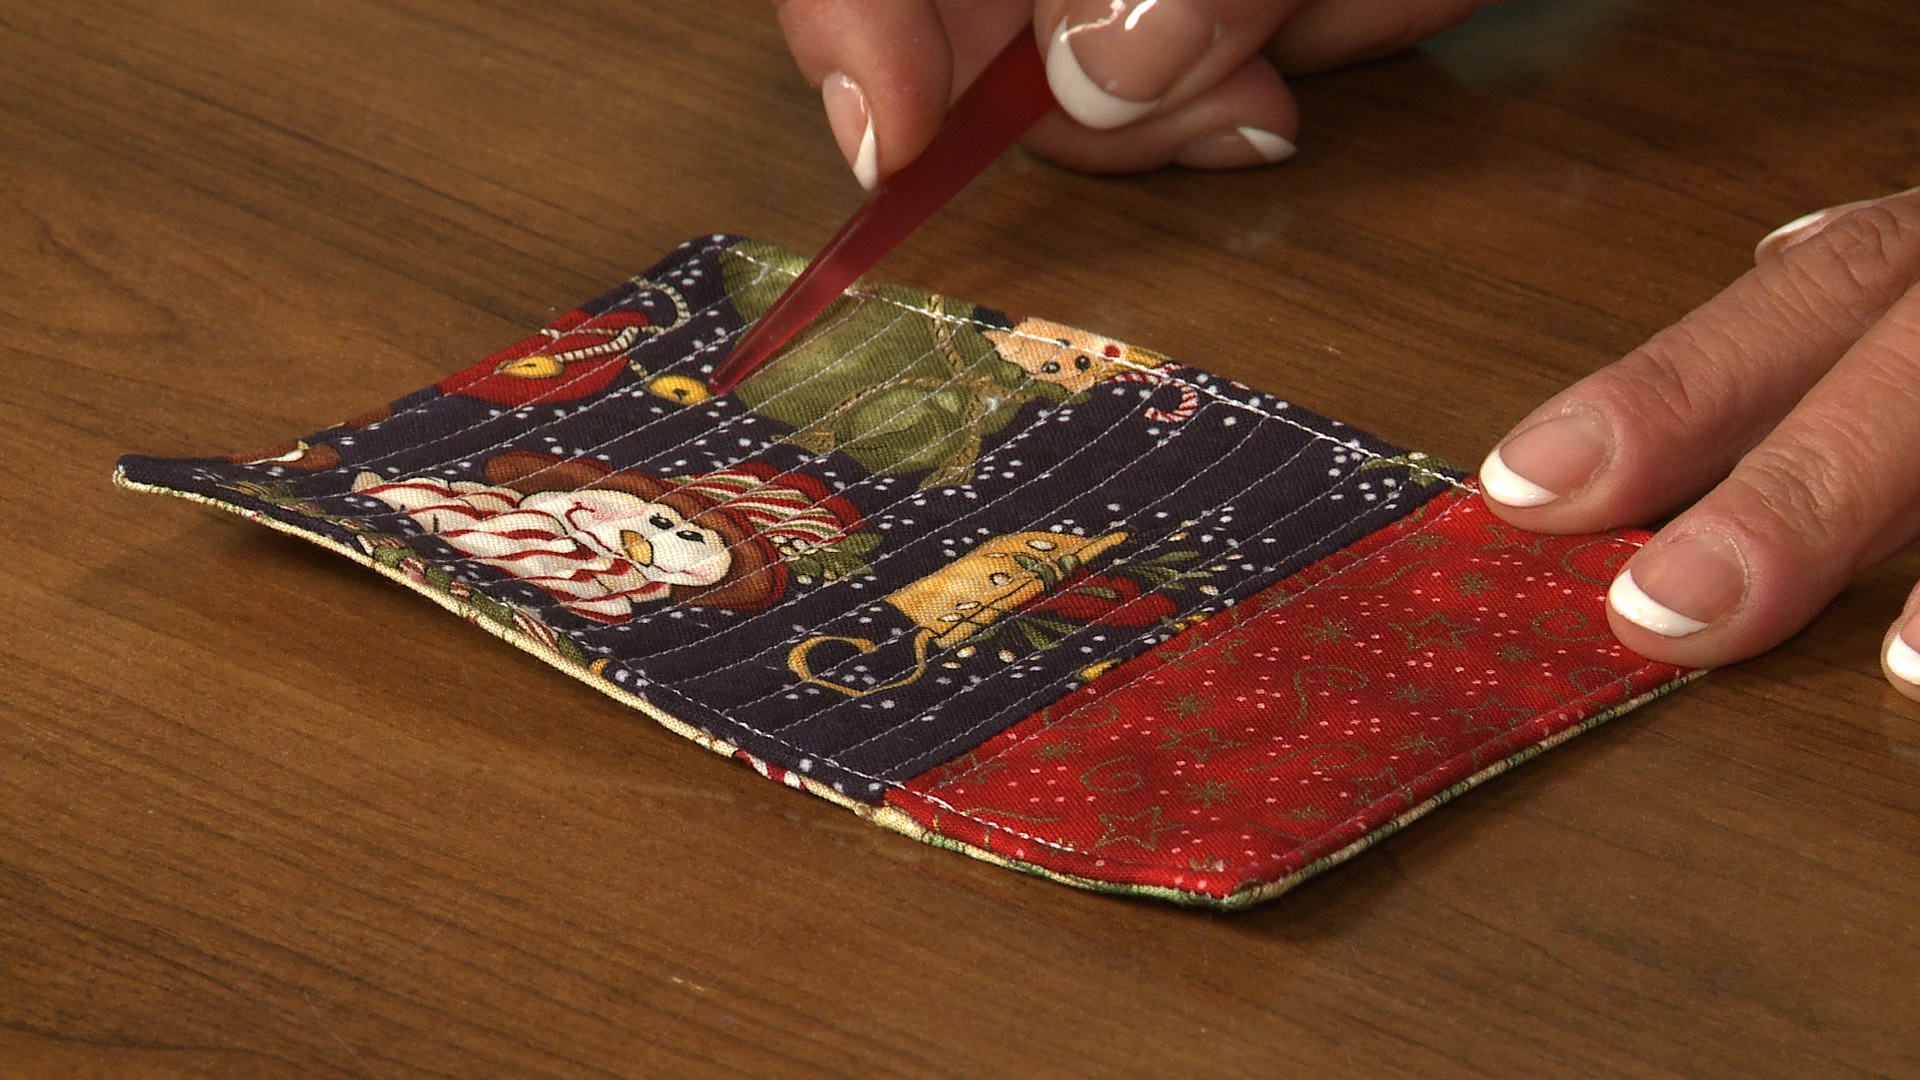
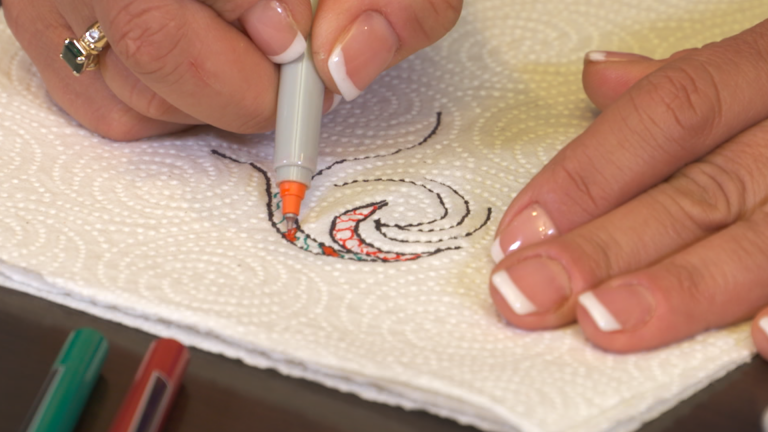
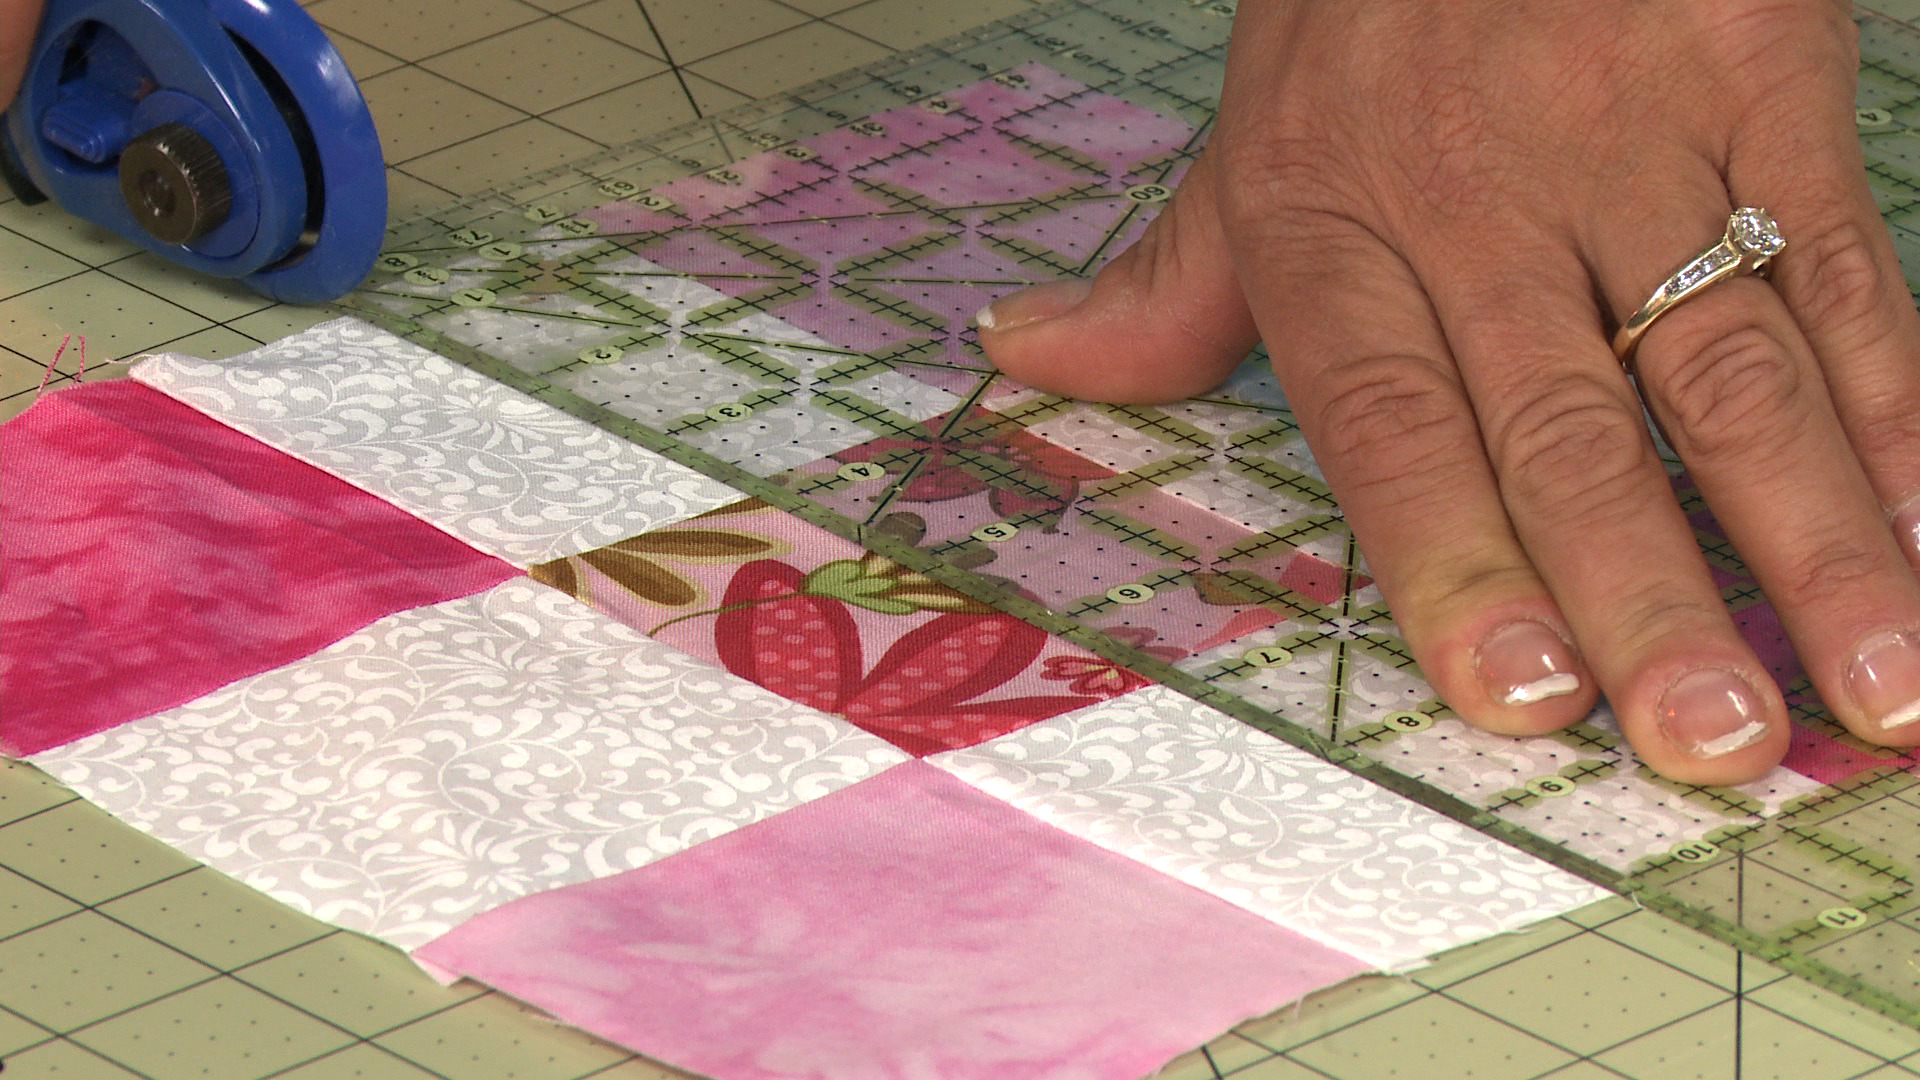
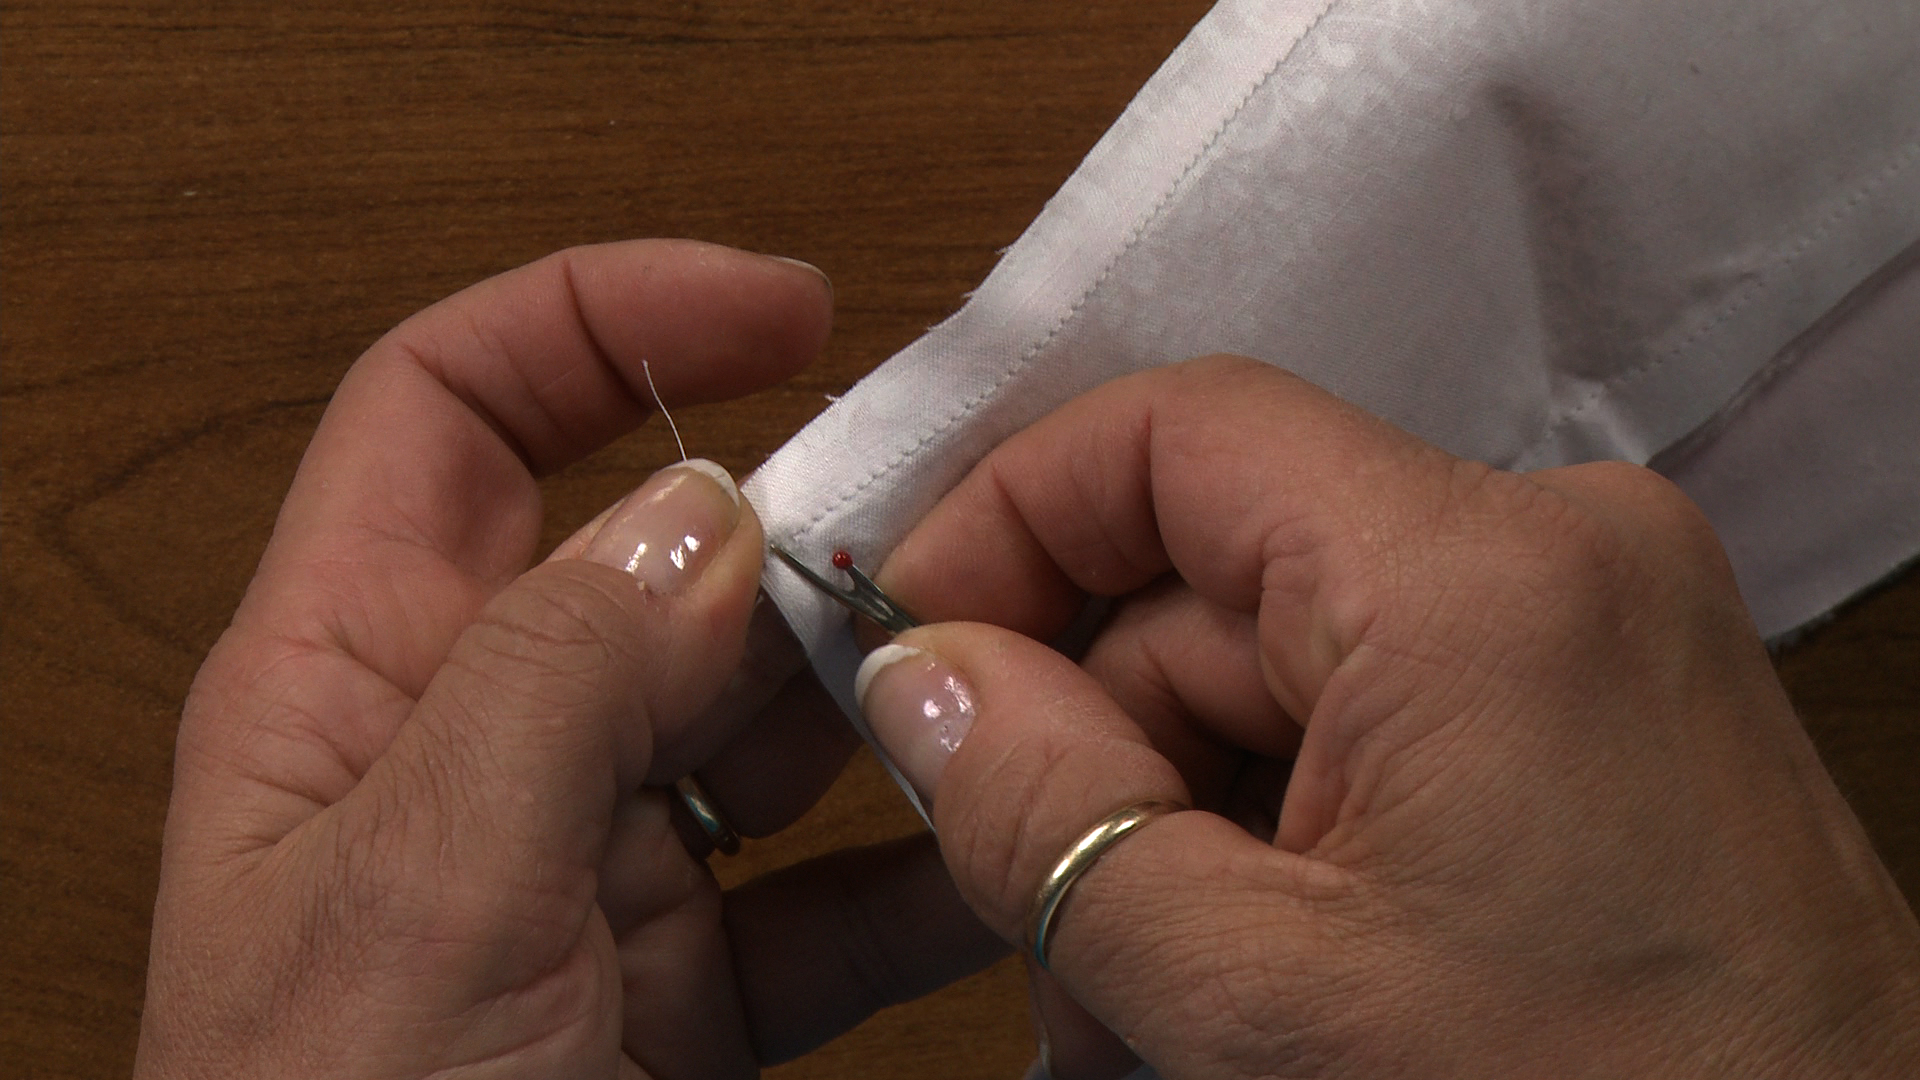
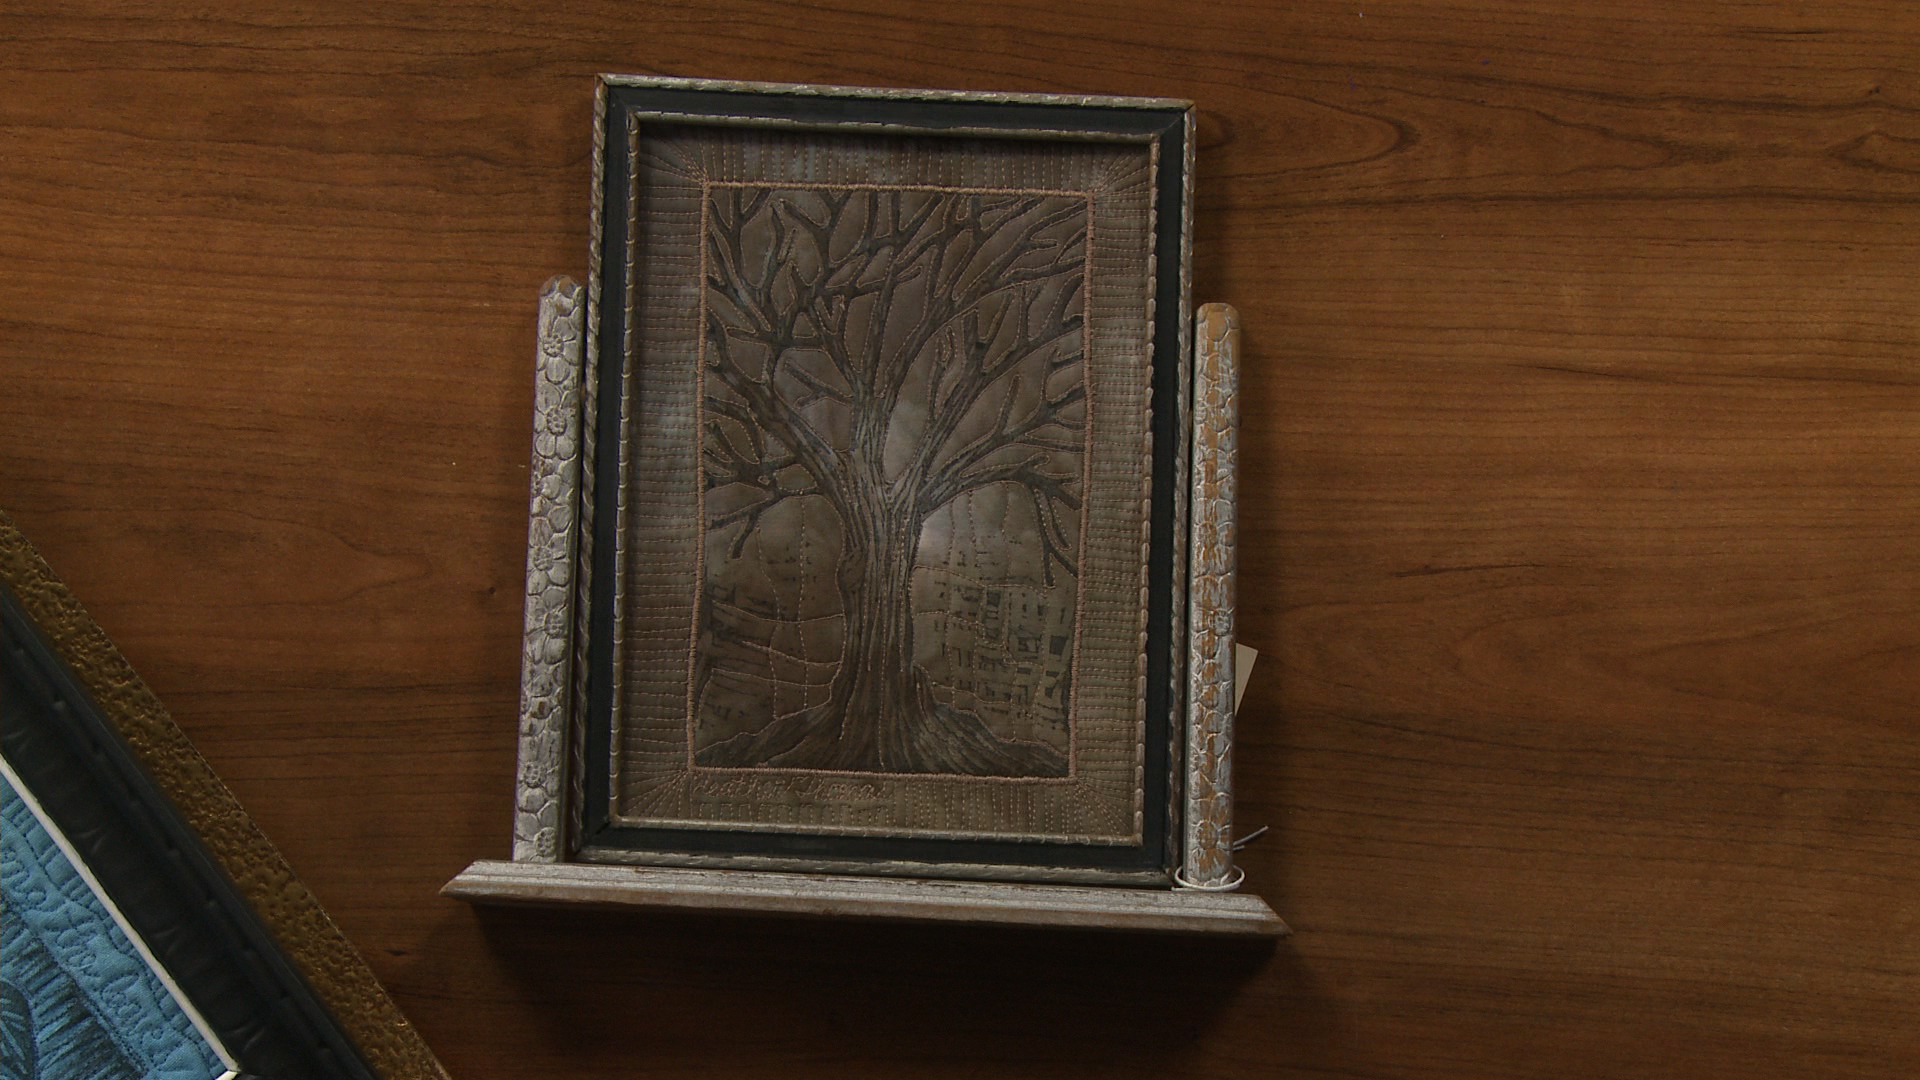
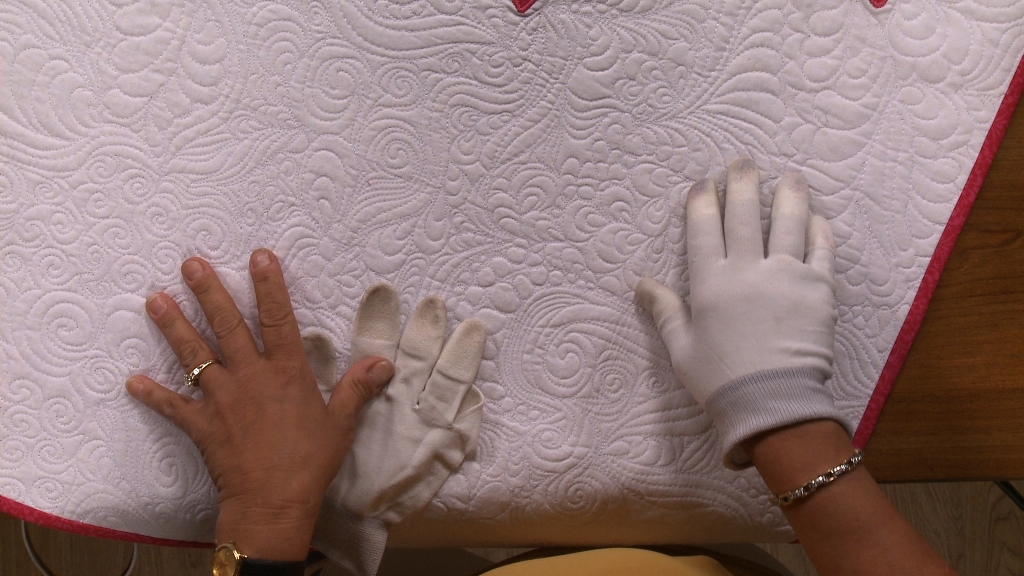
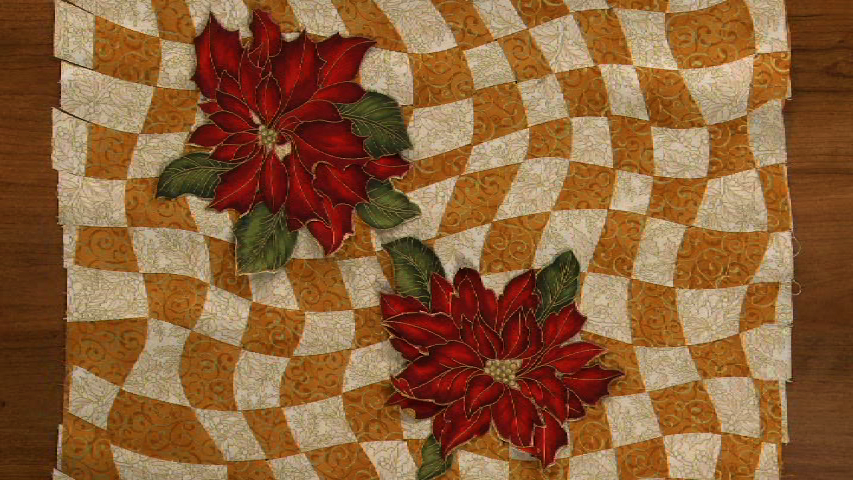
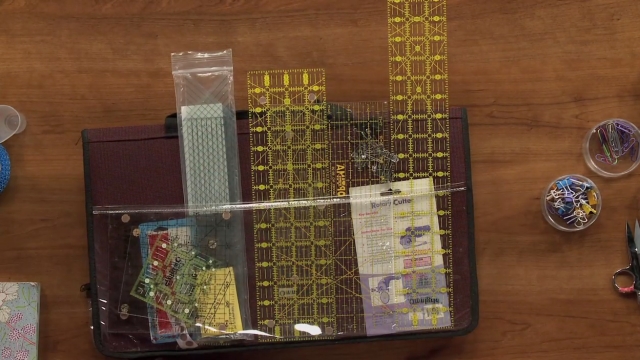
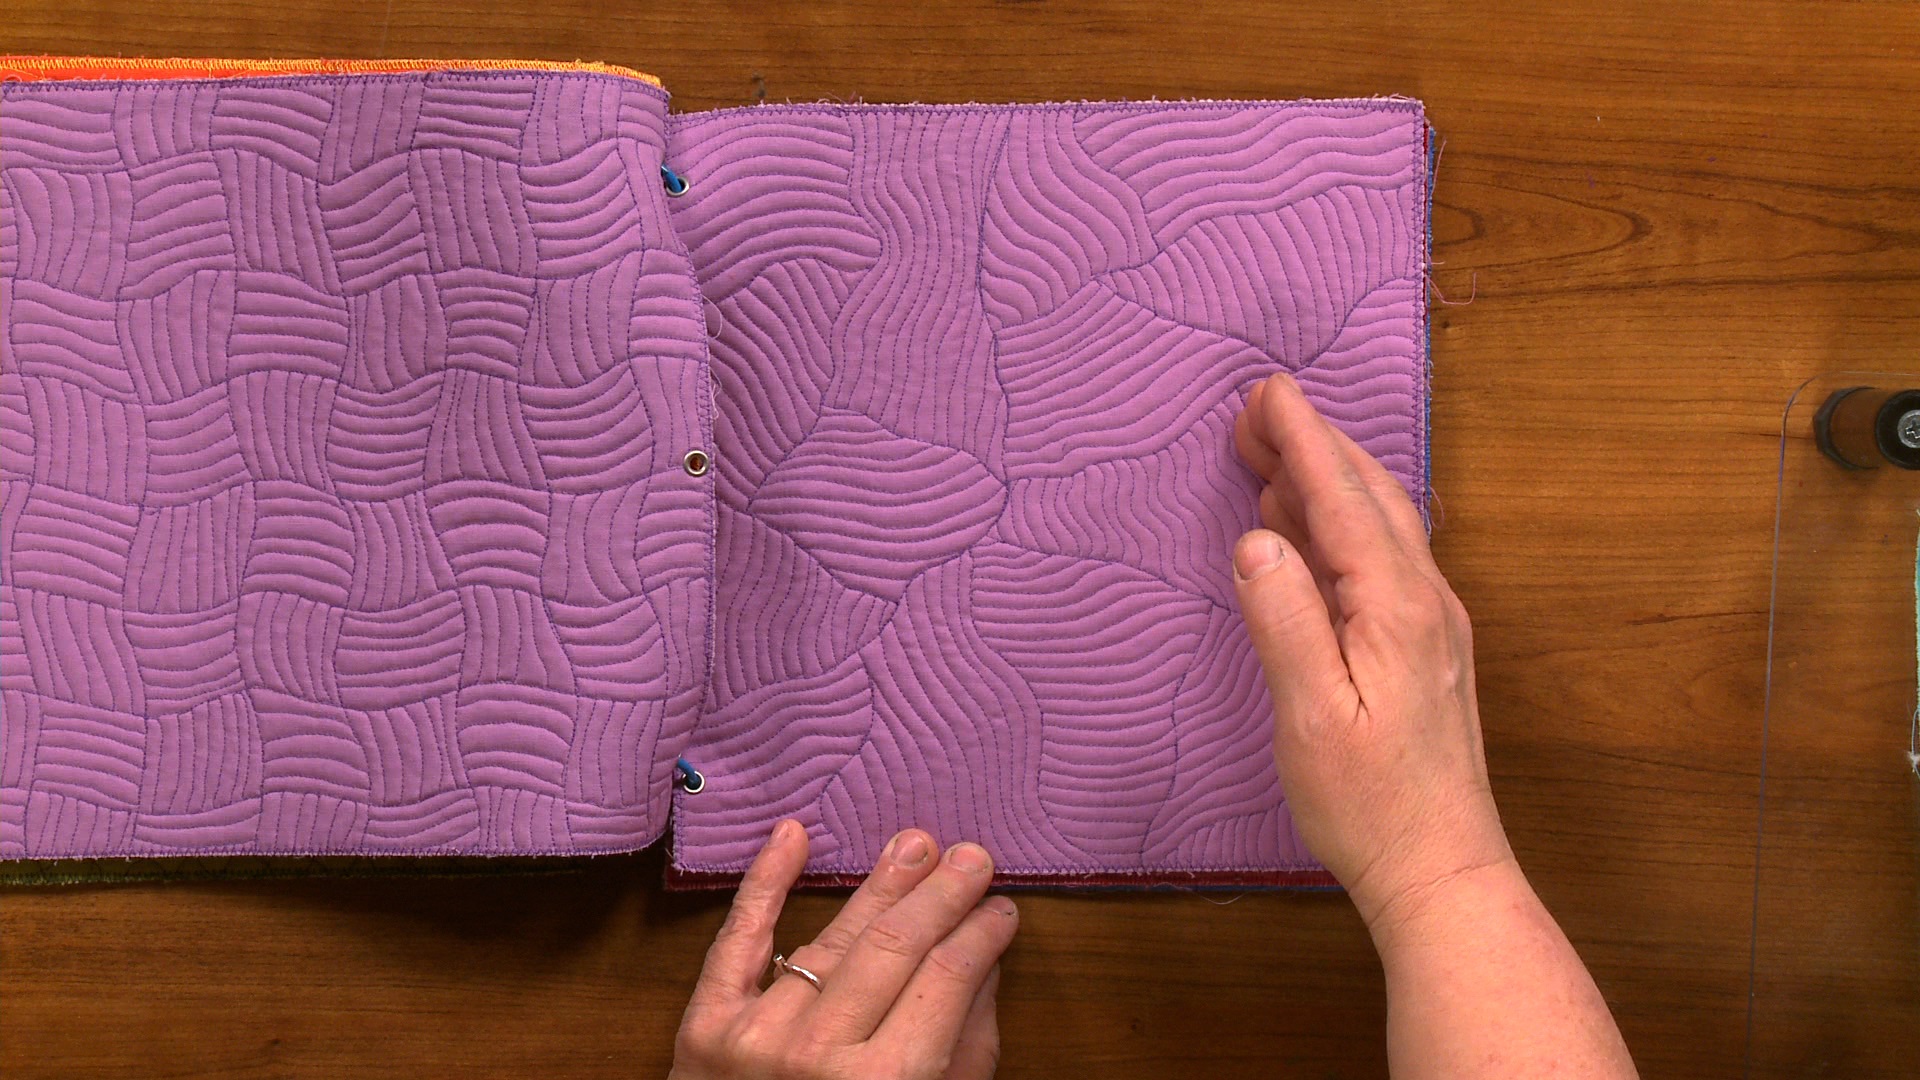
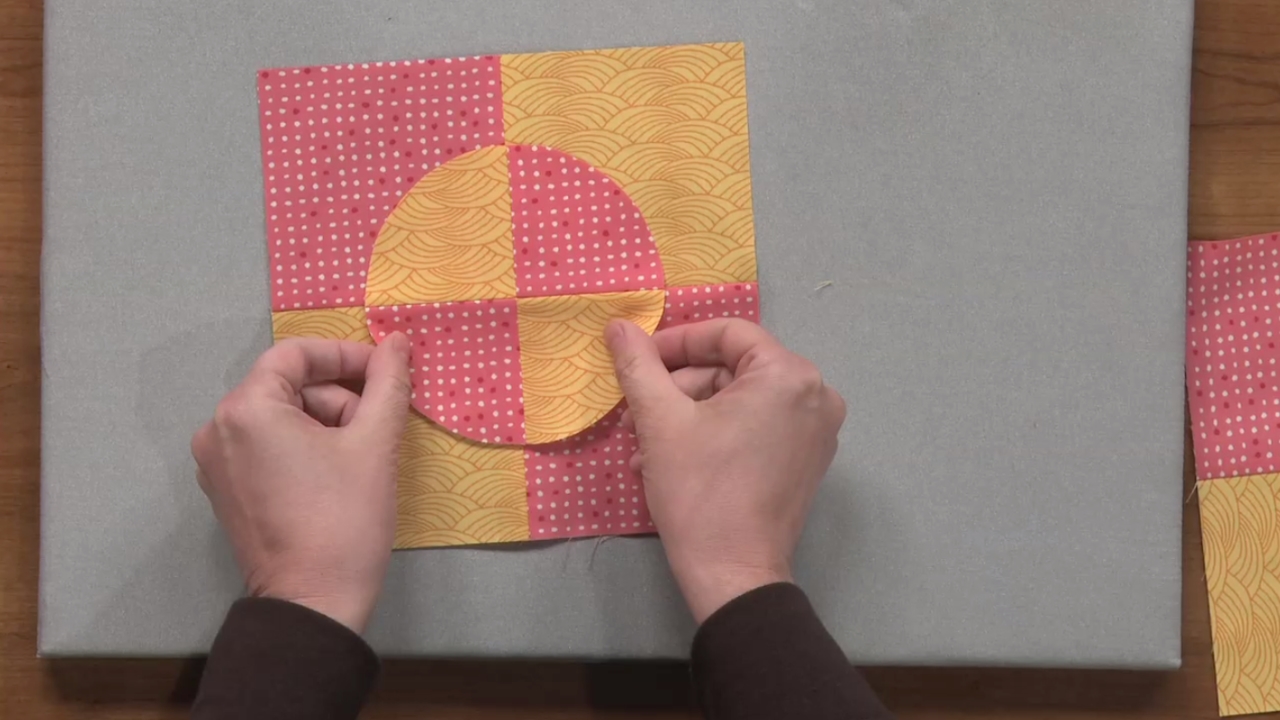
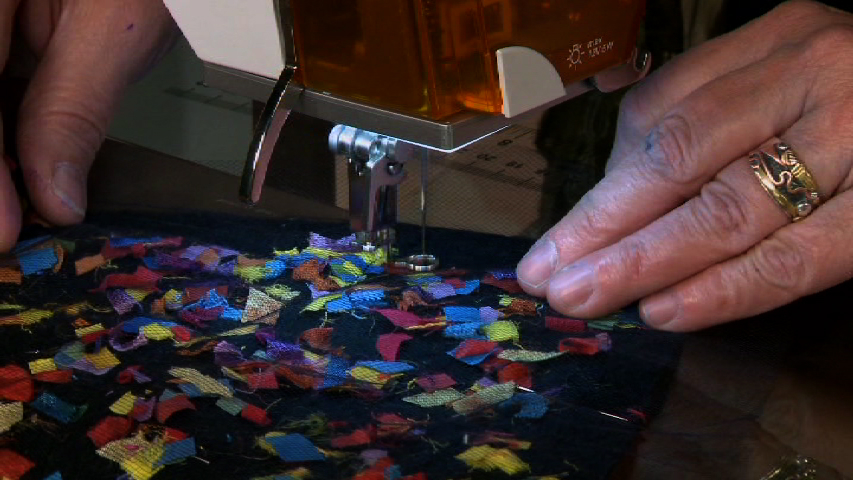
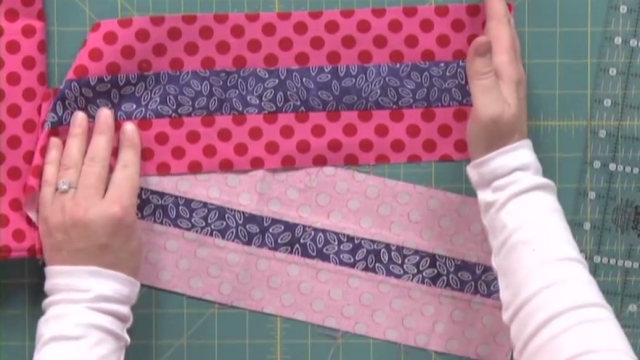
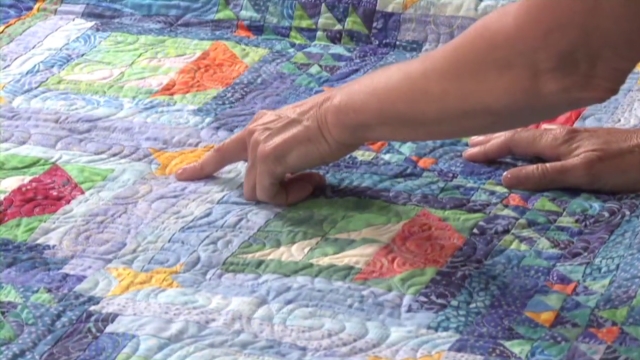
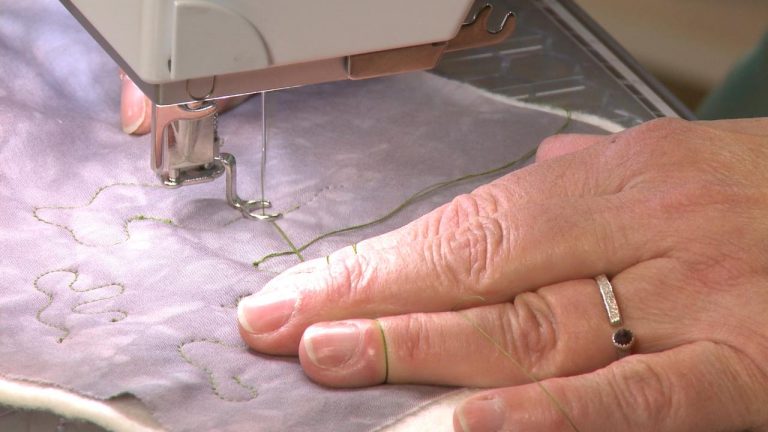
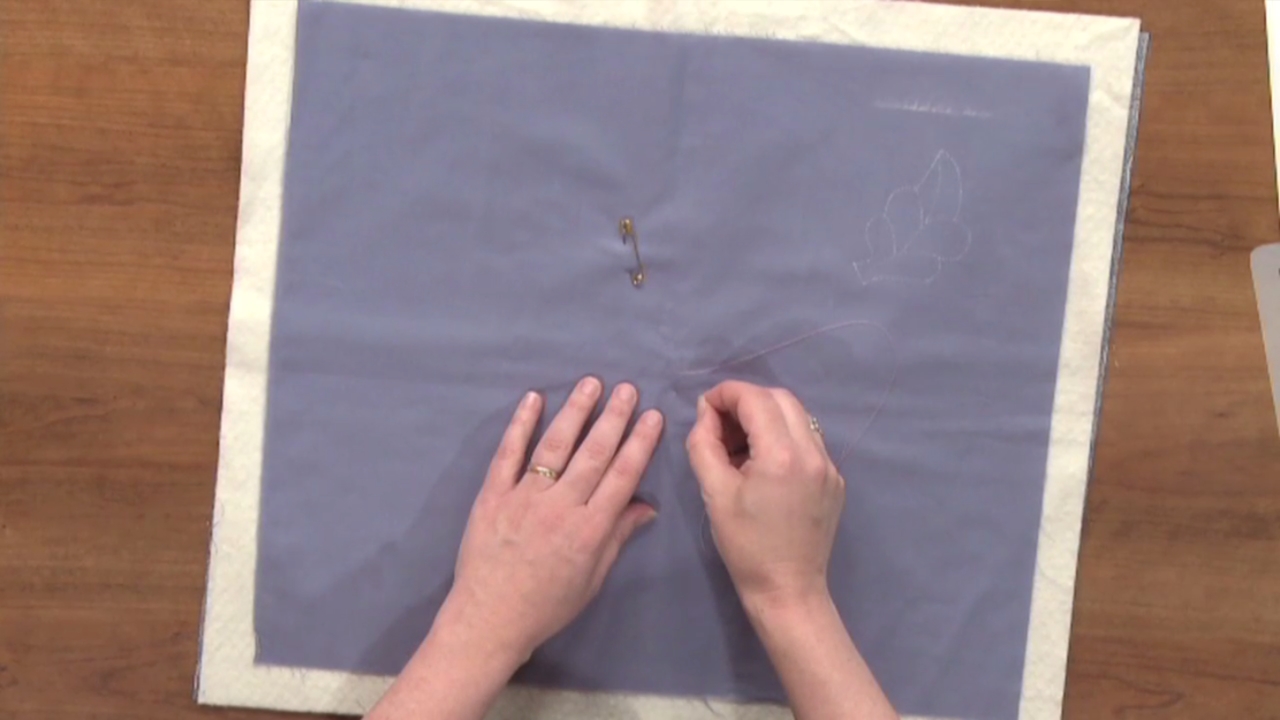
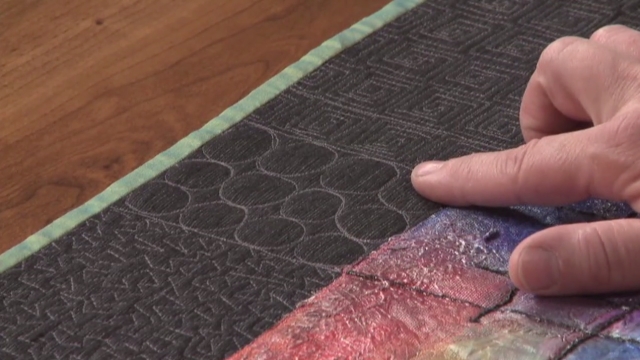
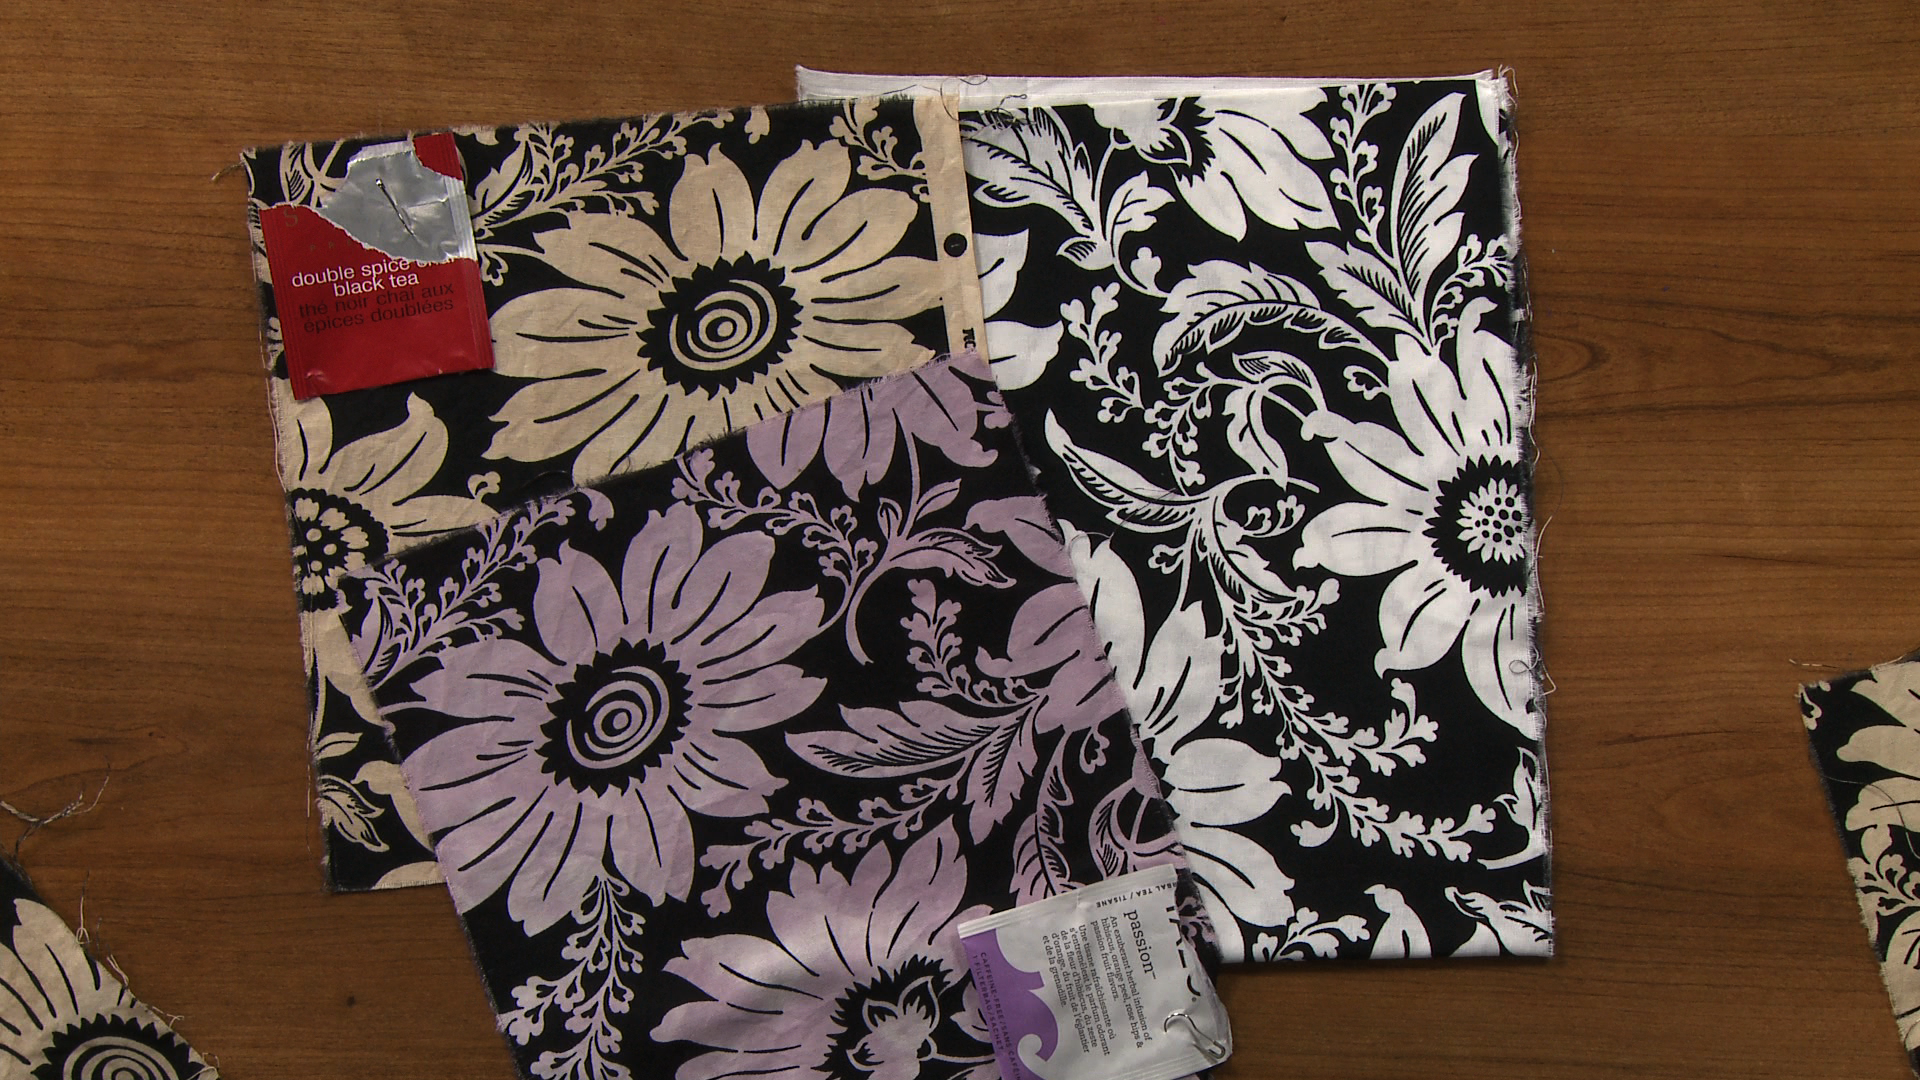
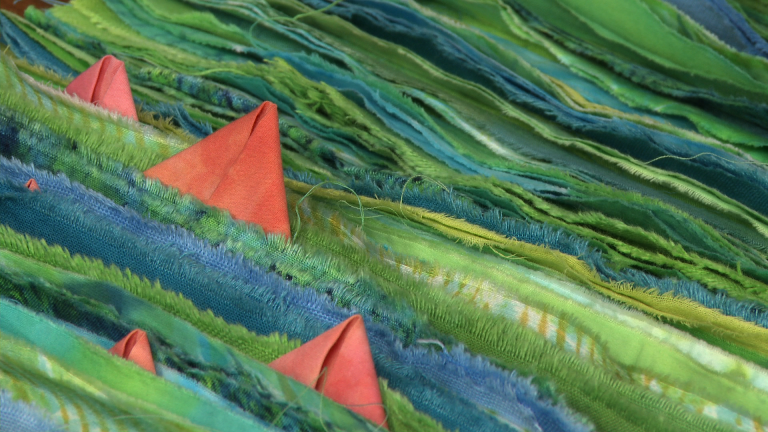
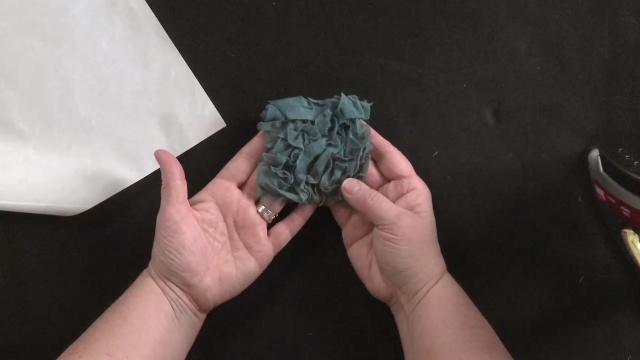
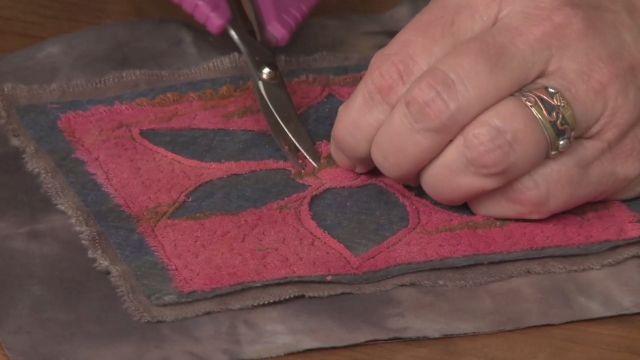
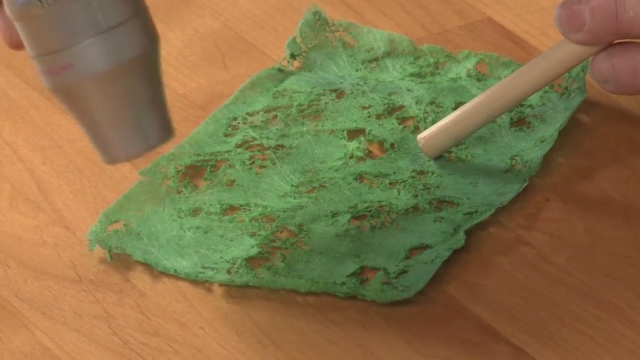
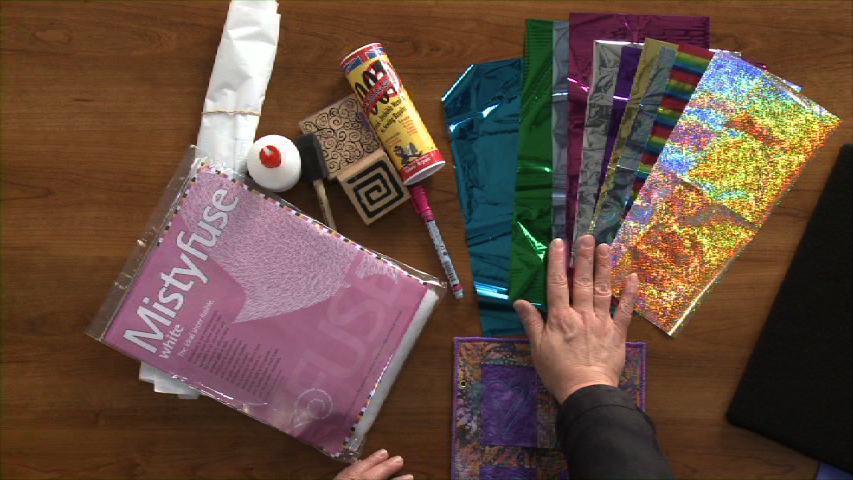
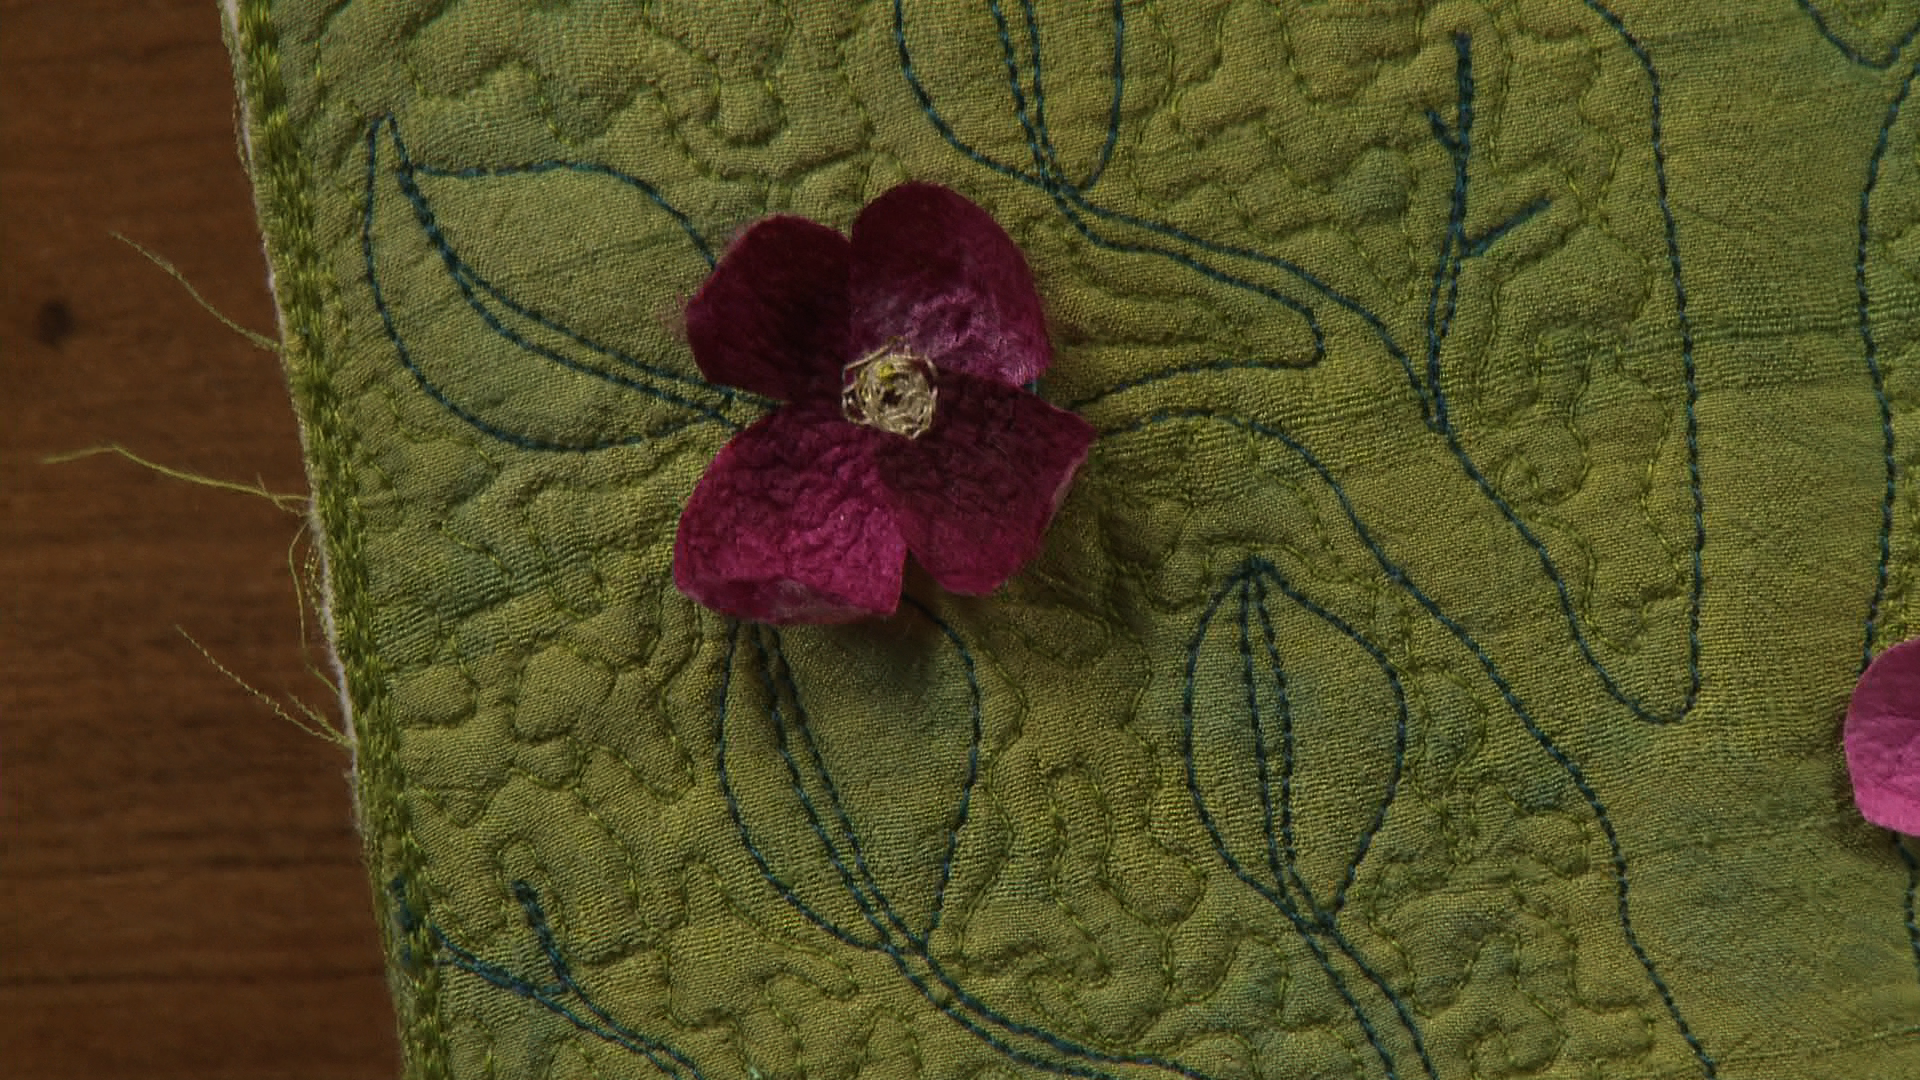
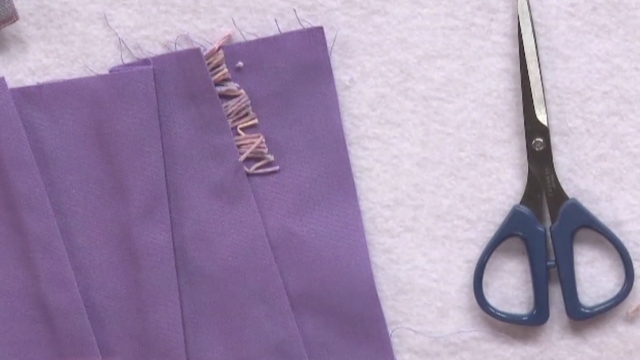
Kelly HansonKelly Hanson shows us a way we can add embellishment and expand our creativity as quilters by fabric weaving. She walks us through step by step how to use small amounts of fabric to create a beautiful design. Watch this fun and helpful tutorial and start working on your next quilting project using fabric weaving today.
Share tips, start a discussion or ask one of our experts or other students a question.
Make a comment:
Already a member? Sign in
7 Responses to “Fabric Weaving for Quilters”
Explore videos by Kelly Hanson
You may be interested in
Premium Membership
Unlock exclusive member content from our industry experts.
- 24/7 Access to Premium Quilting Videos, Projects, and Tips
- Step-by-Step Instructional Demos, Patterns, and Tutorials
- 50% Off Video Downloads Purchased in the National Quilters Circle Shop
- Access to Ask the Expert Program
Unlock exclusive member content from our industry experts.
- 24/7 Access to Premium Quilting Videos, Projects, and Tips
- Step-by-Step Instructional Demos, Patterns, and Tutorials
- 2 Full-Length Video Downloads to Watch Offline
- 50% Off Video Downloads Purchased in the National Quilters Circle Shop
- Access to Ask the Expert Program
Gold Membership
$336 Value
Get everything included in Premium plus exclusive Gold Membership benefits.
- 24/7 Access to Premium Quilting Videos, Projects, and Tips
- Step-by-Step Instructional Demos, Patterns, and Tutorials
- 8 Full-Length Video Downloads to Watch Offline
- 3 Full-Length Quilting Classes to Keep for Life
- 2 Printable Quilting Guides
- Discounts on Purchase-to-Own Content in the National Quilters Circle Shop
- Access to Ask the Expert Program
- Exclusive GOLD LIVE Streaming Events
Get exclusive premium content! Sign up for a membership now!
i really enjoyed the tutorial and am going to weave my own fabric today. i had tried weaving in a different method previously, but this seems much easier. Thank you.
What is the point after all the hassle to log in and search for the bloody video all over just for you to tell me after a couple of mintued that the bloody video is not available, why the hell am I paging for subscription can u pls tell me!
So after you're done weaving, what happens to all those raw edges?
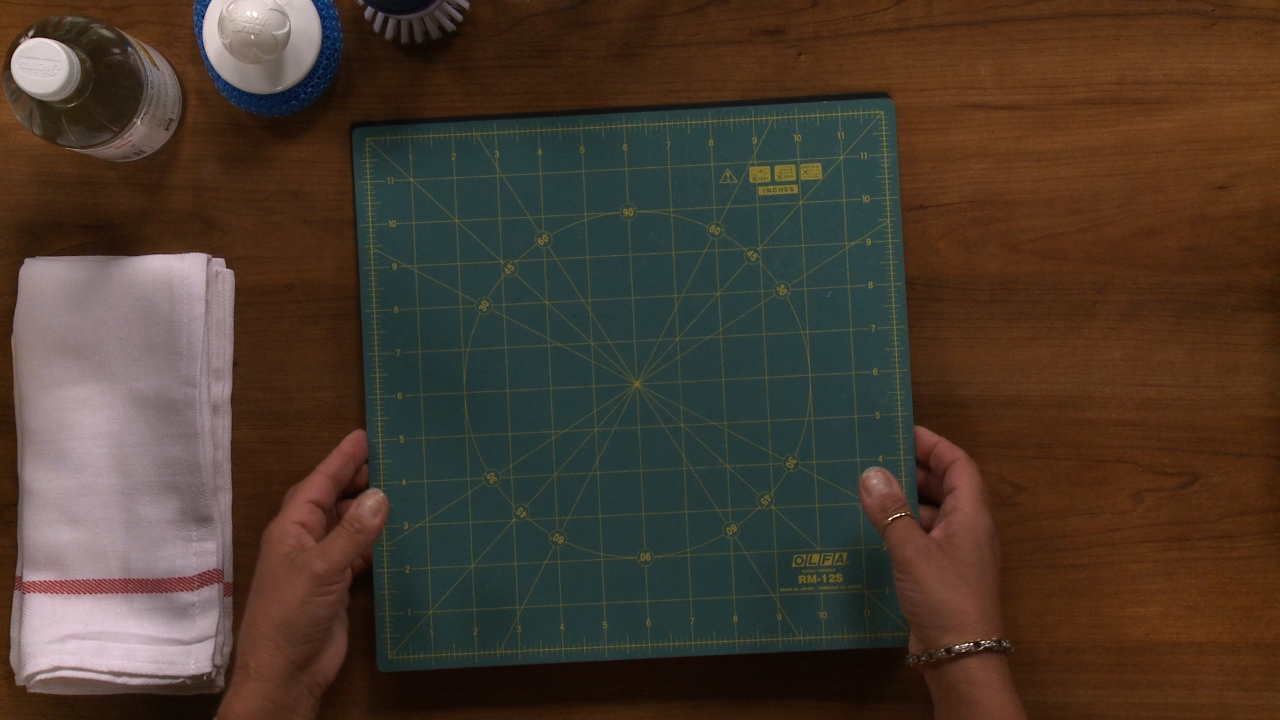
I truly appreciate the tutorial but I find it so difficult to believe this program can't afford to give you a large flat cutting mat or proper ironing surface. The table is huge so it looks ridiculous that you're being forced to cut on a bouncy mat. You mention taping it down on a cutting mat so why not bring one and show that technique? Weird. Just some feedback that hopefully helps future videos.
I see that when this video was edited, it was left out that you should press onto an Applique sheet. That will keep all pieces stable without ruining your ironing board cover. When you are ready to quilt your piece, you will simple layed with a backing fabric, batting and then top it off with your fabric weave. you may choose at this point to press your weave onto your batting. Have fun and post your photos on our facebook page!
test comment by vstest02
test comment - http://www.nationalquilterscircle.com/video/fabric-weaving-for-quilters-005496/