
Seam Allowance for Quilting: All About ¼” Seams
Heather ThomasWhen it comes to quilting, almost all patterns are written using a ¼” seam allowance. If you come from a garment sewing background and are used to a ⅝” seam allowance this can seem small, but Heather Thomas explains why the ¼” seam allowance is used.
Quarter Inch
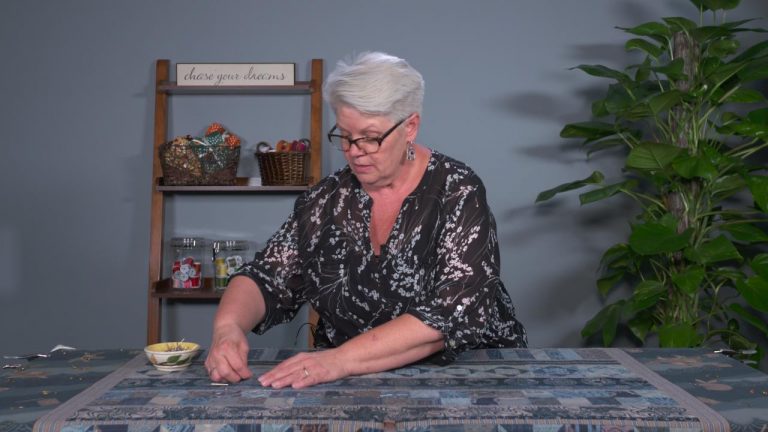
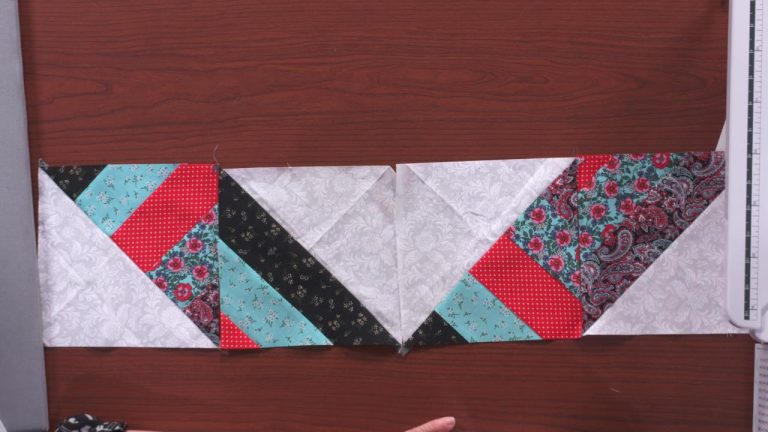
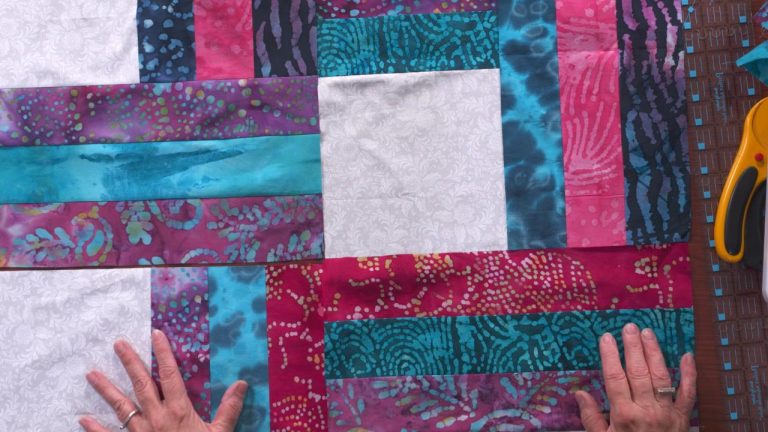
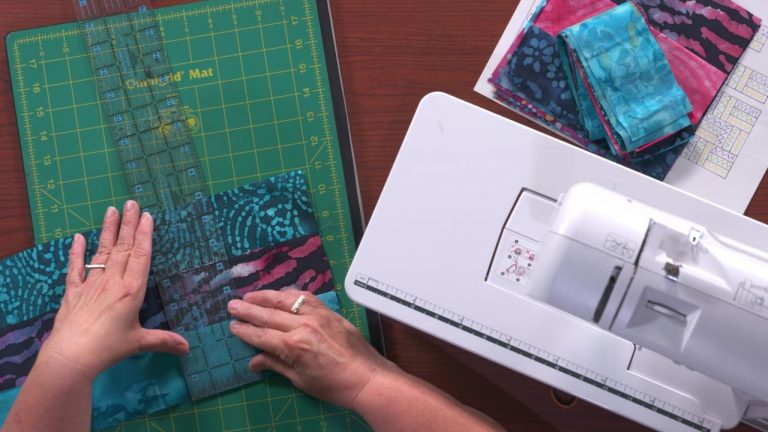
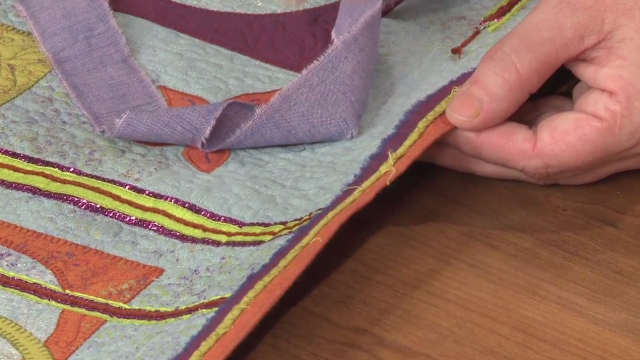
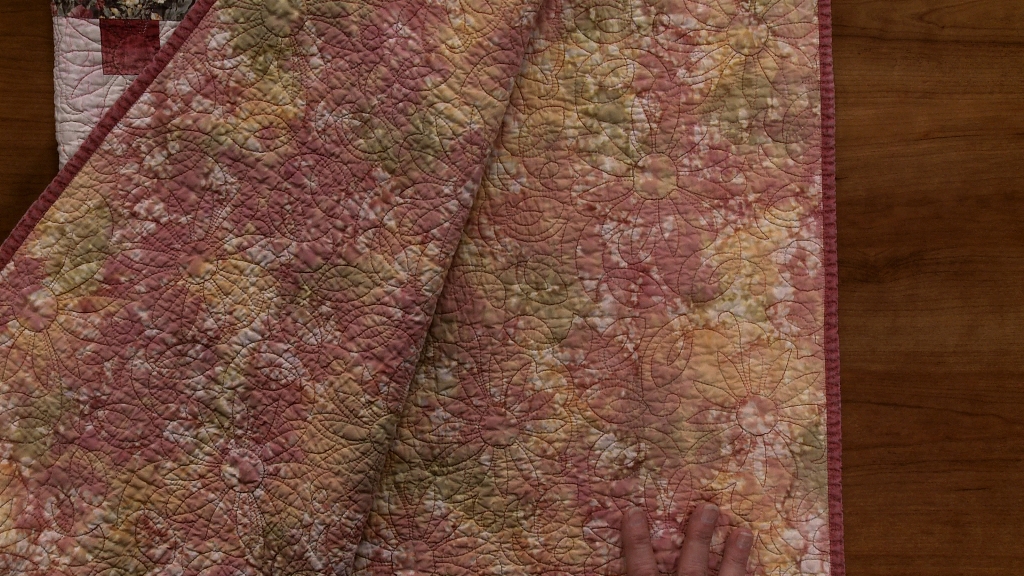
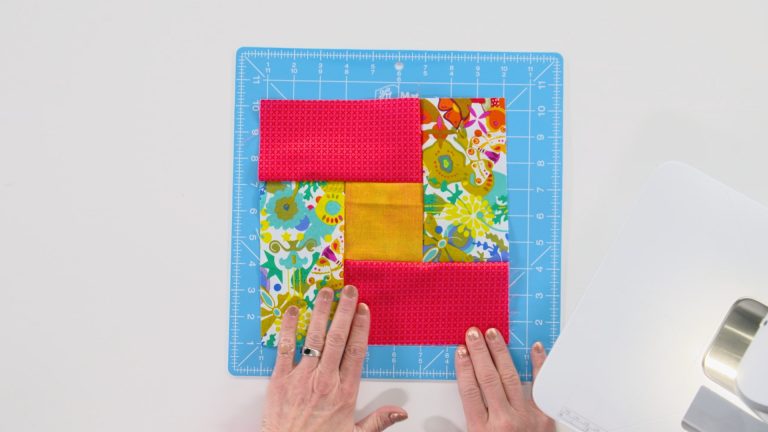
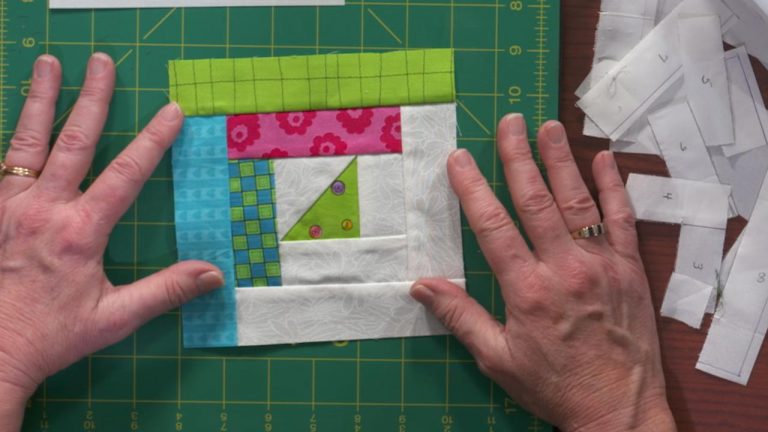
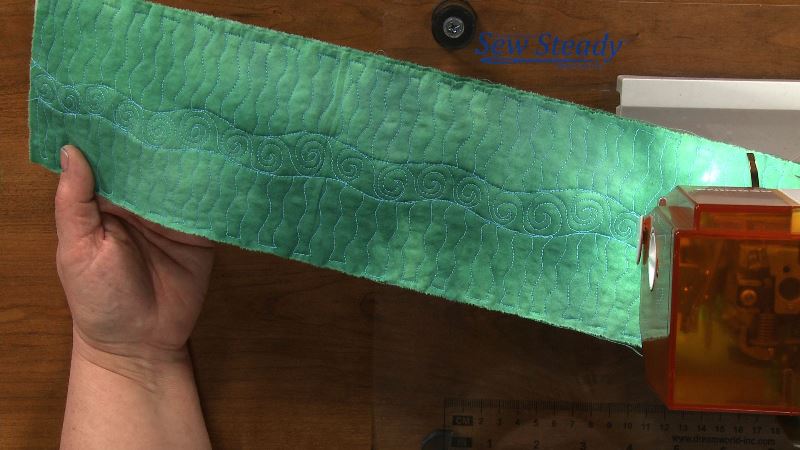
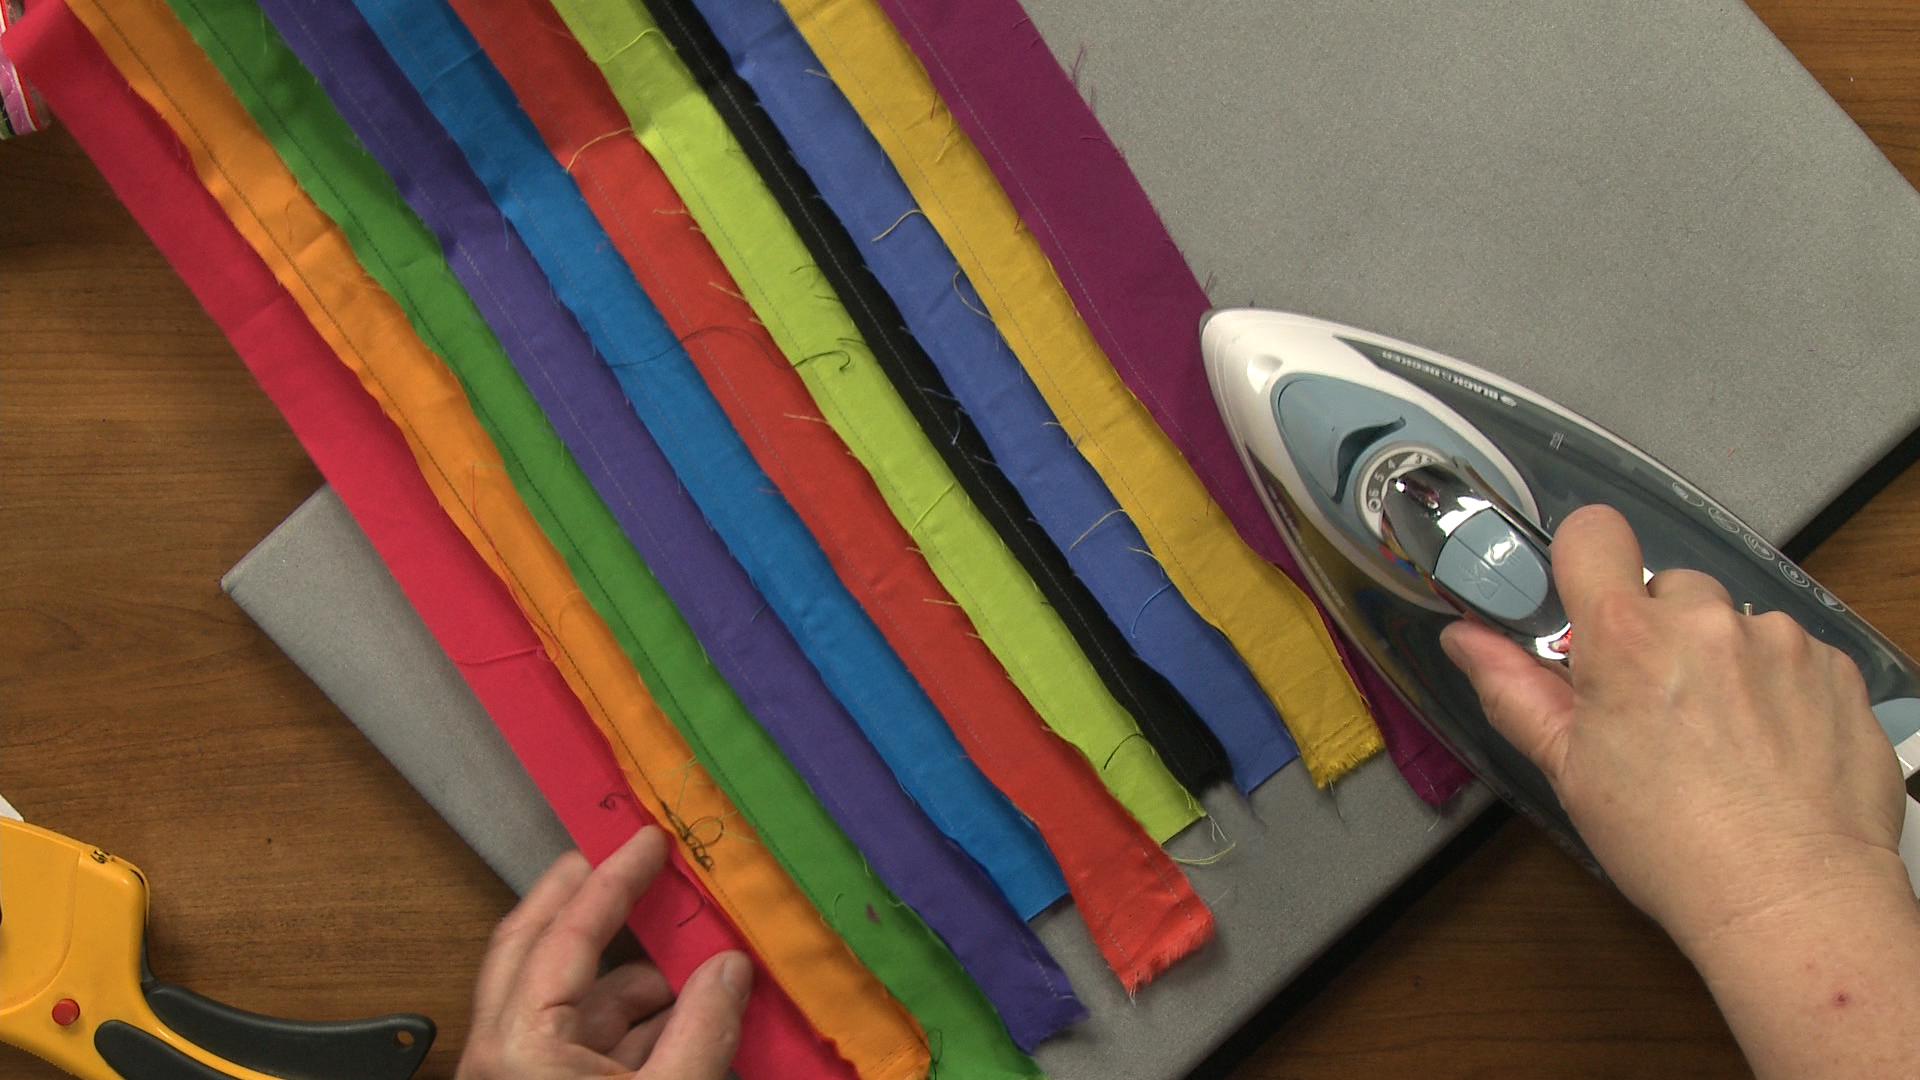
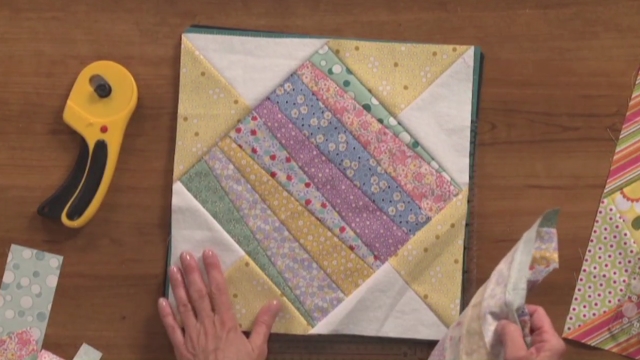
When piecing a quilt there is no need for a larger seam allowance because the seams are not going to be subject to wear and tear like a garment. Also, if quilted properly, the seams will be reinforced when the quilt top is quilted. Because of this it is also less important if all of your seams are perfect. Heather Thomas explains that while you want to alway try and sew using and accurate ¼” seam allowance, there are times when a scant or chunky seam allowance can be used. A scant seam allowance means that you are stitching just under ¼” whereas a chunky seam allowance means you are stitching just over a ¼”. Heather shows the backside of a quilt she has pieced and explains how she used one of those seam allowances to help better fit several units together.
Stretching and Easing
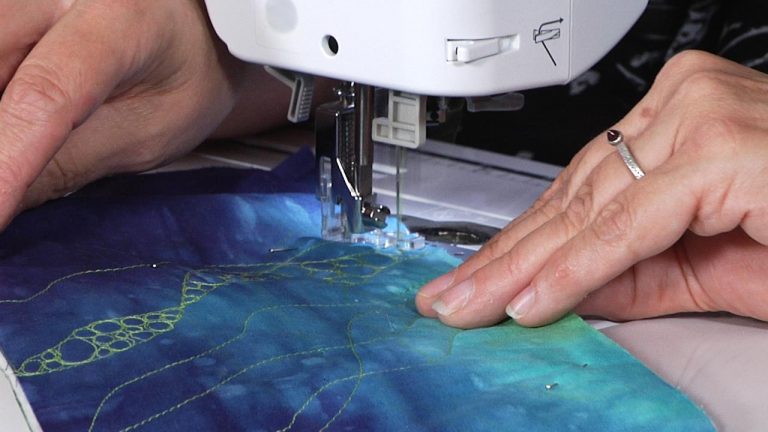
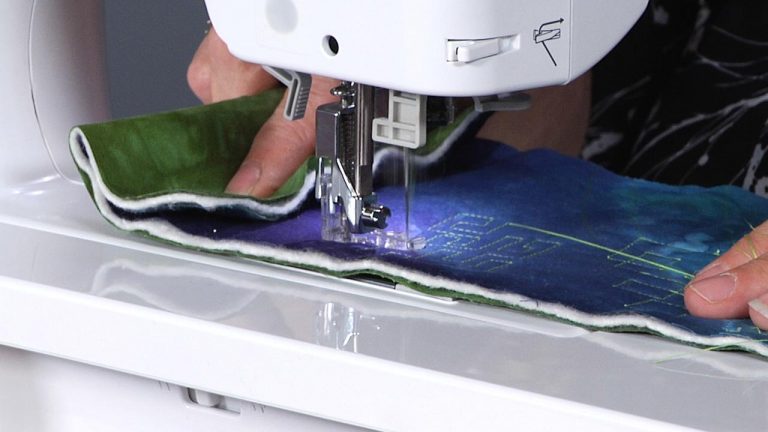
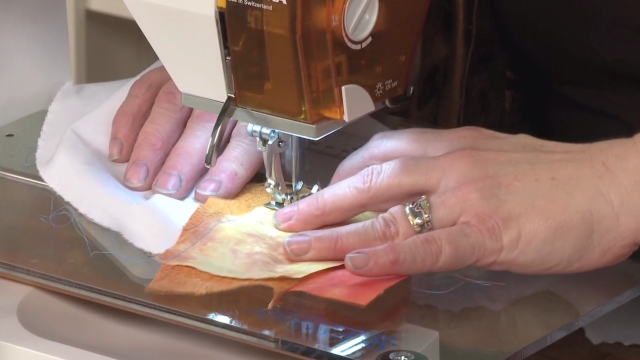
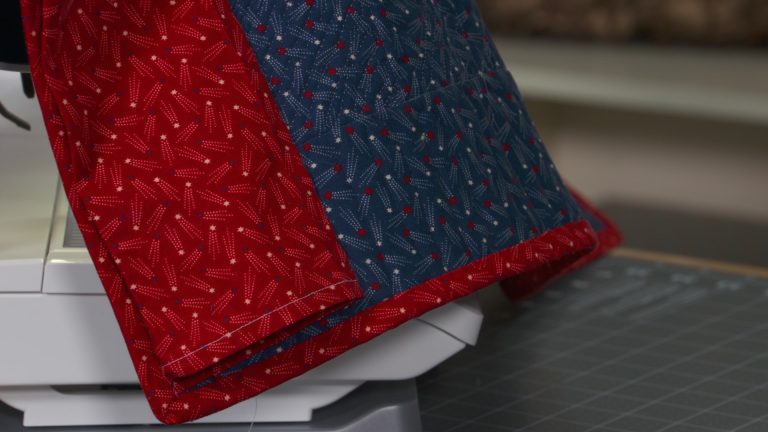
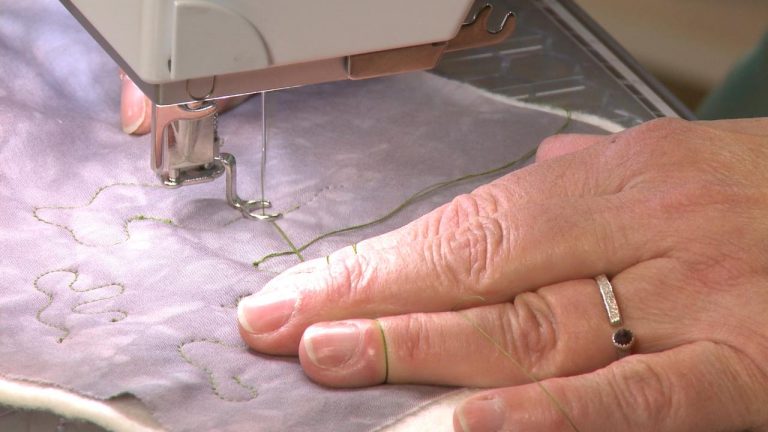
While you may be striving to stitch a perfect ¼” seam allowance all of the time, sometimes it doesn’t always happen. Rather than have to tear out a seam with seam rippers and re-stitch it, Heather explains how you can using a stretching or easing technique to ‘fix’ the seam. This works great if you need to fix one or two seams in a project, however if you are finding that you are needing to do this often you may want to reevaluate your stitching technique. Measure your ¼” foot to ensure you are lining up at the right spot or make a mark on your machine throat plate that you can line your fabric up on every time.
Share tips, start a discussion or ask one of our experts or other students a question.
Already a member? Sign in
6 Responses to “Seam Allowance for Quilting: All About ¼” Seams”
Explore videos by Heather Thomas
You may be interested in
Premium Membership
Unlock exclusive member content from our industry experts.
- 24/7 Access to Premium Quilting Videos, Projects, and Tips
- Step-by-Step Instructional Demos, Patterns, and Tutorials
- 50% Off Video Downloads Purchased in the National Quilters Circle Shop
- Access to Ask the Expert Program
Unlock exclusive member content from our industry experts.
- 24/7 Access to Premium Quilting Videos, Projects, and Tips
- Step-by-Step Instructional Demos, Patterns, and Tutorials
- 2 Full-Length Video Downloads to Watch Offline
- 50% Off Video Downloads Purchased in the National Quilters Circle Shop
- Access to Ask the Expert Program
Gold Membership
$336 Value
Get everything included in Premium plus exclusive Gold Membership benefits.
- 24/7 Access to Premium Quilting Videos, Projects, and Tips
- Step-by-Step Instructional Demos, Patterns, and Tutorials
- 8 Full-Length Video Downloads to Watch Offline
- 3 Full-Length Quilting Classes to Keep for Life
- 2 Printable Quilting Guides
- Discounts on Purchase-to-Own Content in the National Quilters Circle Shop
- Access to Ask the Expert Program
- Exclusive GOLD LIVE Streaming Events


great info to learn, or, great to refresh your approach to piecing. I've found using the same ruler throughput the project also helps consistency.
Why does my email say "How to Sew Y Seams" but the video is about 1/4" seams? Very disappointed.
Thank you . I cnjoted the n learned that can manipulate the fabric a little if it is scant 1/4.
Wonderful calm guidance for understanding 1/4 in seams. I really appreciate hearing from a pro that we are in charge, not the fabric. I frequently find myself "fudging" slightly to make a block fit together nicely. Very reassuring to hear that this really is OK.
Understood every point she made about this qtr inch seam & also the sewing machine foot which has the q tr inch size but she said fabric should not show when sewing as qtr inch seams. And consistency in seam size is important for neat, flat quilting -- -- as a beginner who made one jelly roll item, she mentioned everything I wondered about RE seams -- -- thought this was excellent presentation.
I am by no means an advanced quilter. When I quilt, I sometimes have fabrics that ravel. If I use a 1/4" seam, the fabric may ravel through the seam, especially if washed. I prefer to use a little larger seam more towards to a 1/3". I understand what you are saying about using the 1/4" so that the pieces fit together as designed. Is it wrong to use a little larger seam to prevent the raveling?