Quilt & Color: Session 1: Introduction: Tools Needed
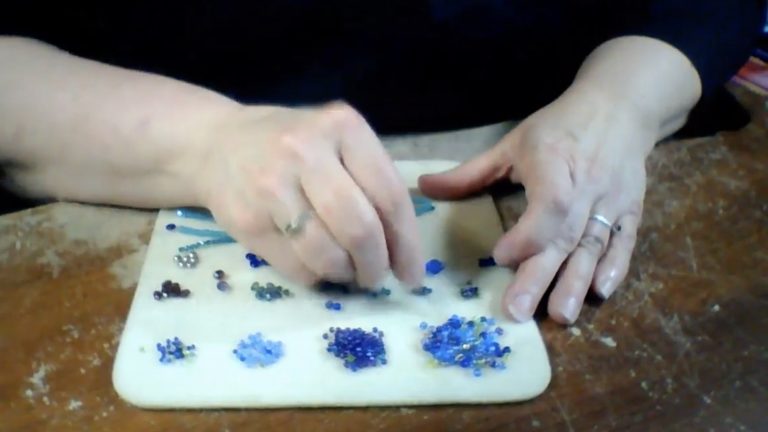
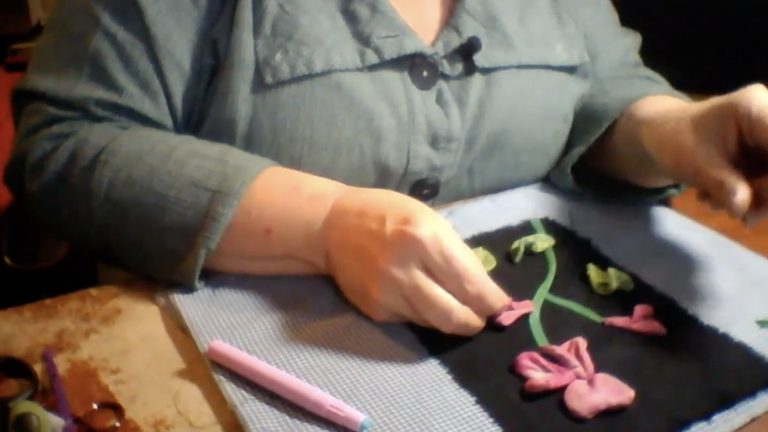
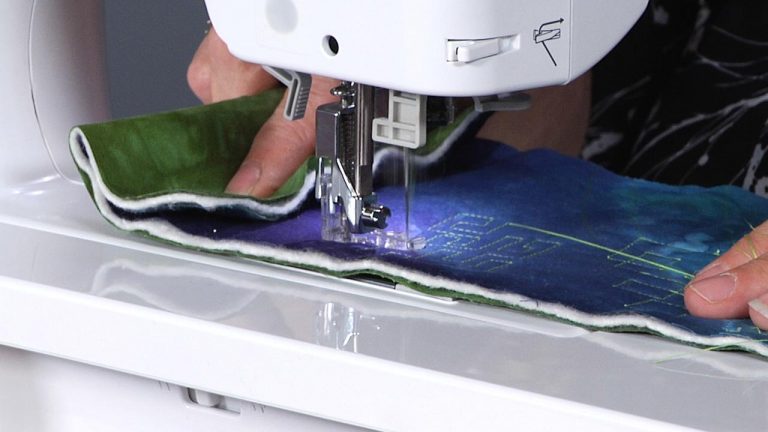
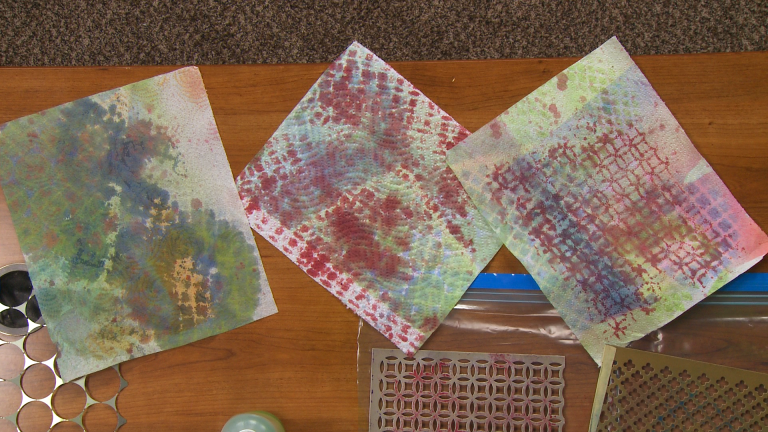
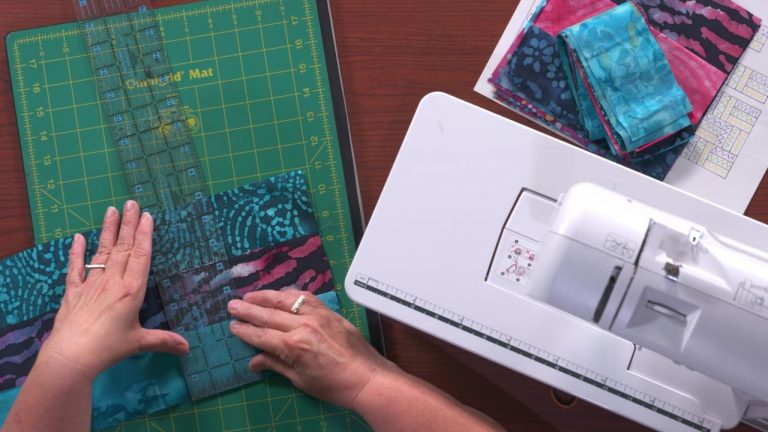
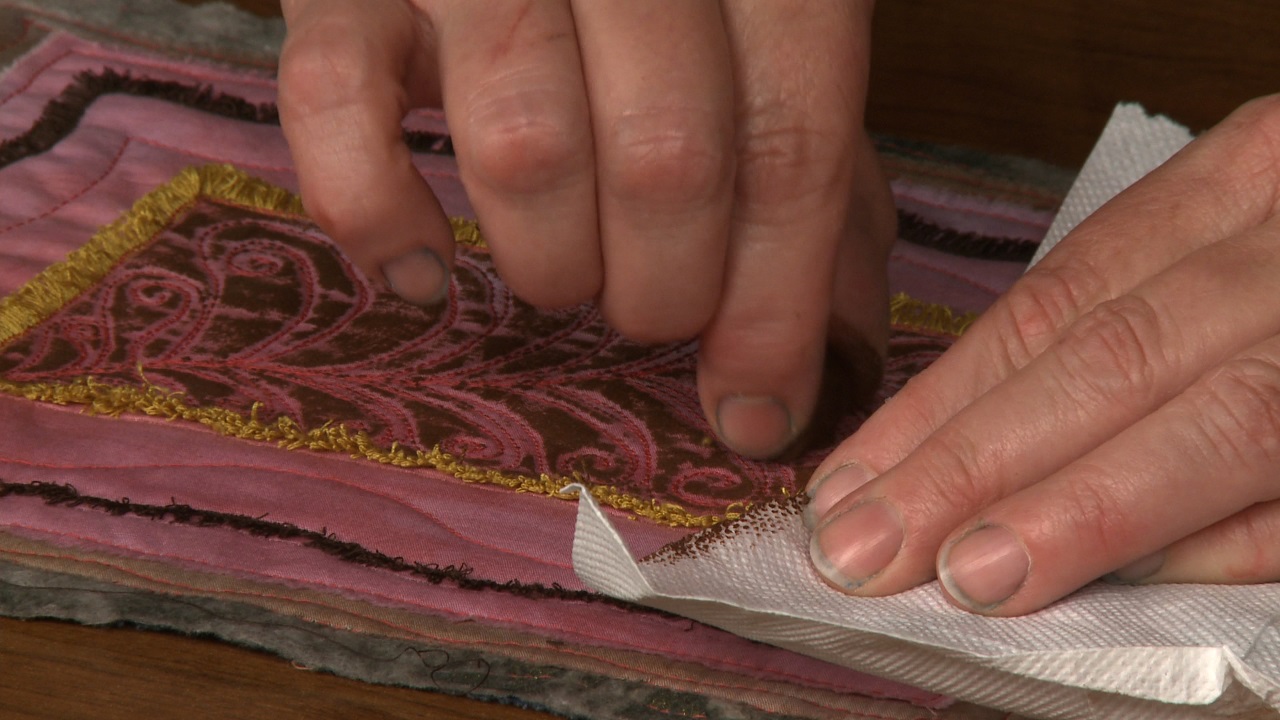
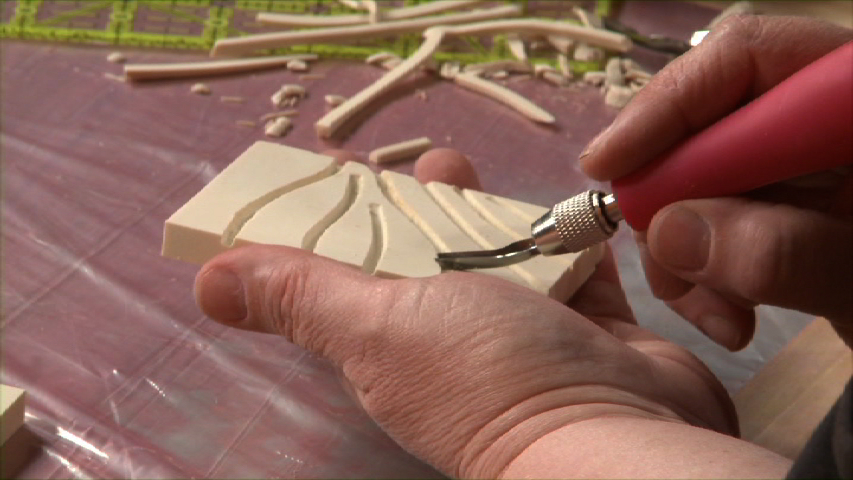
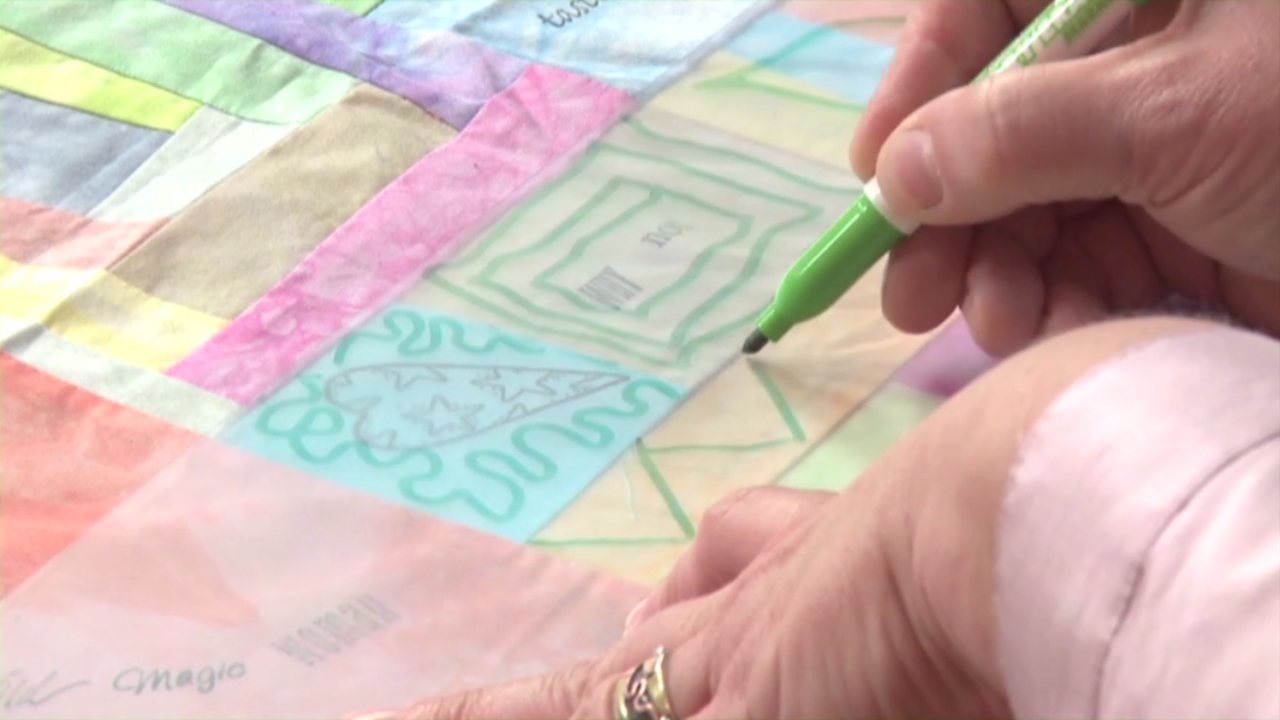
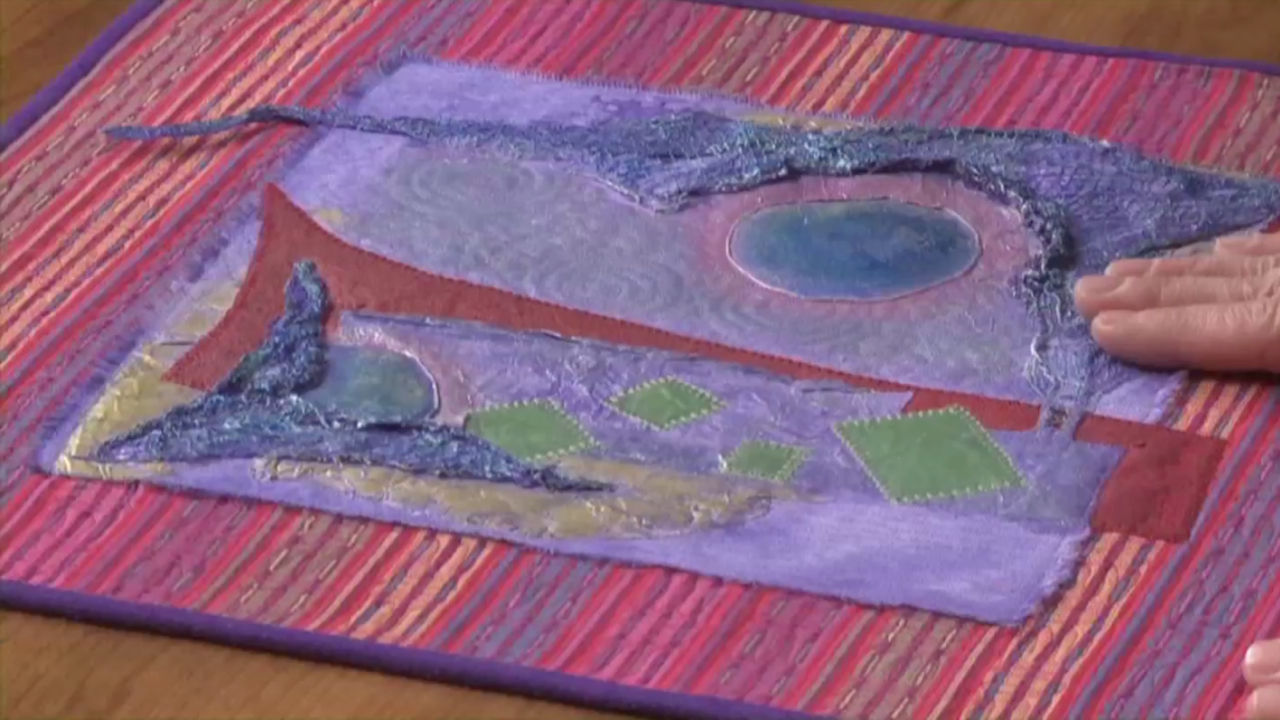
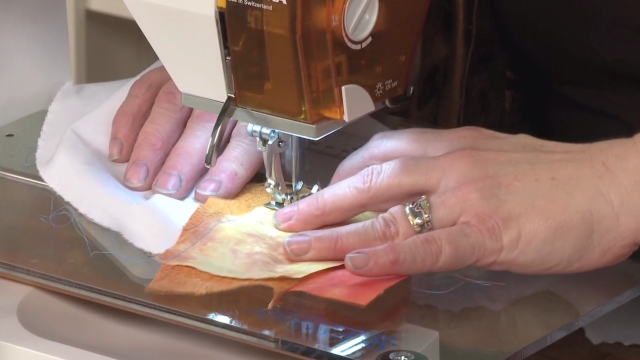
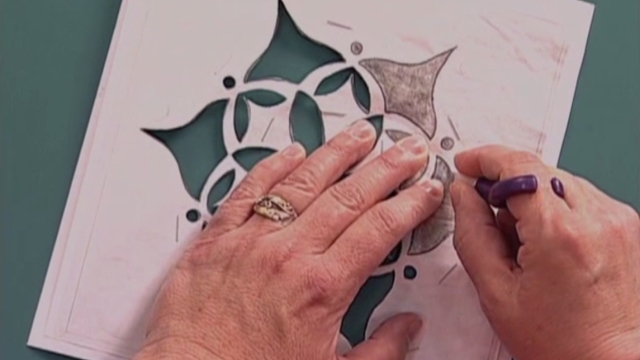
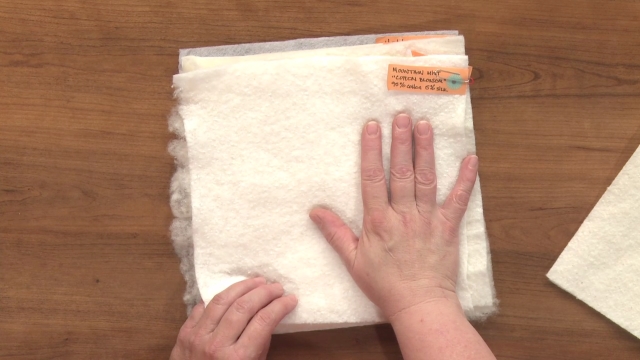
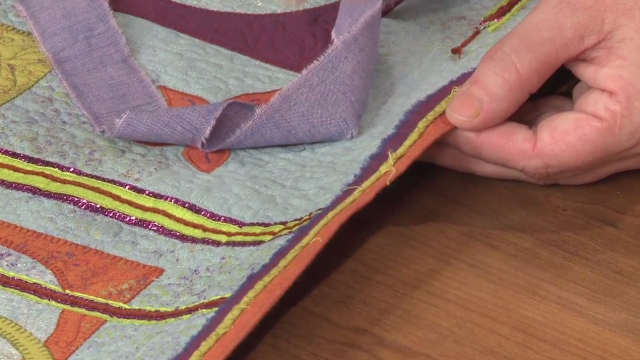
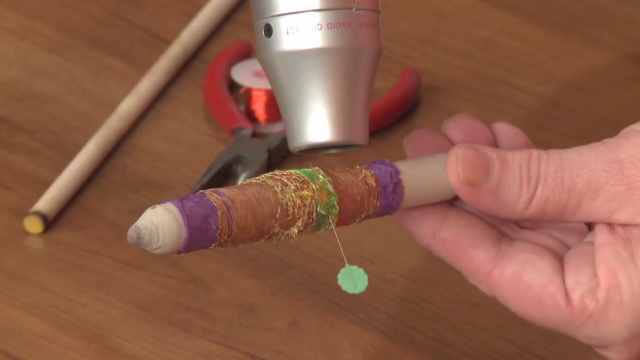
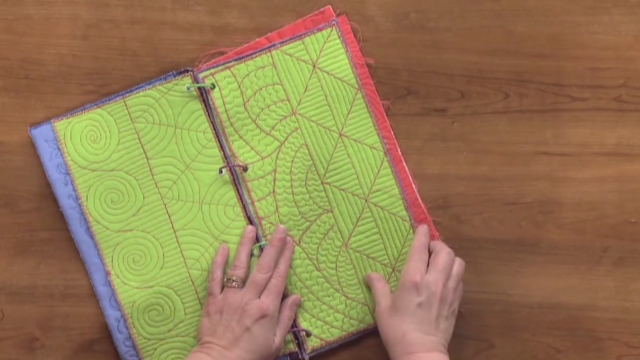
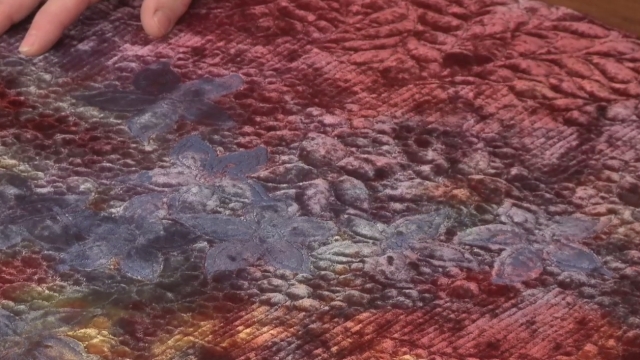
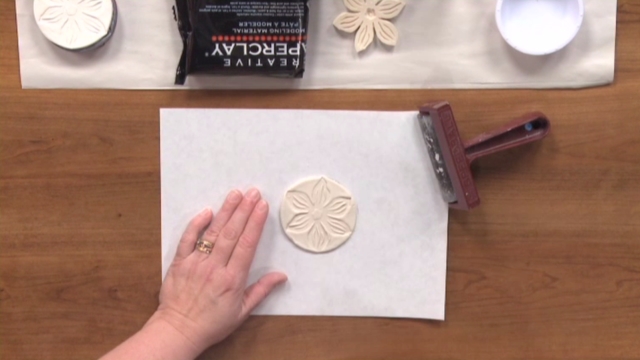
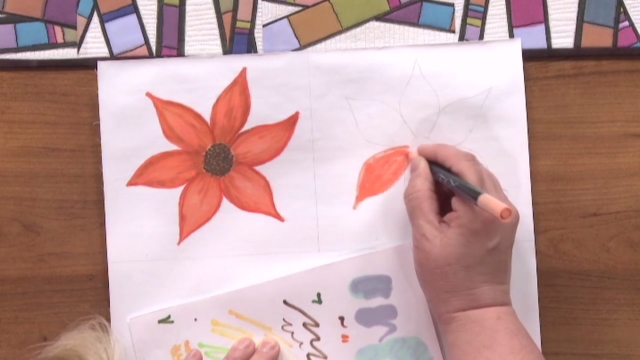
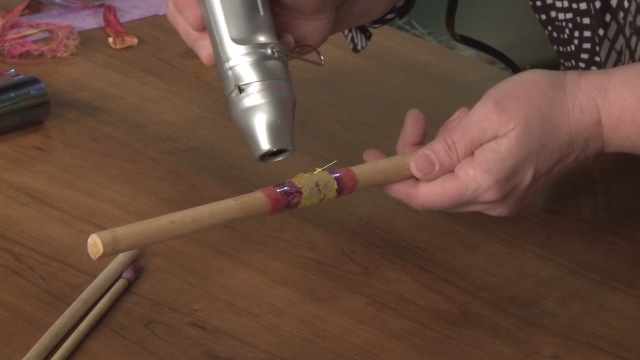
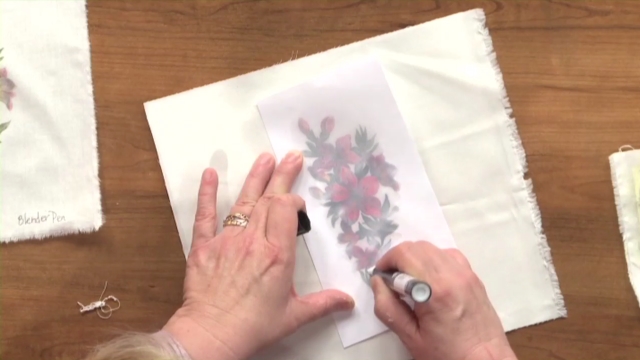
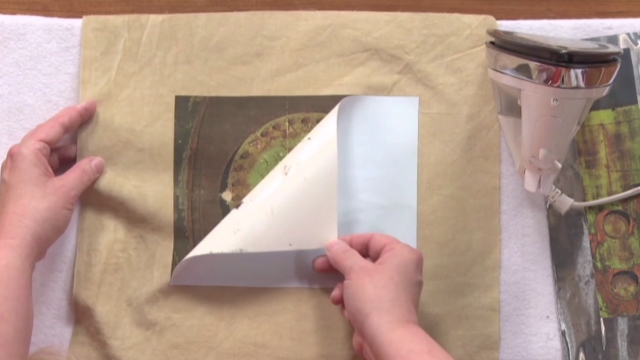
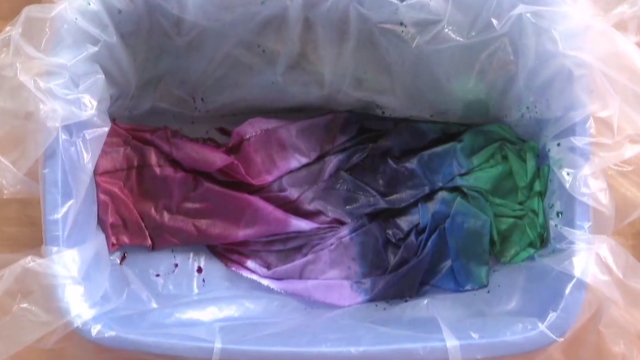
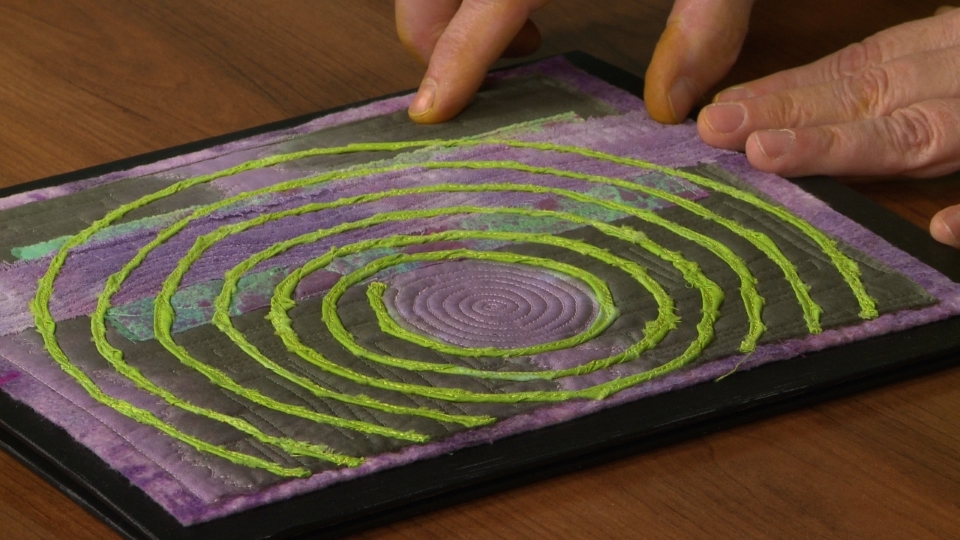
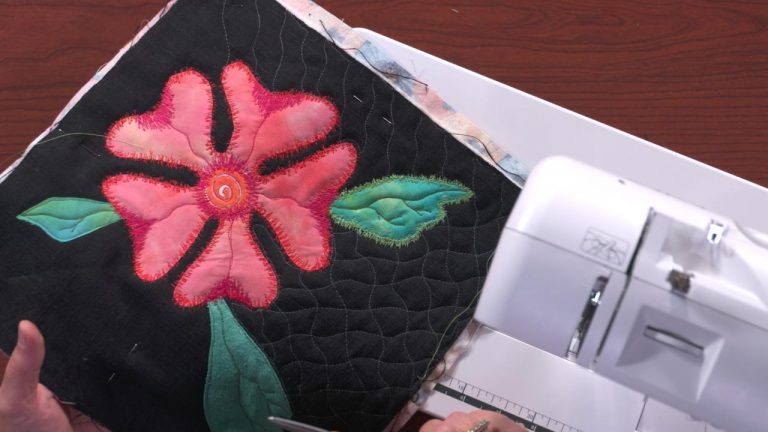
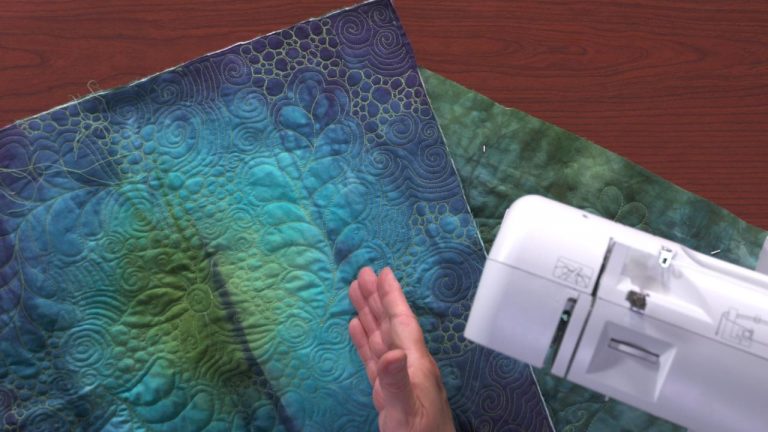
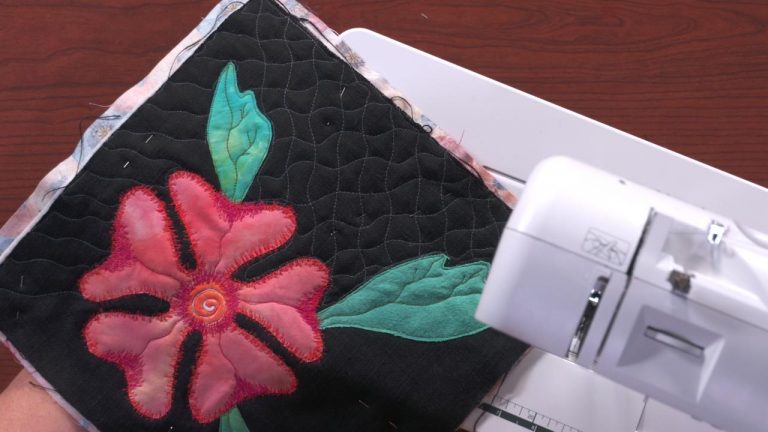
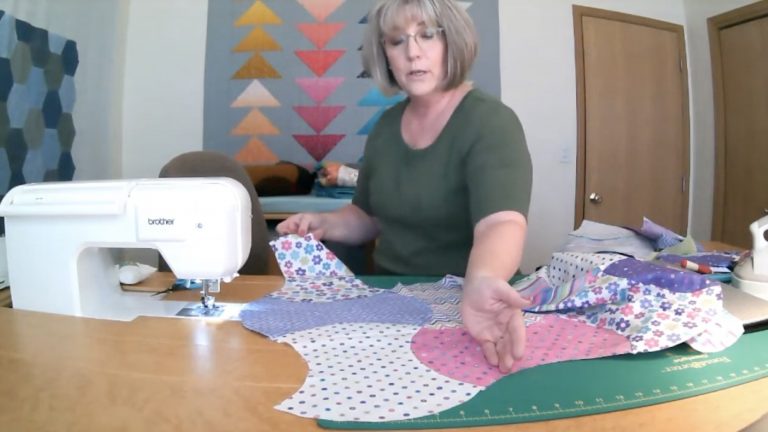
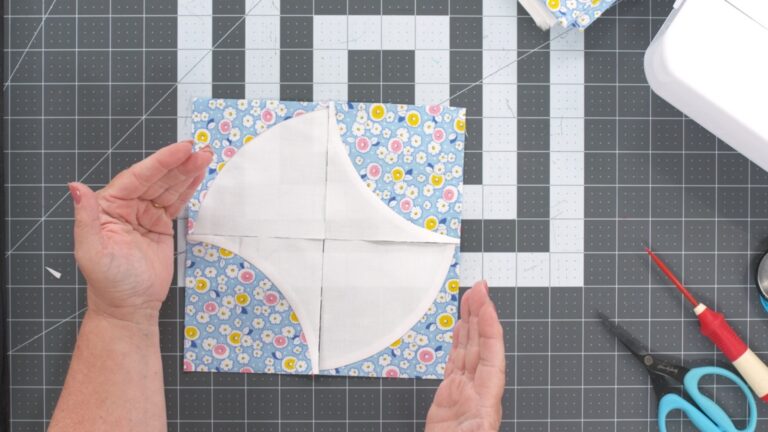
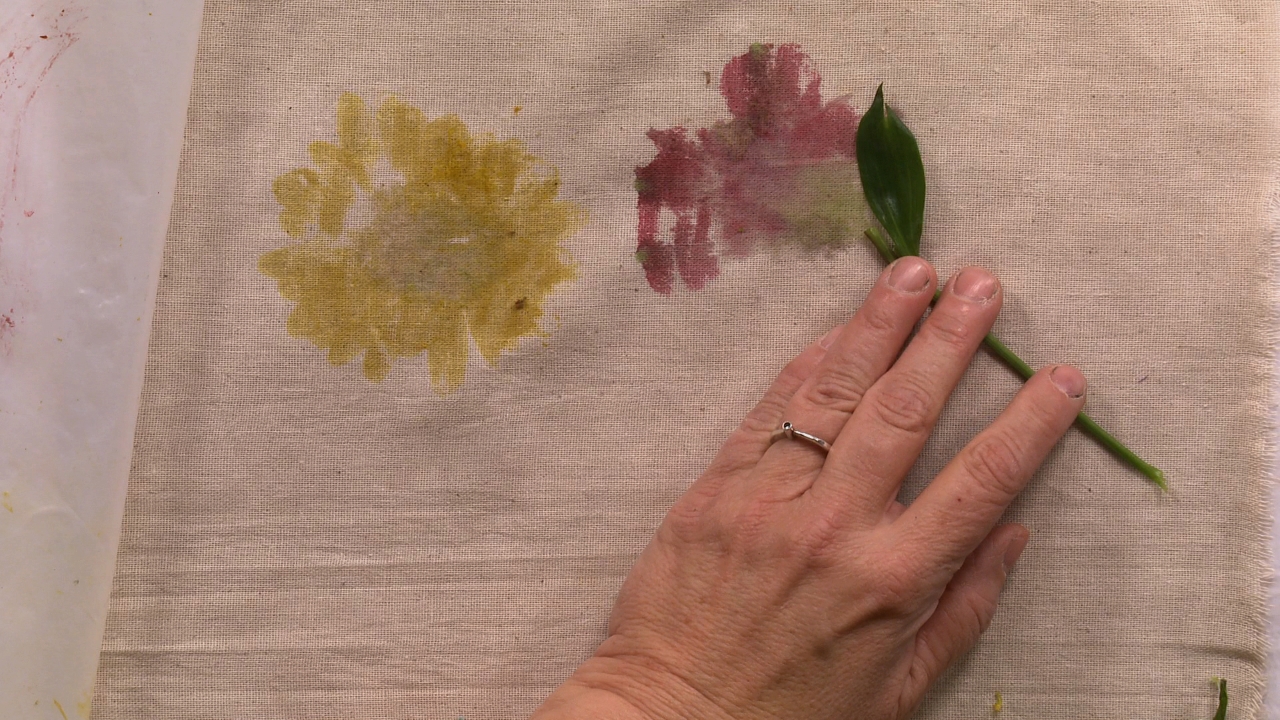
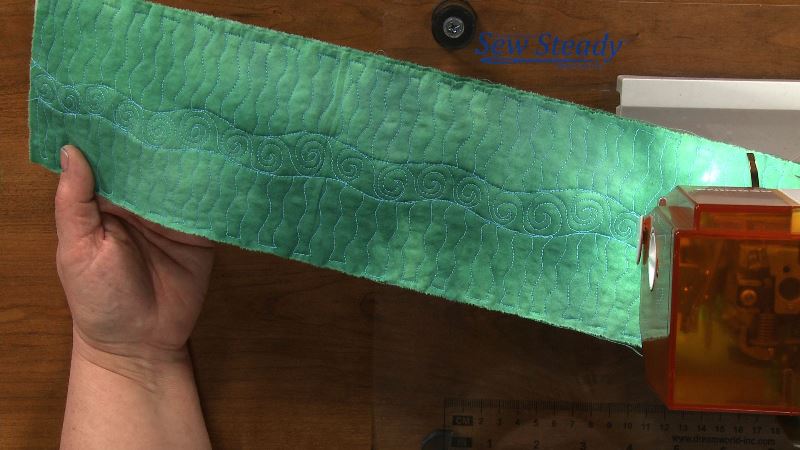
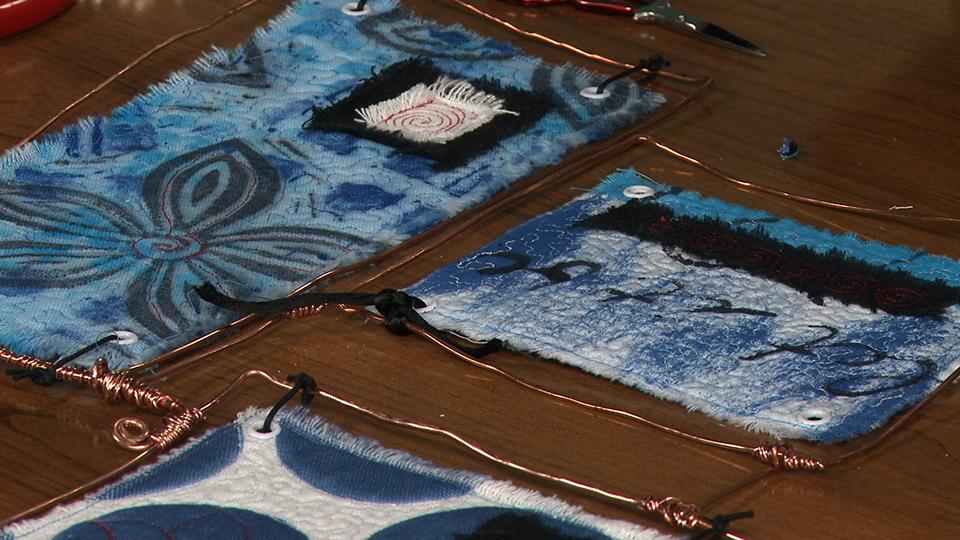
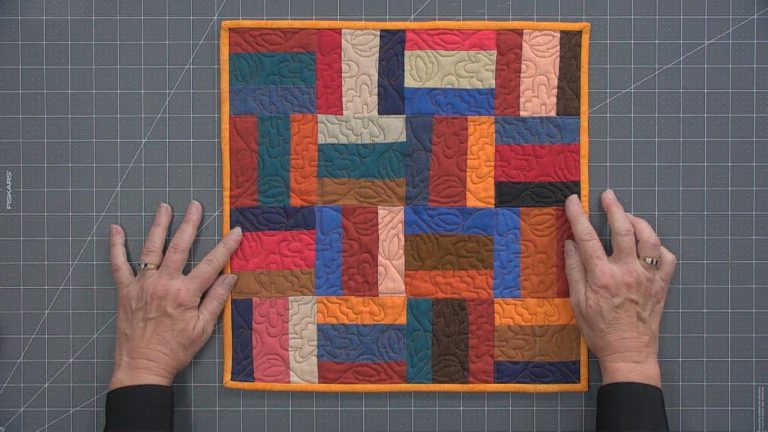
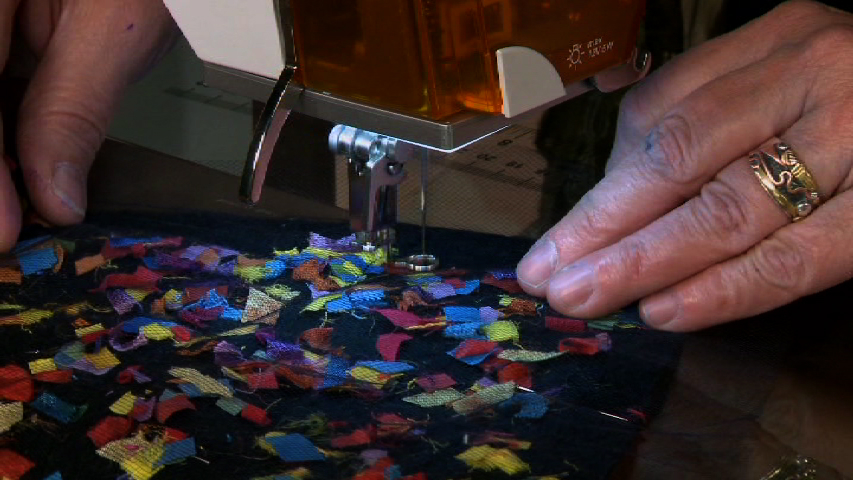
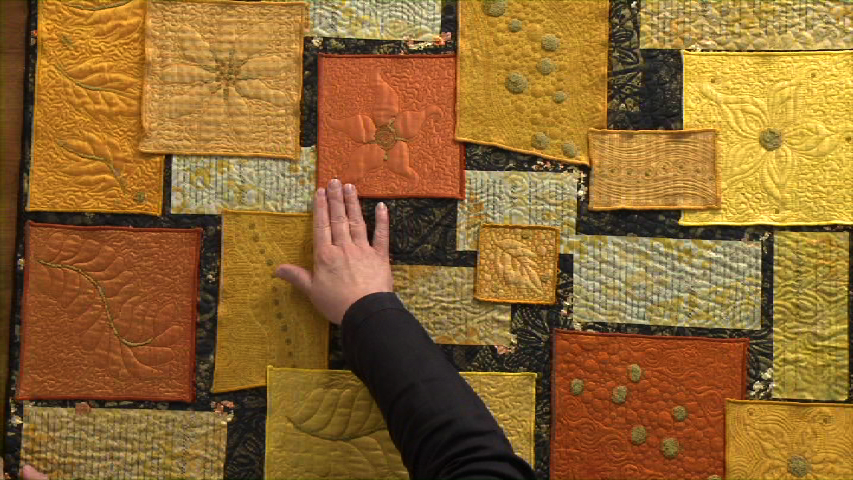
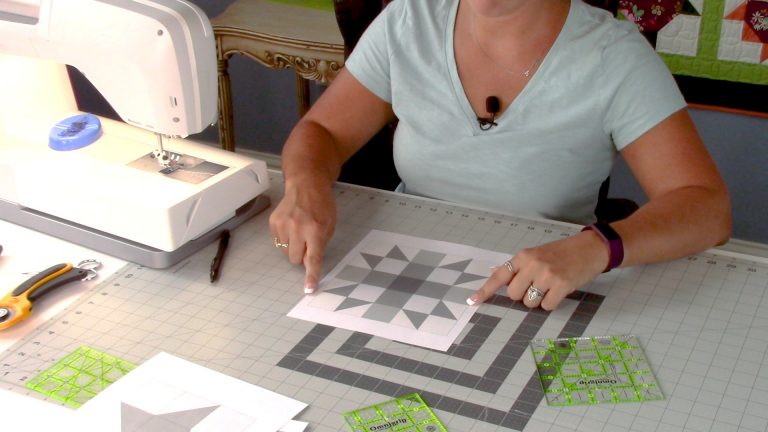
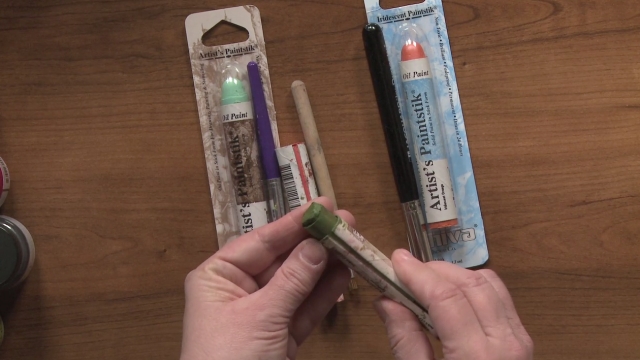
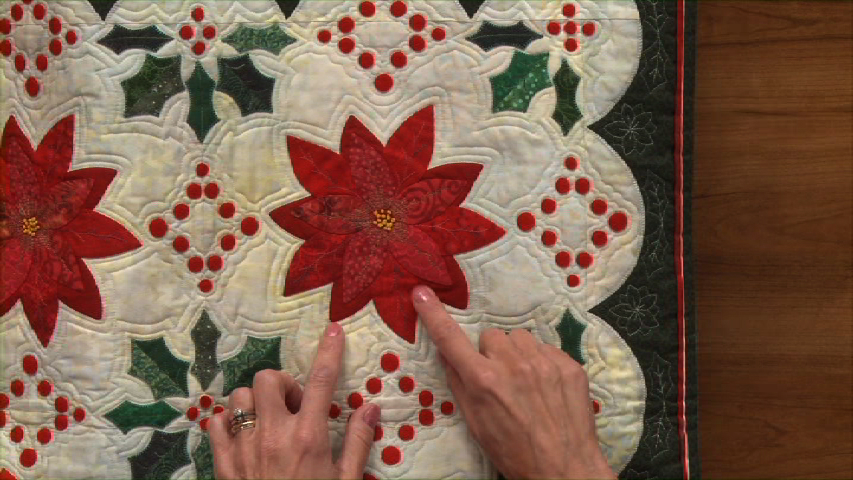
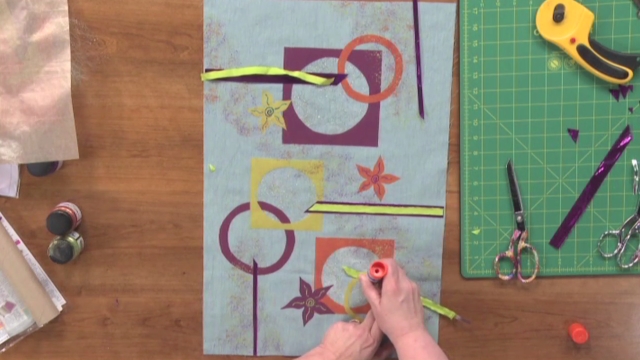
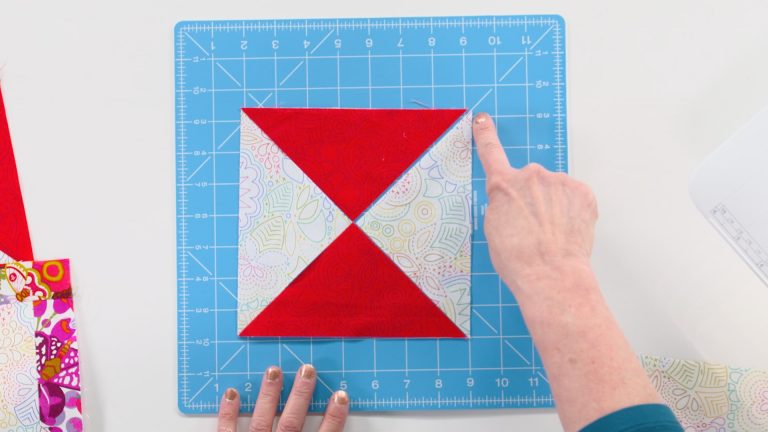
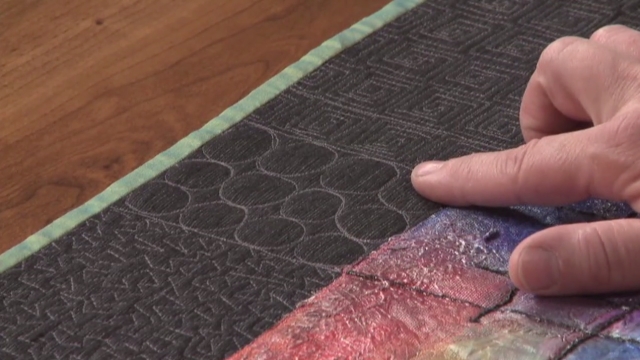
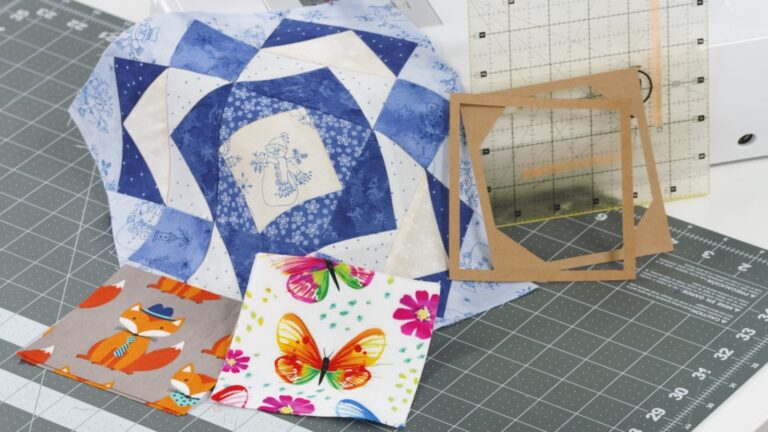
Heather ThomasIn this first session Heather will introduce you to all of the tools you need to create and quilted and colored work of art. She will begin by showing several samples of quilts made using this fun technique. As she does so, she will talk about the design elements used and suggest how you can come up with designs of your own by mixing the motifs she provides or by using your own resources. Next, she will tell you all about the different types of paints and inks she likes to use as well as the brushes. She’ll close out the session with suggestions for batting, marking tools, thread selection and her basting technique.
Explore videos by Heather Thomas


You may be interested in


Premium Membership
Unlock exclusive member content from our industry experts.
- 24/7 Access to Premium Quilting Videos, Projects, and Tips
- Step-by-Step Instructional Demos, Patterns, and Tutorials
- 50% Off Video Downloads Purchased in the National Quilters Circle Shop
- Access to Ask the Expert Program
Unlock exclusive member content from our industry experts.
- 24/7 Access to Premium Quilting Videos, Projects, and Tips
- Step-by-Step Instructional Demos, Patterns, and Tutorials
- 2 Full-Length Video Downloads to Watch Offline
- 50% Off Video Downloads Purchased in the National Quilters Circle Shop
- Access to Ask the Expert Program
Gold Membership
$336 Value
Get everything included in Premium plus exclusive Gold Membership benefits.
- 24/7 Access to Premium Quilting Videos, Projects, and Tips
- Step-by-Step Instructional Demos, Patterns, and Tutorials
- 8 Full-Length Video Downloads to Watch Offline
- 3 Full-Length Quilting Classes to Keep for Life
- 2 Printable Quilting Guides
- Discounts on Purchase-to-Own Content in the National Quilters Circle Shop
- Access to Ask the Expert Program
- Exclusive GOLD LIVE Streaming Events
Share tips, start a discussion or ask one of our experts or other students a question.
Already a member? Sign in
No Responses to “Quilt & Color: Session 1: Introduction: Tools Needed”