KH
Binding a Quilt with Minky Fabric
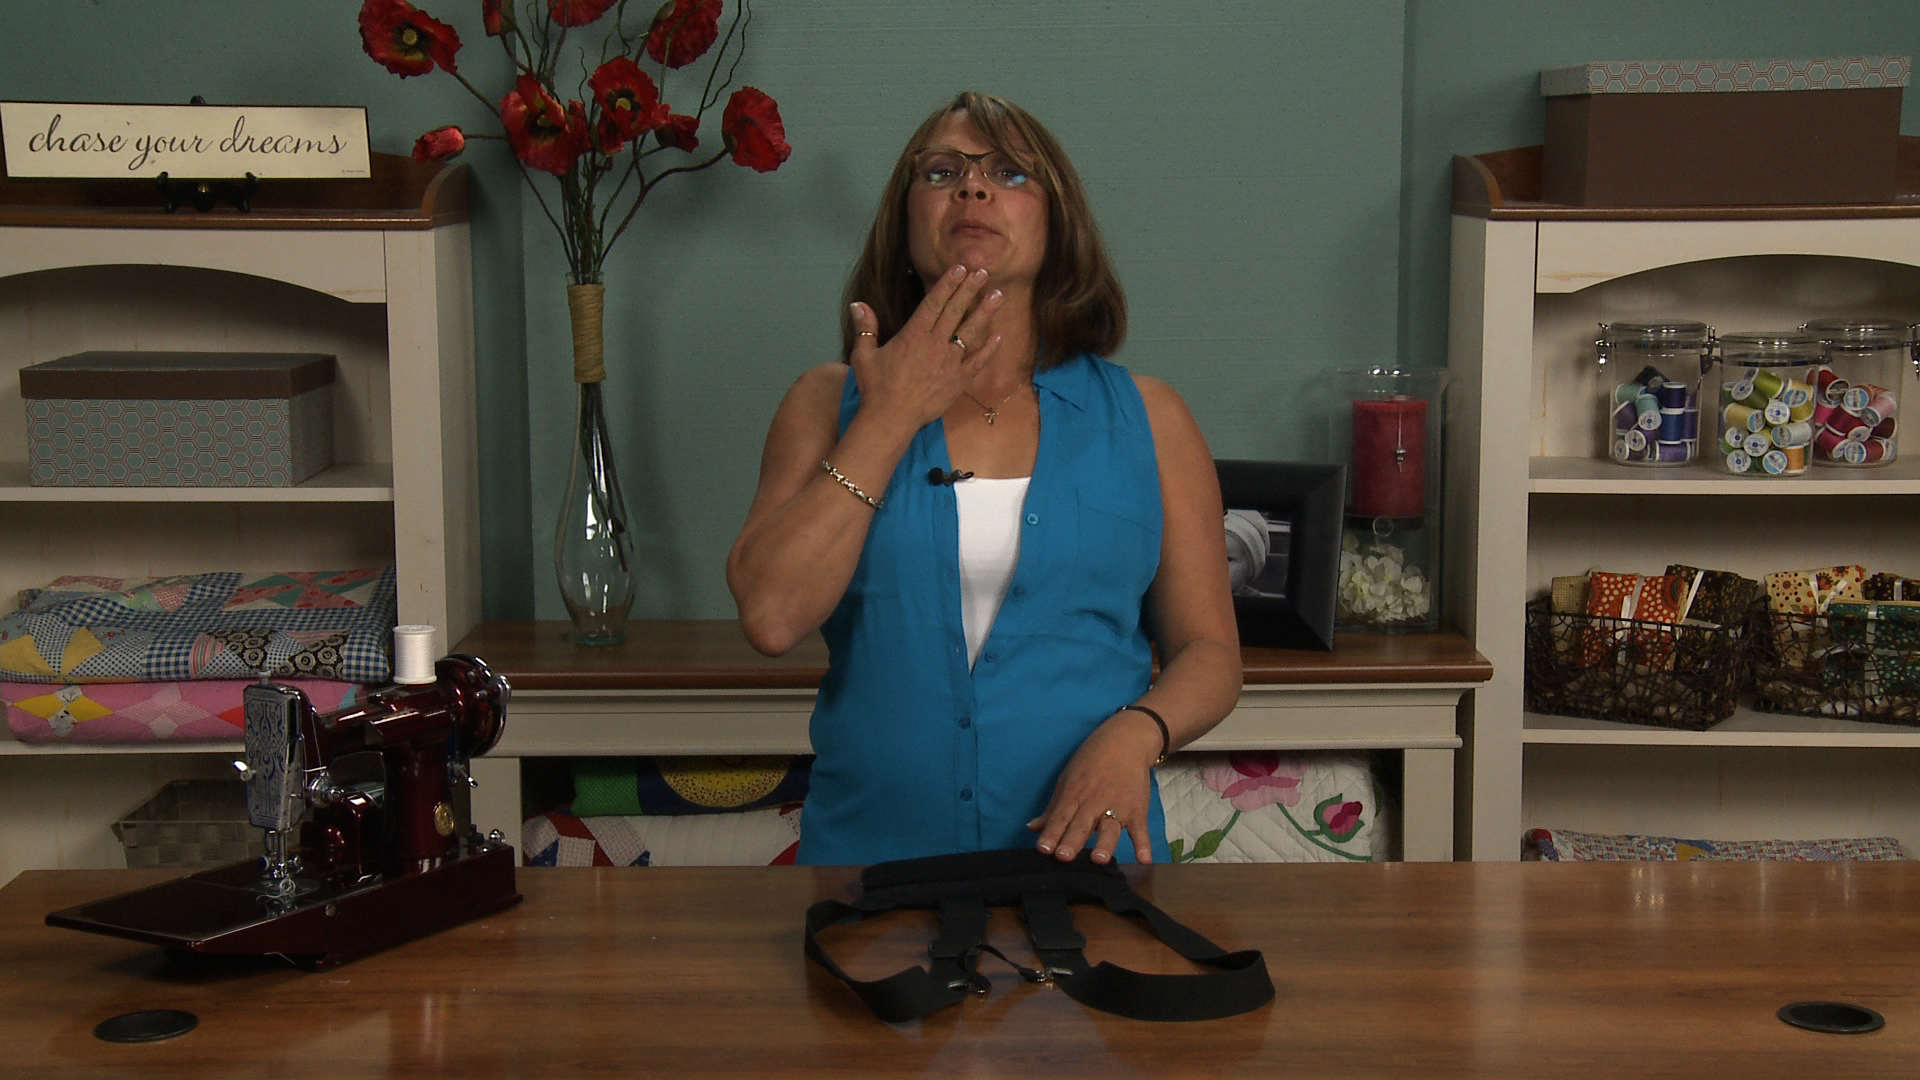
Kelly HansonLearn a quick and easy way to bind a quilt with minky. Kelly Hanson shows you what tools you can use that make mitered corners easier and gives you tips for working with minky.
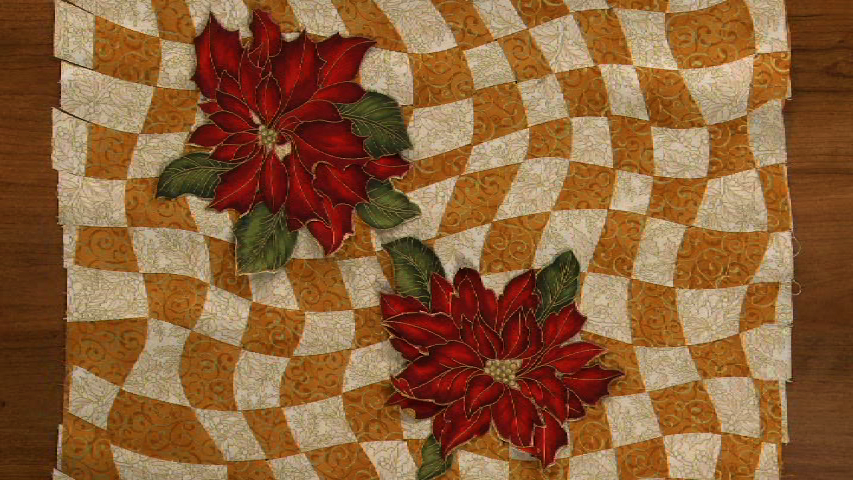
Minky
Minky is a popular fabric to use on quilts because of its soft and fuzzy feel. However, working with minky can sometimes be difficult because it sheds when cut and has a tendency to not lay flat when being worked with. Kelly shares several great tips on how to make working with minky easier, including tips on how to eliminate a lot of the fabric shedding.
Binding
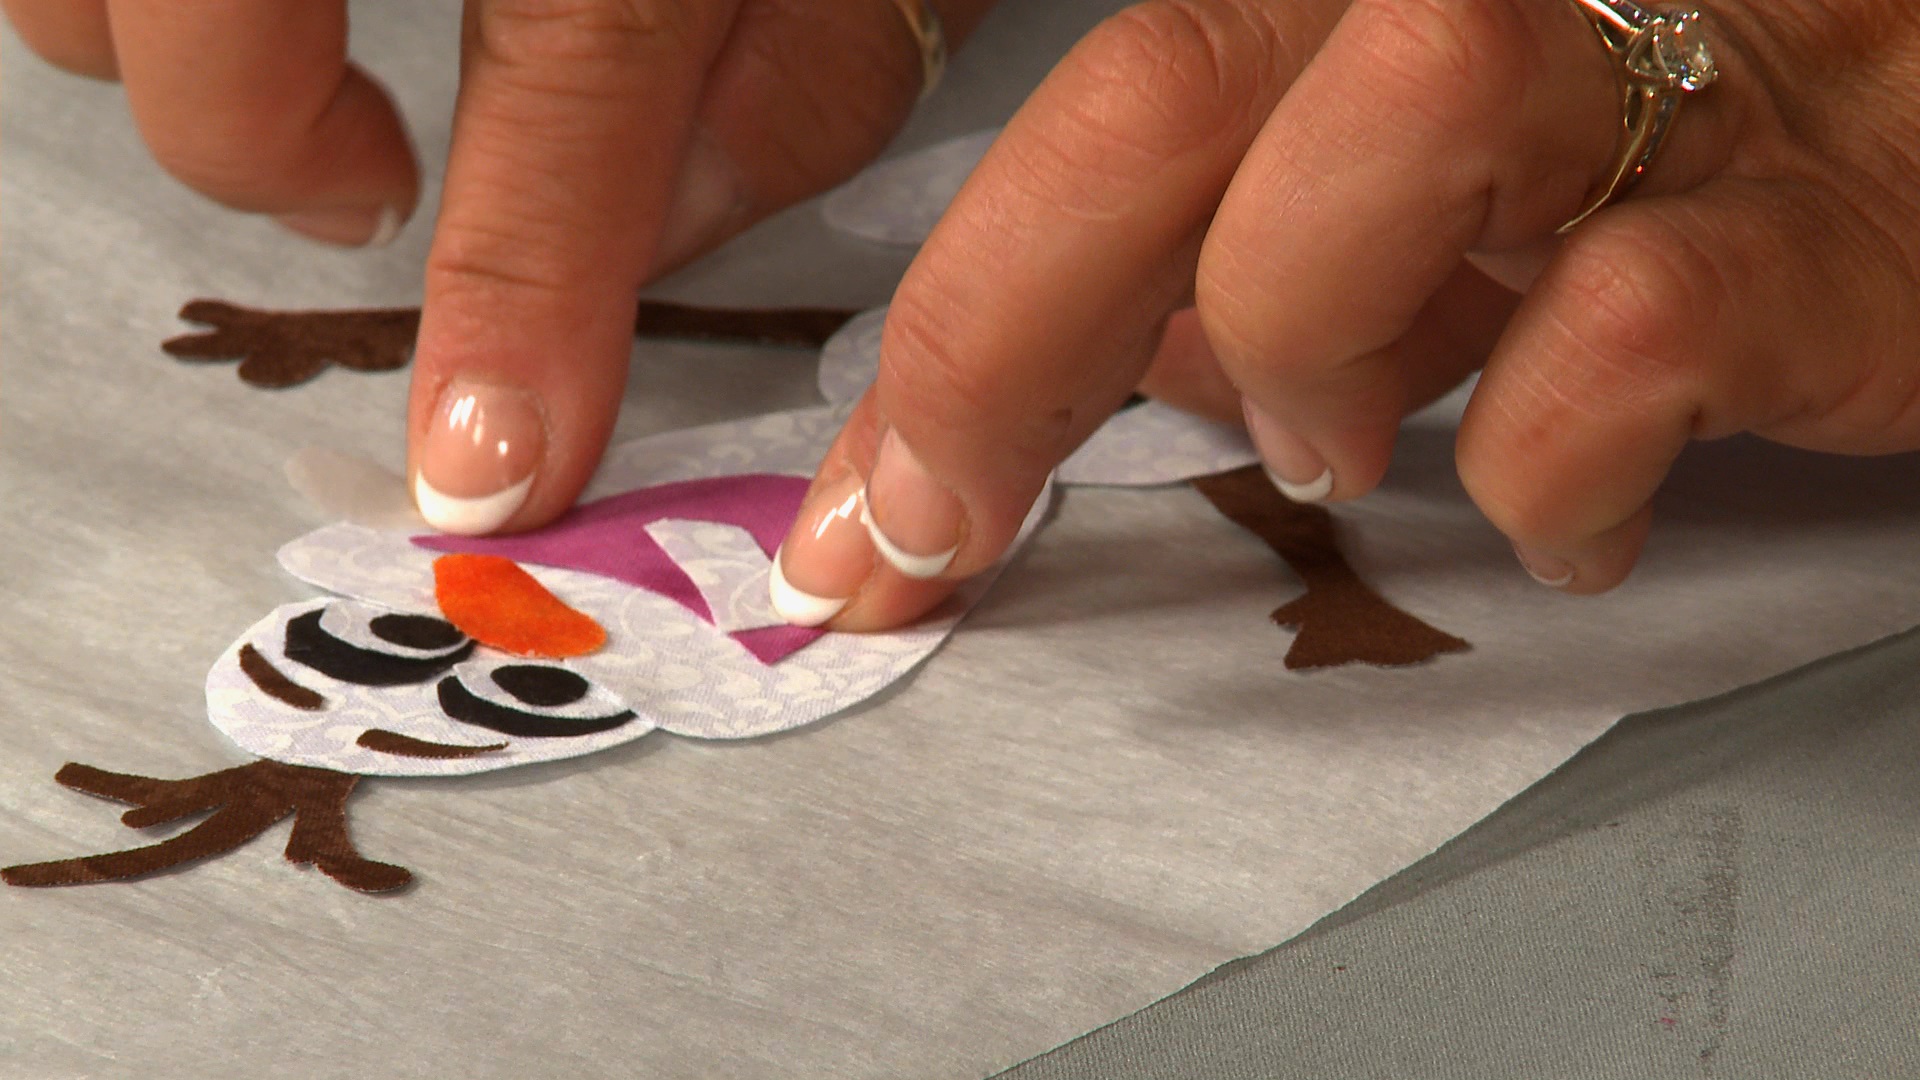
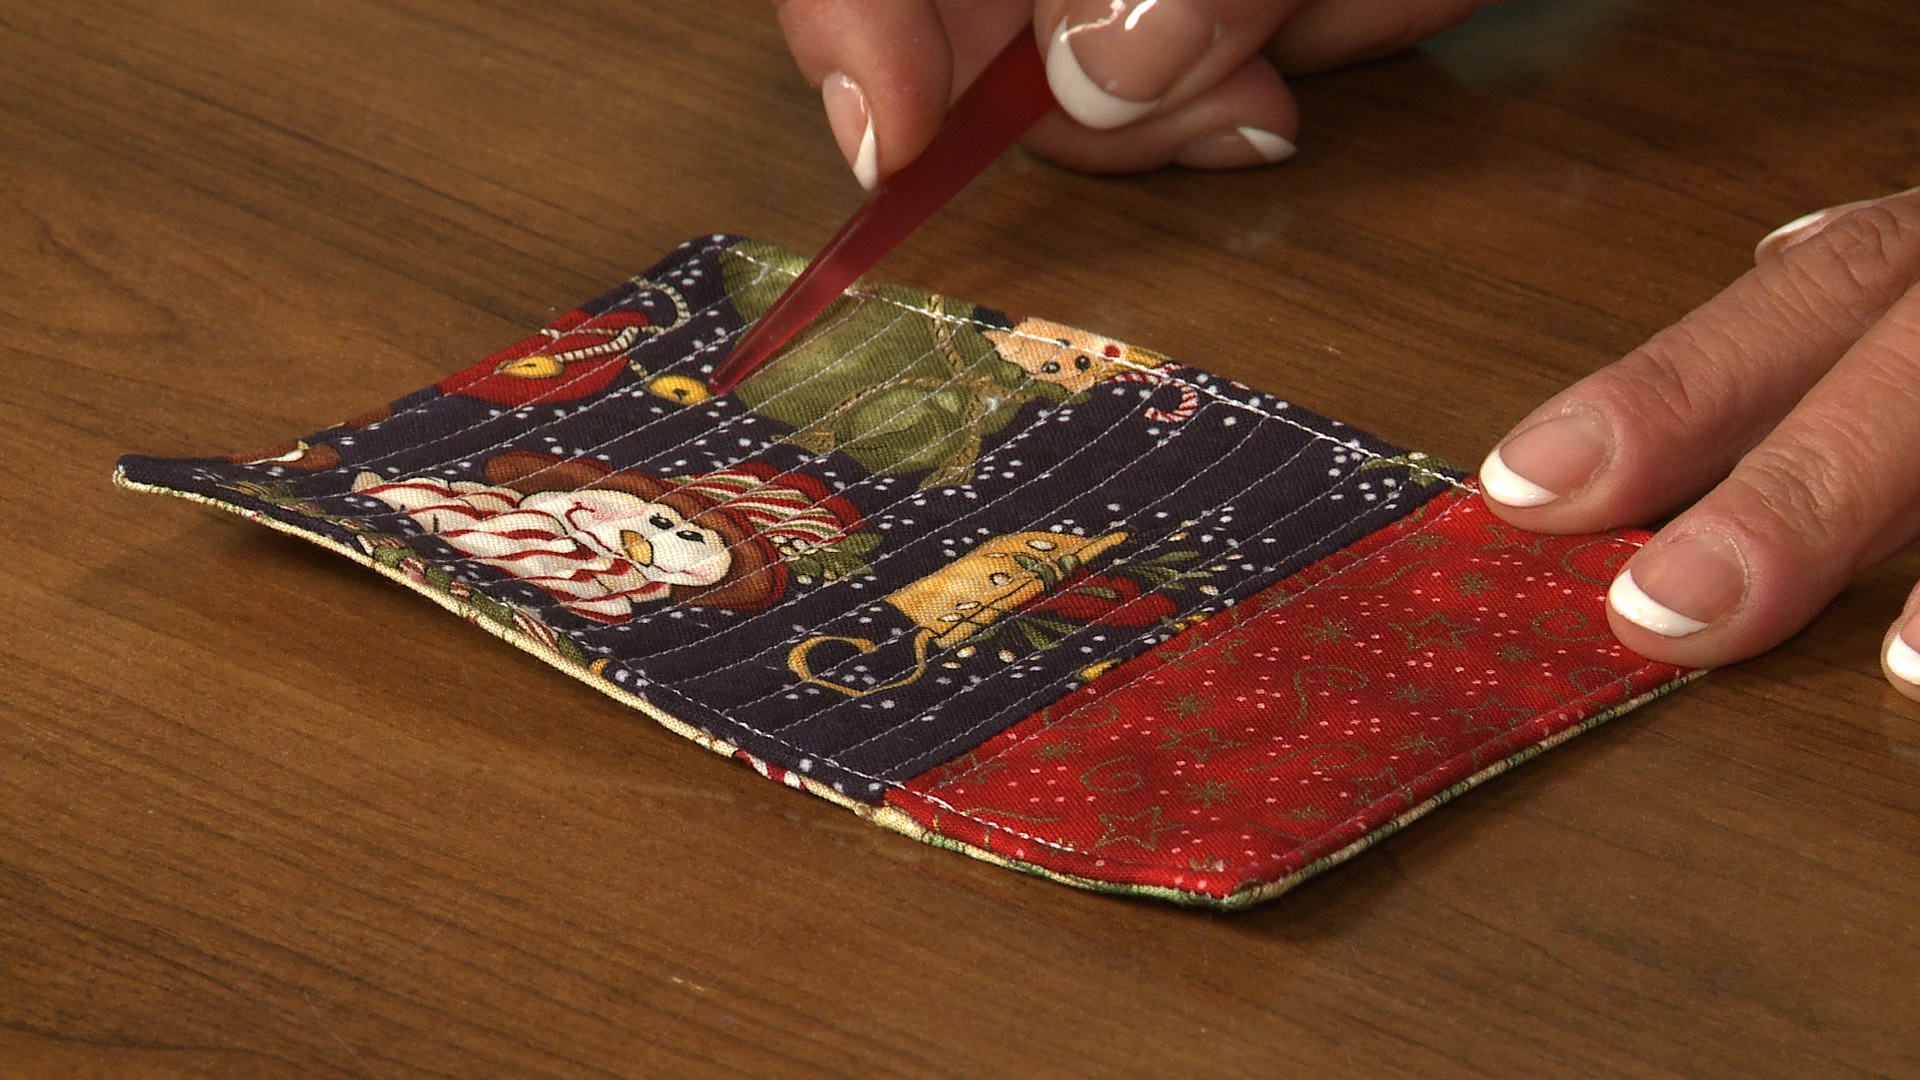
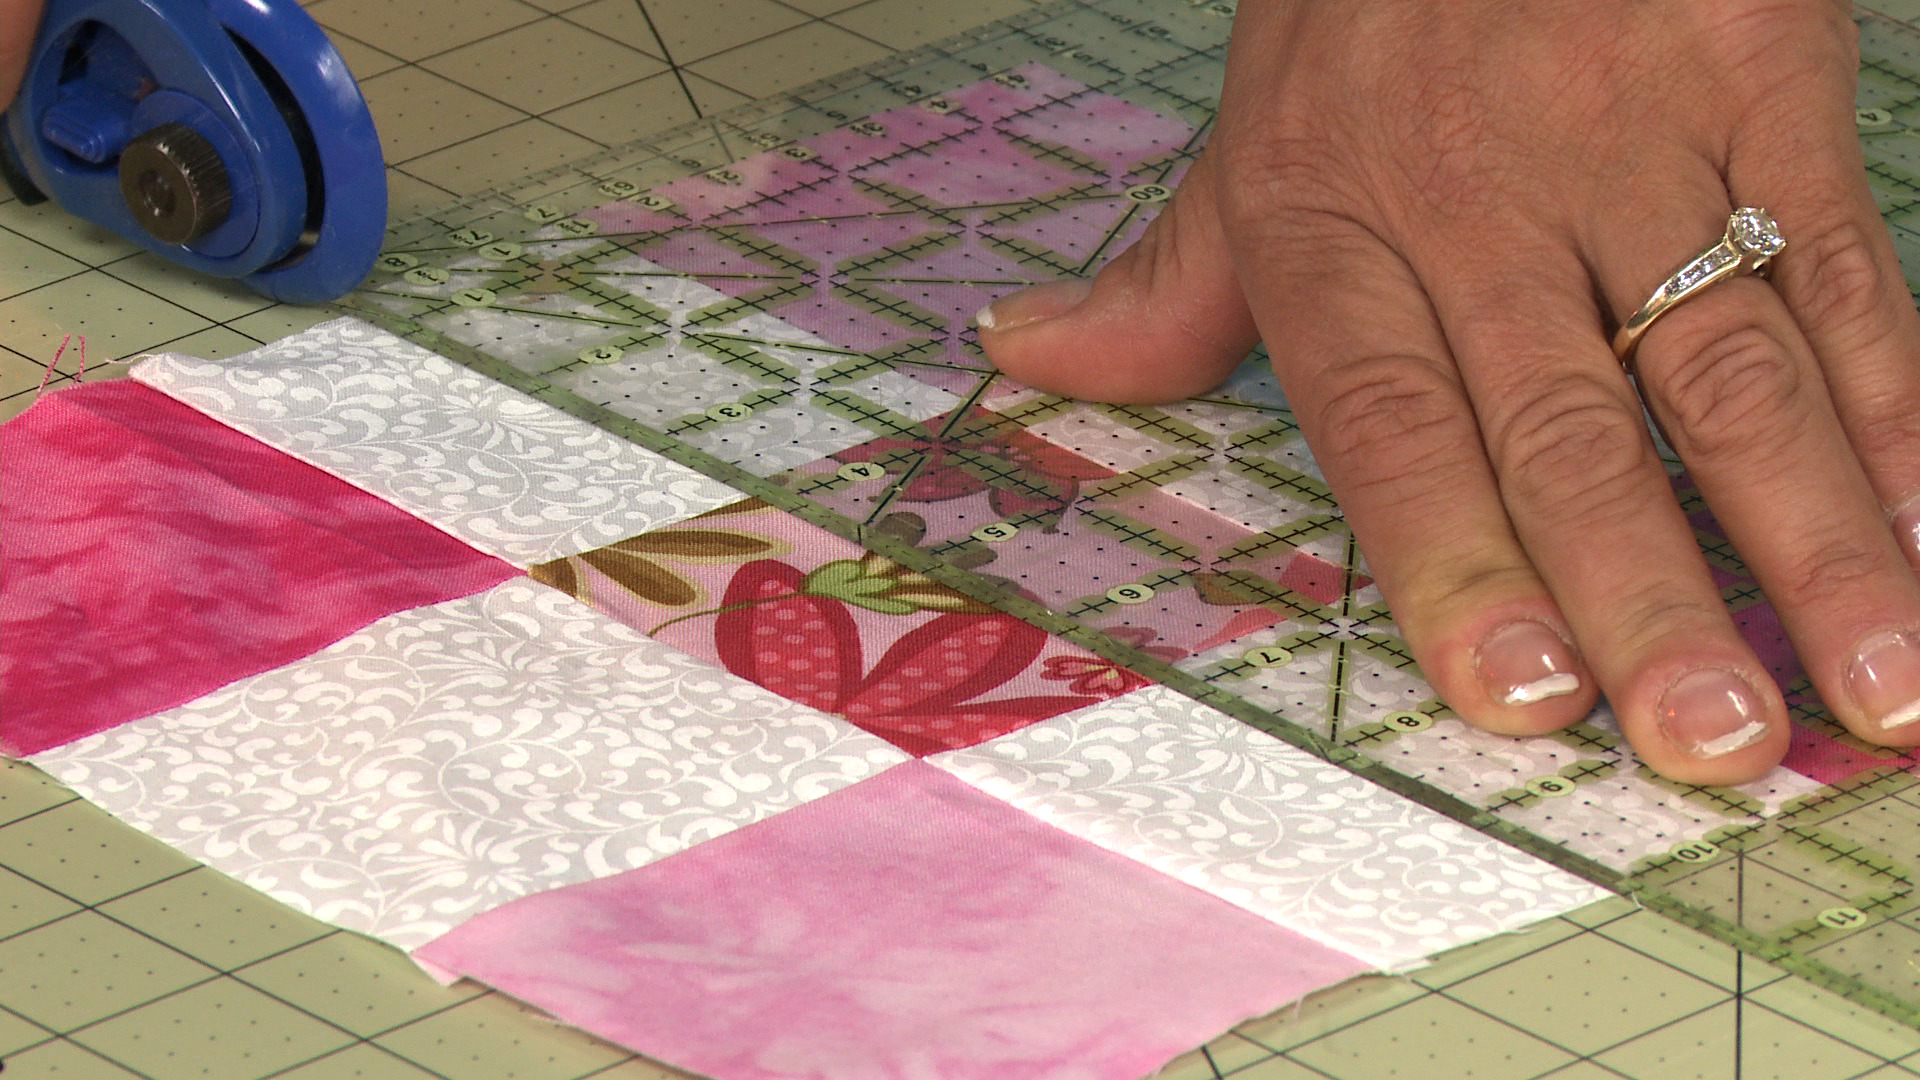
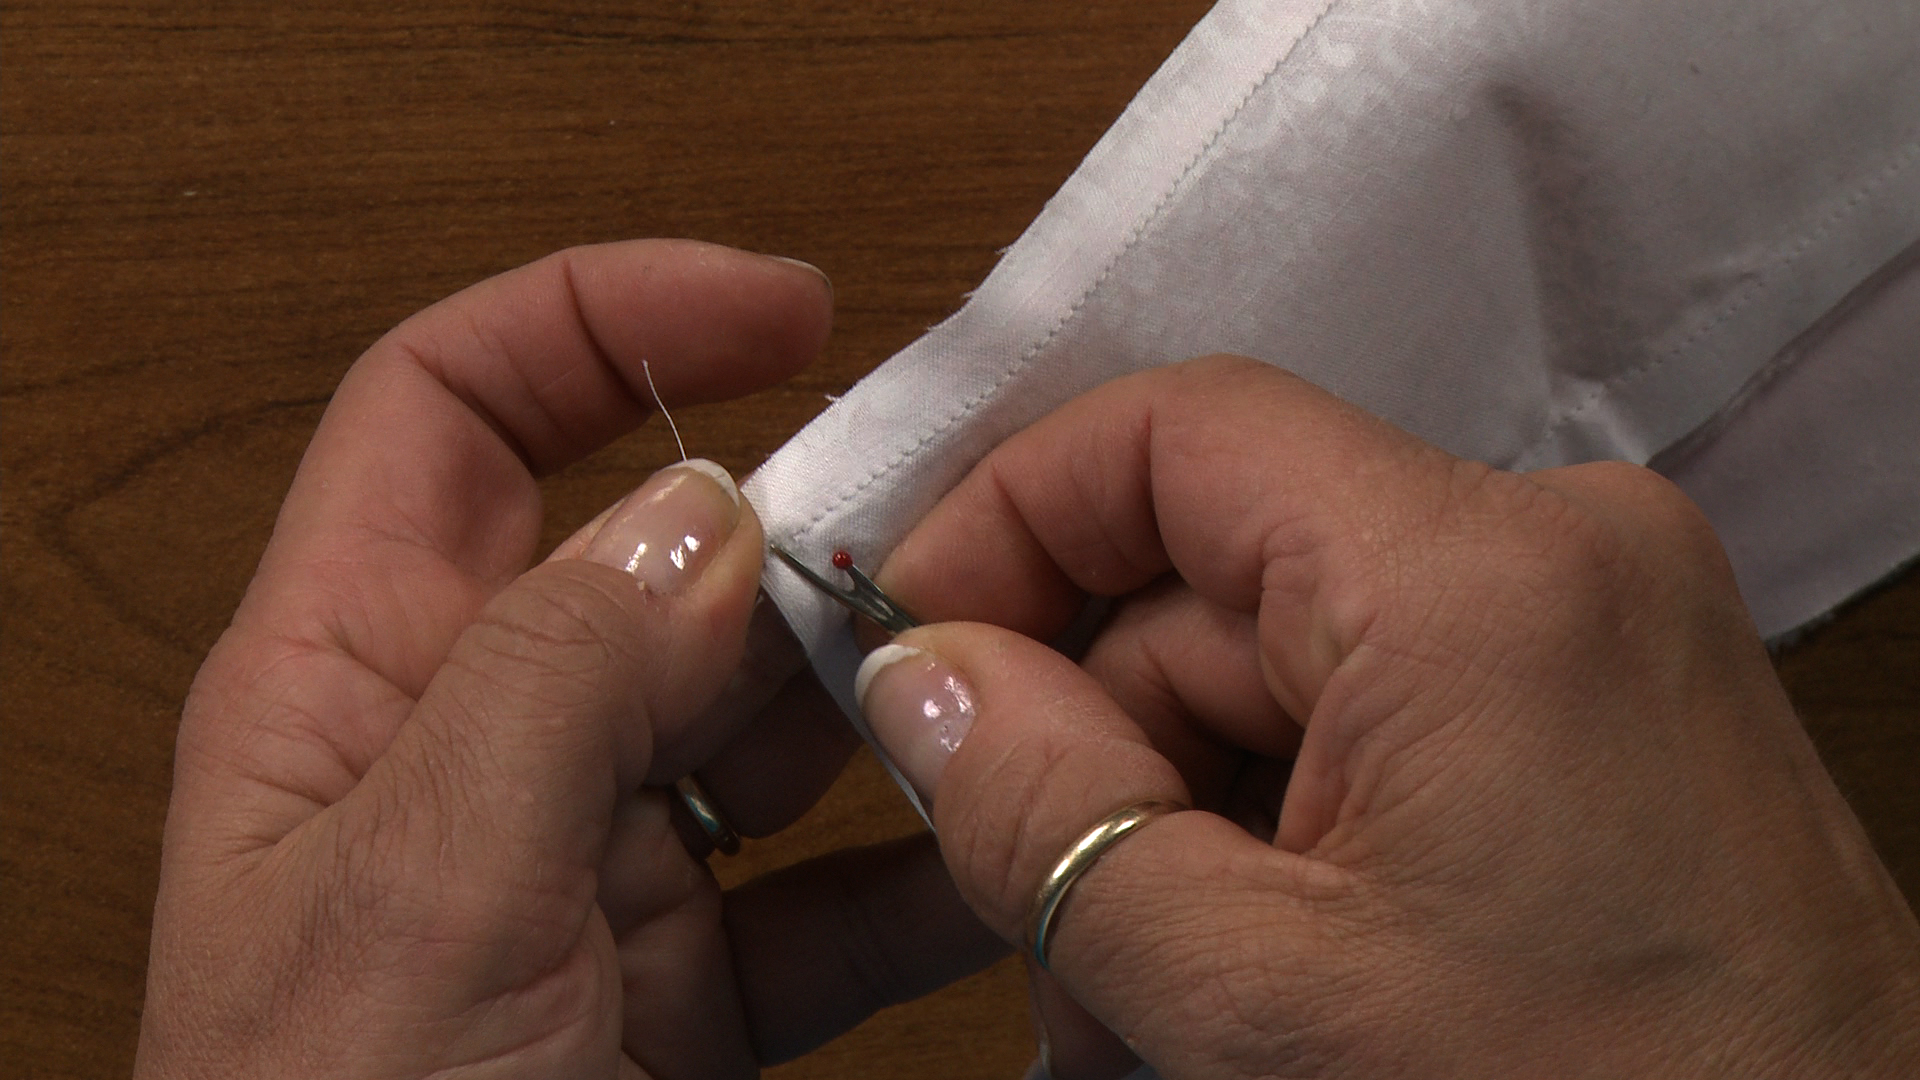
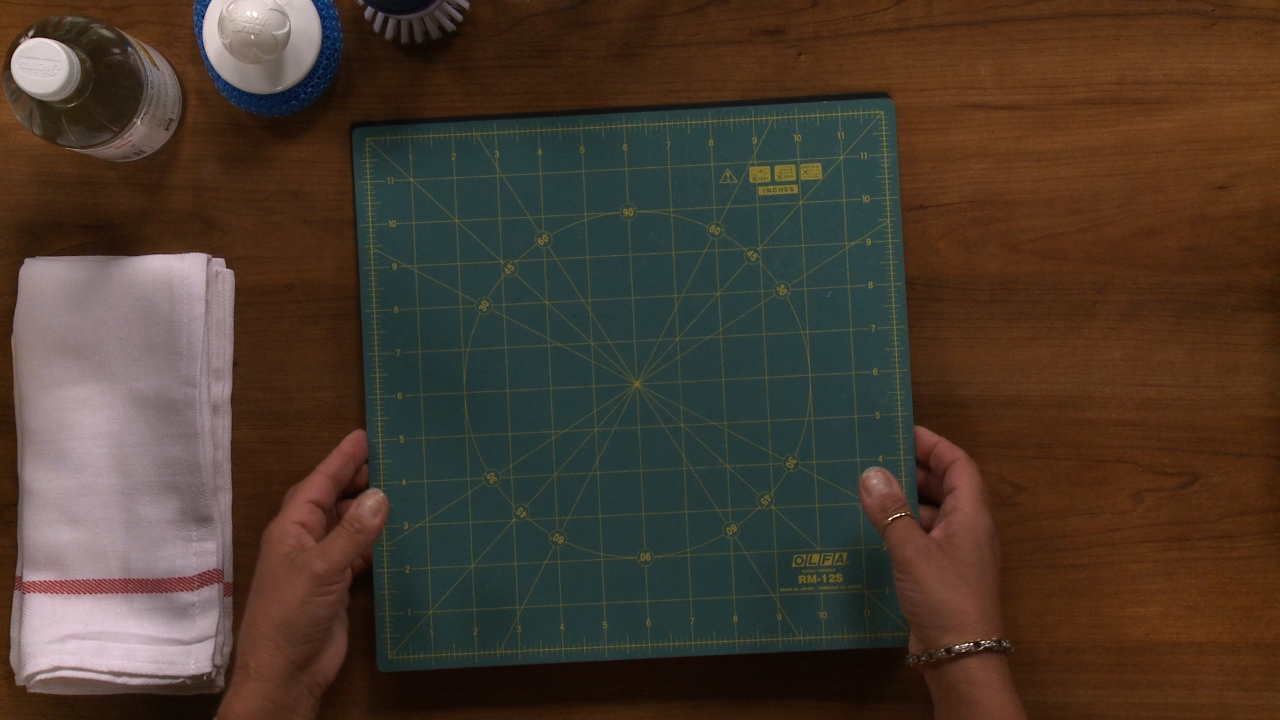
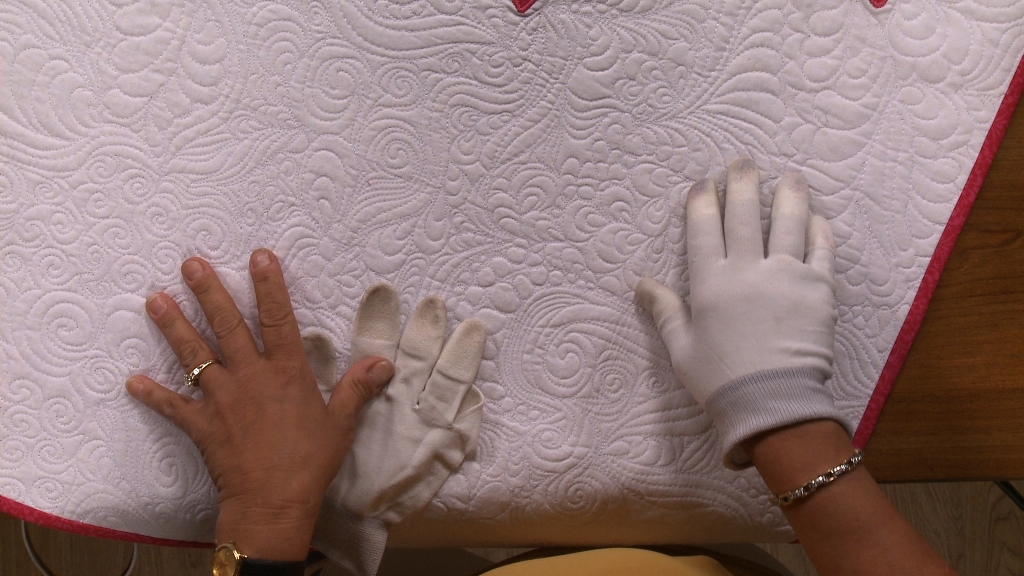
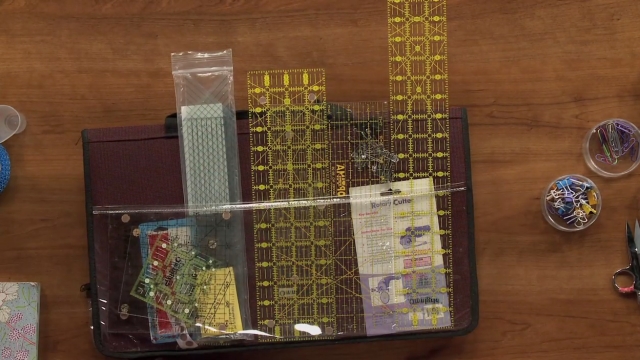
When most quilters first learn how to bind a quilt they are taught how to make a binding separately that is then attached to the quilt. For this tutorial, Kelly shows how to bind a quilt with minky that is not only used for the binding but for the backing as well. Kelly starts with a small quilt that has already been quilted and the backing minky fabric has been left larger than the quilt top. She then shows how to use an easy mitered corner tool to determine where to trim, sew and cut the mitered corner. Where you line the ruler up along your quilt border or outer edge will determine how thick your binding is. When binding a quilt with minky, you will want to have a thicker binding than you would with a cotton binding because of the extra bulk. After the corner has been stitched and trimmed, Kelly shows how to complete the mitered corner by simply folding the minky towards the wrong side. For this step, Kelly uses a product called Steam a Seam 2 that helps hold the binding edge in place. She demonstrates how to use it and then gives ideas on how to finalize the binding with either hand stitching, machine stitching or even decorative stitching.
Share tips, start a discussion or ask one of our experts or other students a question.
Already a member? Sign in
4 Responses to “Binding a Quilt with Minky Fabric”
Explore videos by Kelly Hanson

Premium Membership
Unlock exclusive member content from our industry experts.
- 24/7 Access to Premium Quilting Videos, Projects, and Tips
- Step-by-Step Instructional Demos, Patterns, and Tutorials
- 50% Off Video Downloads Purchased in the National Quilters Circle Shop
- Access to Ask the Expert Program
Unlock exclusive member content from our industry experts.
- 24/7 Access to Premium Quilting Videos, Projects, and Tips
- Step-by-Step Instructional Demos, Patterns, and Tutorials
- 2 Full-Length Video Downloads to Watch Offline
- 50% Off Video Downloads Purchased in the National Quilters Circle Shop
- Access to Ask the Expert Program
Gold Membership
$336 Value
Get everything included in Premium plus exclusive Gold Membership benefits.
- 24/7 Access to Premium Quilting Videos, Projects, and Tips
- Step-by-Step Instructional Demos, Patterns, and Tutorials
- 8 Full-Length Video Downloads to Watch Offline
- 3 Full-Length Quilting Classes to Keep for Life
- 2 Printable Quilting Guides
- Discounts on Purchase-to-Own Content in the National Quilters Circle Shop
- Access to Ask the Expert Program
- Exclusive GOLD LIVE Streaming Events
This was a very incomplete video! She never explained how she prepared her quilt top and backing. Her technique for “binding” was to turn over the backing to the front. She never said how much of a Minky border you need to leave all around the quilt top and how to square it all up, and for that matter how to quilt it so you have what you need left over for binding. Not very well done
I dont understand the point of the steam a seam2. Doesn’t it need to be ironed again to be sticky on the remaining paper side after paper is removed???
I’m sorry to say but I was very confused by this video. It was not clear how wide to the Minkee and/or where to sew the binding down. Karen’s question, I believe is asking about whether it is necessary to turn under or finish the raw edge(s) of the Minkee binding, or if it can remain “raw” on both the front and the back.
How wide did you square up your quilt to determine borders for binding width? You don't turn down the raw edge when you turn over the border, so that's not needed? Thank you, Karen