Heather Thomas

Quilt & Color: Session 2: Creating a Design & Tracing Your Motif

Heather Thomas
Duration:   9  mins

Description

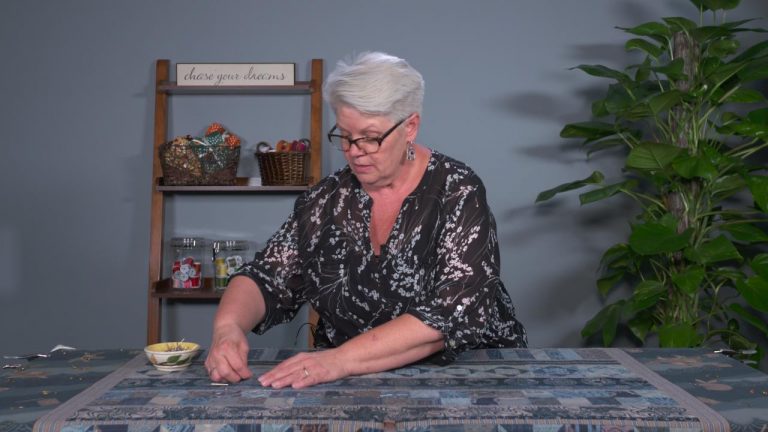
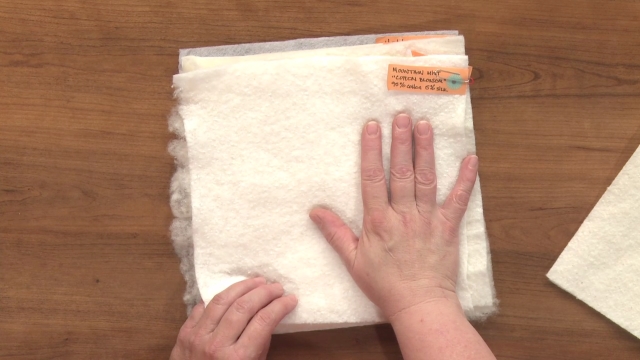
This class includes over 60 downloadable motifs for you to mix and match into your own unique design, or use ideas of your own. In the session Heather will help you bring together the elements of your choice and give you great ideas on how to mix them up and help them play together well. Then she’ll show you how and what she transfers to the surface of the fabric and what tools you’ll need to get that job done. After all is marked she’ll then walk you through batting selection and show you how she likes to baste using silk pins.

Share tips, start a discussion or ask other students a question. If you have a question for the instructor, please click here.

Make a comment:
characters remaining

No Responses to “Quilt & Color: Session 2: Creating a Design & Tracing Your Motif”

No Comments

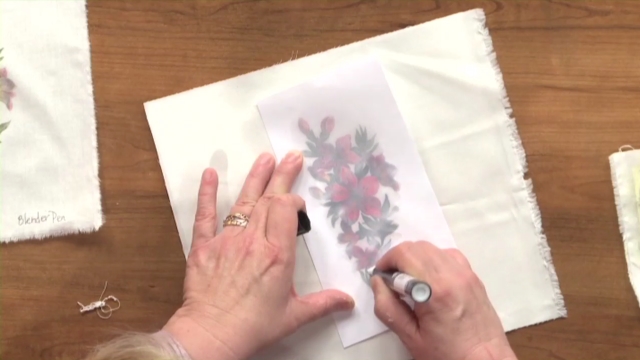
So the first thing you have to do when you're about to start this technique, is to choose some motifs or a design. You can use any of the ones that I've included in the class, they're downloads, and there's tons of them, and you can mix them together and make up your own little design, or you can use any idea that you have from a photograph, from a coloring book, from any type of idea book that has motifs in it. You just wanna be able to outline the major lines of it. You're not gonna be putting any detail in the drawing or any tracing of detail lines. Those are gonna come more naturally, and we don't wanna have to worry about removing those lines if we don't cover them completely.

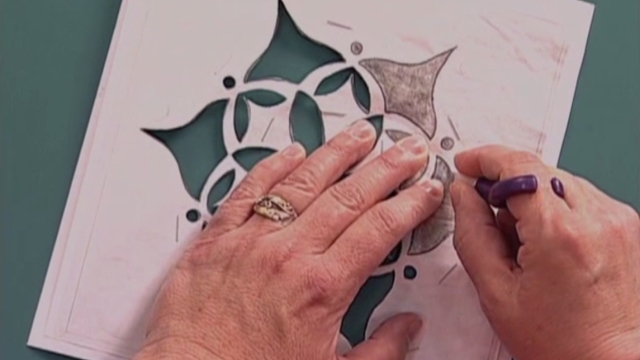
Whereas our outlines, if we don't cover them completely, we're gonna be building those up anyway with multiple layers of stitch, so that it gets hidden and it's not an issue. So first thing is, is choose your design. And I'm gonna be doing two different designs for you. One will be a more nature design, with a bird and some branches and leaves, maybe some flowers, and the other one will be a more modern design with some circles. You can kind of trace with whatever you want to, however, I tend to just trace with a mechanical pencil, and I like the number five, but you could use something that's even finer, number three, if you wanted to, or you can use any other tracing tool you want to.

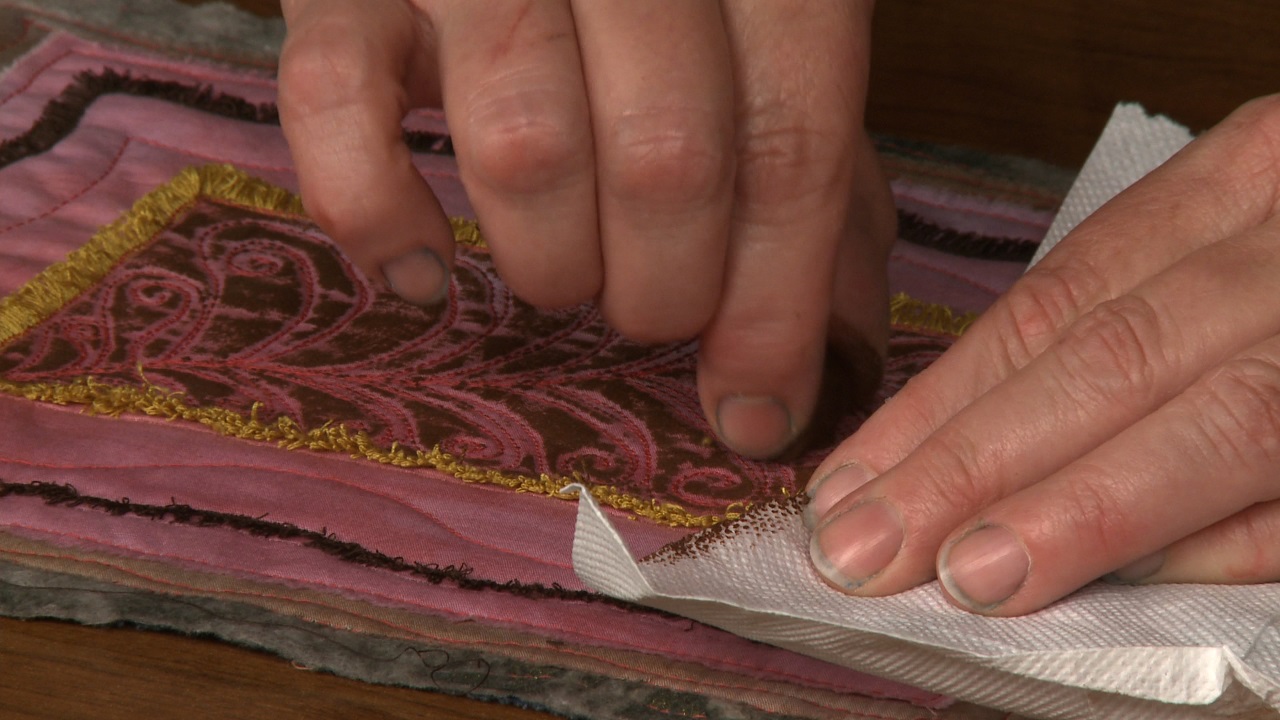
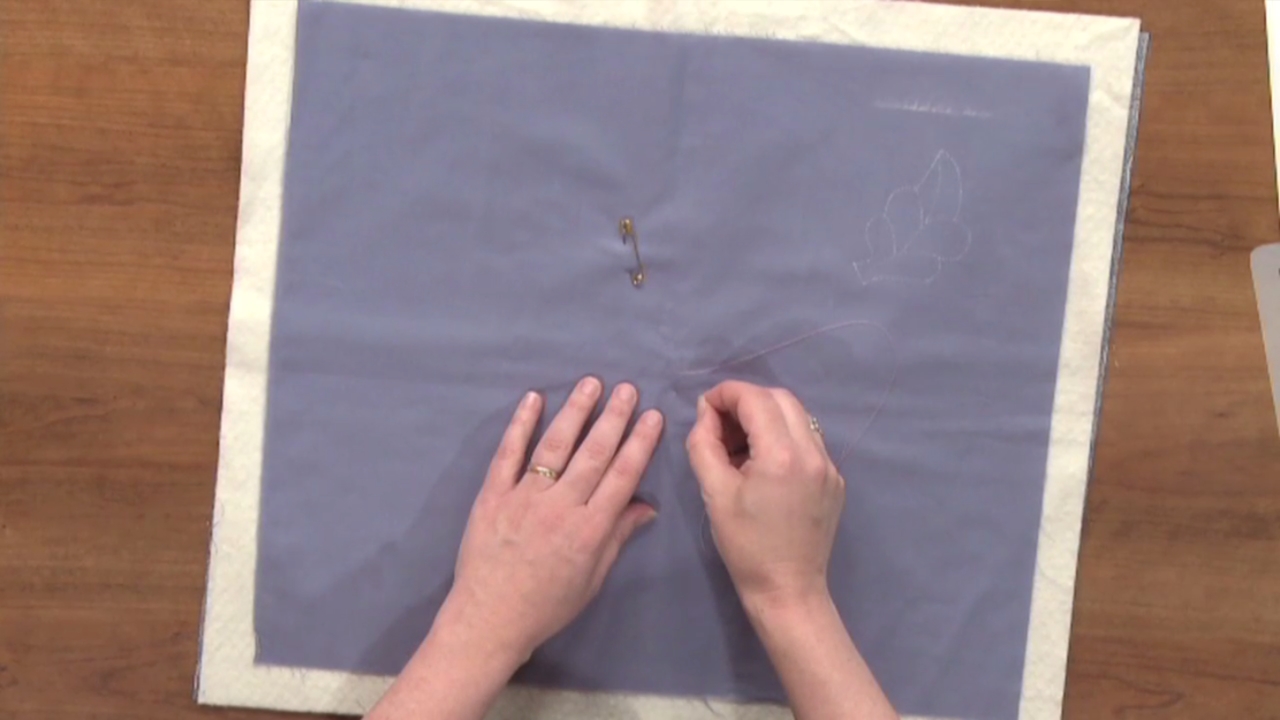
The reason I like this one is it's so fine that it's easier to cover the line, and I'm gonna go ahead and just start by placing this bird on this background fabric where I think it's going to look good when I put a branch in there. And that branch is going to come after the bird. The reason I put the branch in after is that if I try to put a branch in first, it's harder to fit the bird down into the branch, and if I've got a branch line that I put the bird on top of, then I have to worry about covering up that line. So Mr. Birdie's gonna go in first, and I'm simply gonna kind of pull that fabric tautly, so that I can see the design through there, and then I'm going to just do that outline of the bird.

And again, it doesn't have to be perfect, outline of his wing. It's gonna give me an idea of the bird itself. It doesn't have to be exactly on the line 'cause this is my individual bird. If I can't see very well through, I can lift up my fabric, 'cause I'm holding it down well, see that I'm at the end of that inner wing here, and I can make it shaped however I want. I don't have to follow those lines underneath exactly, and then, I'm gonna put in his tail feathers and his two little feet.

Okay, and that's all I need, is just this basic idea of that bird. Now I'm going to use this paper, so you can see that drawing a little bit better. So here's the bird, and now I'm going to bring a trunk or a branch in here for the bird to sit on. So I'm gonna start here, by putting it right there underneath his feet. And I'm gonna bring it over here, and I'm gonna want something on top of him and something coming down, so that I'm making a nice pictorial, if you will.

So I'll stop that there, and I'll have this branch come up here, and I'll kind of start building that branch up and bring a branch down. So I'm just doing one side of the branch so far, so that I know that I'm going up and I'm coming down, I'm getting a feel for it. So here, if I put a little corner here and bring this branch down, and again, branch off of that branch, and I'm just gonna put those major branches in. I'm not putting anything more than those major branches. Bottom of the tree there.

A little knuckle, like so, so I'm bringing things out and filling in that space, and now, I'm going to go up here, and I'm gonna basically make the top or bottom part of this tree. I can have this come down, something else up here, and have this come out. This will come up, and that's about all I'm going to put on there. I don't wanna put any more detail. I want that detail to kind of come naturally.

Now, if I think I'm gonna be putting any flowers in here, 'cause there are flowering trees, especially in the spring time, I'm gonna put those flowers in before I do anything else. The reason I do that again, is so that I have room for those flowers to show, and then I can fill in the branch and bring little small branches to those flowers to act as stems. I don't wanna really put them in there 'cause I don't know how they're gonna look until I get them done. I don't wanna have to trace them. I just wanna be able to stitch out some flowers.

So that's probably something that we'll do, and then we'll add all of our detail to our birdie at that time. So this guy is ready to go. I'm gonna put it on top of this batting, and we've got those two layers of batting, and it's ready to quilt. But first, I'm gonna do some tracing of circles. Now I'd like to say that I always use a wonderful and fancy tool for making my circles, but I don't, I use stuff found in the kitchen.

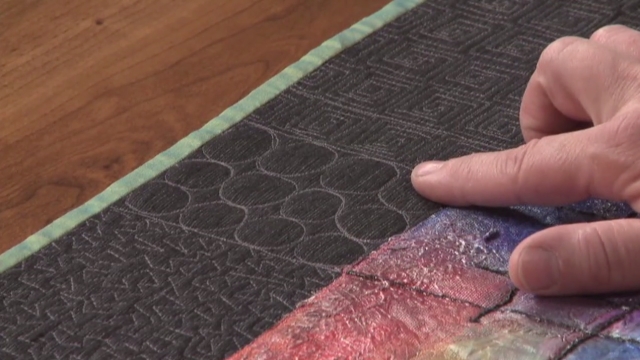
So I'm simply going to take a square of my fabric and lay down my largest circle and trace it. Now I can be concerned as to whether or not my next circle is, you know, really smack dab in the middle there, or I can offset it, and when I offset it purposefully, I think it looks more interesting. So I'm gonna offset it, like so, and then I'm gonna offset this one too, but not back down in the same corner there, but offset someplace else to add a different type of interest. And now I've got three circles to work within, and that's all I'm gonna mark on this one. And it's gonna be placed with those two layers of batting, and I wanna make sure that my wool batting is on top 'cause it's the poofier batting, if I'm using wool.

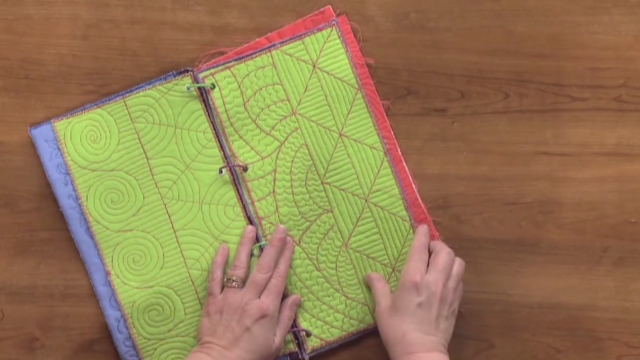
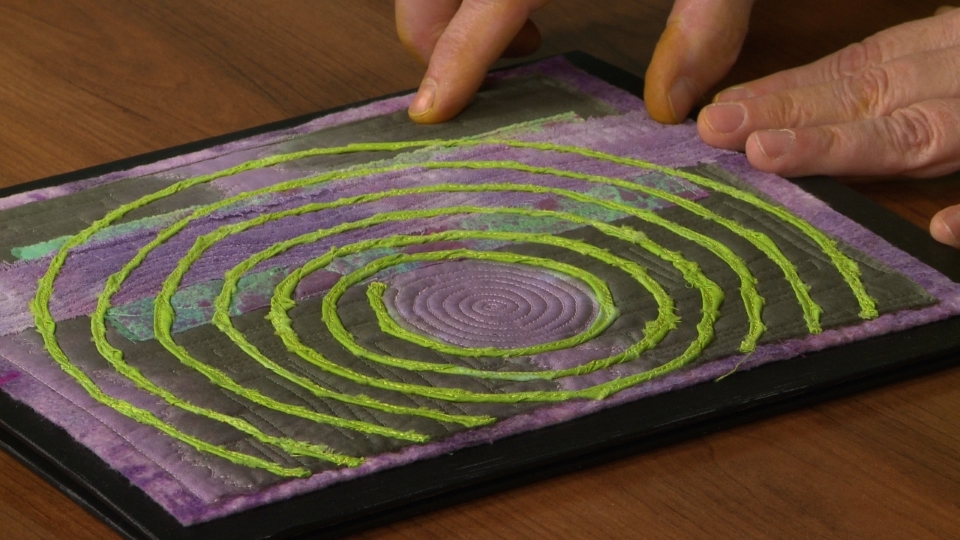
And now it's ready to go, but I wanna talk a little bit about what I'm gonna be putting in it. So in your downloadables, you are gonna have just tons of these different designs that can go in the arcs or arches of a circle, and they're all quite simple to put in there because they are simply either a straight line or a curvy line. Here are some designs that can go into centermost circles. Here are some designs that are simpler, that can go in the arcs, and then these are some of my favorites. These are some wonderful designs that you can use on the outside of a circle, and so I'll probably be looking at these as I'm stitching.

I'll go, okay, well, I'm gonna put this sort of design in here first, and because it's straight, after that I'm gonna put something curvy, and I'll start playing with that design as I go. I don't preconceive everything with that design because again, I don't know what it's gonna look like until I start, and then I can make a response to what I've done. The same is going to go for this bird. I won't know which type of leaf I'm gonna put on there, maybe I'll put berries on there, maybe I'll put a flower on there. But here is a design that just basically shows you the structure of how limbs and stems come off of tree trunks, so something for you to use as a reference point when you're doing that same thing.

And here are several different styles of leaves, the basic stitch out of how they're done, and then different berries and other types of small cluster leaves that you can also use. So you're gonna have lots of different designs that you can pull together. But you're not gonna transfer them onto here, you're simply going to use them as a reference after you've transferred just your major stitch lines. Now it's decision time. Are we gonna quilt with what color of thread?

Generally speaking, I like to stitch with black thread, if it's modern, kind of op arty, or anything that's not traditional or nature styled, and with brown thread, if it's a nature scene. What I don't do is change my thread color all the time and say, I'm going to stitch this portion blue because I'm gonna color it blue. I like having that outline. I like the outline defining the space, and it just makes things look the way I want them to look. But you can do anything you want.

You can use all sorts of different colors on your piece, if you want to. Understand that the color of your thread will not be changed by the Tsukineko Ink, but if you cover your thread with the Shiva Oil Paint Sticks, it will. So that's going to be something that you have to think about during the application of the color, but now we're ready to stitch.

Get exclusive premium content! Sign up for a membership now!