Quilt & Color Session 5: Final Shading, Squaring Up & Binding
Heather ThomasDescription
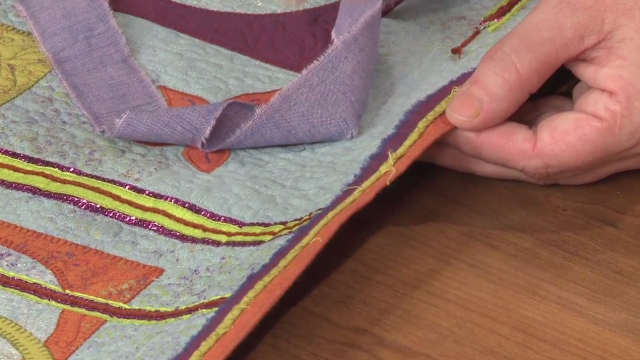
Once you’ve finished the stitching and coloring, Heather will show you how to square up your quilt and bind it using fabric that is the same color as your thread. Then she’ll instruct you to look over your “finished” piece up close and from several different distances. She’ll show you how to add highlights and lowlights to enhance weak areas or showcase major motifs. She will use both dry brushing techniques with Lumiere paints and iridescent Shiva Paintstiks.
Well, I know I've had some fun doing some coloring with the inks and the markers. I hope you've had fun too and that you've played with them and got a feel for how they work. Now we're gonna play with some Shiva oil paint sticks and use it not so much to get a complete fill on something but to do some feathering of color in on this piece that I colored previously and then to do some highlighting on some ink that we colored previously. So the first thing I'm going to do is I'm gonna choose a brush that's... It's pretty long bristled.
It's not an actual stencil brush because I'm gonna be doing a feathering technique like this. And I want it to be able to move a bit but not move too much. So I'm gonna load it up with my paint color. Make sure that you protect your surface because when you do this, little flecks of the paint go all over the place. And then work it into the brush.
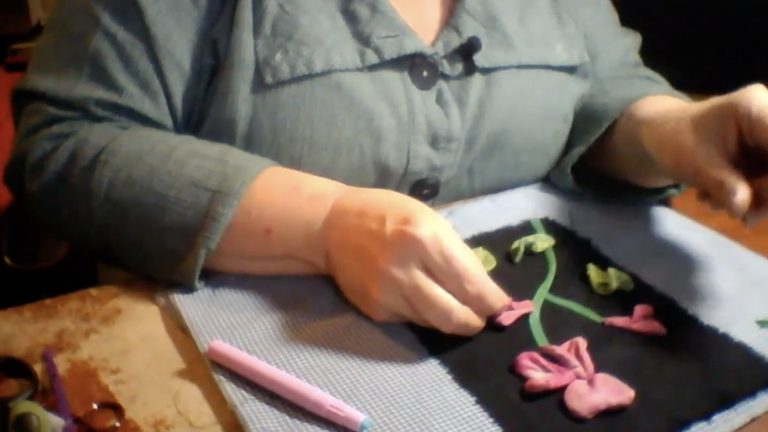
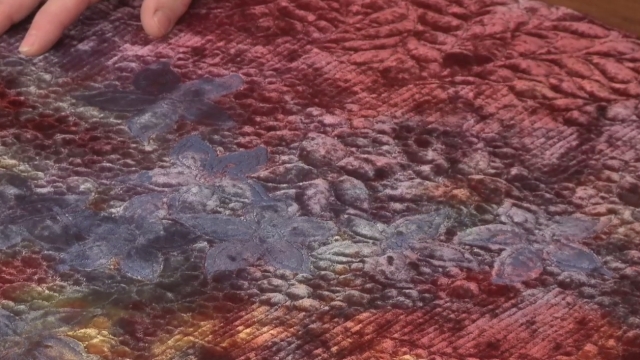
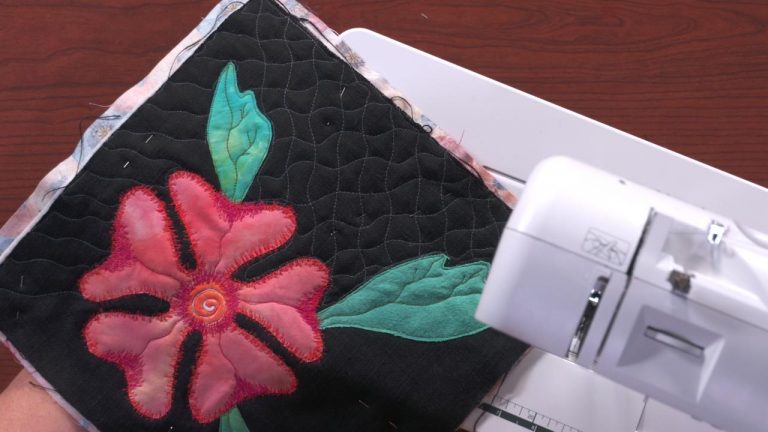
So I'm gonna come over here, and I'm simply going to move this back and forth. And it's gonna hit just the high areas. So those are the areas that are poofing because of the quilting. And this is definitely gonna change the feel of this 'cause this is red rather than pink, and that's okay. I'll probably come in and do some pink on top of it later too.
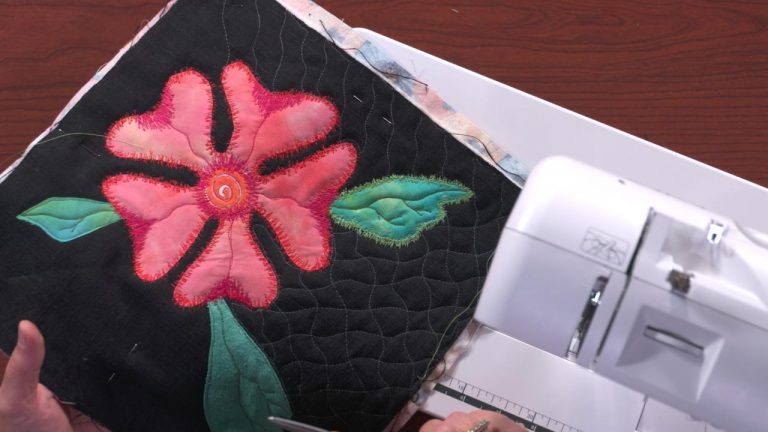
I just wanted you to see how it is to feather a color onto the surface. Also, because these are semi-opaque... It's an iridescent Shiva paint stick and so it's only semi-opaque, it's gonna give me good coverage on this black. Now this flower is cupped, and this is the backside of the flower and this is the front outside of the flower. So this is inside the cup.
I'm not gonna use this color on there except on the tips. I'm gonna get a little bit more of this color here. But I'm not gonna use this brush. I'm gonna use a stencil brush because I want more control. So I'm gonna start by loading up my brush and then working it into the surface.
And then I'm going to come in here and pull this down just from that top edge here. And you're seeing that it's gonna cover up that pink thread because it's got that semi-opacity. You're also gonna see that it looks kind of rough and not all that pretty when I first put it down. But have faith, we're gonna get there. So I'm just doing it along the edge rather than the whole thing.
And I'm gonna come in with a completely dry brush and really work it in. So that it's putting that red on that pink thread, putting that red ever so lightly on that black fabric, and bringing that red from the other side of the flower into the inside of the flower. Now that I've got this brush, I'm gonna smooth out this edge here. And really work this paint in so I don't have any blotchiness. And this has instantly given this flower so much more depth than it had before by differentiating one side of the petal from the other side of the petal.
So now we have this depth here that looks like it's cupped, and our flower is much more interesting looking. So I'll come up here, and I'm gonna do a similar thing. I'm going to use my more feathering of a brush first. And I'm gonna pull this color up from the center. And I'll go back to the stencil brush, and I'm gonna use it on the edges of the petals up here.
Make sure you keep your hand out of your paint or you'll be transferring it where you don't want to. This is such an improvement to these flowers. I'm so happy I'm finally doing this. They've always been somewhat weak, and now I'm giving them some nice power. And we're gonna use that feathering brush again.
But I wanna make sure that it's nice and dry and hasn't got a whole lot of paint on it. And I'm gonna feather from the outside in and really soften that. And I'm gonna show you the difference between a petal that's been feathered and a petal that hasn't yet. So here's our feathered petal, and see how nice and soft. It's like an ombre moving in there.
And here we've got chunky globs of color. So when you first start doing this if you end up with these chunky globs of color, that's the way it works when you first start doing it. You've got to go in and then move that paint because again like I said, it has no viscosity. So I'm gonna go all the way around and move that paint. Soften it up.
Now this paint, it's an oil paint stick. It's permanent once it's dry. Depending on your weather, whether you're arid or humid, it can take up to a week to dry. So you just wanna take your time and let it do its drying thing. And not lose patience.
It will drive eventually. Okay, now I'm gonna pull from the center. And what I don't wanna do is have complete coverage here. I want that black to show. So here, I'm just gonna smooth it out so much better.
So much better, really liking this. All right, now I'm gonna address this center that's got that bright, bright yellow, and I'm gonna use some gold and a different stencil brush. Load that brush up. And I'm gonna come in here and simply hit those high areas of that gold or that yellow thread and soften its yellowness. So here you can see it's quite a bit softer now.
I'm gonna use the edge of this brush to kind of do the same thing here. And then I'm gonna use it on the inside of these petals, and I'm gonna put a little gold dust along those highlight that are in the thread. Yummy, very cool. I'm gonna go back to that dry brush again. Make sure that it's dry.
And just feather a little bit of that gold out. And we've got this one final flower to do. And again, it's got a side that's facing me and then an inside. So this part right here is inside. This is on the outside.
So it's gonna get quite a bit of the red. This outside portion. And that inside portion has very little of it showing, so I wanna be very careful how much red I put along that edge. That's gonna be right on that edge And I'll show you a little trick to make that happen. So that's in there.
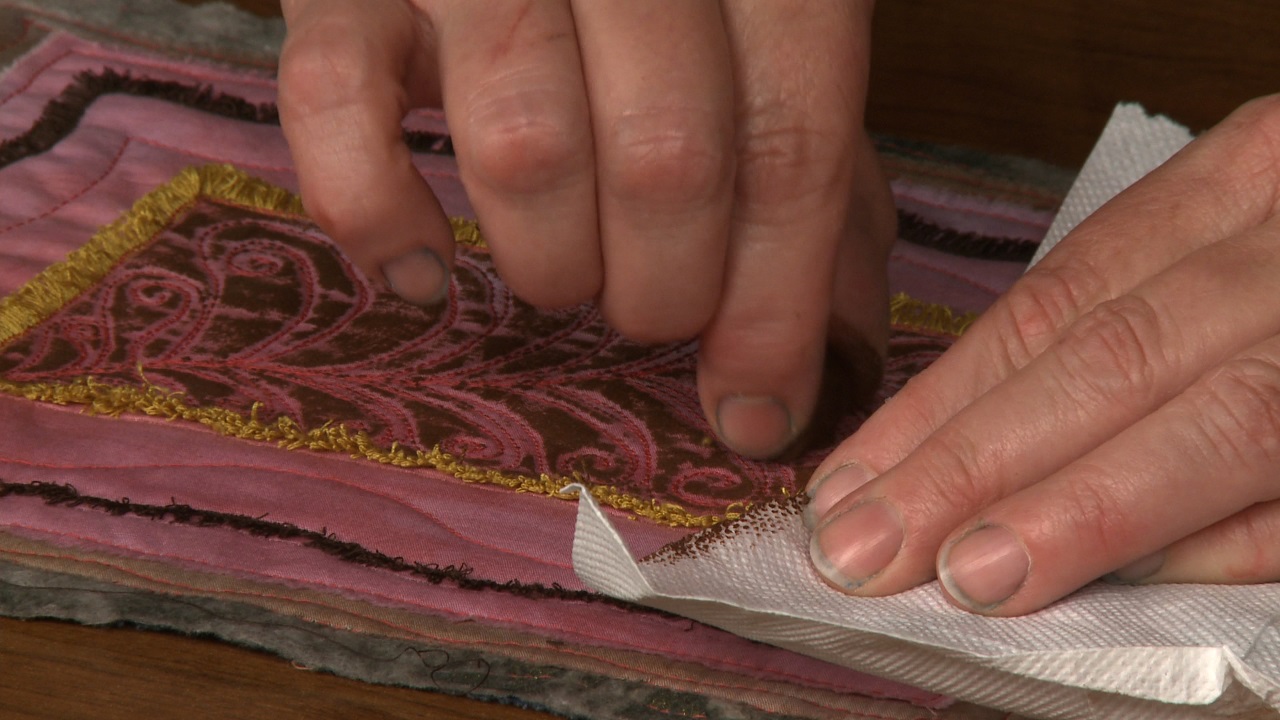
So I'm gonna take a piece of paper towel. And I'm simply gonna kind of put it up next to the edge here. Little tiny bit at a time and just rub a little bit of this red on there. Right along that edge 'cause I don't want it to get it way down anywhere else 'cause there's not all that much of this showing. I'm just using it sort of as a color stop, I guess.
And then we're gonna go back to our dry brush. Making sure it's dry. And I'm gonna pull this down first. And smooth this. And then the last thing we'll do is the gold in there.
I'm gonna pull that out from that center and make sure we have little bits of it on this edge which really helps highlight that that's on the inside. There we go, nice depth to that flower also. I'll do the other flower later, but this has really drastically changed these flowers. And because it's drastically changed those flowers, I wanna drastically change this pink here too. And to do that I'm gonna come in here with this brush, and I'm just gonna ever so lightly work this red color over this.
And you can see almost instantly how it's gonna come together. And you see the difference just here in how it looks more like that flower again now. And I'll be adding just a little bit more of this paint here and I'll be working the surface until I get the color of red I'm looking for. But at the same time, don't color my black threads because I don't want those threads to go away. So here, now we match our flowers much better than we do up here.
So I'll just continue to work on that later. So the last thing I wanna show you is how to use these Shiva paint sticks to shade on top of our inked fabrics. And these are really nicely dry. And so they're ready for some fun added to them. And remember on this flower, we added a little bit of yellow out here to the outside edge.
Well, I'm gonna highlight that yellow by putting a little bit of gold on there too. So I'm just gonna come in here and bring little rosy balls of gold on those outside petals like so. And I'm gonna do the same thing with Mr. Birdie's head. Anything that I wanna bring some attention to.
So I'm gonna come in here and kind of make that green look better in that sand by adding some gold highlights. And then I'm gonna do gold highlights right along his wing line. And then in his tail feathers here. And we're always gonna go back with that dry brush and push things together. Make it looks like it belongs even in his little head.
And we have just those little tiny bits of that wonderful iridescent highlight to perk everything up. You're gonna have so much fun with this. This is the most fun that I know anybody can have with a sewing machine because then it leads to this wonderful, fabulous coloring with inks and paints on our stitch.
Share tips, start a discussion or ask other students a question. If you have a question for the instructor, please click here.
Already a member? Sign in
No Responses to “Quilt & Color Session 5: Final Shading, Squaring Up & Binding”