As quilters, we’re always looking to build our skills, learn new techniques, and create unique patterns. We also know that sometimes it can be hard to find inspiration or break away from the same old designs. That’s why we’ve collected all of our Quilt Block Challenges on one page for you to download for free! Select from any of the challenges below, and enter your email to receive the fabric requirements, patterns, and step-by-step instructions for the design you choose. Then, head over to Facebook and join the National Quilters Circle Quilt Block Challenge Facebook group where you can share photos of your work and see what fellow quilters have created. Happy quilting!
 PDF PATTERN DOWNLOAD
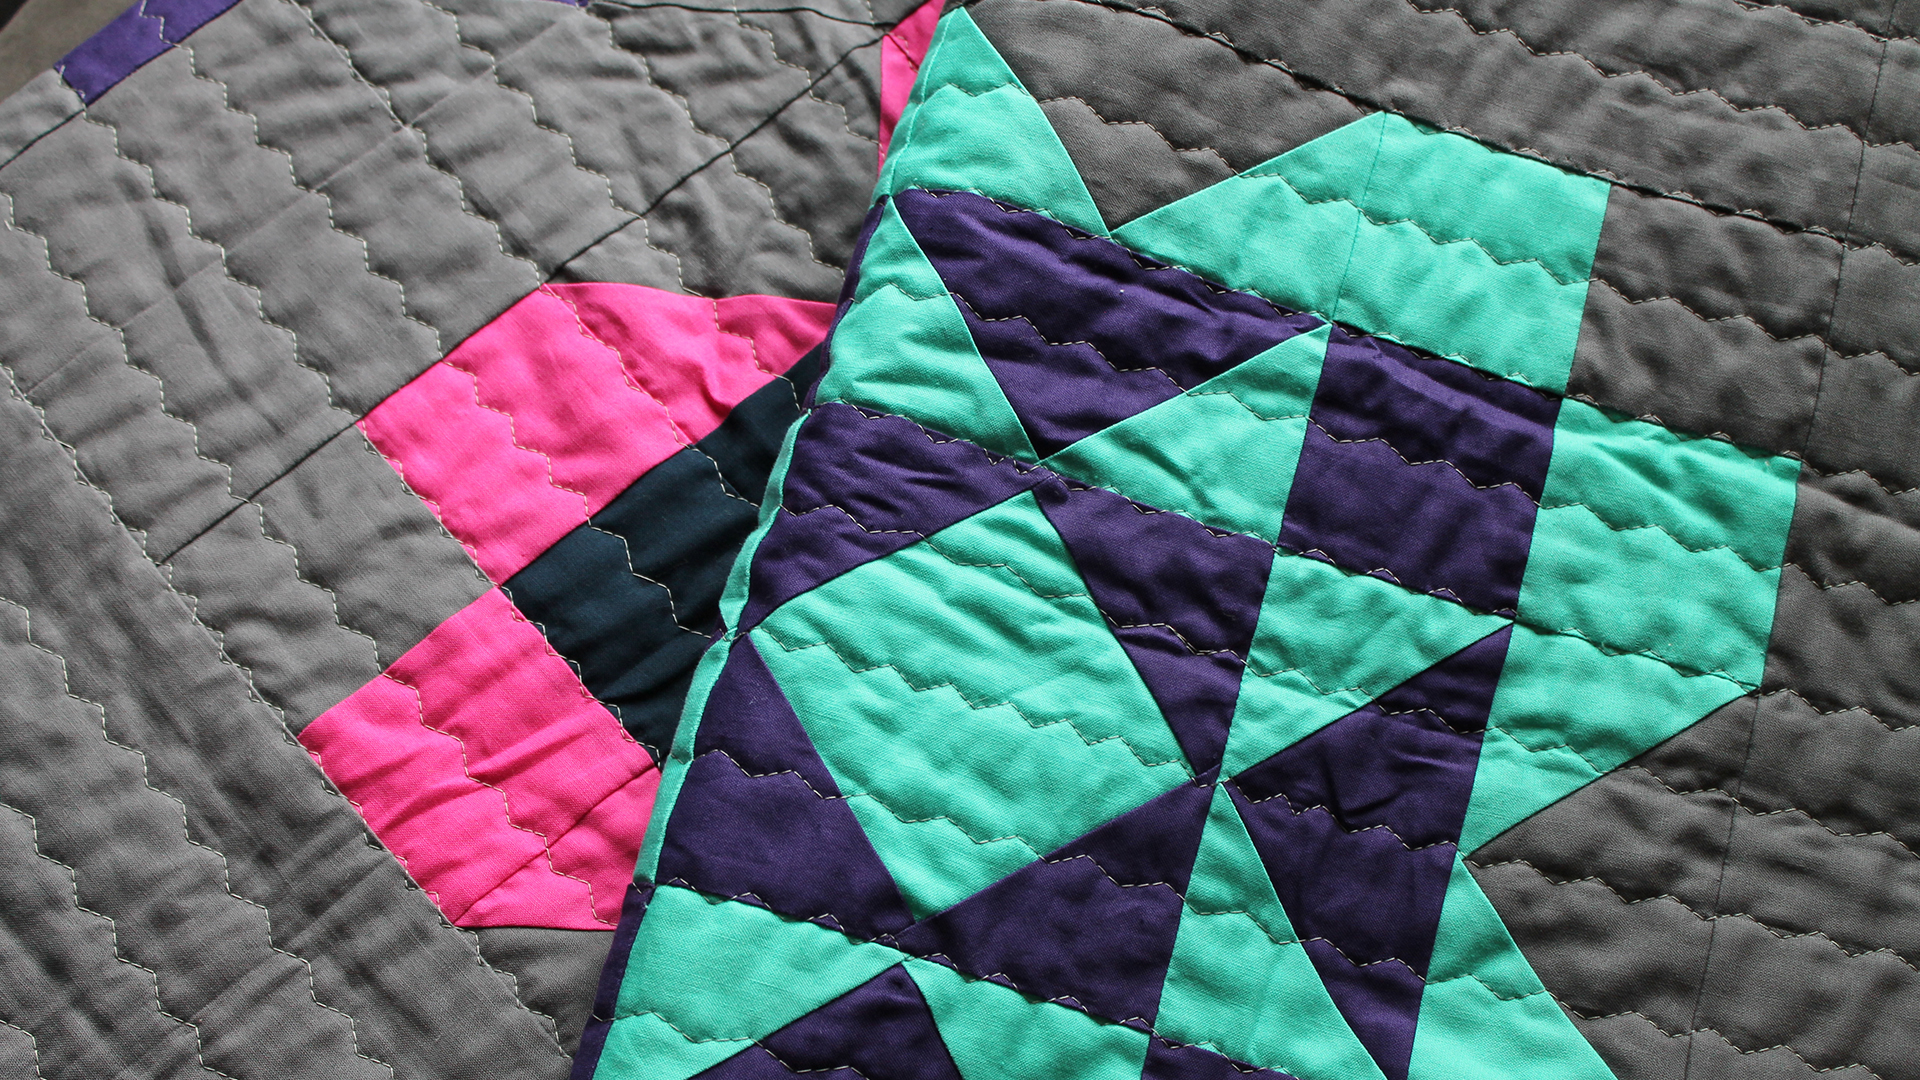
Pleiades Sampler
PDF PATTERN DOWNLOAD
Pleiades Sampler
 PDF PATTERN DOWNLOAD
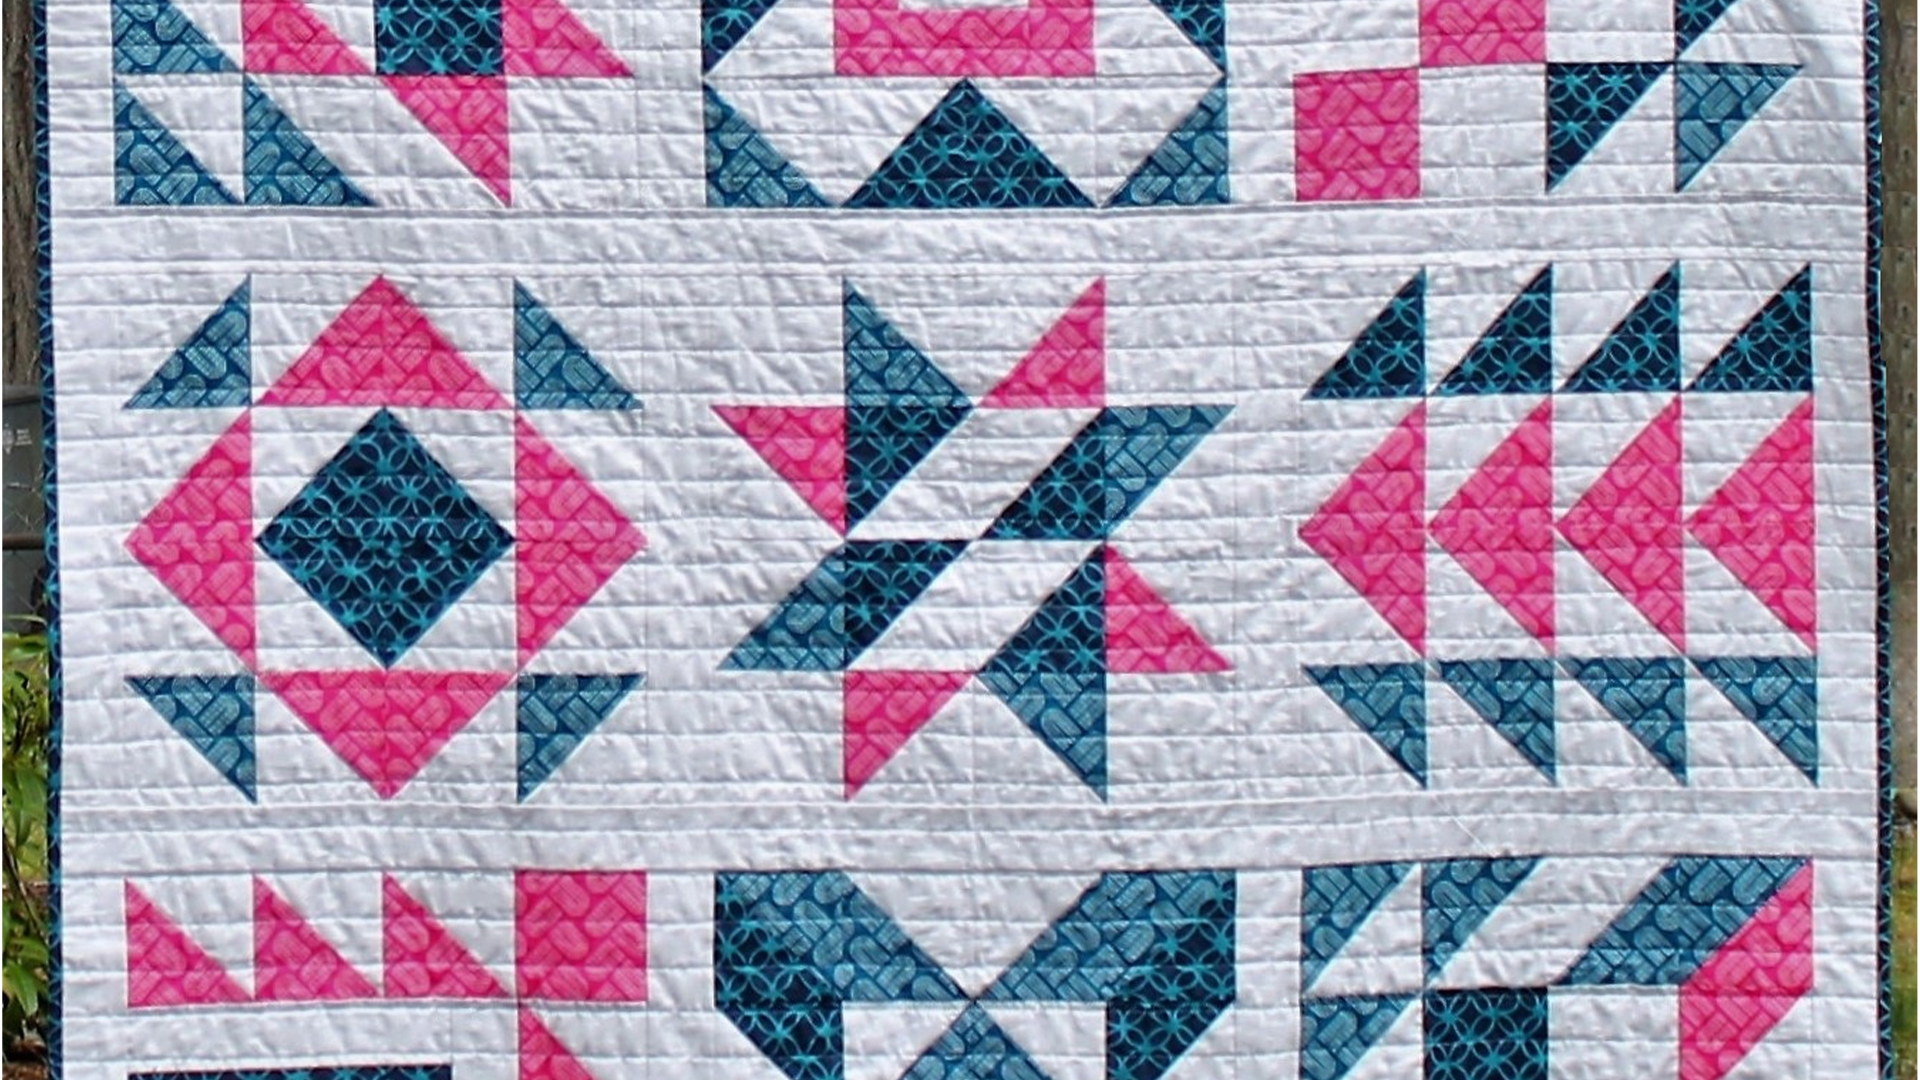
Windmills and Pinwheels Sampler
PDF PATTERN DOWNLOAD
Windmills and Pinwheels Sampler
 PDF PATTERN DOWNLOAD
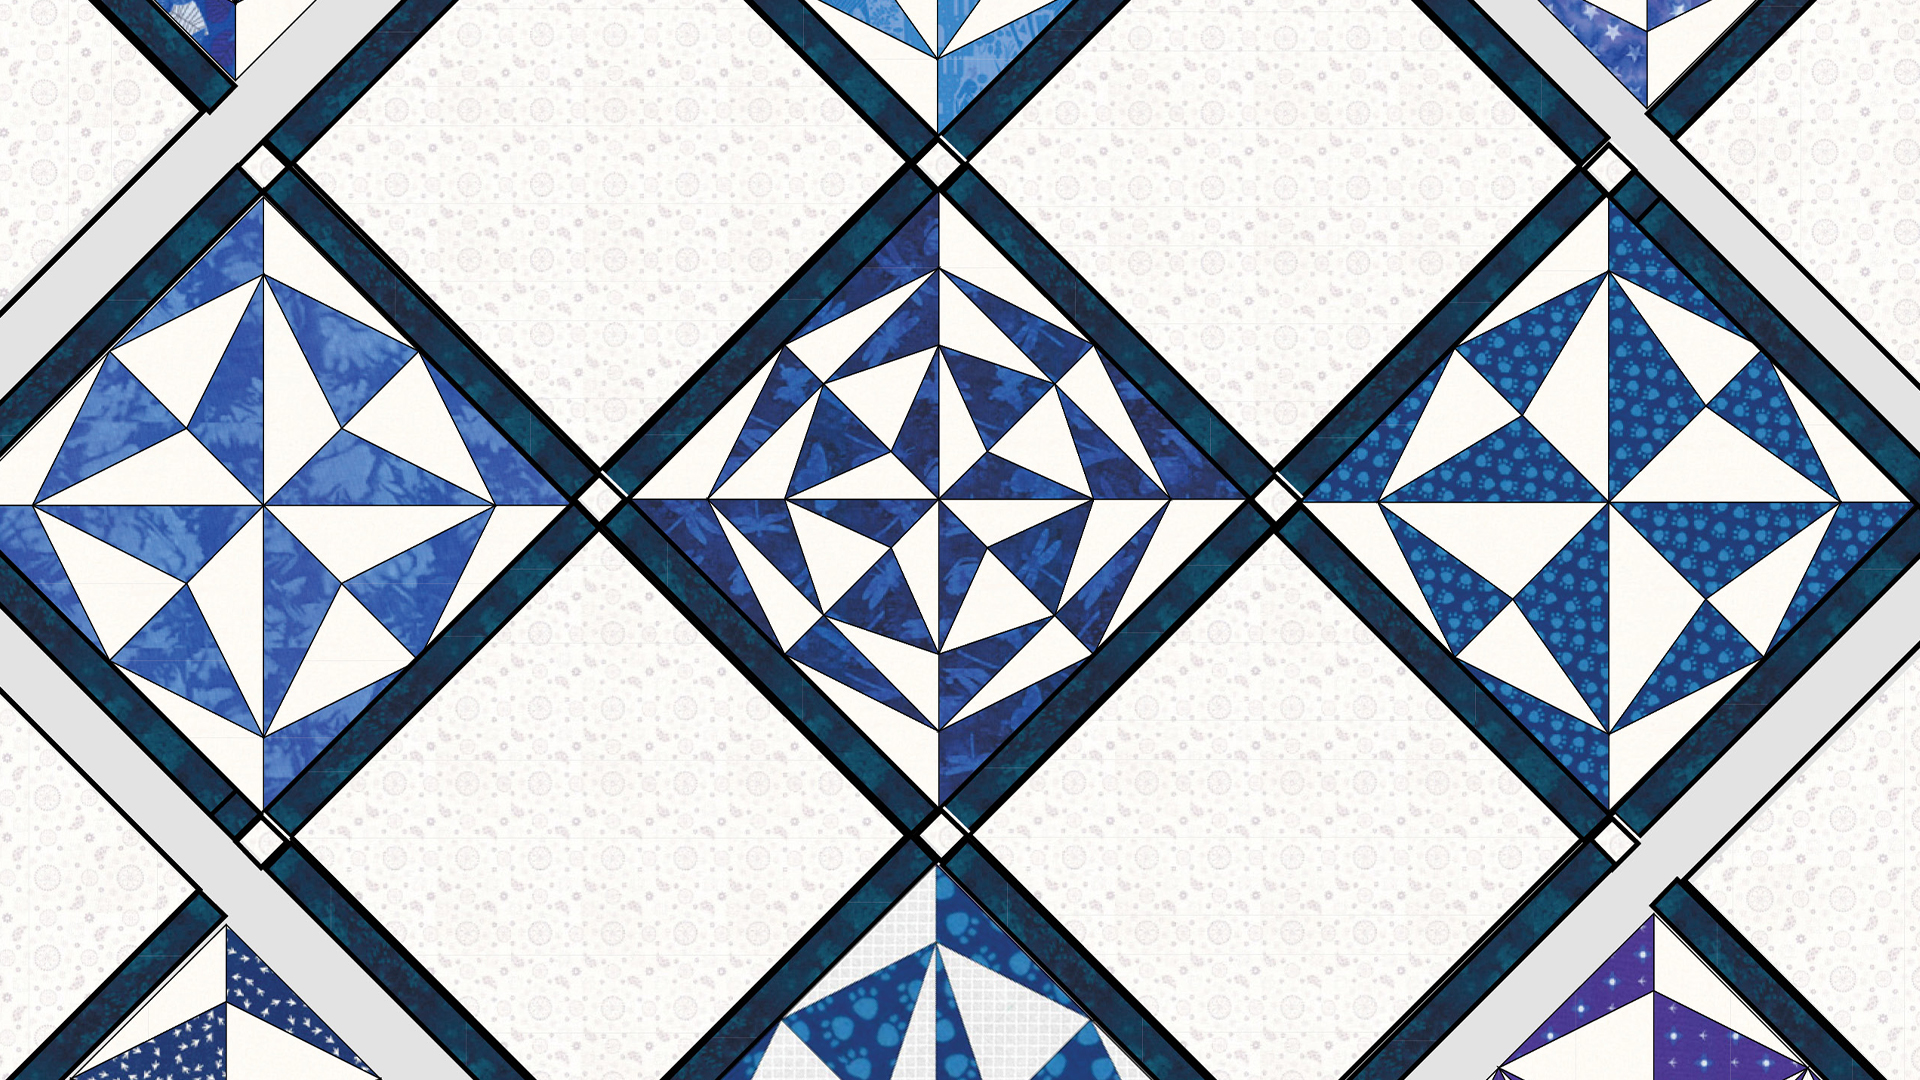
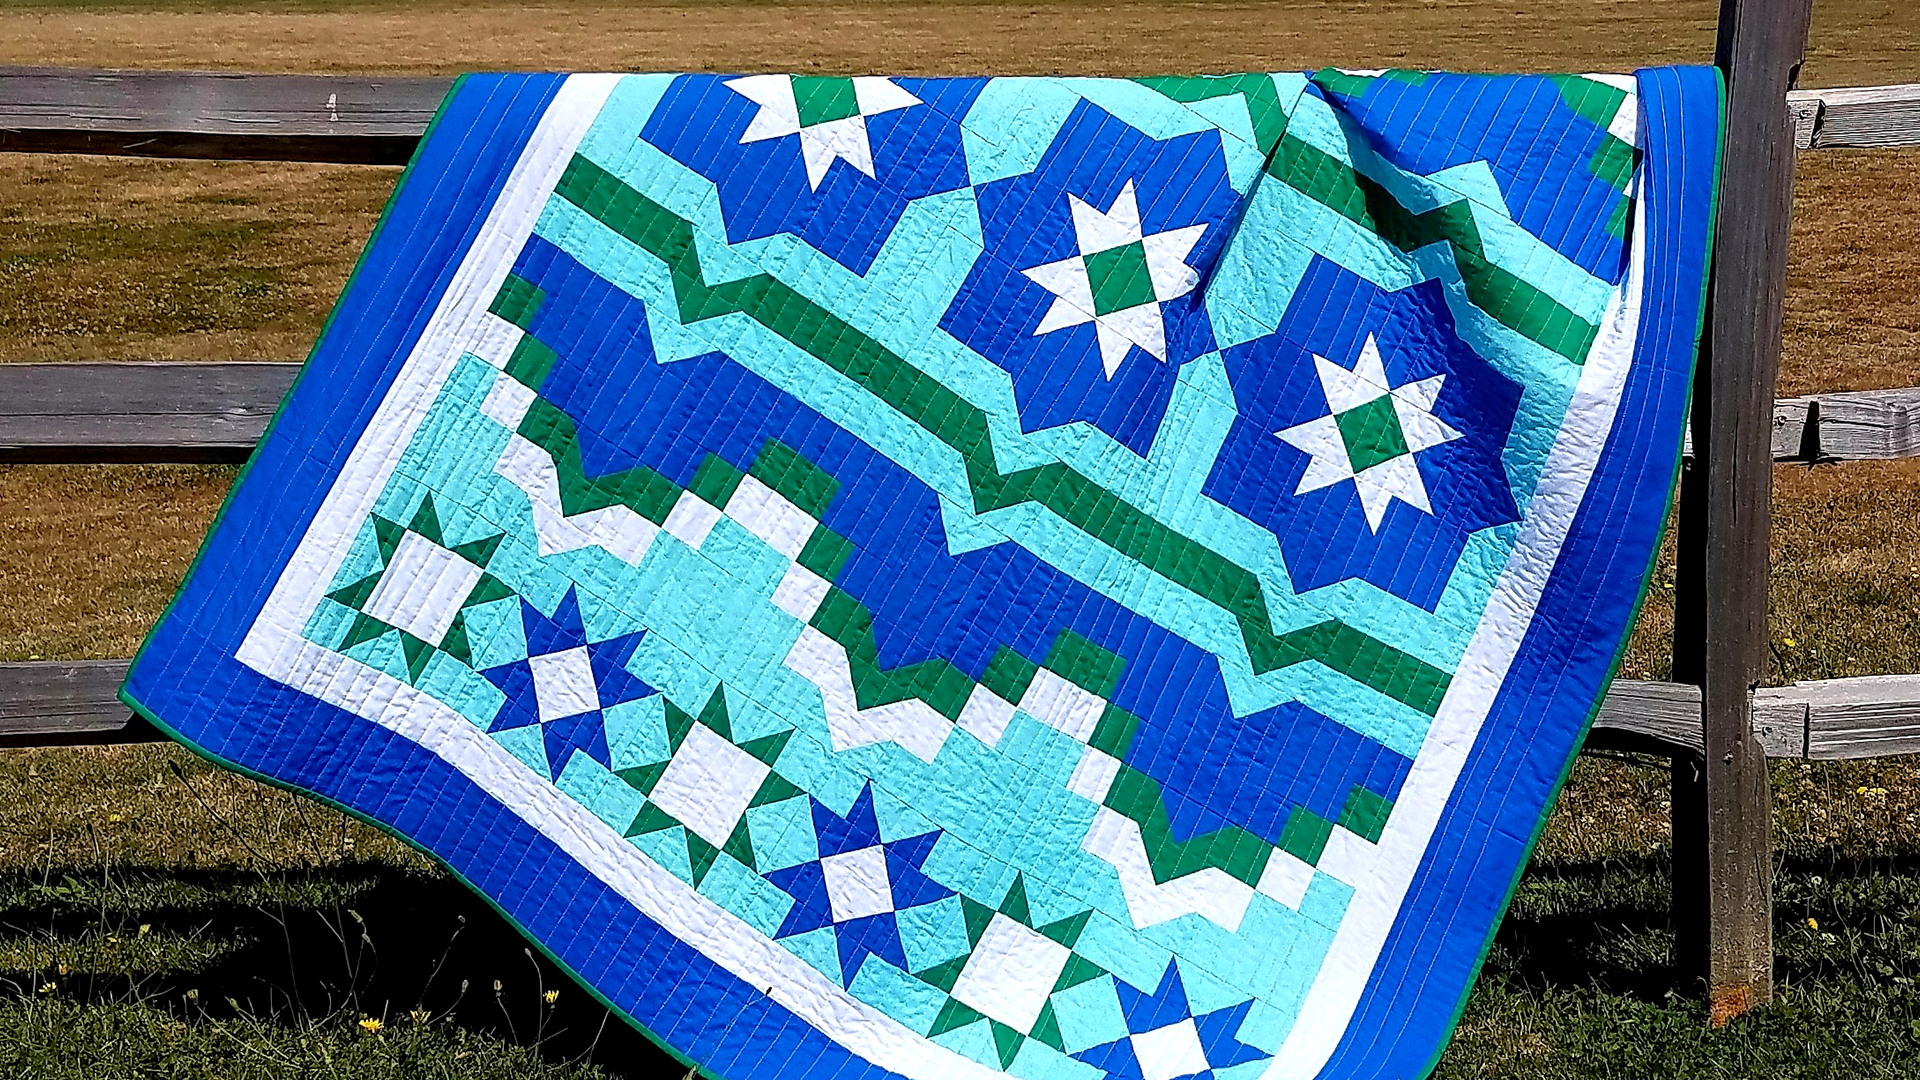
Ice Crystals Sampler
PDF PATTERN DOWNLOAD
Ice Crystals Sampler
 PDF PATTERN DOWNLOAD
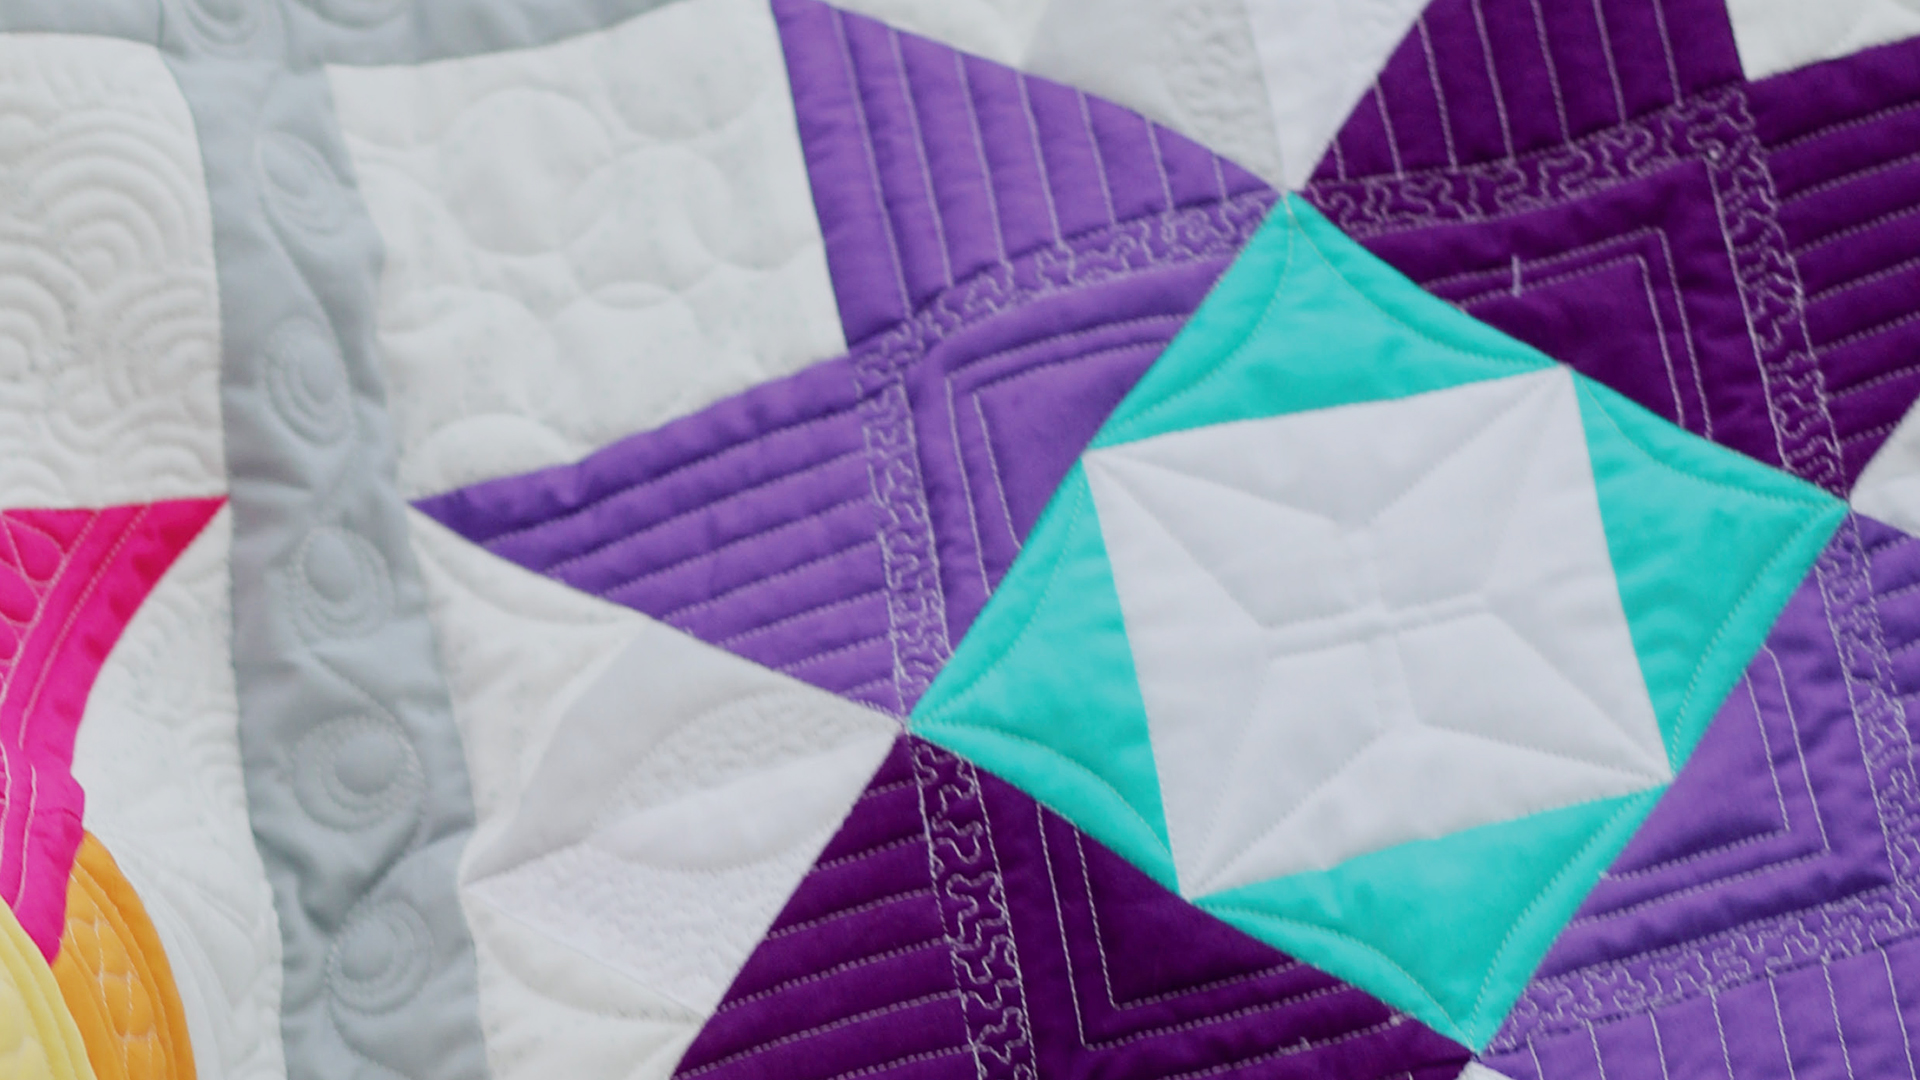
Medallion Sampler
PDF PATTERN DOWNLOAD
Medallion Sampler
 PDF PATTERN DOWNLOAD
Happy Block Swap Sampler
PDF PATTERN DOWNLOAD
Happy Block Swap Sampler
 PDF PATTERN DOWNLOAD
Snowy Day Quilt Sampler
PDF PATTERN DOWNLOAD
Snowy Day Quilt Sampler
 PDF PATTERN DOWNLOAD
Starlight Mountains Sampler
PDF PATTERN DOWNLOAD
Starlight Mountains Sampler
 PDF PATTERN DOWNLOAD
Quilting for a Cause Sampler
PDF PATTERN DOWNLOAD
Quilting for a Cause Sampler
 PDF PATTERN DOWNLOAD
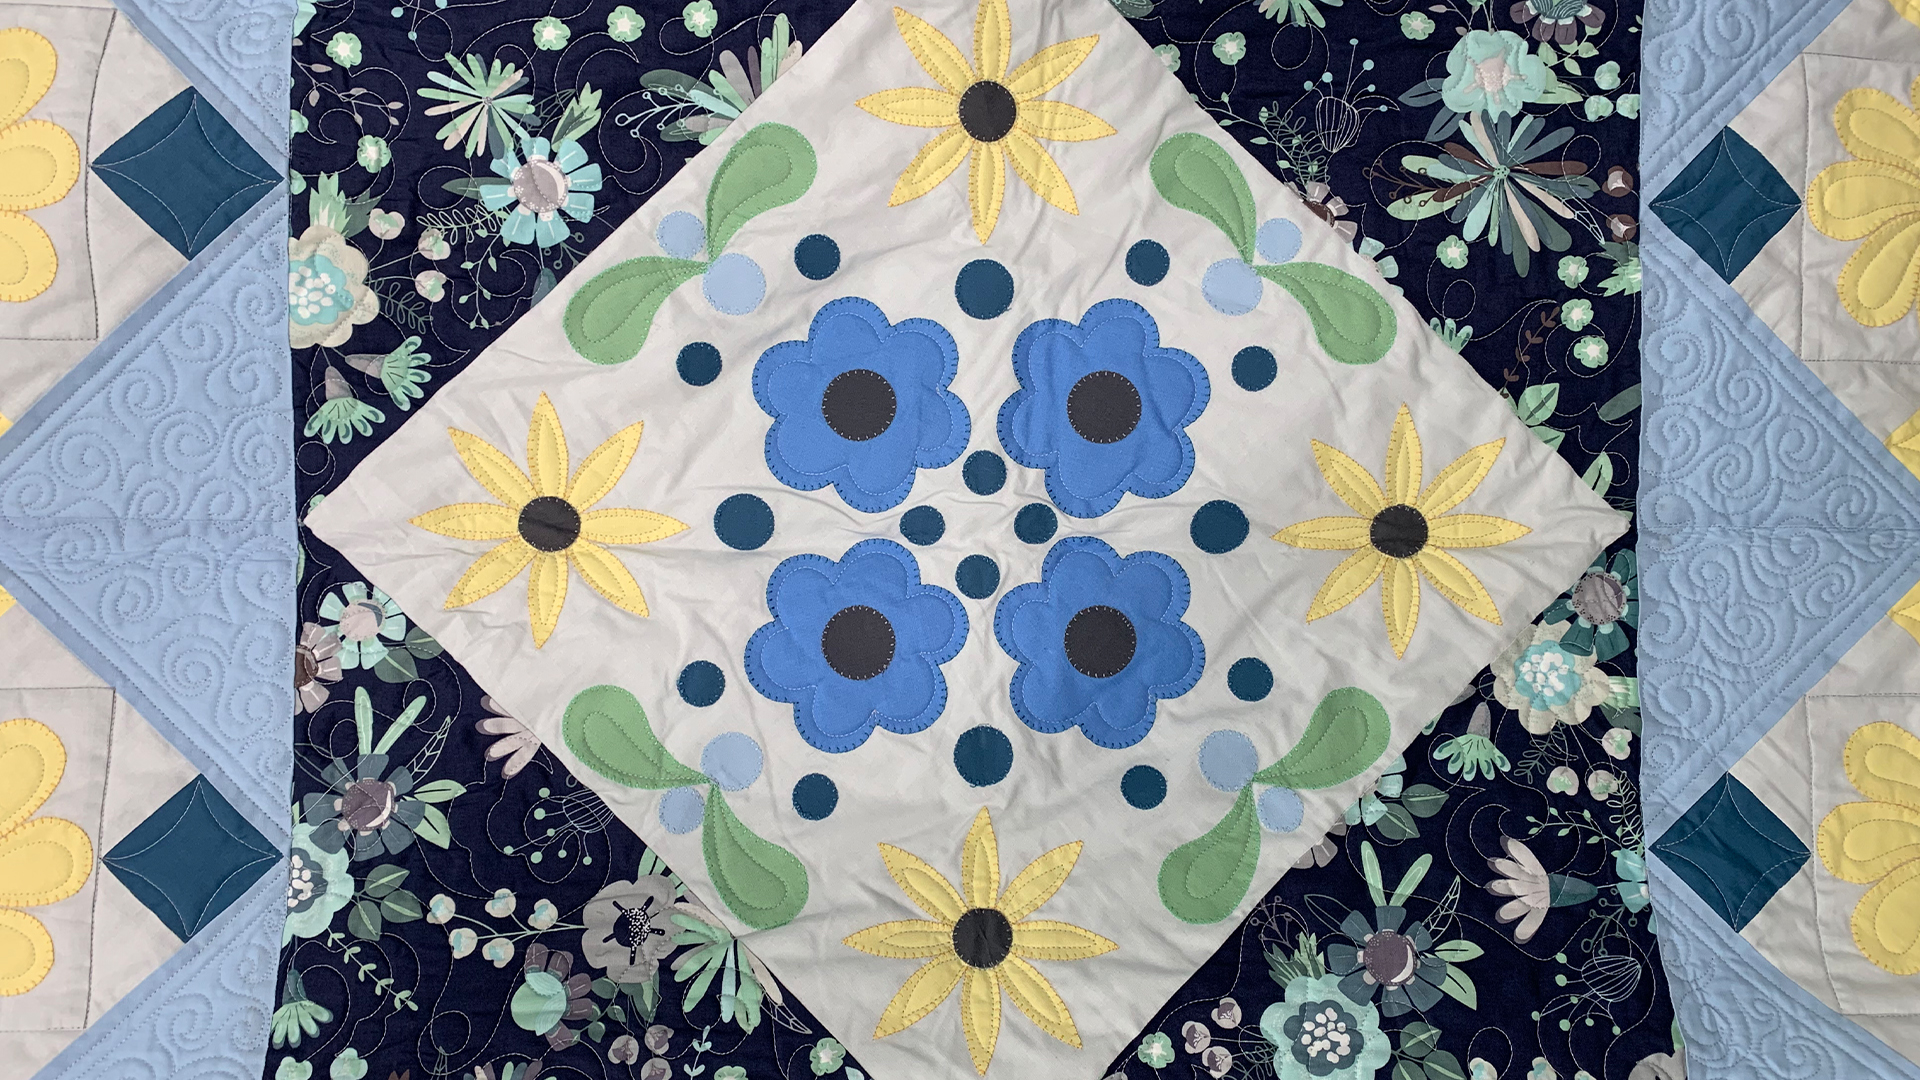
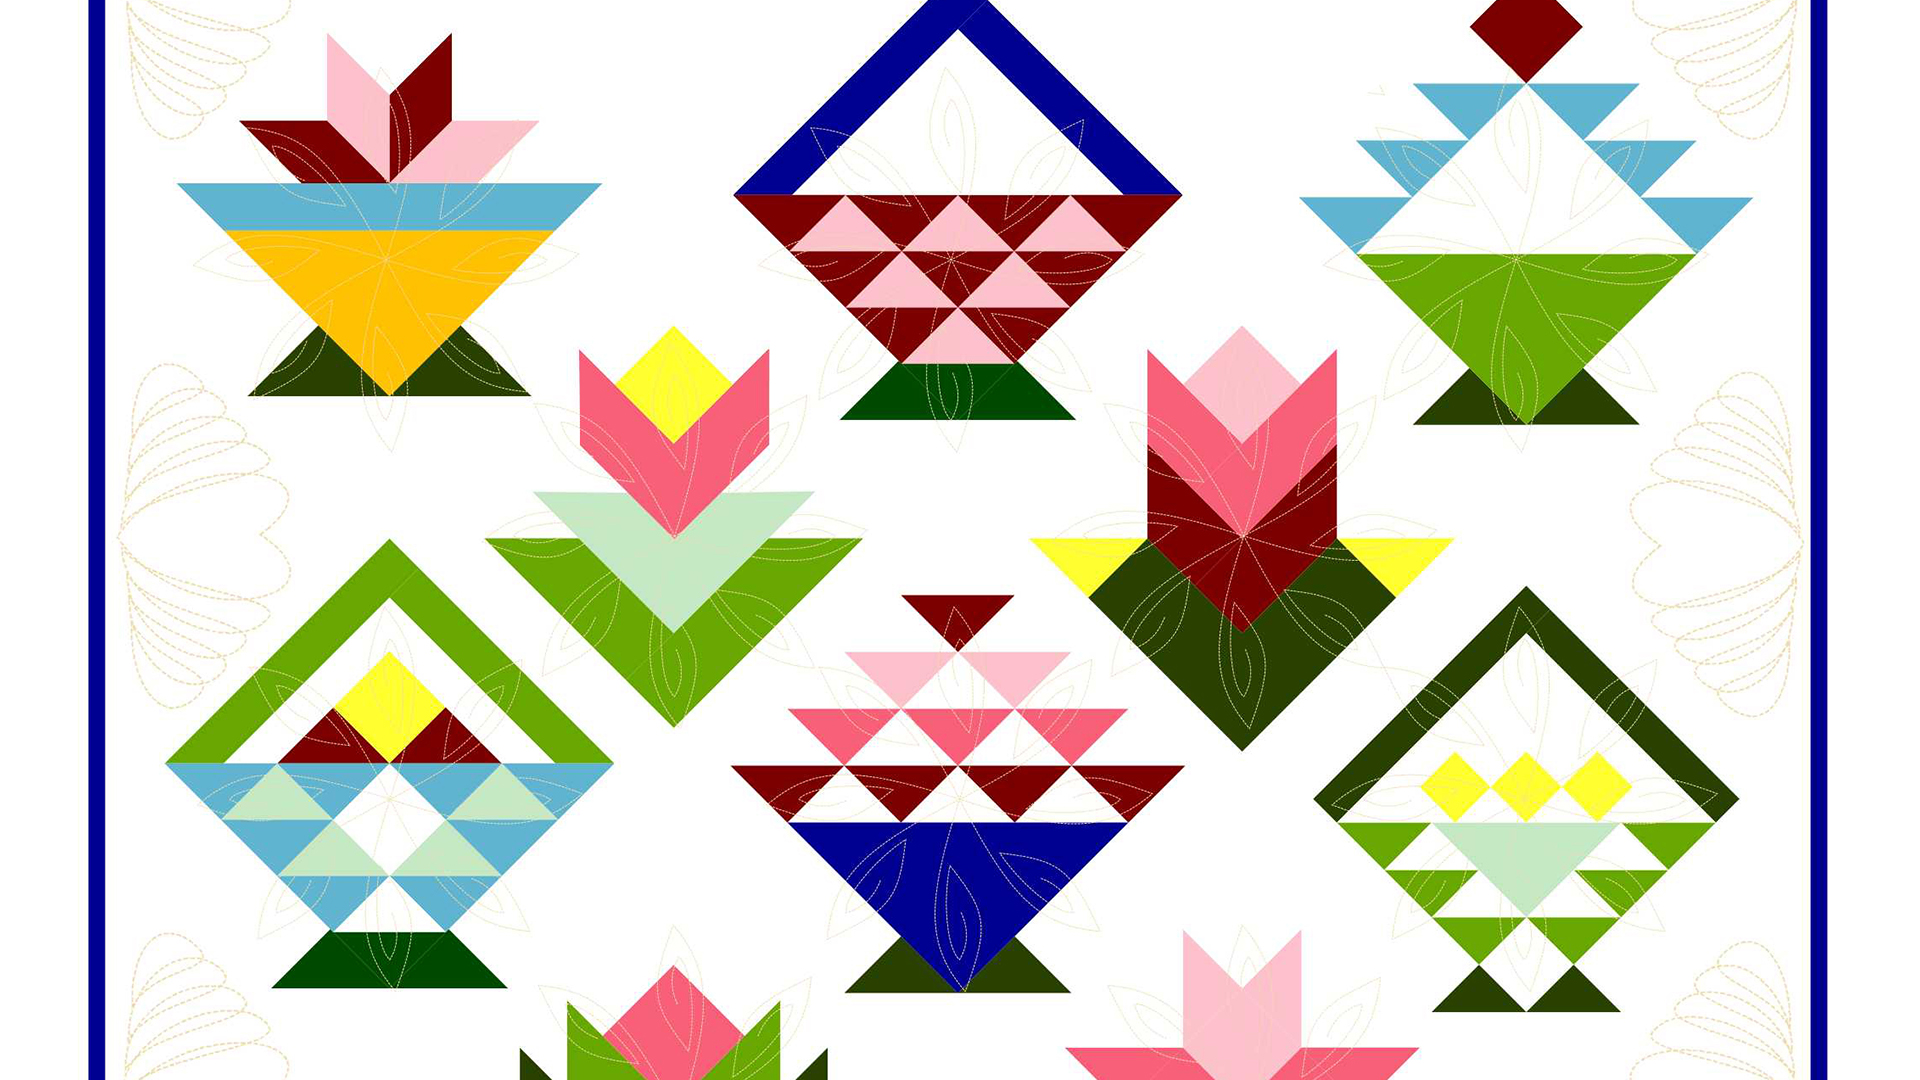
Baskets and Blooms Sampler
PDF PATTERN DOWNLOAD
Baskets and Blooms Sampler
 PDF PATTERN DOWNLOAD
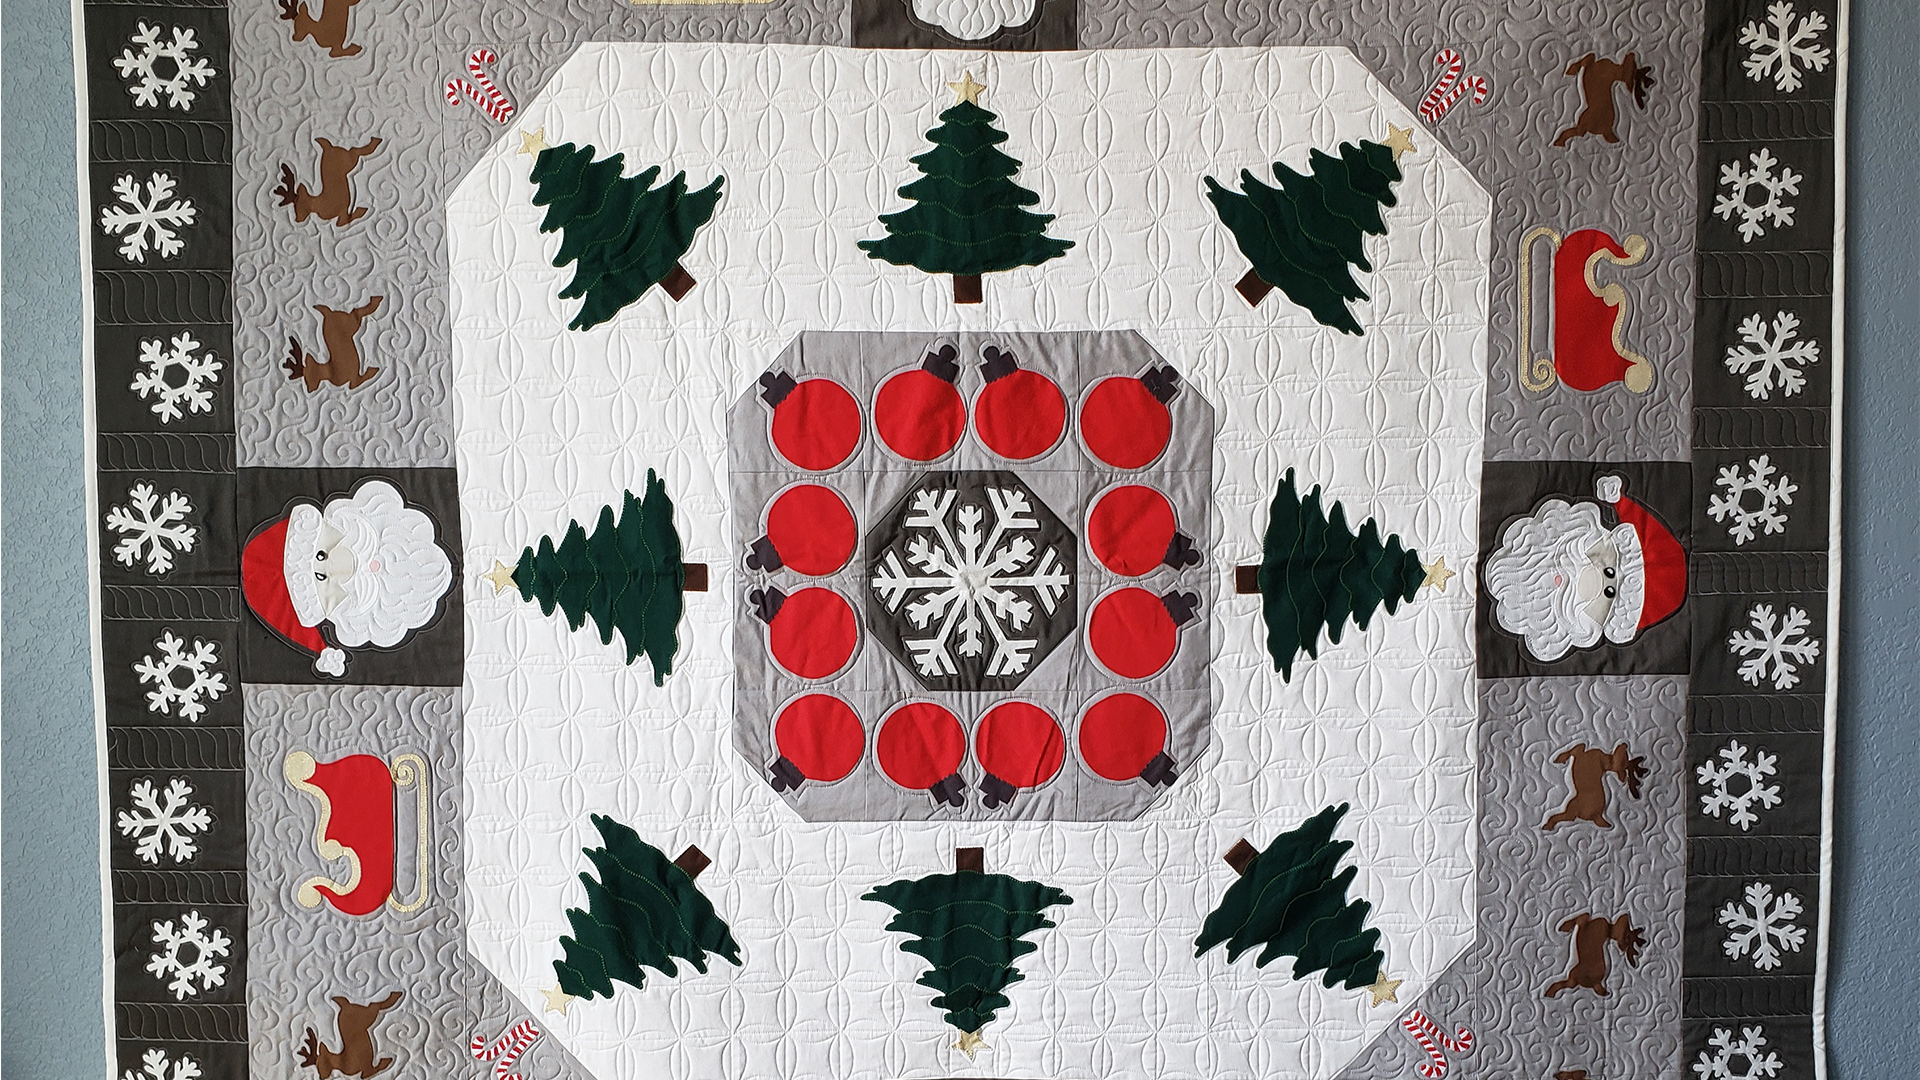
Christmas Cheer Sampler
PDF PATTERN DOWNLOAD
Christmas Cheer Sampler
 PDF PATTERN DOWNLOAD
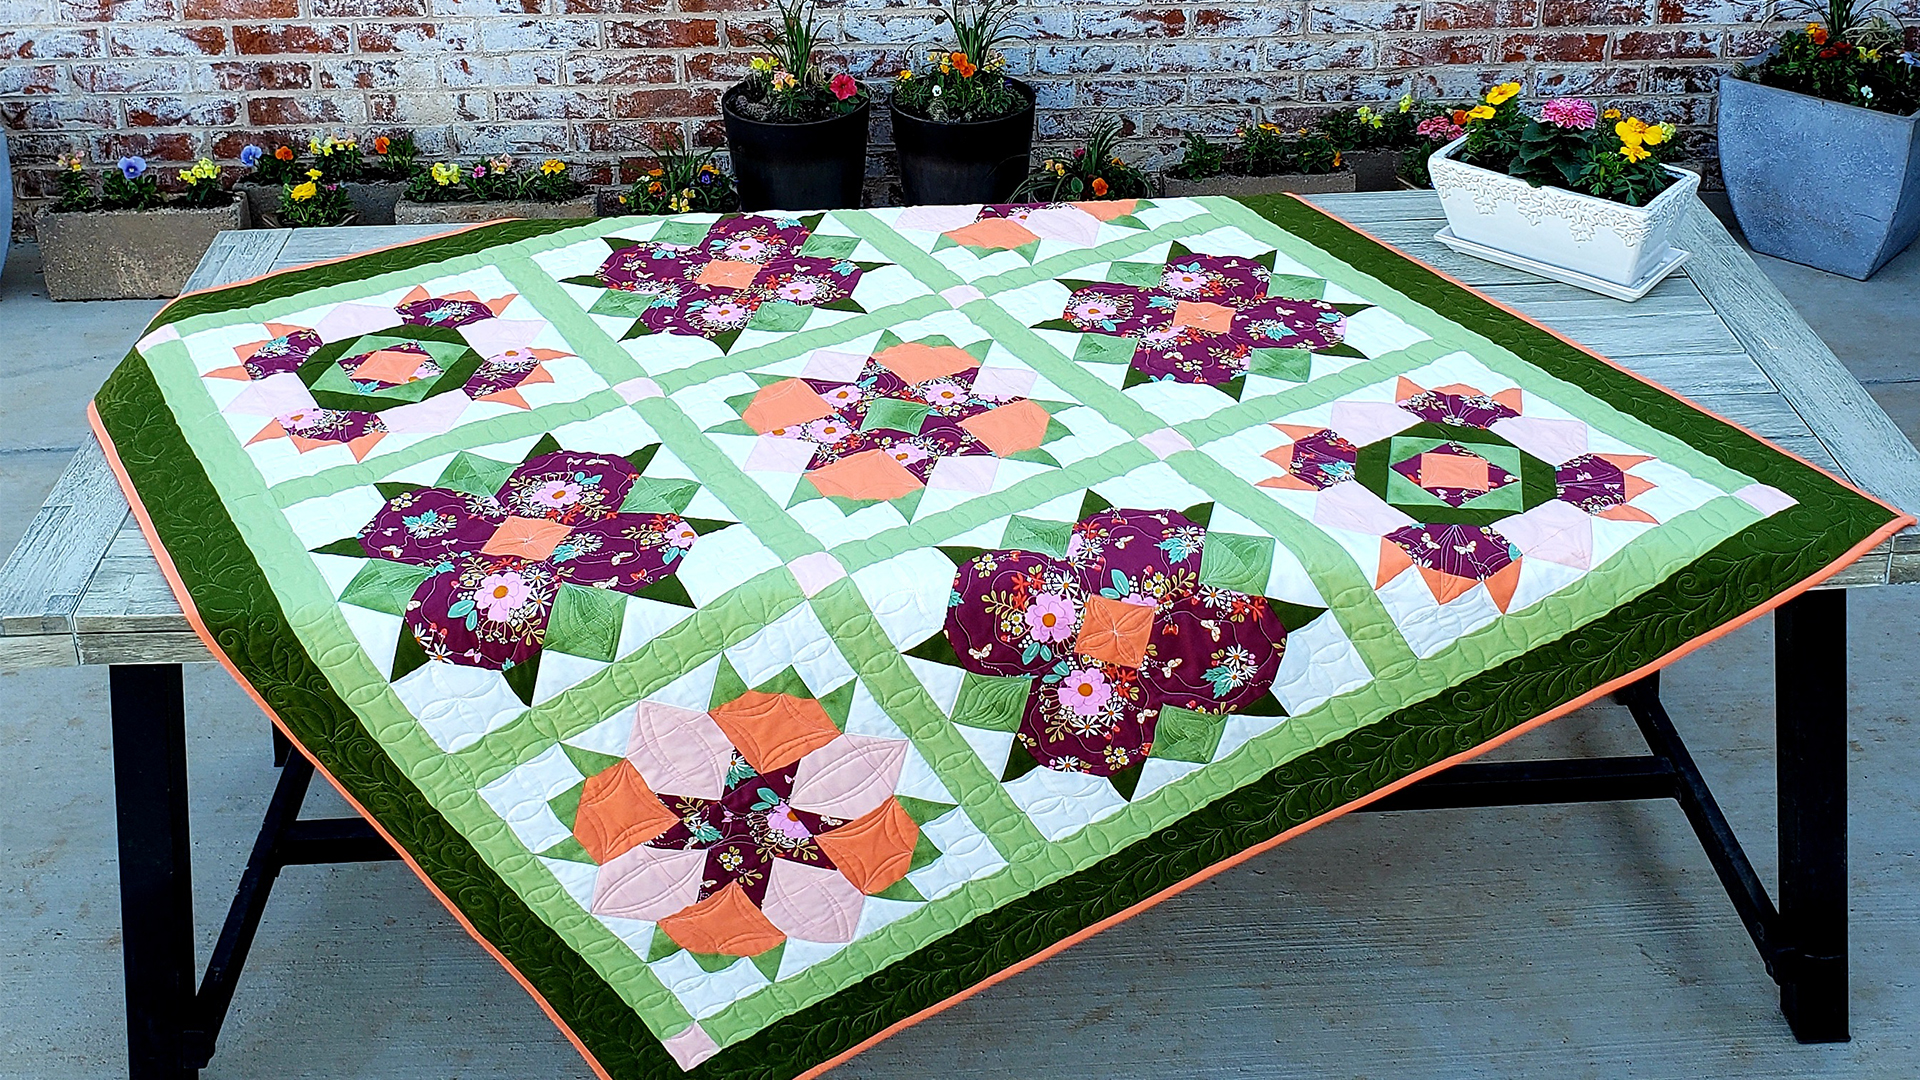
Springtime Florals Sampler
PDF PATTERN DOWNLOAD
Springtime Florals Sampler
 PDF PATTERN DOWNLOAD
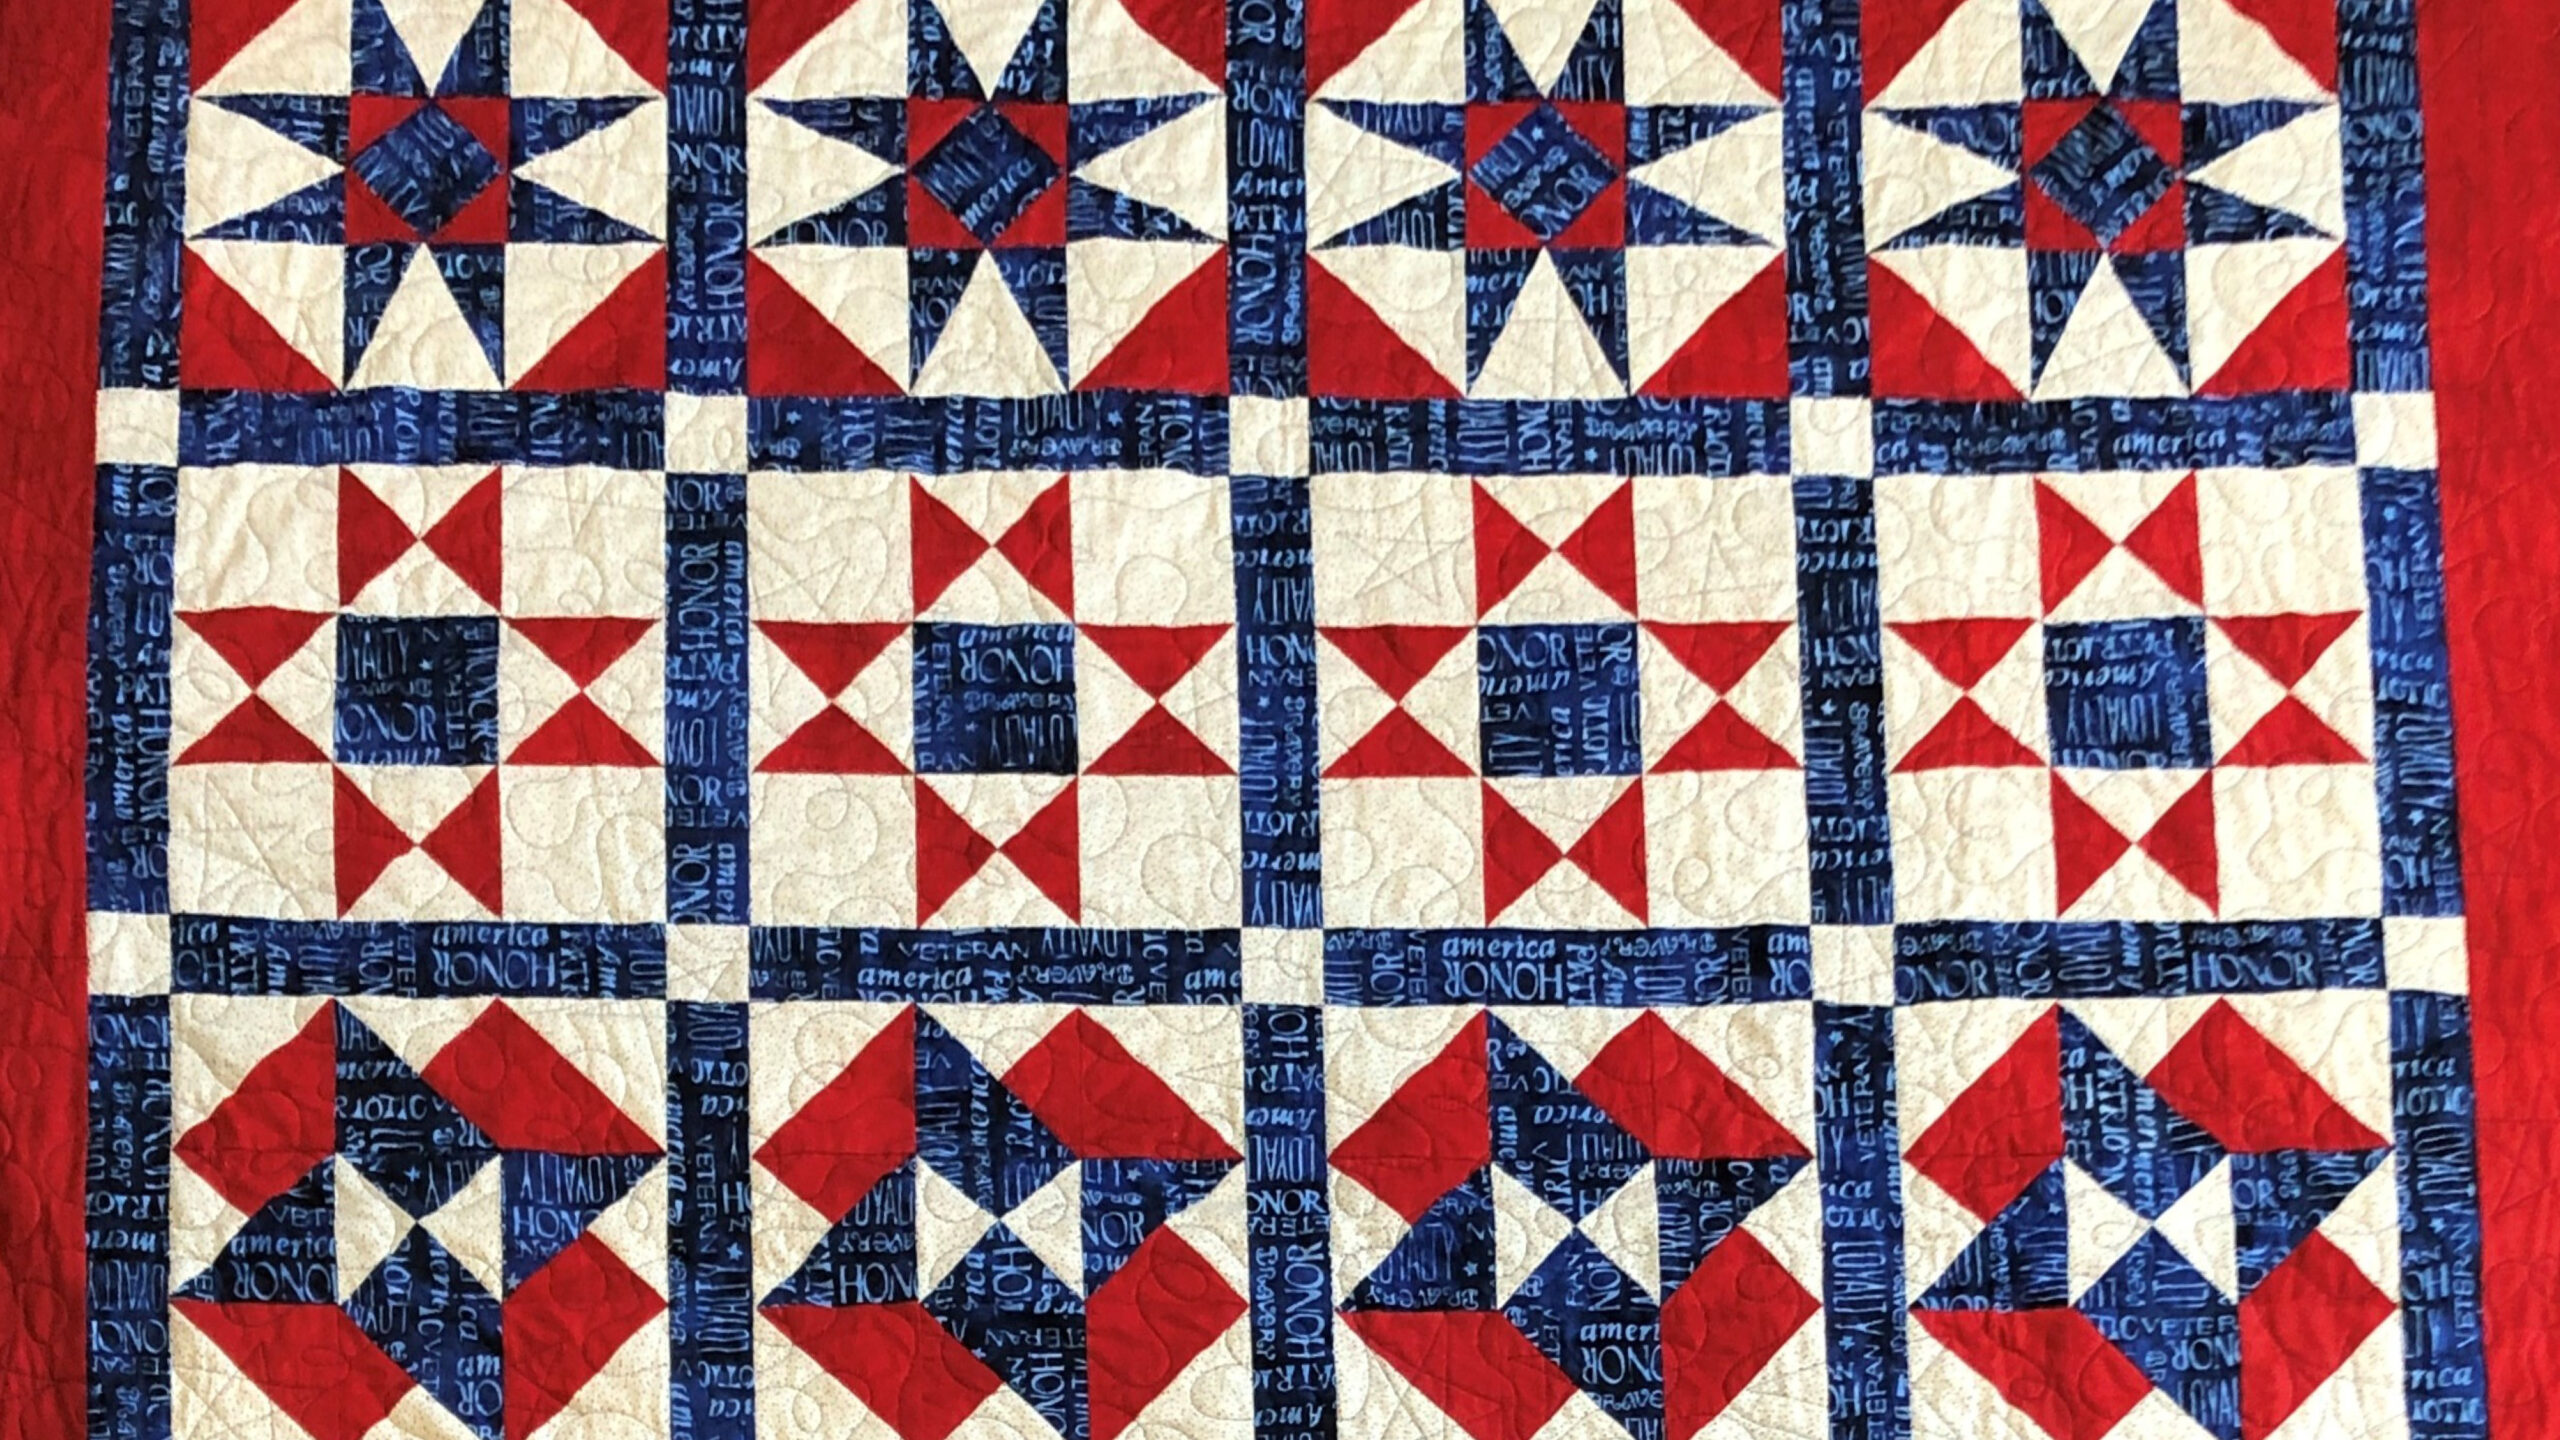
Valiant Stars
PDF PATTERN DOWNLOAD
Valiant Stars
trying to get instructions for week 1 of mystery challenge. Where do i go?
please sign me up for quilt challenge, Having trouble getting pattern for week 1
I love to sew and learn new techniques
Hello. I'm retired now. So I'm interested in starting quilting projects. I have over 20 yrs quilting fun. Now I'm retired. I'm interested in larger more shapes, patterns quilting projects and supplies. Thanks
I have had a lot of trouble getting the schoolhouse dash patterns! None have come to my email since week 8. They are not in junk or spam either. I have had to have customer service send them to me. I have not had this problem with other challenges. Will this one be available in the projects like the past ones have?
thank you
Learn so much!
Can’t wait to try these
Looking forward to some block ideas
Thanks for the new ideas!