Heads up! This article is part of a series on precision quilt piecing techniques. Make sure to read the previous installment of this series here.
Congratulations! You’ve made it to the final installment of my series on precision quilt piecing techniques! You now know how to precision piece seven different units. Think of how many patterning possibilities there could be by altering fabric placement! In this final article we will discuss how you can use this information to your advantage.
Get Creative with Blocking
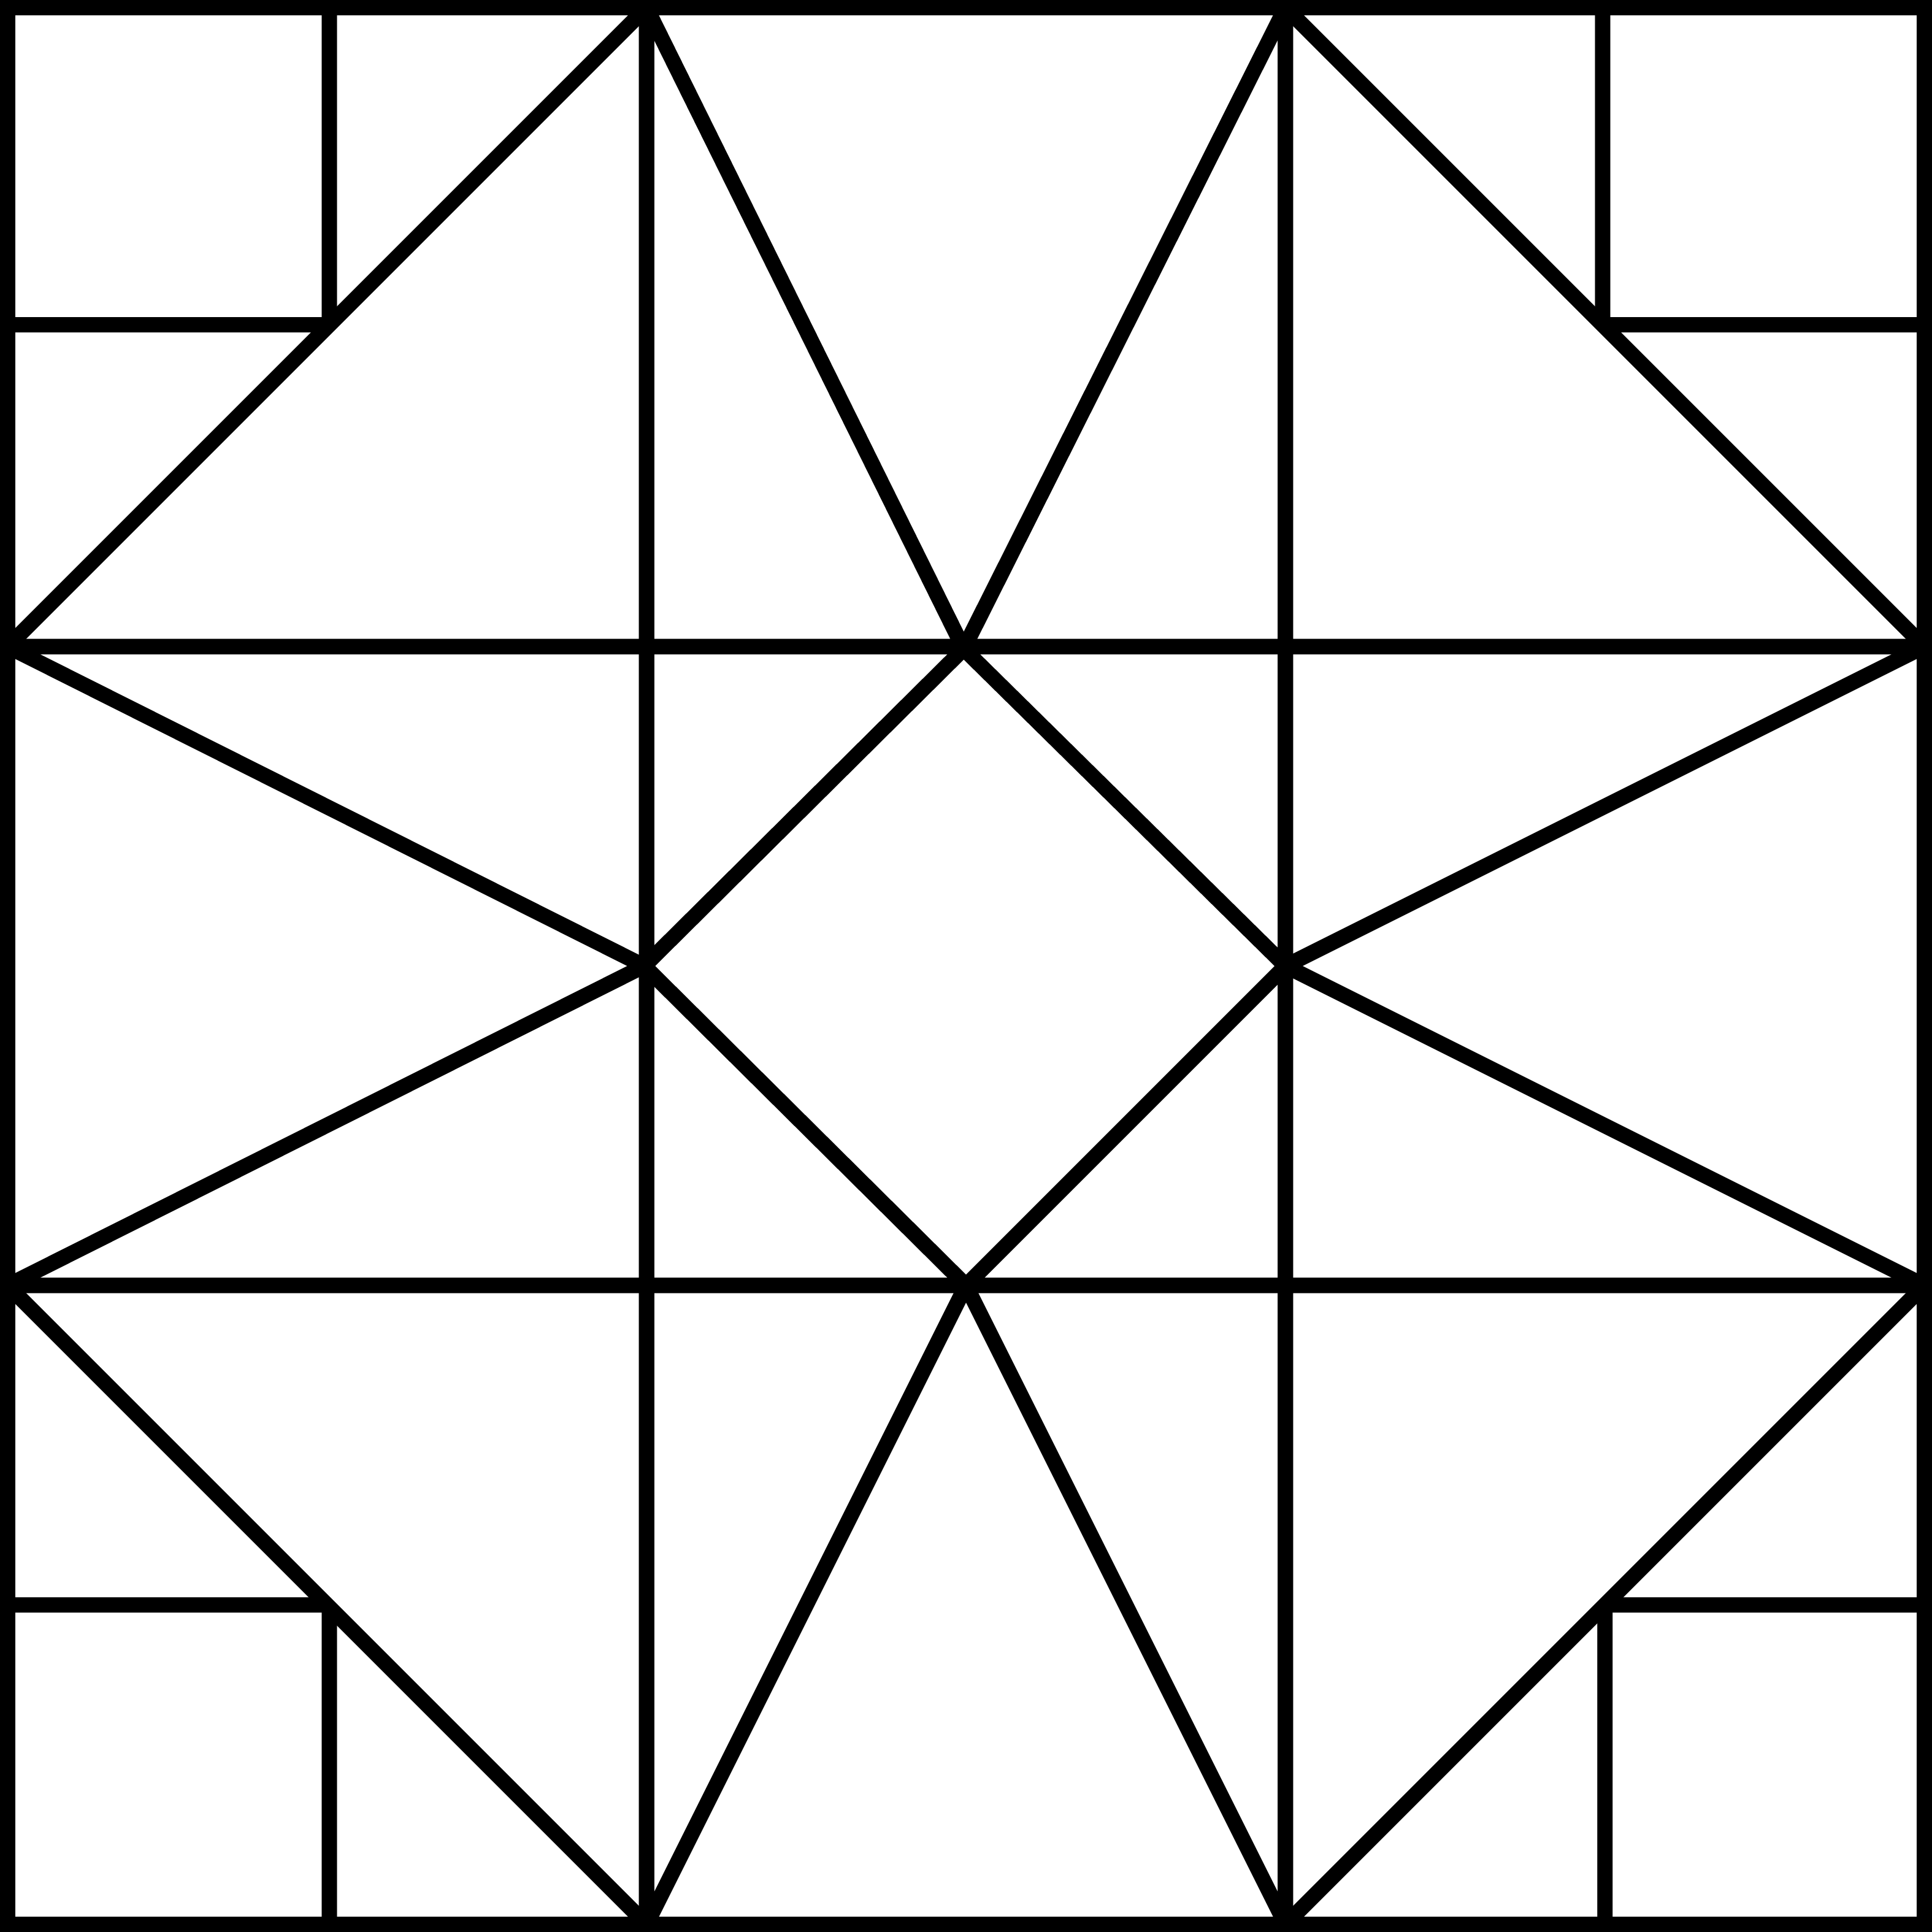
First you can see how a block is constructed by identifying its units. The storm at sea block consists of a square in a square in the center, a triangle in a square on each side, and a fancy half square triangle in each corner.

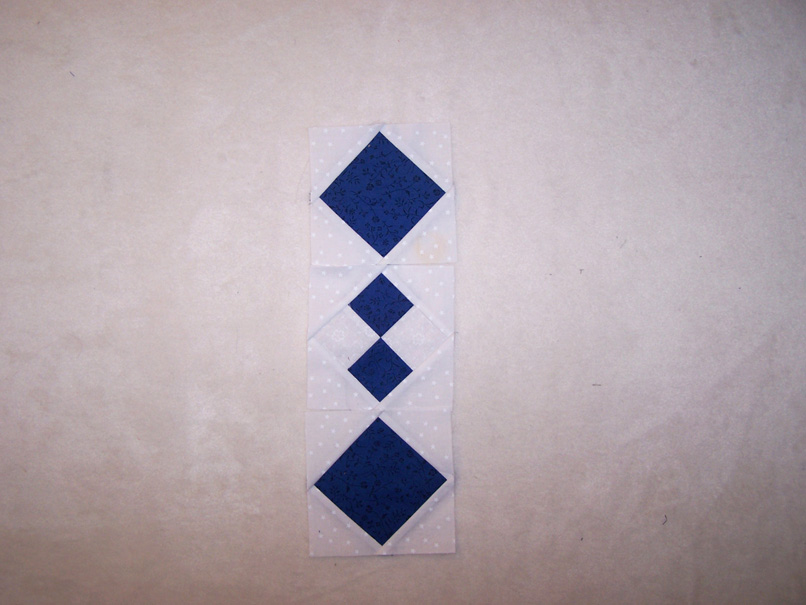
Once you have identified the component parts, you can choose to modify them. For example, the swing in the center block is made entirely of half square triangles with a square in a square in the center of the block.
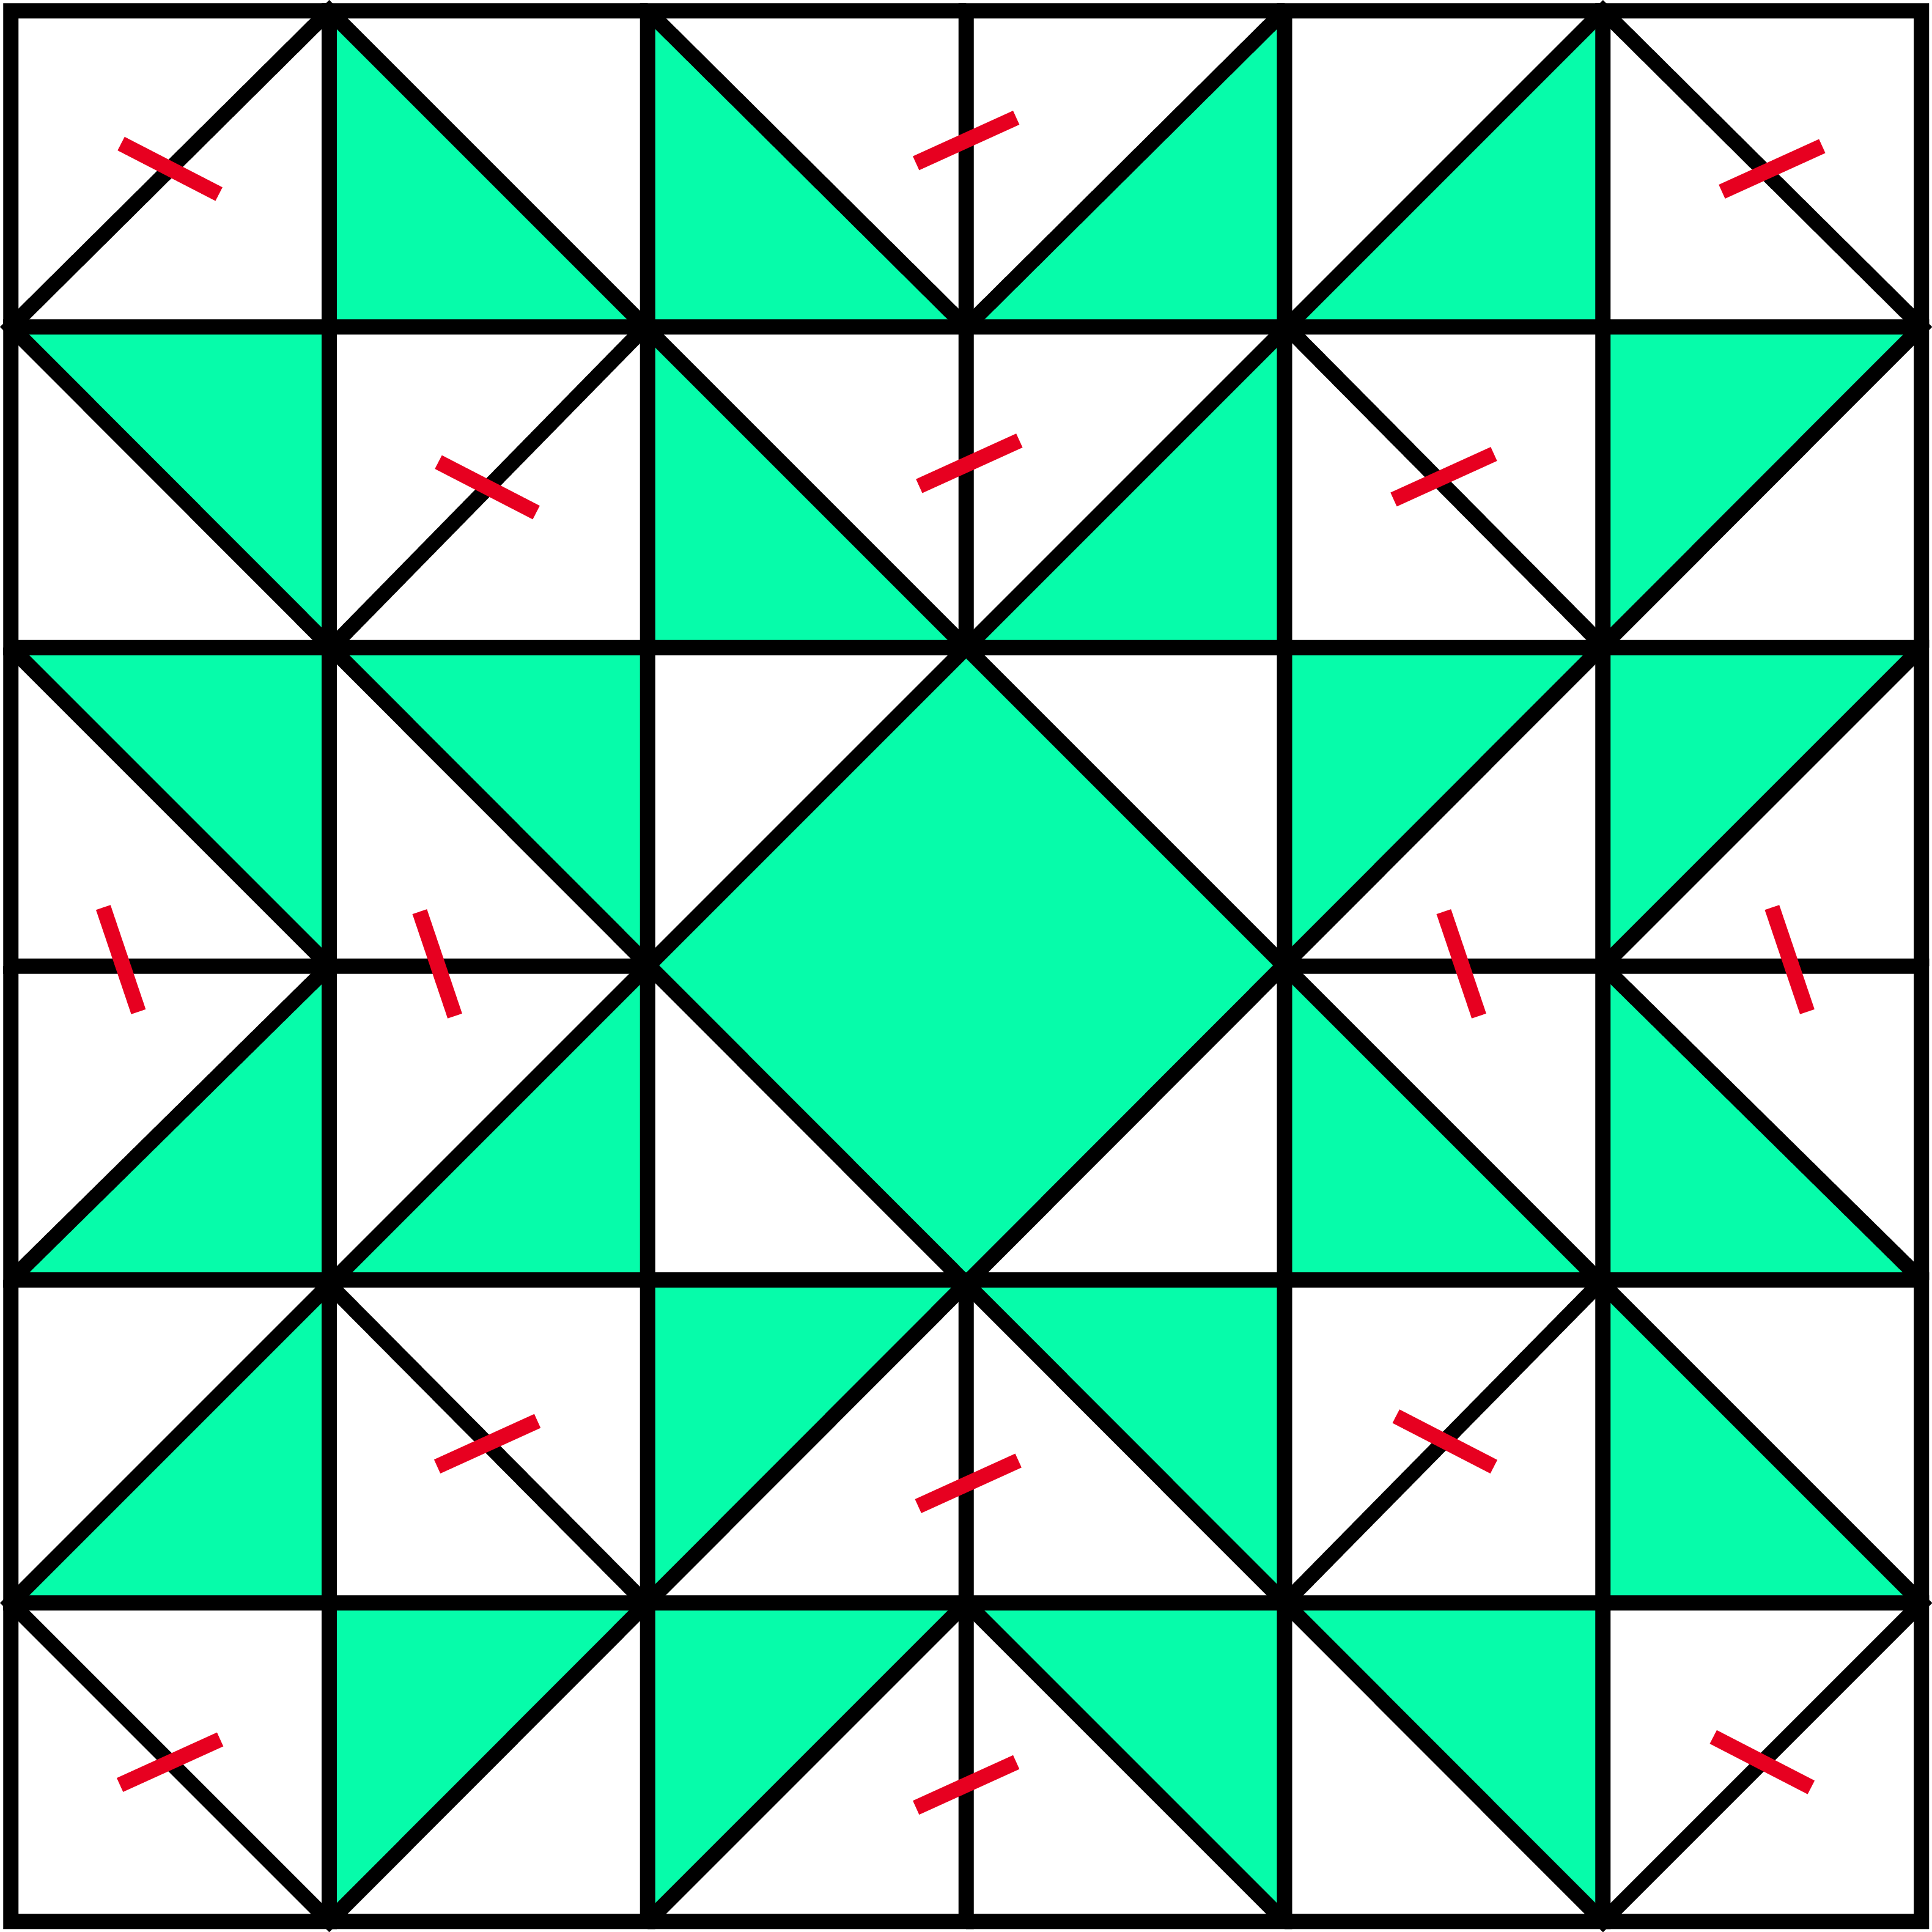
If the block design is to be a star, you could eliminate as many as sixteen seams by substituting squares and flying geese for some of the half square triangles.


Because the units can be made any size, you can substitute one unit for another. In this example, the plain corner squares and the center square in a square have been substituted with four patches.
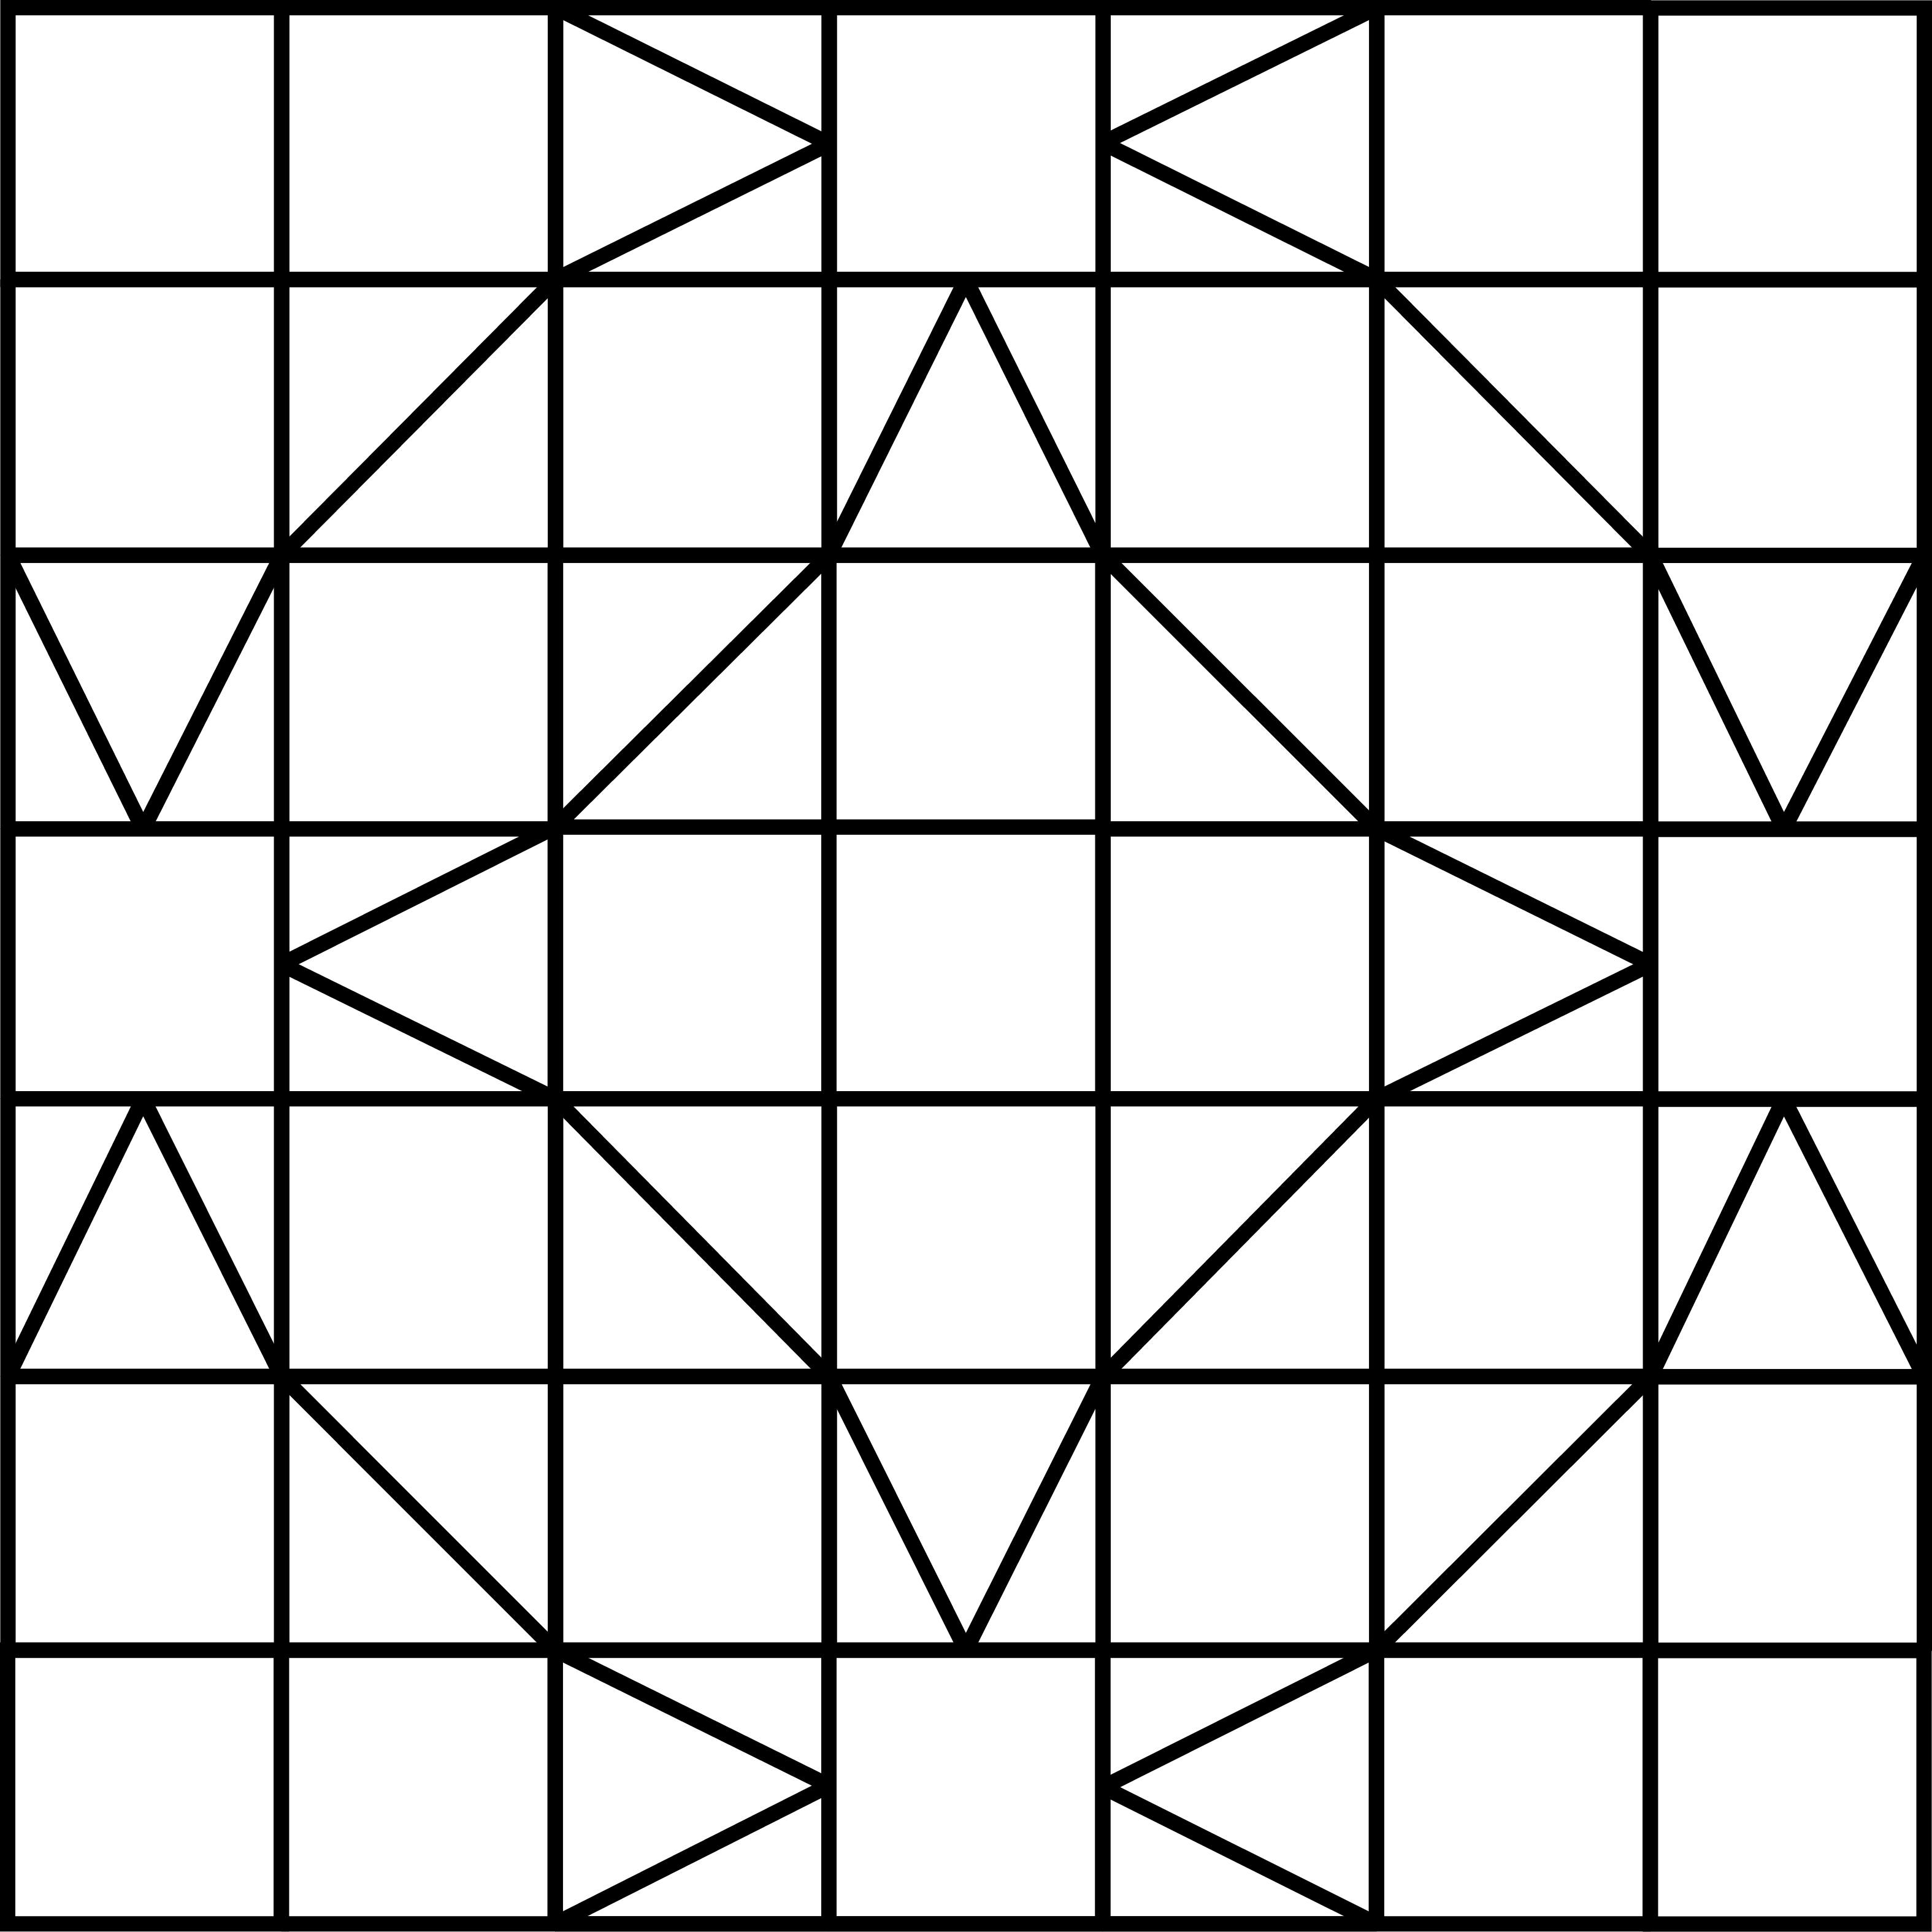
You can design you own blocks and quilt patterns by combining the different units in unique ways. For example, when the triangle in a square is combined with the half square triangle, the illusion of a circle is created. “Faceted Jewels,” a quilt pattern by Glad Creations features this design element.
Get Creative with Borders
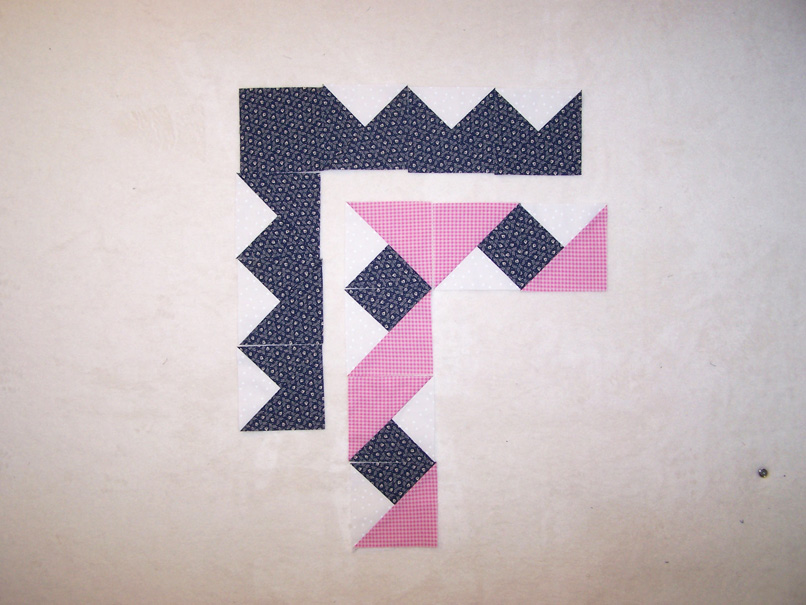
 You can also play with the different units to create unique border designs. This border design, which was extracted from the center of a block, creates a cohesive design with the block.
 This photo shows an example of a border using a square in a square with one of the units using a four patch for the inner square.
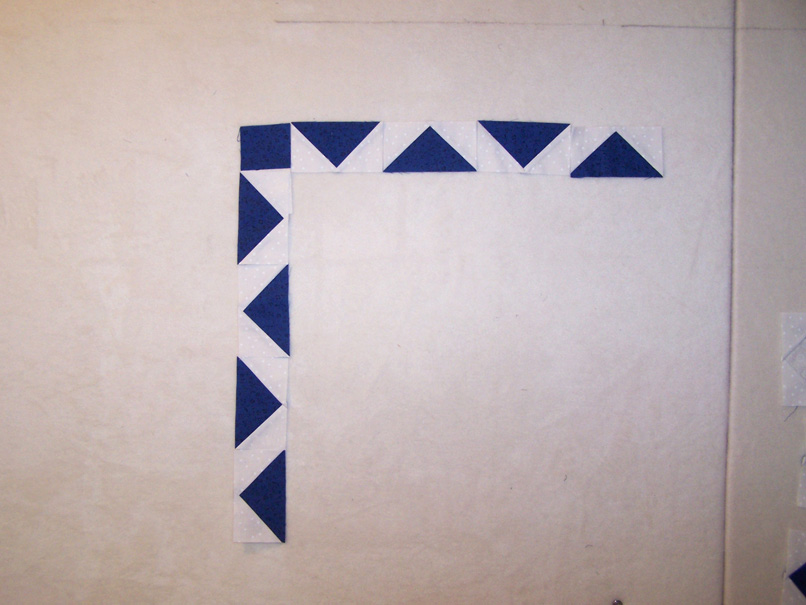 This photo shows a border made of flying geese units laid out end to end and rotated.
 Both of these borders are using the same unit, a fancy half square triangle, with one example using two fabrics while the other uses three. What a difference changing the fabric can make.
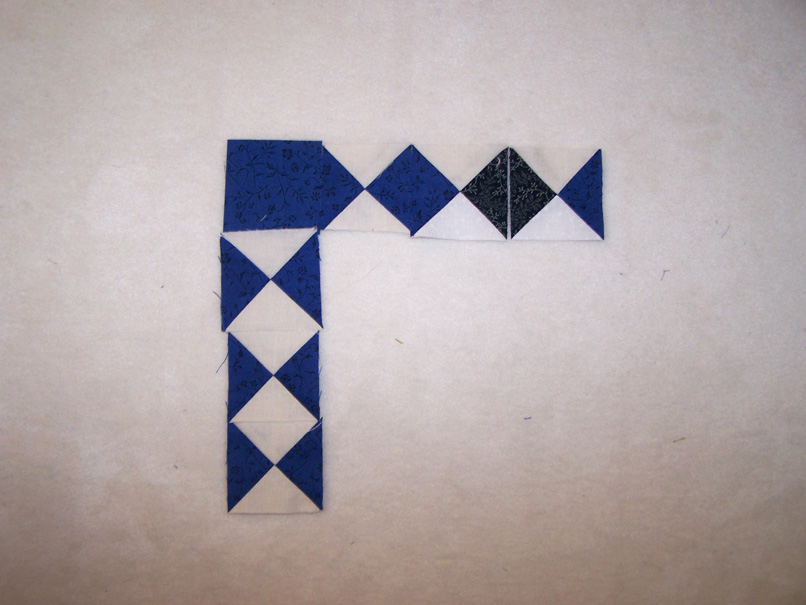 This example uses quarter triangle squares to make a nifty border. The units can be rotated so that the squares in the border are either dark or light, which ever you prefer.
As you can imagine, the possibilities for blocks and borders are endless. Now that you have the tools, techniques, and creativity, you can full enjoy the process of creating. It is one of the greatest gifts of quilting.
Click here to download PDFs of the blocks included in this article.
More in this Series:
- Precision Quilt Piecing Part 1: Squares
- Precision Quilt Piecing Part 2: Half-Square Triangles
- Precision Quilt Piecing Part 3: Quarter & Triple Triangle Squares
- Precision Quilt Piecing Part 4: Flying Geese
- Precision Quilt Piecing Part 5: Square in a Square
- Precision Quilt Piecing Part 6: Triangle in a Square
- Precision Quilt Piecing Part 7: Fancy Half Square Triangle
Get in touch! Leave a comment or email editor@nationalquilterscircle.com.
Such a timeless series of techniques - just what I needed today! Thank you so much 😊
thank you
Supper ideas, to be read it, when you are working on that project.
This was a great challenge. I learned quite a lot from making a lot of mistakes. I ended up making a second set of the blocks because I was unhappy with the first try and wanted to put the blocks into a throw, so wanted it to look good. I really enjoyed the final bit about putting everything together as well. So much food for thought!! Thanks so much for this learning experience!
I can't tell you how impressed I am with your series! It is wonderful to read something that's been so professionally put together. I found information that I have never read anywhere else, i.e. the formula for finding the unfinished size of a unit in Pt 5, Step 7. I'm going to check out what other things of yours that are available to me. Keep striving for excellence in all your work. We all appreciate it sooooooo much. Be blessed during this Christmas season.
Love to view more videos showing quilts and how to put them together in so many different ways ! I love to quilt and make them for children and homeless Veterans ! Thank you for being there for me , blessings to you all !
thank you for these tutorial on precision piecing. They were well written and easy to follow. I now feel more confident to be creative and design my own quilt. Now for figuring out how much fabric it would take...
I enjoyed reading all of your instructions. I will put them to good use. Thank you!
Finally, the dawn has struck, thanks to this great teaching tutorial. Simply explained and shown. Kudos
This was a good series on cutting pieces and how they all work together.. Very helpful.. Thank you for taking the time to explain it in detail. I learned things I did not know and this will make my quilting go much easier