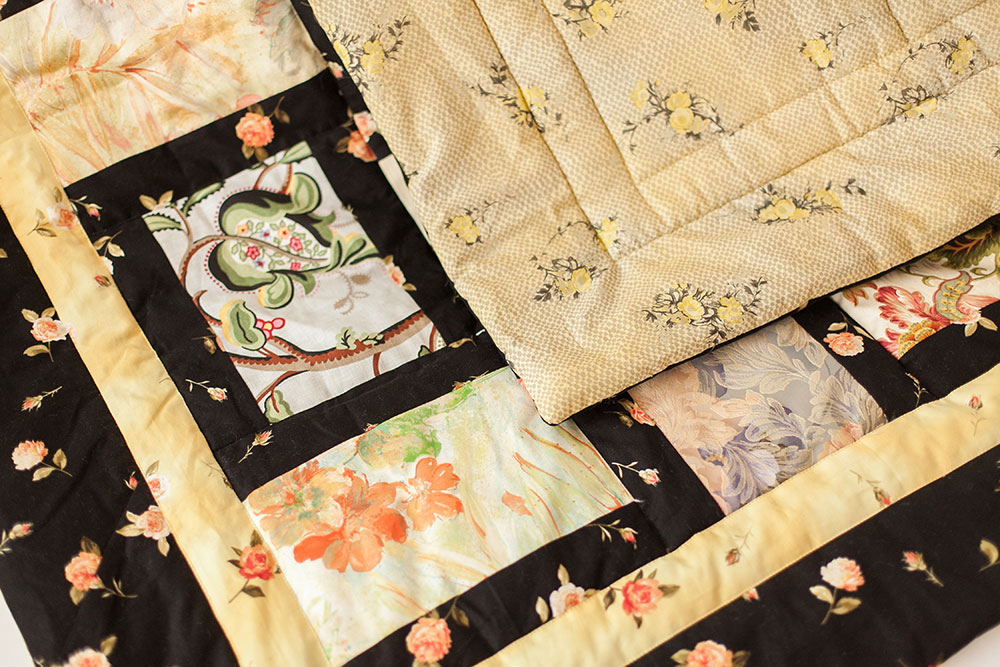
Labeling and displaying your quilts is a very important quilt care tip that often goes overlooked. I wish I had been more alert to labeling when I had begun quilting; I can’t even count how many quilts left my home without labels. (Actually it would be easier to count how many left the home with them, which is very sad!)
The purpose of labeling is documentation, so as the quilt is handed down in the family you will know who made it and when, who it was made for, the pattern name, or any history surrounding quilt. In this article we’ll go over some of the comment methods for labeling and displaying your quilts.
How to Label a Quilt
The method I recommend for labeling a quilt
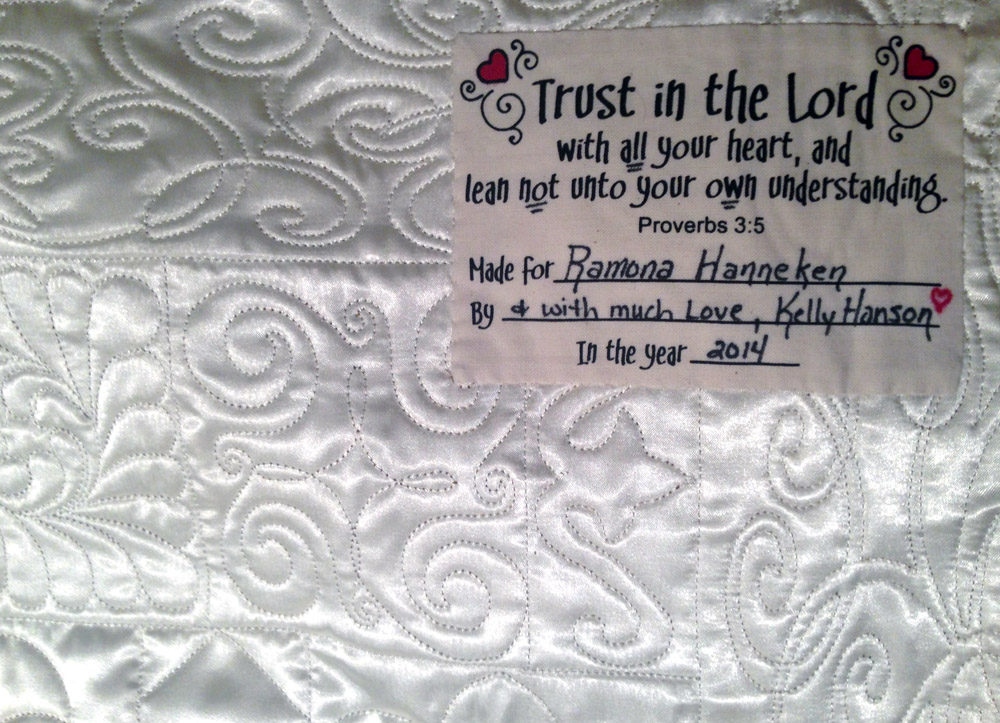
is fairly simple. The information you want documented on your quilt can first be transferred onto a piece of muslin or other fabric by either hand-writing with a pigment pen or using a printer. If you’re using a printer, be sure to iron the fabric onto a piece of freezer paper (the shiny side to the wrong side of fabric). This will allow the fabric to feed through as though it is paper.
Then you’ll want to set with an iron when the ink is dry. The last step is easy – simply baste this fabric piece onto the back of your quilt. I like to sew two sides into my binding and then baste the other two sides. And now you have a quilt with a label!
How to Display Quilts
So now that your quilt is properly labeled, how will you display it? Of course you want a way to beautifully show off your masterpiece, but you’ll also want to consider displaying it in a way that won’t cause damage or strain on the quilt. We’re speaking mainly about new quilts here, but I’m of the opinion that every quilt is an heirloom quilt and should be treated as such. If we care for it properly from the start, it will preserve the integrity of the textile for future generations. One of the best tips is to keep your quilt out of direct sunlight, as this can cause irreversible damage.
One of the most common or popular ways to display a quilt is on a bed, but there are still a few precautions to note. We want to be sure it is not in direct sunlight, that it is away from any heat source or water, and that it not accessible to pets. I know that many will roll their eyes at the pet accessibility; however, I have a dog that enjoys claiming territory. Do you think I can get his urine stain out of my quilt? Not to mention his little mud-stained paw prints? That’s a lot of time to put into a pet blanket if you ask me!
Another great tip that I have learned from the Amish community is to layer your quilts on your beds. When a new guest comes to your home, simply take the top quilt and move it to the bottom of the pile. This rotates your quilts and protects each one of them. You really don’t need to keep all the quilts on the bed when your guest is there; just keep what they need to be comfortable and remove the others to a safe area until your guest leaves. This is a great way to alternate your quilts and change the décor of the room.
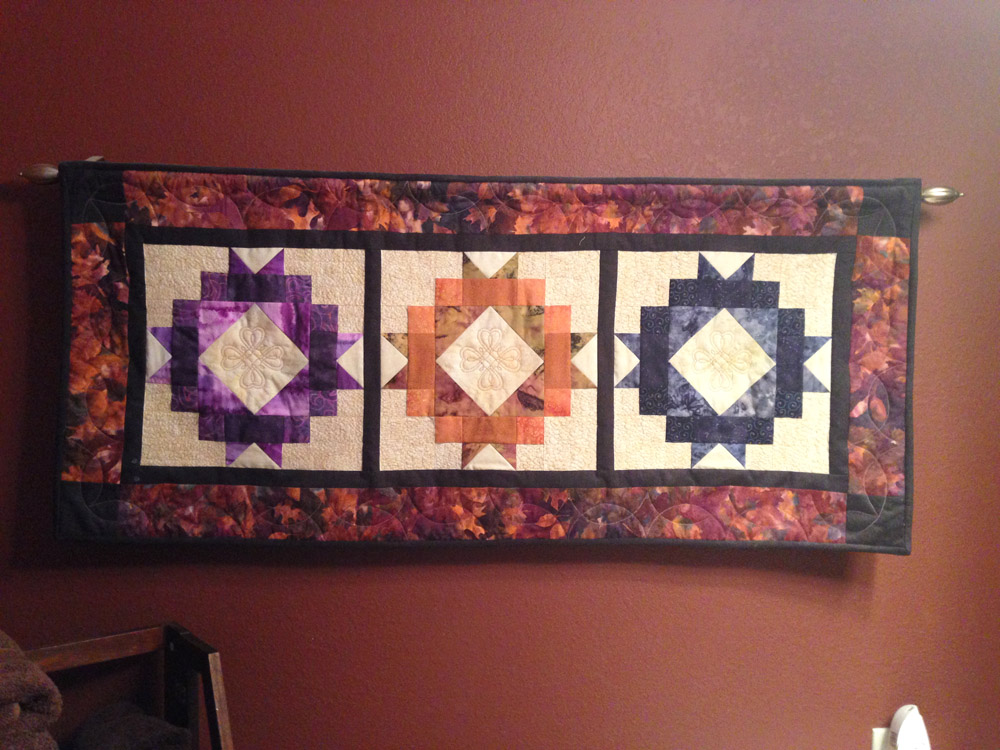
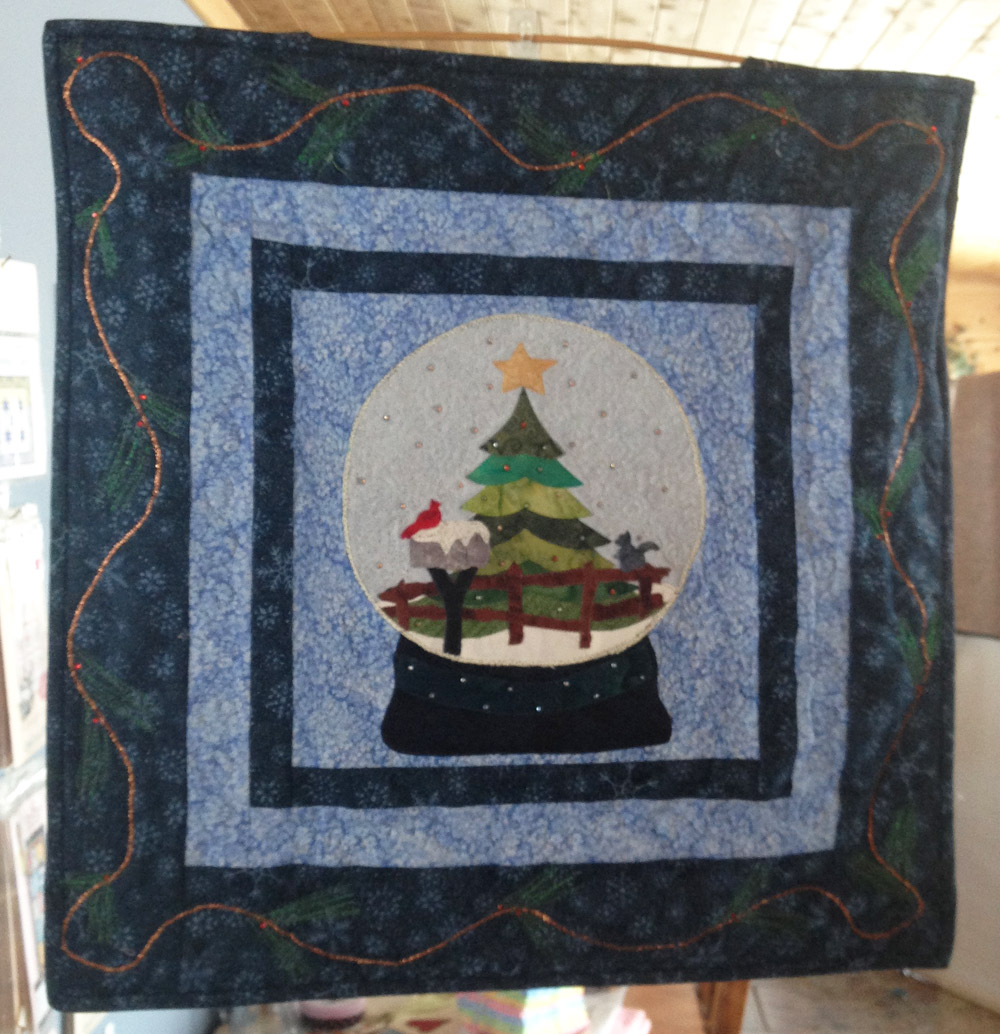
If you want to hang your quilt on a wall,
there are a few good options to choose from. The most important factor for all however is to make sure the weight is distributed over the width of the quilt to avoid any damage to the textile. You will also want to hang for about six months at a time, so you may want to consider having a second quilt for rotating.
It goes without saying, but never use nails, pins, or staples to hold your quilt on a wall. Any of these items will damage and create holes and weakness in the textile. There is also the risk of rust and metal shards attaching to your quilt. Amazingly, you need to be aware that wood can be hazardous to your quilt too and that there are materials used in manufacturing that can cause your quilt to become fragile and prone to tearing or even staining. If you plan to use wood you may want to seal it in polyurethane varnish.
Having said all of this, here are a few acceptable ways to display your quilt on a wall:
Sleeve Method
This is the most popular method. To do it, sew a 4-inch wide tube of fabric to the back of your quilt. I like to measure down about 1½ to 2 inches from the binding seam using a straight edge ruler and drawing a straight line with chalk across the back. I then take the tube and pin it in place (washable glue sticks also work well). I then make a pleat in the top so there is more fabric at the top of sleeve than the bottom. This is called a “D sleeve.” The flat portion of the sleeve is sewn to the quilt, sewing through at least two layers of the quilt. This sleeve prevents the rod from touching the quilt.
Quilt sleeve construction instructions used with permission from The National Quilt Museum.
Velcro Method
Attach a 2-inch wide strip of the hook side of Velcro tape onto a wooden board that is slightly shorter than the width of the quilt. Then machine stitch the remaining portion of Velcro tape onto a 3 inch wide washed cotton strip. This strip is then sewn onto the quilt using stitches that go through at least two layers of the quilt. The Velcro/cotton strip is then attached to the Velcro strip on the board.
Mounting Method
The most protective way is to mount the quilt on a fabric-covered wooden framework. First stretch a piece of washed cotton cloth onto a sealed wooden framework, remembering that this frame should be larger than the quilt itself. (Recruit a handy woodworker to build one for you or purchase a pre-made frame.) Be sure that the fabric is secured on the back of the frame using rust-free staples. Then attach the quilt to the cotton cloth by hand sewing in a zigzag pattern that runs parallel to each other throughout the body of the quilt.
For extra protection for a particularly prized quilt, a piece of Plexiglas could be used to cover the quilt as long as the Plexiglas does not touch the quilt surface. The Plexiglas and frame should not be airtight though – ventilation in the frame system will prevent mold and mildew from forming on your quilt.
Conclusion
So, let’s go over the don’ts one last time:
1. Do not hang your quilt in direct sunlight.
2. Do not hang a quilt with metal curtain hangers as the weight of the quilt will create tears where they are clipped.
3. Do not hang a quilt by directly tacking or nailing to the wall.
Remember also that all quilts should be rested periodically because stress occurs over extended lengths of time due to the weight of your quilt. And one last pro tip for you: Quilts that are hung in the open should be vacuumed periodically to keep dust from damaging the quilt fibers.
Happy quilting!
More in this Series:
Quilt Care Part 1: Cleaning Heirloom Quilts
Quilt Care Part 3: Storing Your Quilts
Related Videos:
Get in touch! Leave a comment or email editor@nationalquilterscircle.com.

I enjoy your quilting tips, your demonstrating is clear and very helpful.
I was particularly interested in the labeling videos but have been unable to watch them or print the information.
I am having trouble getting the videos to run. Part way through, they turn off & say they are not available.
The last few Quilts I gave as wedding presents I put the label on and I have included washing instructions. Hope fully they will follow the instructions.