As a quilter, I alway try to make each project my own, even if I’m using another person’s pattern. I first started doing this in 1991 when I became a longarm quilter. At the time, the tagline for my longarm quilting service was: Every quilt is made from the heart. I would stitch a couple of small hearts into each quilt, making the work I had done a little more personal. Often, my clients would ask, “Where are the hearts?” They seemed to enjoy that final embellishing touch as much as I did!
There are many different kinds of embellishments, such as appliqué, embroidery, piping, trims, lace, fringe, beads, hot-fix crystals, and Paintstiks. But one of my new favorite embellishments is Prairie Points!
Project #1: Prairie Points
According to my research, Prairie Points (PPs) were a popular decorative element as far back as the 1800s, reaching their highest popularity around the 1930s. These little embellishments actually got the name “Prairie Point” in the 1960s. That’s when I first learned to make them too, back in my junior high school sewing class. I didn’t think to use them on my quilts until Susan K. Cleveland, a talented teacher and quilting friend of mine, started adding them to her award-winning quilts. Susan has also developed a very useful tool, the Prairie Pointer tool, which will help you make PPs in a snap. You kind find one here.
Let’s get to making some!
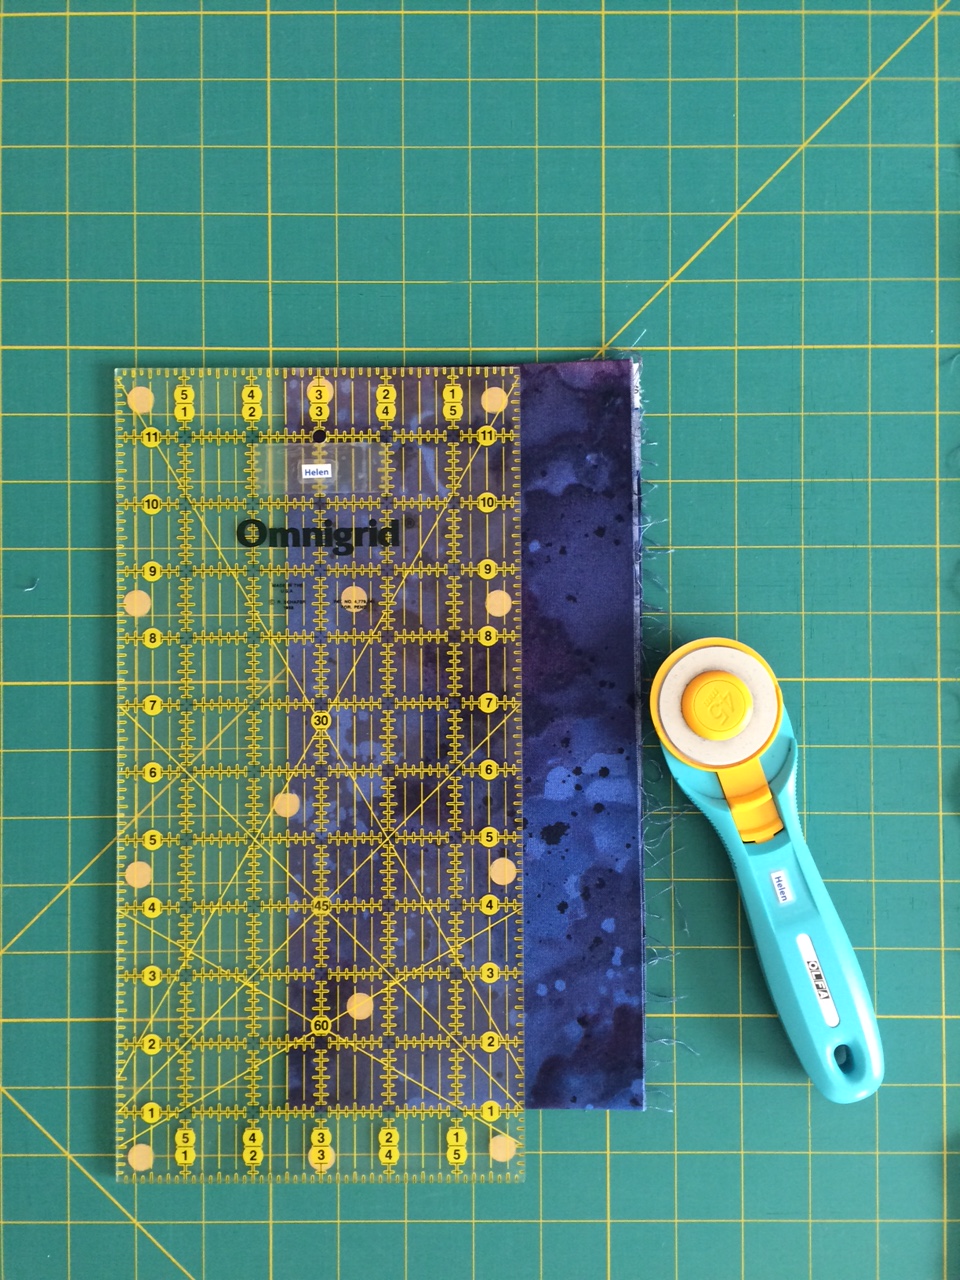
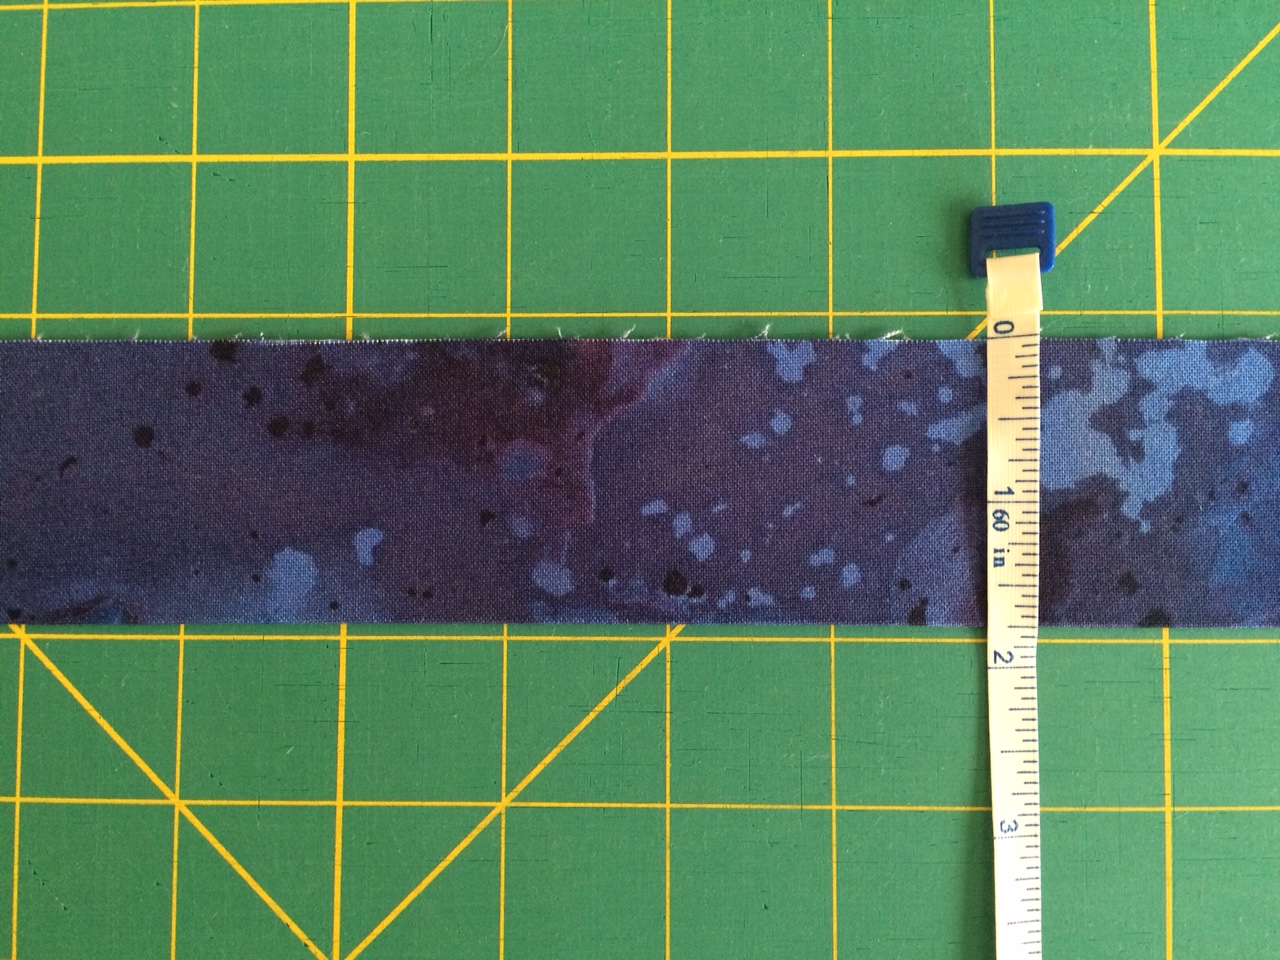
First, decide how big you want your PPs to be. When making mine, I wanted to hang them off the bottom of a wall hanging as a compliment to the triangle pieces in the quilt. Therefore, I chose to use a 1½” finished PP height plus a ¼” seam allowance. Using Susan’s instructions, here is the formula for determining your fabric strip size: (1½” + ¼”) x 2 = 3½” strip. Since I wanted four PPs, I cut a strip of fabric 3½” wide by 16” long, giving me a little extra length. Or, using a fat quarter, just cut one strip either 18” or 22” long. (You won’t be sorry if you have a little extra length.)
Fold and press the strip in half lengthwise, wrong sides together, using a little spray starch or Best Press to give that fold a nice crisp edge.
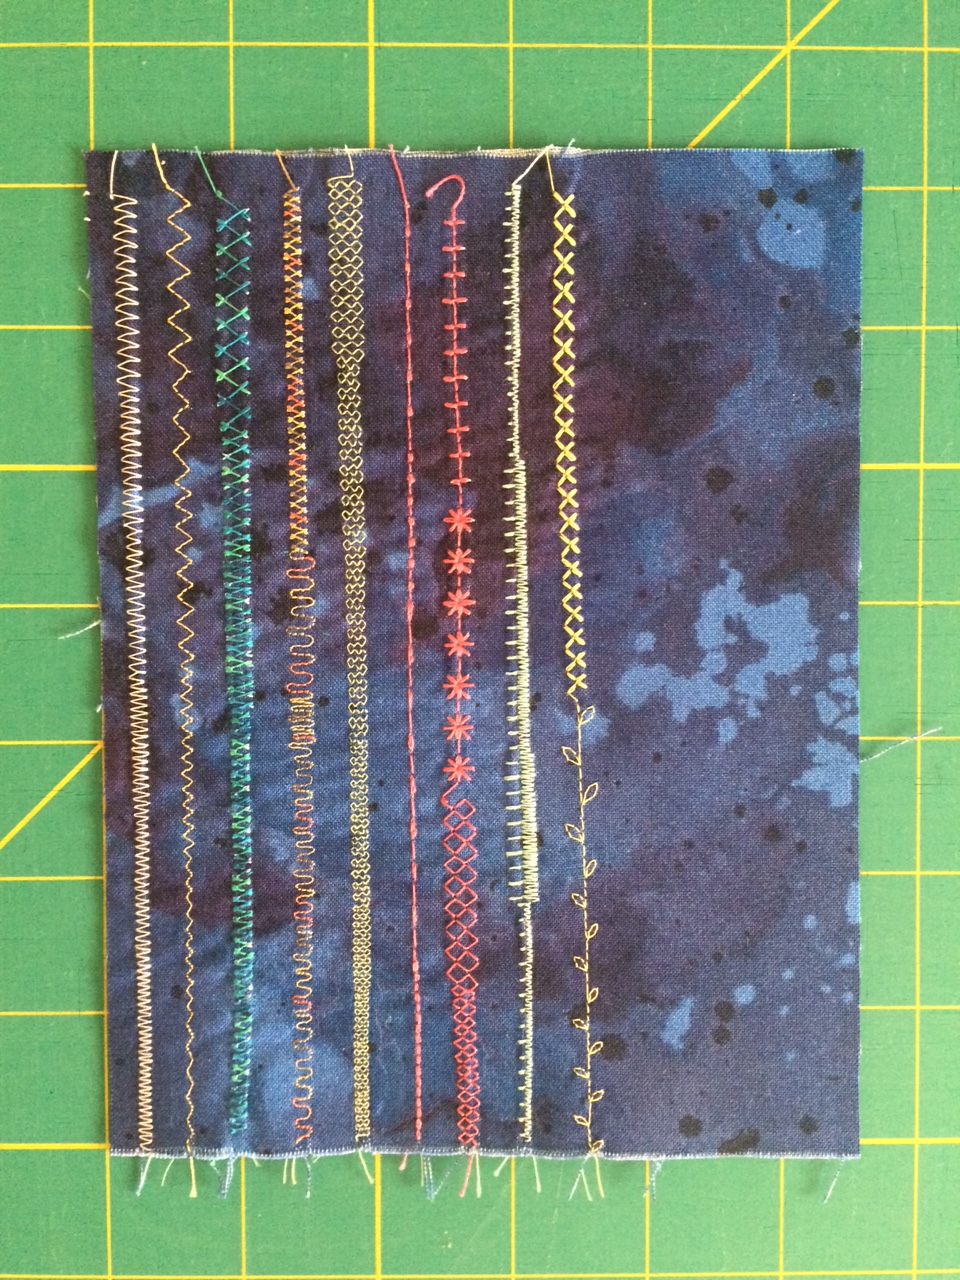
Next, I wanted to jazz up my PPs a little, make them a little more interesting. So, I auditioned several of the decorative stitches on my sewing machine by stitching them out onto a double thickness of the fabric I would be using. While trying out several thread colors, types, and weights, I stitched out a variety of different sizes of the same decorative stitch.
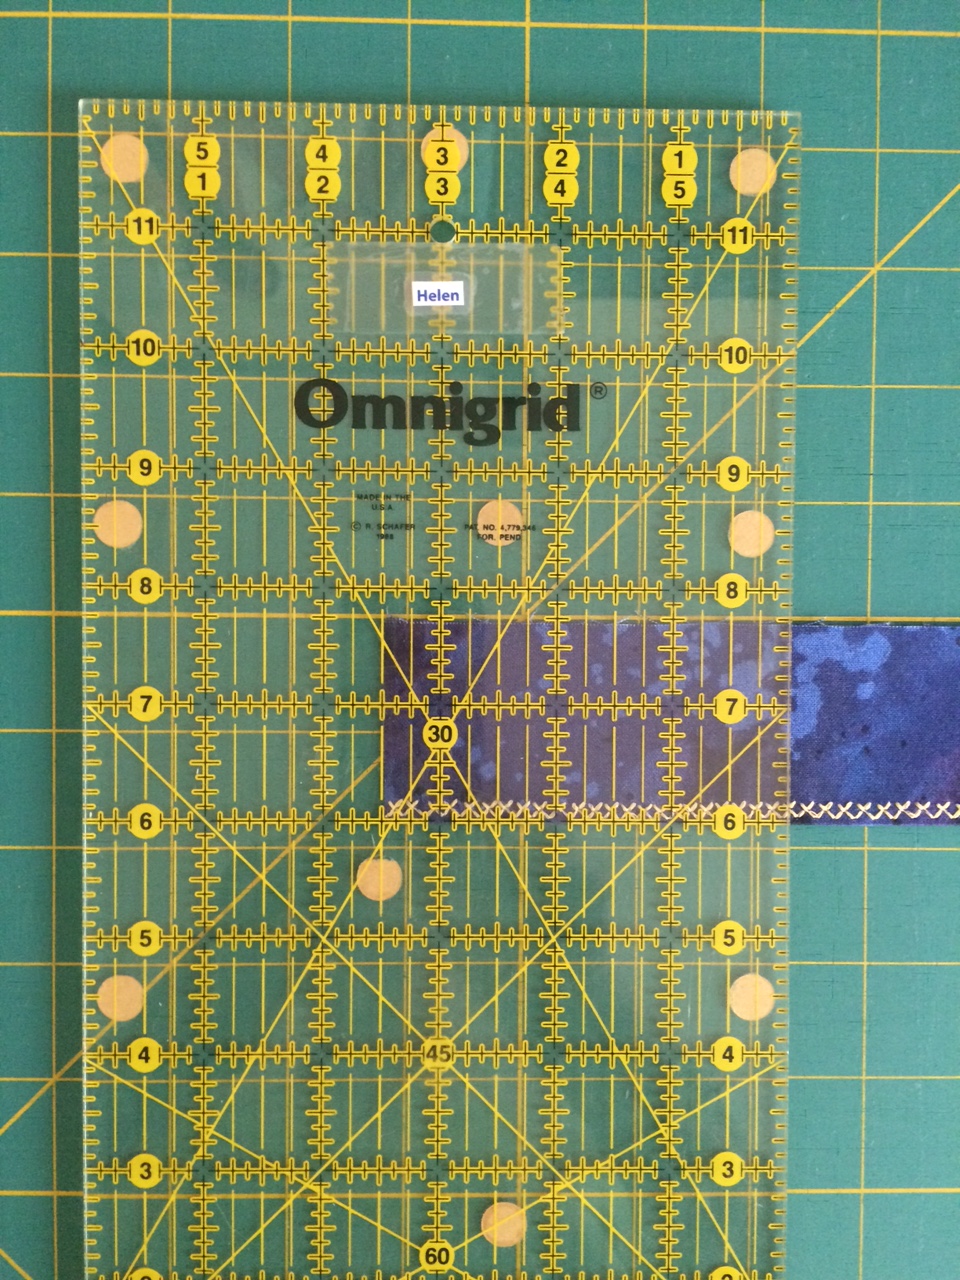
When I found one I liked, I carefully stitched near the fold of my fabric all the way down the strip, doing my best to maintain a straight line of stitching. I found it helpful to use my walking foot, reduce the speed of my machine, and stick down a stack of Post-It notes as a guide. Take your time. Your goal is accuracy, not speed.

Next, cut the strip into segments. Since my strip width was 3½”, I cut the segments into 3½” pieces.
Using the Prairie Pointer tool, place the folded segment right side down with the fold away from you and the tool on top.
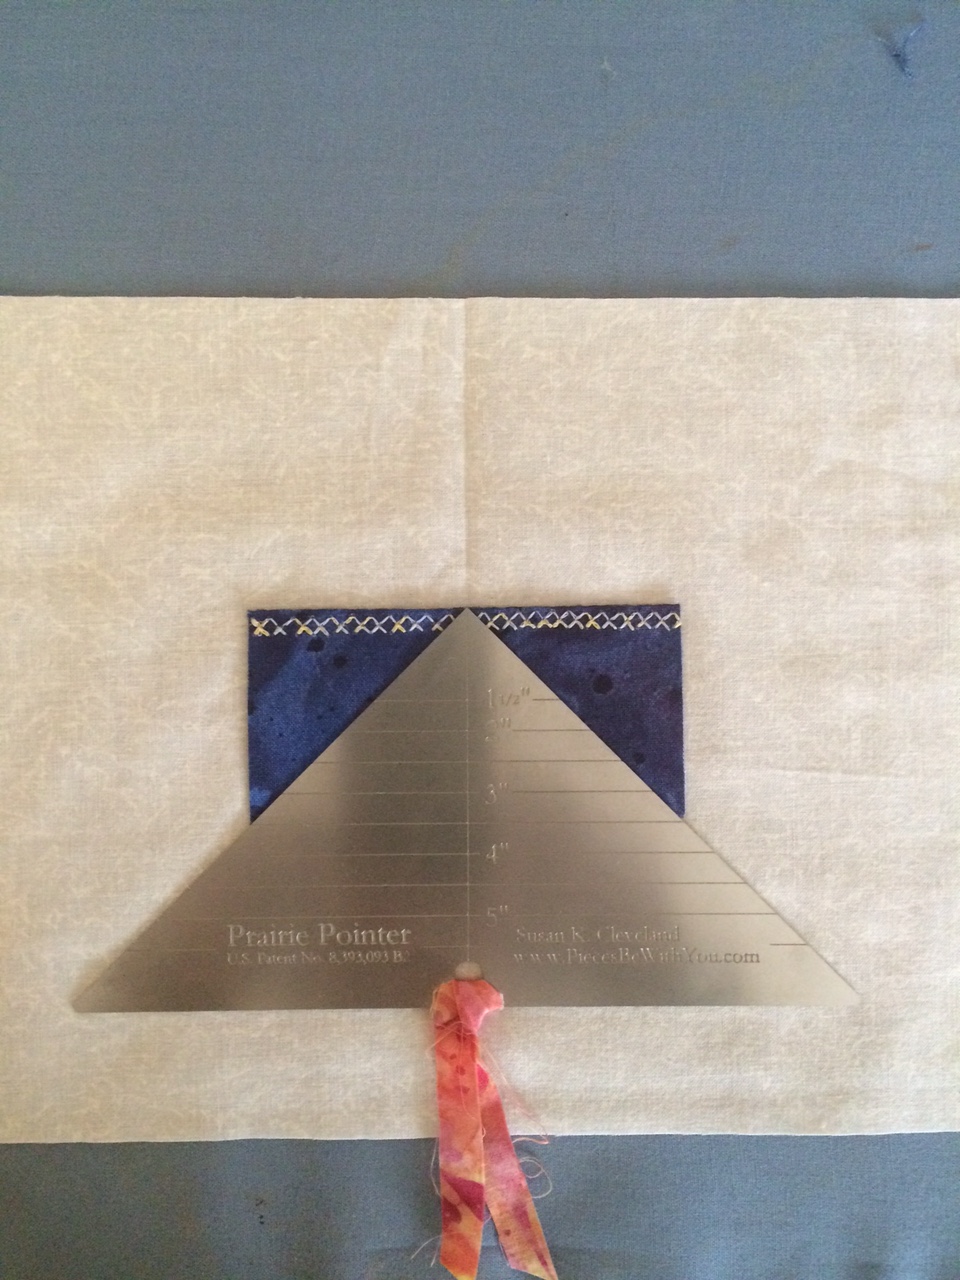
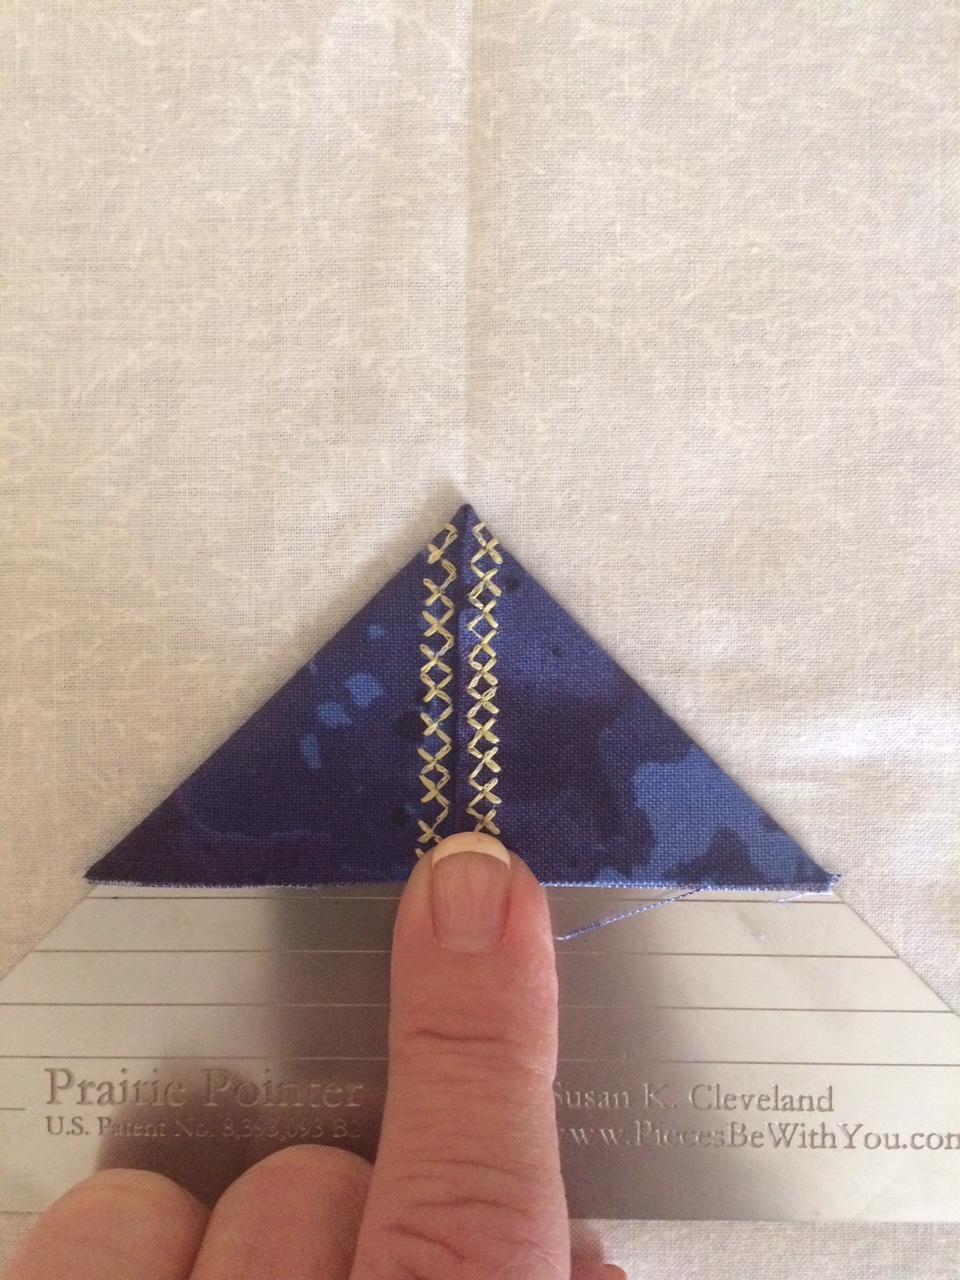
With the PP tool over the fabric segment, align the appropriate line on the tool with the cut edges of your segment. Use the line that equals the PP cut size and fold the top corners over the tool to meet at the center.
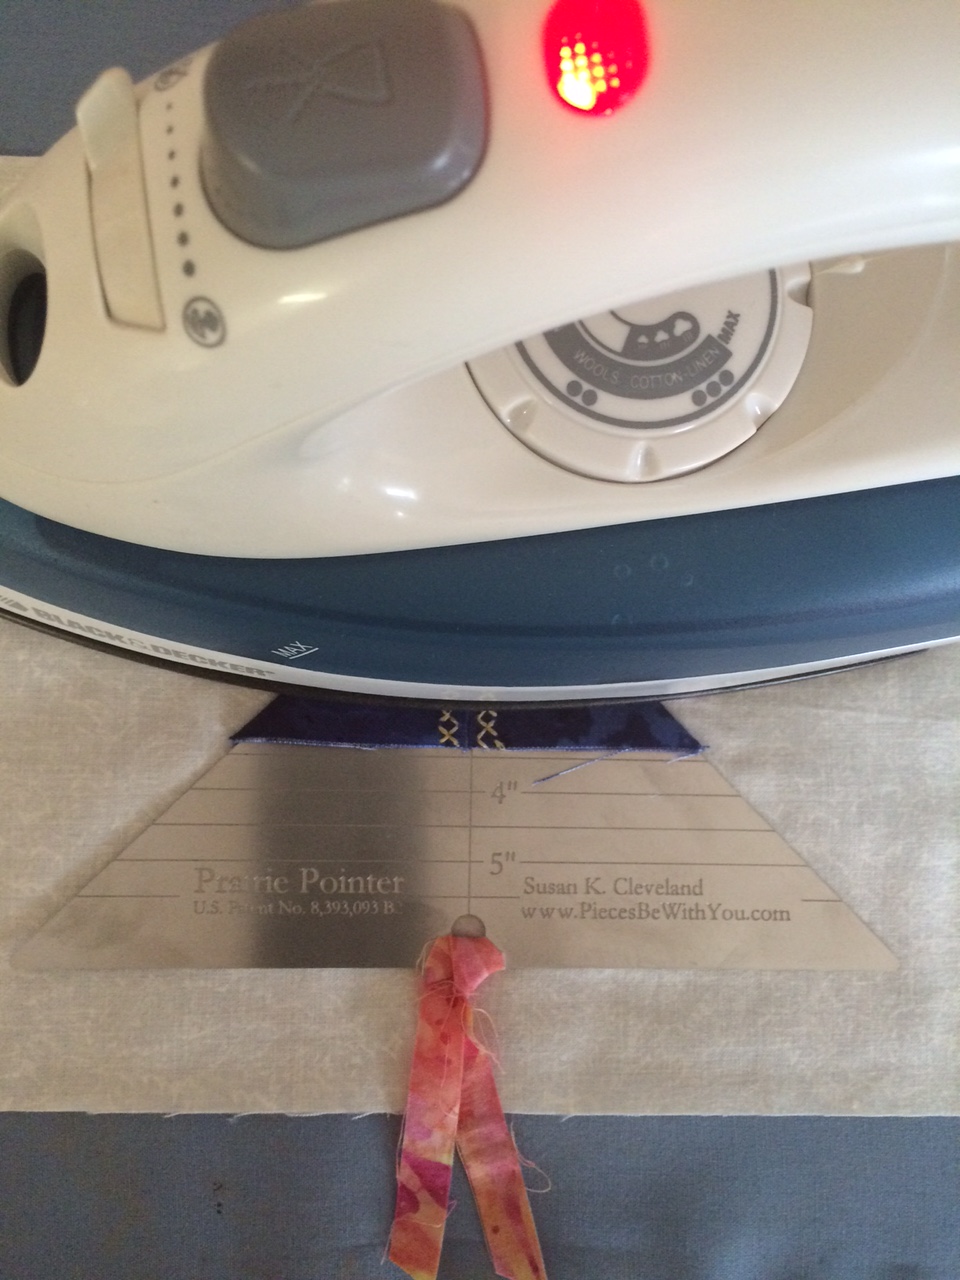
Place an iron over the PP tool, remove your fingers from fabric, and slide the tool out of the Prairie Point immediately (the tool gets hot fast!). Leave the iron in place for a few seconds, using steam if desired, to give the fabric a good pressing.
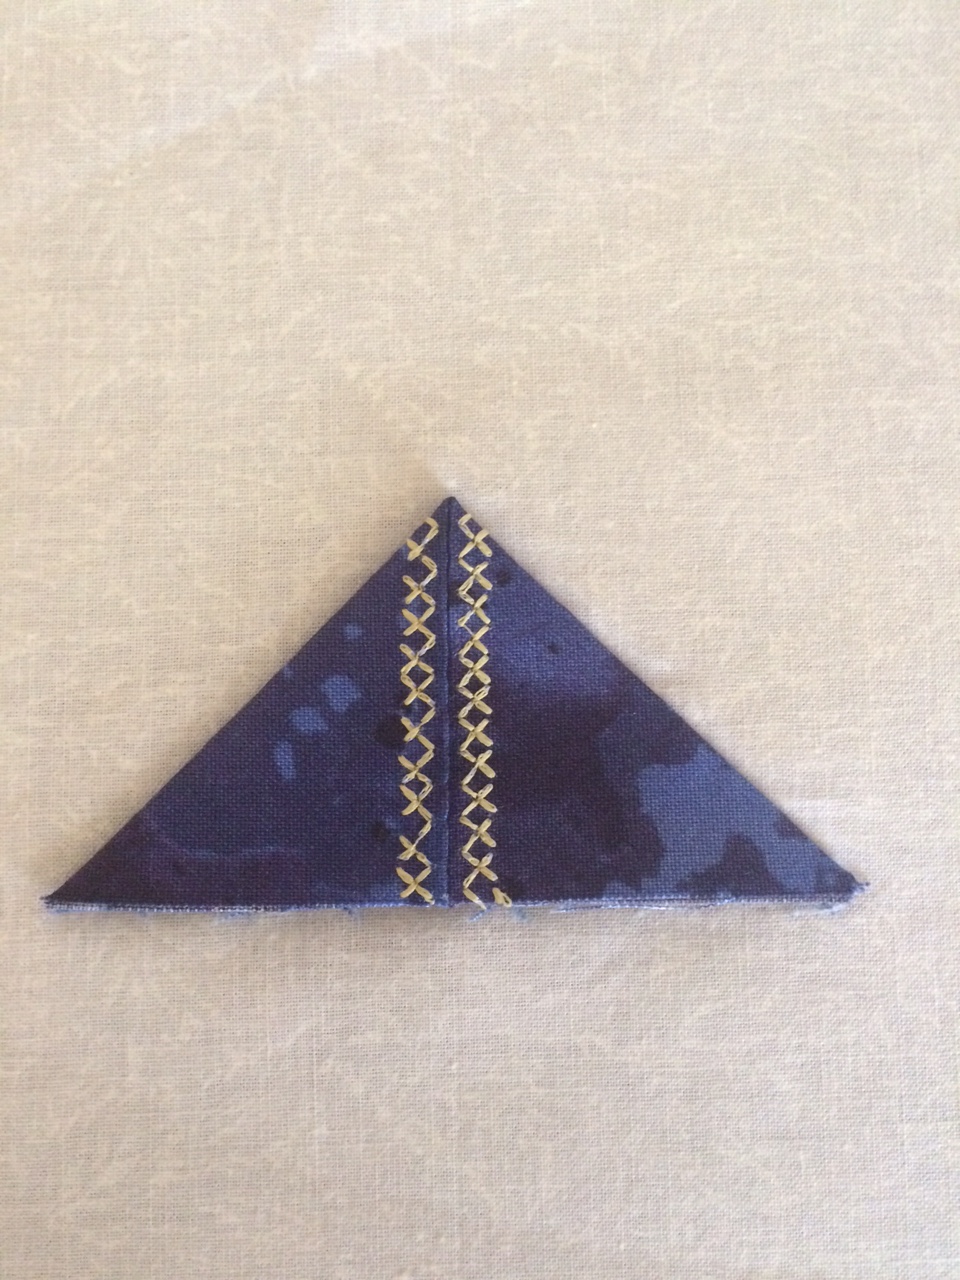
The big reveal—ta da!—a beautiful Prairie Point!
Prairie Points can be embellished further with beads, buttons, hand-felted wool balls, tassels, etc. I chose to add hand-felted wool balls to mine for this project. Prairie Points can also be secured to your quilts in a variety of ways. I chose to add mine to the bottom of my wall quilt—three on the right side and one of the left side.


For more information on Prairie Points, as well as the Prairie Point tool, visit Susan K. Cleveland’s website.
I liked the addition of the design on the PP. After seeing Susan Cleveland use the PP, I tried adding one to a small change purse. I am a relatively new quilter and had never heard of them before. I have been a long-time seamstress. seamstress. I haven't tried it on a quilt--yet. Thanks!
I like it it great.
I found this so interesting.
I have been using prarie points for years, never as sweet as your idea. I love your's
Thank you, this was so helpful and inspiring .
<strong> Ticket 38744 What is this stunning quilt pattern. I would like to purchase
Just starting … and enjoying !
Nice ideas however in your different McCall's site below, all I found was photos, none with PPs, & only advertised newsletter sign up. Very disappointing .
I found this information about PP very interesting. I'm going to put some on the quilt, I'm making for my daughter. Thank you very much for sharing. Cas UK.
The effect of the pp's extending the lines from inside the binding to beyond the binding is wonderful!