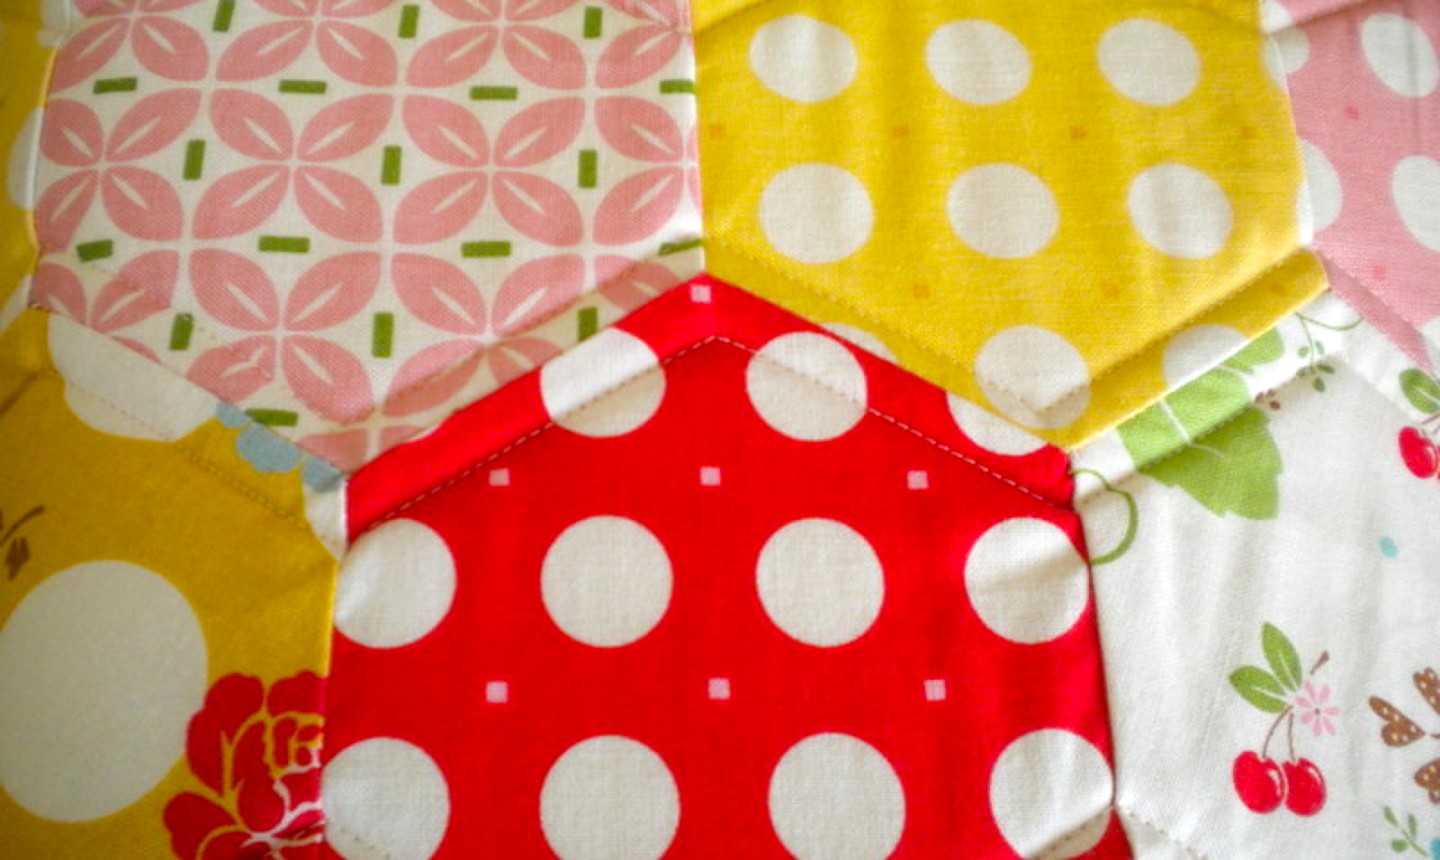
Y-seams can strike fear into the hearts of even veteran quilters. The dreaded seaming situation occurs when you have three fabric edges that all meet at one point (like when you’re sewing hexagons together). Once stitched, the seams form a Y-shape. You’ll also encounter Y-seams when you’re working with eight-pointed stars or if you're creating a tumbling block design in your quilt.
But sewing together Y-seams really doesn't have to be scary. Once you know the trick to pulling them off, you’ll never dread — or avoid — them again. And the trick is this: Unlike most seaming set-ups, which involve sewing edge-to-edge, the key to sewing a Y-seam is to start and stop sewing a ¼ inch away from the edge.
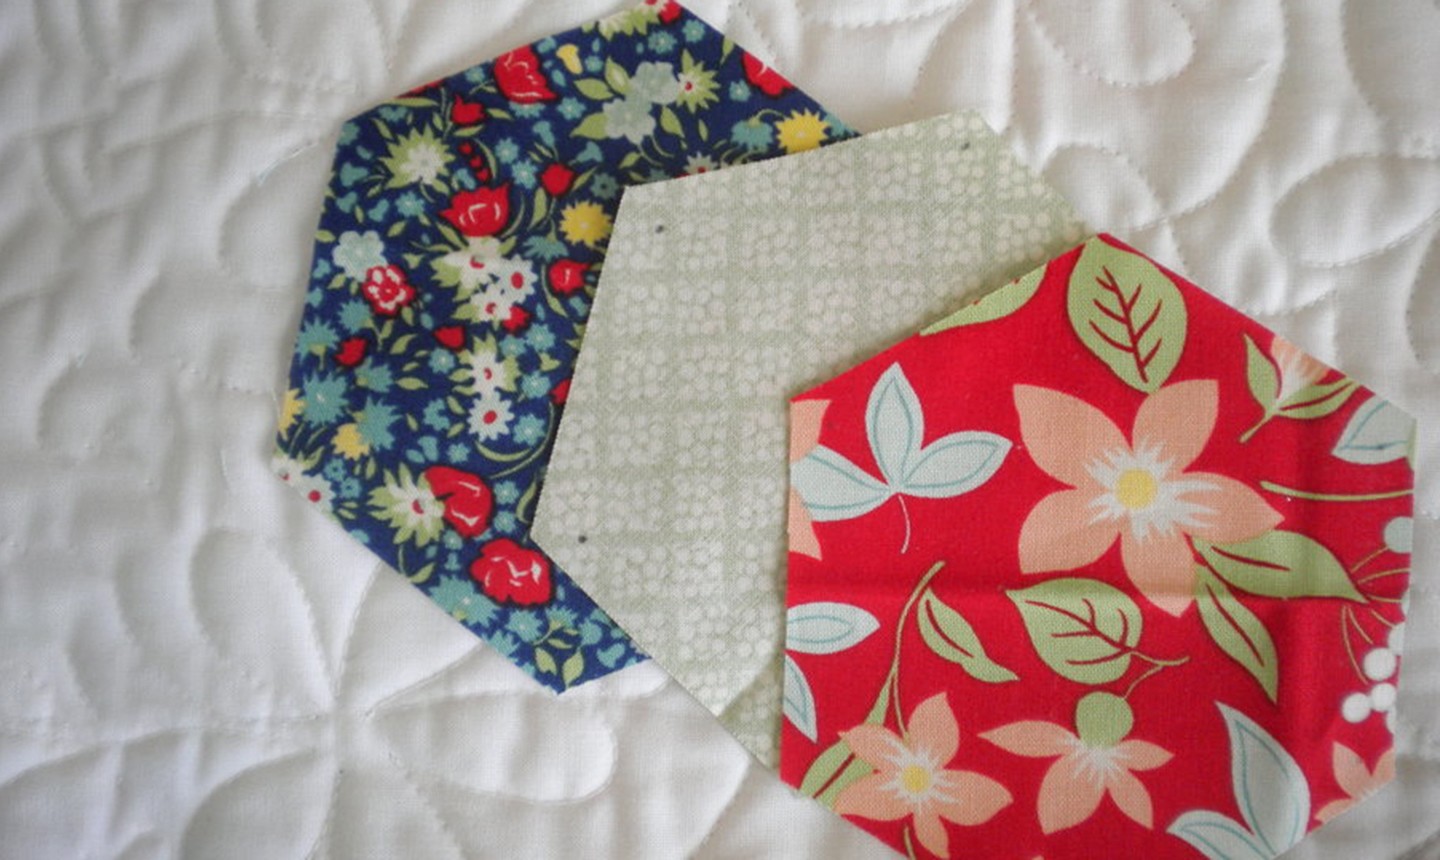
Still not quite feelin’ it? That’s okay! We’re gonna walk you through this step by step with some precut hexagons.
A Little Y-Seam Wisdom
Now You're Ready to Sew
1. Line 'Em Up
Line up the cut edges of your first two pieces (right sides together), then sew a ¼-inch seam, being sure to start and stop exactly at the dots or marked intersection points. It’s a good idea to take a couple of backstitches at the beginning and end of each seam to lock in your stitches.
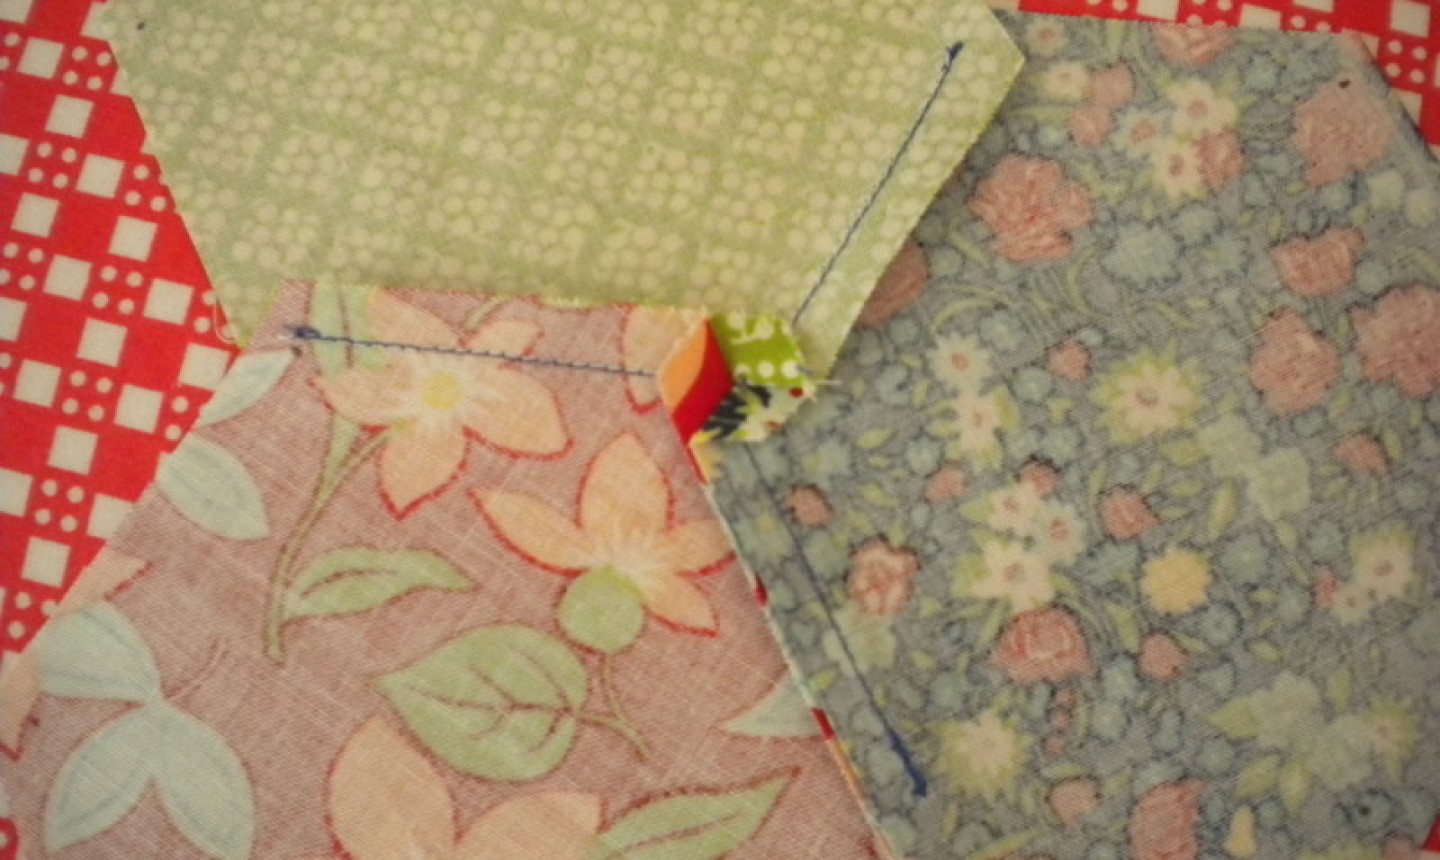
2. Add Your Third Piece
Bring in your third piece and, placing right sides together, sew the second seam of your “Y,” taking care to again sew “dot-to-dot” and not sew past your first seam or into the seam allowance.
3. Sew the Final Side
Now pivot that third piece and sew the next and final side of your “Y,” again taking care not to sew over either of the first two seams.
4. Press
Carefully press all three seams on the back side. Then flip over your block and admire your neat and complete Y!

Share tips, start a discussion or ask other students a question. If you have a question for an expert, please click here.
Already a member?
No Responses to “The Secret to Making the Y-Seam Is So Much Easier Than You Think”