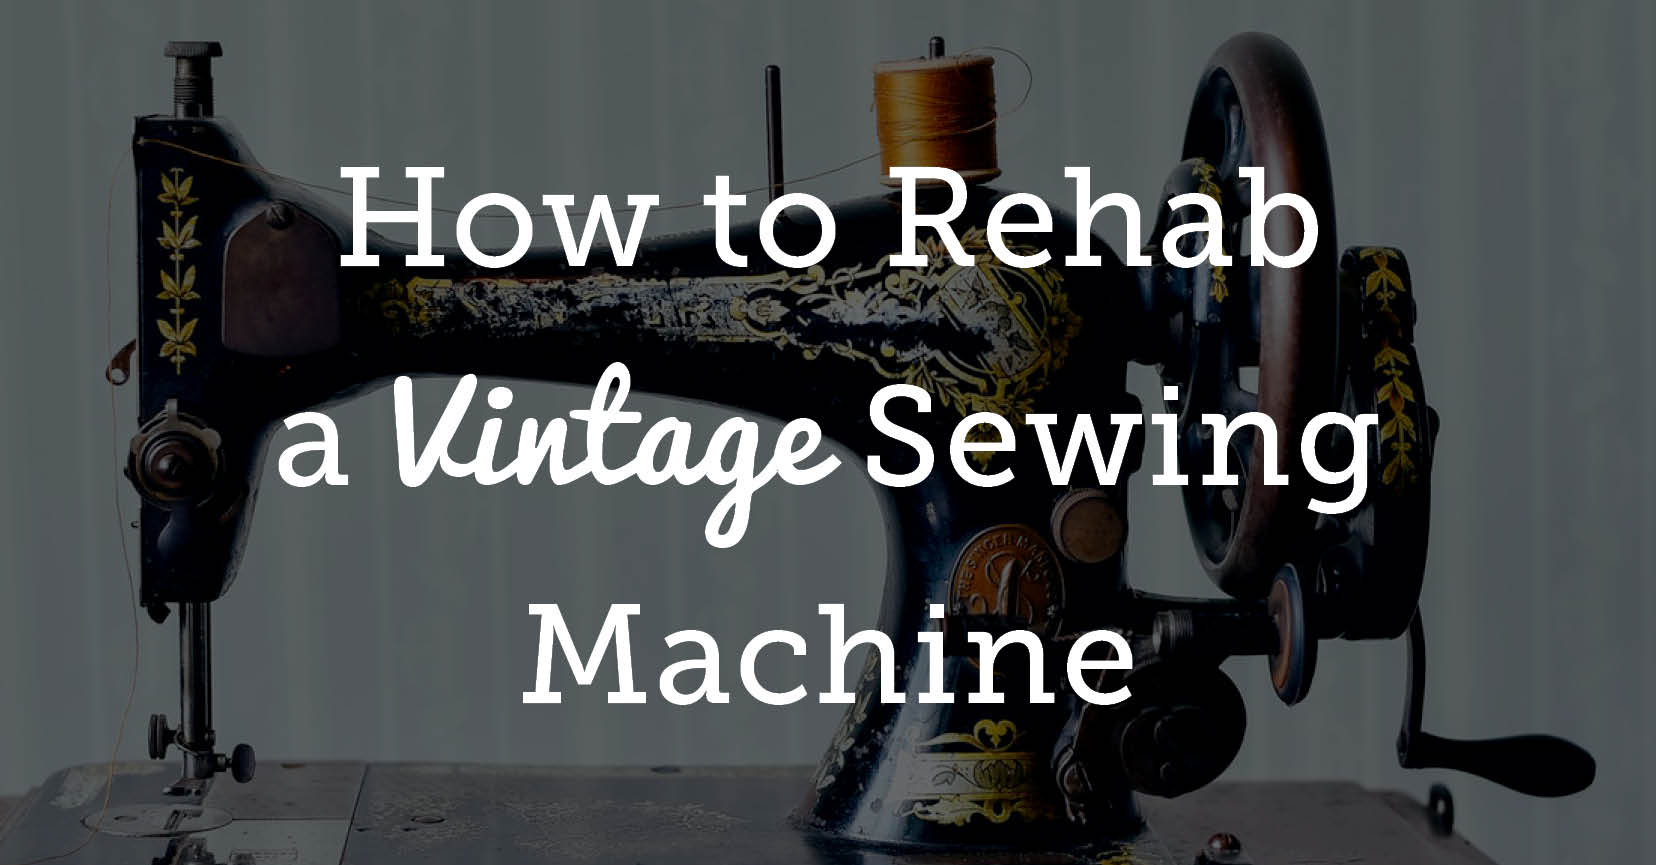
From Featherweights to classic Sewmor machines, vintage sewing machines make a beautiful addition to any quilting room. With their shining black bodies and gold art deco or swirl designs, they’ll add a decorative touch to any room. Spend enough time searching auctions and flea markets for antique quilts and you’ll eventually come across some of these antique beauties. Pick one up at a discount price and you’ll get more than a decorative touch. With a little bit of work, you can turn a dusty old machine into a quilting workhorse that’s ideal for the modern quilter.
Take a look at today’s upscale sewing machine: tons of bells and whistles, but they’re mostly made of plastic. There’s a reason vintage sewing machines weigh so much: they’re made entirely of metal. That’s good news, because that’s what makes them so sturdy and reliable. These were the dream machines that another generation of quilters loved, because they do exactly what you need them to do. The solid construction of vintage machines means that most of the potential problems you’ll find are due to dirt and dust. Learn how to clean these machines without damaging them and you’ll have the key to restoring a dream machine you’ll use for decades.
The worst problem with most vintage machines is decades of grime, dust, and contaminants inside the working parts. The key is knowing how to clean these parts without damaging them.
To begin cleaning your vintage sewing machine, first remove the throat plate and you’ll find the bobbin case, along with the inner works of the machine. Pull out the bobbin case and use tweezers to remove any stray bits of thread you find. You’ll need a good flashlight, and you might be able to see the works from underneath. Use tweezers, makeup brushes, or dental picks to remove any accumulated dust, dead spiders, and the like. Once all the fuzz has been removed, put a dab of Liquid Wrench on a cotton swab and use it to wipe off all the mechanical parts. Change to a new swab when the old one gets dirty. This will remove the soil that can gum up free movement.
Lay out paper towels and label each one for a different part of the machine. This will prevent the parts from getting mixed up. Remove each part carefully, taking note of how each piece was connected. Use small brushes to remove any particles from inside these parts. Inspect the belt carefully. If it’s dried out or cracking, get a replacement belt from a sewing machine store or an online parts store. There are stores online that specialize in parts for vintage machines; unless yours is very rare, you’ll be able to find a new belt. Keep the machine deconstructed until the body is cleaned.
Most of these charming vintage machines are black with gold decorations. The problem with cleaning these is that the formulation for the gold paint changed from year to year and brand to brand. The smartest thing to do is to begin with the mildest cleaning solution and try it on an inconspicuous spot at first. You’re not likely to wash away the gold decor, but many chemical cleaners can affect the paint and turn it silver. In fact, if you find a vintage machine with silver designs, it’s likely that someone tried to clean it carelessly in the past.
Begin with mild soap (like Ivory) and water to clean off the first layer of grime. Apply a soapy solution and allow it to soak in for about ten minutes. Wipe it off, then rinse to remove any residue. Assess the finish, then decide if it needs more work. If so, carefully try mild chemical mixtures such as Simple Green or 409, always testing in a small area before moving on to the whole body. Always rinse and dry after every attempt to make sure you’ve removed every bit of cleaner.
They may not do 120 fancy stitches, but a vintage sewing machine can be your go-to solution for quilting and sewing almost all your projects. Once yours is cleaned and running smoothly it can serve you for decades to come, and might even be around to pass on to the new generation of quilters in your family.
17 Responses to “How to Rehab a Vintage Sewing Machine”
Barbara hatcher
I thhink you're tips will help me with my vintage matchine. Will comment later thanks for tips
Dave
Hello, Ya’ll… I have three Singer’s, All Vintage that Sew Very Well. And, refurbished each one to Operate Correctly. Their Wonderful Sewing Machine’s.
Deb
How is the cable (the wire) that is connected to th cover hooked to the machine cabinet on a 1900 New Home treadle machine? There is a small pice of wire cable left on the cover in the back of the old.wood cabinet
I am pretty sure it helps.hold up the machine when you lift it up
How do I fix this
Ann
This is horrible advice! Only sewing machine oil should be used to clean a sewing machine. Water based cleansers will remove the finish and decals.
Pat Kerns
Need to install belt on 221K I've purched
Belt
judy
Help! I have a 1946 Singer treadle machine, the machine drops down into the table top. It is a long, long time since I used it and I can't remember how to open the top and pop the machine up. Can anyone out there tell me how?
Thank you,
Judy
Judy
I had to soak the screw, used at the top right, in Catsup to get the stuff off it. Worked Great!
Barbara Lee
Love the advice and will use it. Thank you!
Leanne
I was recently given - yes given - a 1922 Singer treadle machine. It was manufactured (based on the serial number) in Kilbowie Scotland in 1922. It is in excellent shape other than needing a new belt. I plan to take my machine to a repairman who has been working on vintage machines for 50+ years.
Christine
where do you find size15x1 needles? it is for a vintage singer 128 electric
Sign up for our free newsletter today
Get the latest instructional quilting videos, patterns, tips and techniques delivered right to your inbox.
Get exclusive premium content! Sign up for a membership now!
This site uses cookies, web beacons, pixels, tags, and related technologies, as described in our privacy policy and cookie notice, for purposes that may include website operation, analytics, optimizing a user's experience, and third-party advertising or marketing purposes. These technologies may automatically collect and share with third parties information about your use of this site, such as when you access a webpage or complete a purchase on our site. By clicking "GOT IT", you understand and agree to our use of these technologies.


I thhink you're tips will help me with my vintage matchine. Will comment later thanks for tips
Hello, Ya’ll… I have three Singer’s, All Vintage that Sew Very Well. And, refurbished each one to Operate Correctly. Their Wonderful Sewing Machine’s.
How is the cable (the wire) that is connected to th cover hooked to the machine cabinet on a 1900 New Home treadle machine? There is a small pice of wire cable left on the cover in the back of the old.wood cabinet I am pretty sure it helps.hold up the machine when you lift it up How do I fix this
This is horrible advice! Only sewing machine oil should be used to clean a sewing machine. Water based cleansers will remove the finish and decals.
Need to install belt on 221K I've purched Belt
Help! I have a 1946 Singer treadle machine, the machine drops down into the table top. It is a long, long time since I used it and I can't remember how to open the top and pop the machine up. Can anyone out there tell me how? Thank you, Judy
I had to soak the screw, used at the top right, in Catsup to get the stuff off it. Worked Great!
Love the advice and will use it. Thank you!
I was recently given - yes given - a 1922 Singer treadle machine. It was manufactured (based on the serial number) in Kilbowie Scotland in 1922. It is in excellent shape other than needing a new belt. I plan to take my machine to a repairman who has been working on vintage machines for 50+ years.
where do you find size15x1 needles? it is for a vintage singer 128 electric