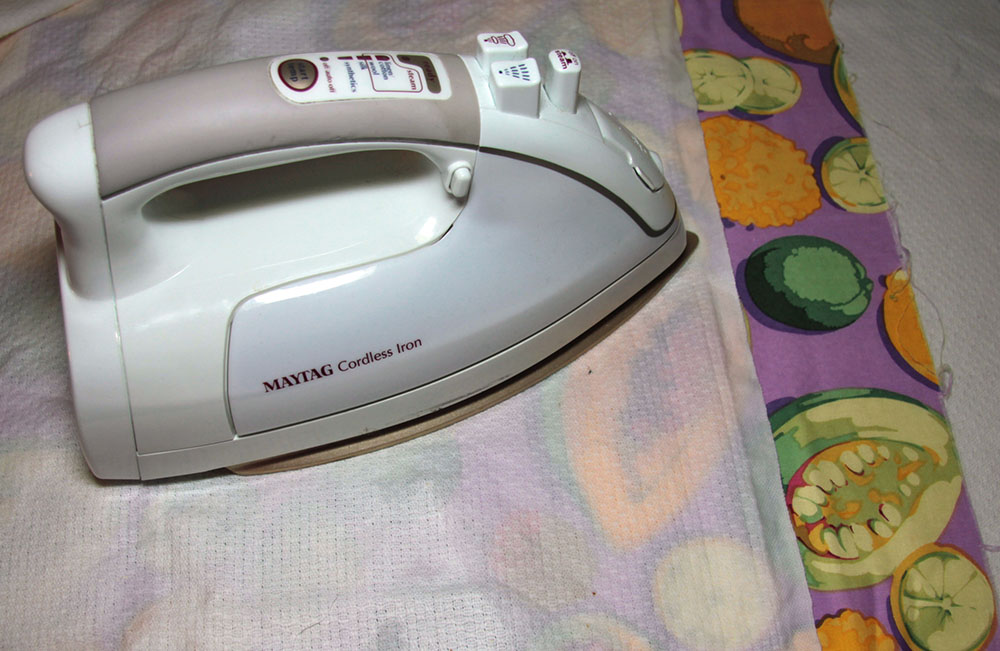
 Step 1: Gather your gemstone fabric choices. Using a steam setting on your iron, gently press out any wrinkles in the cloth. Be aware of the center fold area in fabrics—textiles are often folded in half and wrapped around a cardboard core by the manufacturer. This makes it easier to ship from the manufacturer to the retail seller.
However, the fold lines are sometimes difficult to press out. If this is the case, sprinkle some water directly on the fold area and iron the damp area until dry. Try not to hold the iron too long in one location or the fabric may scorch. Another way to approach ironing out the fold is to wet a dish towel. Sandwich the gemstone fabric between two layers of the damp (not soaking wet) cloth and press with a hot iron until dry.
Step 1: Gather your gemstone fabric choices. Using a steam setting on your iron, gently press out any wrinkles in the cloth. Be aware of the center fold area in fabrics—textiles are often folded in half and wrapped around a cardboard core by the manufacturer. This makes it easier to ship from the manufacturer to the retail seller.
However, the fold lines are sometimes difficult to press out. If this is the case, sprinkle some water directly on the fold area and iron the damp area until dry. Try not to hold the iron too long in one location or the fabric may scorch. Another way to approach ironing out the fold is to wet a dish towel. Sandwich the gemstone fabric between two layers of the damp (not soaking wet) cloth and press with a hot iron until dry.
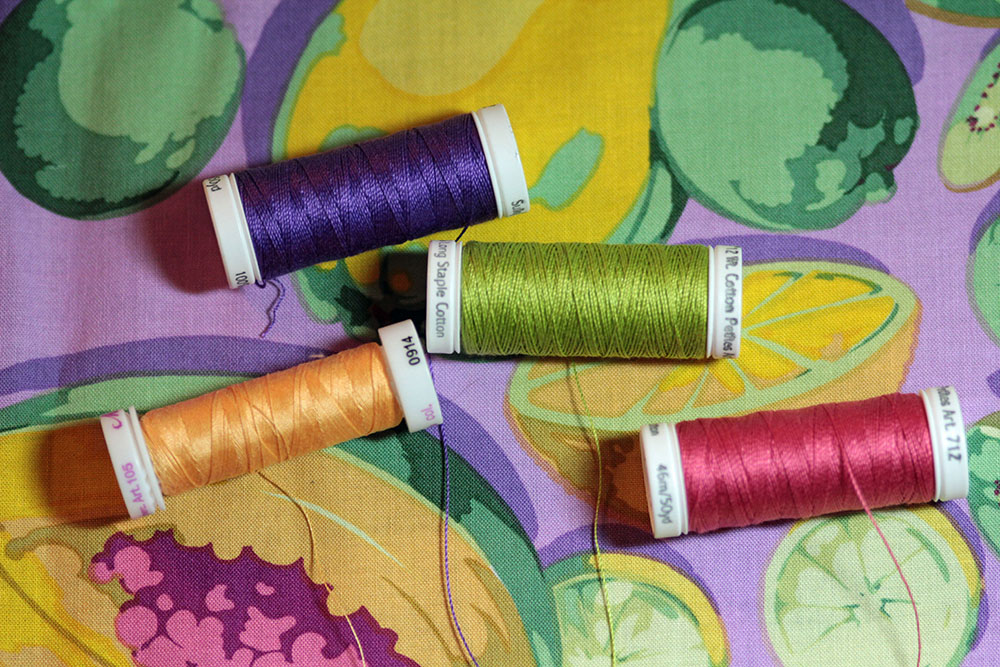 Step 2: Select your thread. Decide if you want the thread to show as a contrasting color to the fabric or blend into the background. Larger diameter threads will tend to lay on the surface of the fabric, while a thinner thread when quilted may hide deeper into the fabric, giving a softer appearance. You may find some thread types work better on your sewing machine than others. Thread selection is a highly personal choice.
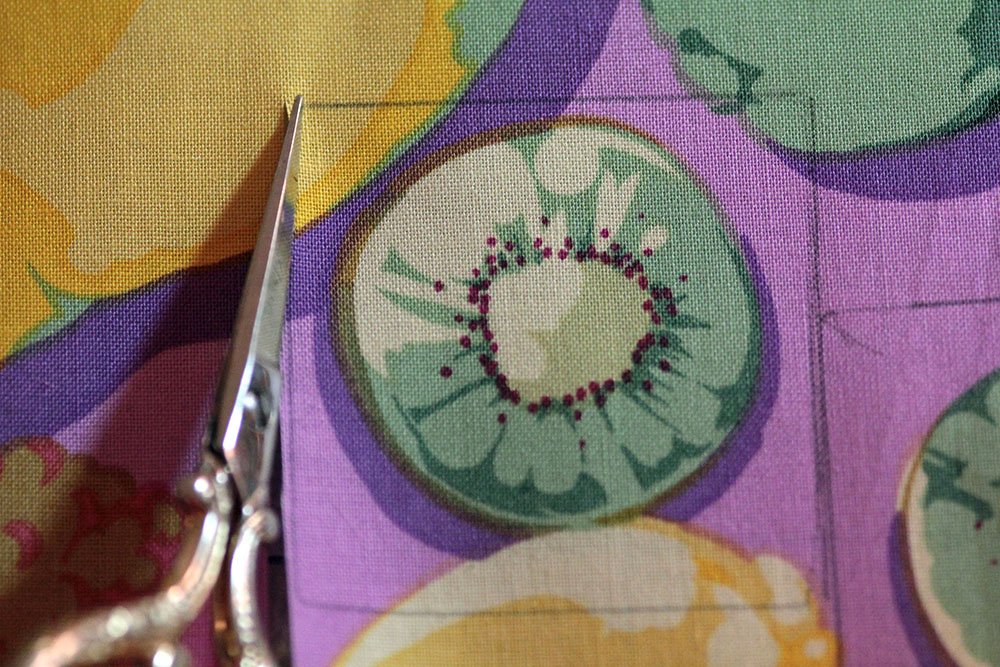 Step 3: Cut two pieces of fabric 2” x 2”, and cut one piece of cotton quilt batting 2” x 2”. Set one of the fabric pieces aside for the moment; this will be used for the back.
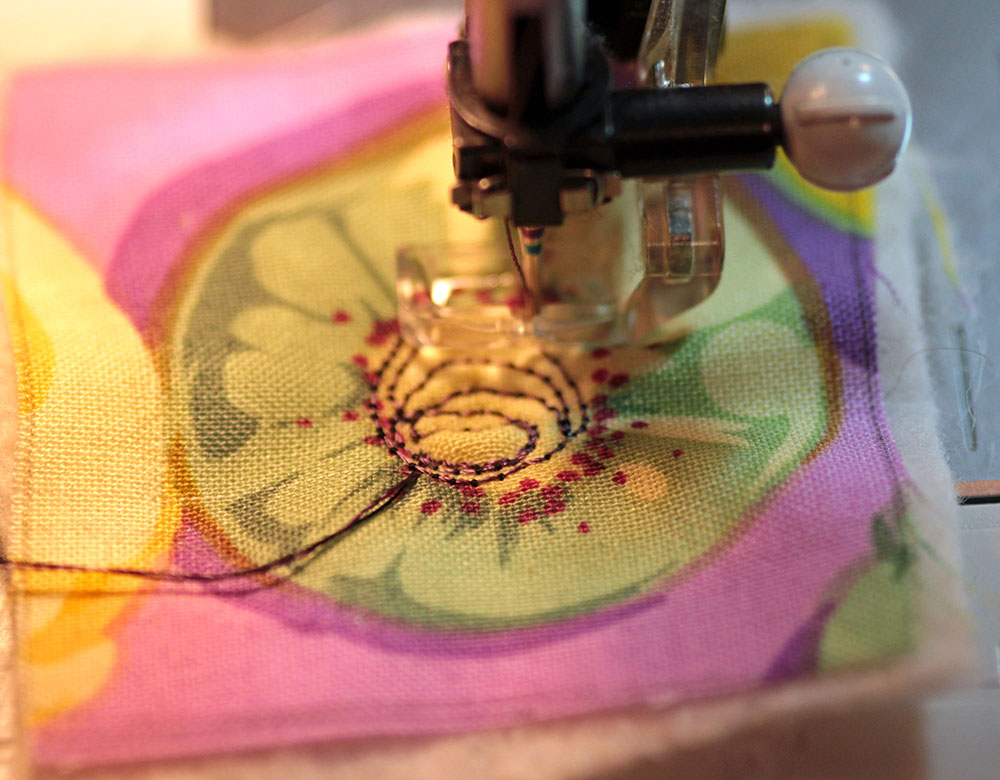 Step 4: Now we’ll quilt the pieces together. It is only necessary to quilt through one layer of fabric and the quilt batting. The quilting can be done either by hand or machine. As these pieces are small and not much stitching is necessary, so the quilting process should go very fast.
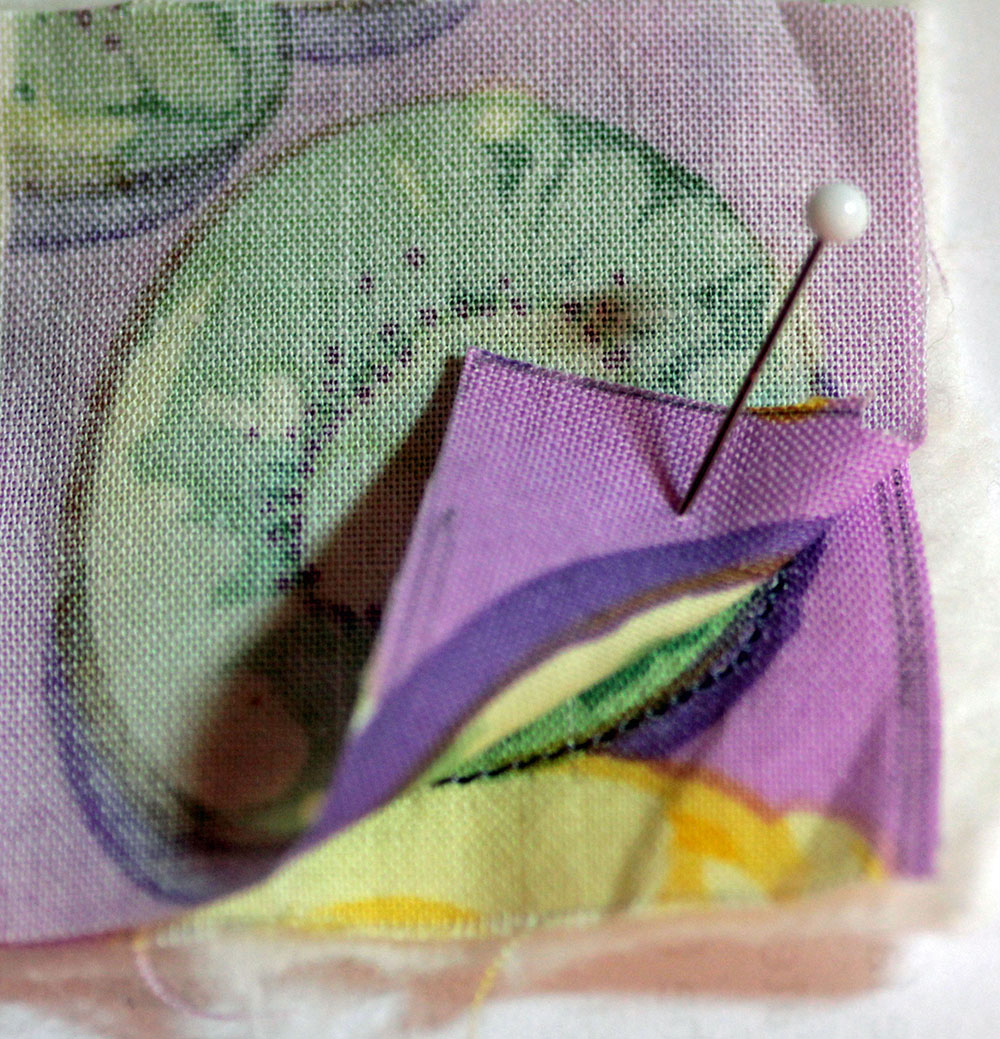 Step 5: Next, place the other 2” x 2” fabric over the quilted construction. Pin the fabric with the Wrong Side up, on top of the cloth portion of the quilted construction. (The two good sides of the fabric will be touching each other, and the batting will be on the bottom.)
 Step 6: Now sew around all edges using a ¼” seam allowance, making sure to round off the corners. It is not necessary to make perfect 90-degree right-angle corners. If fact, the completed pieces will take on an organic and more natural appearance with rounded corners and a not-so-perfect square shape. Hence, permission granted to be creative! Then once the outside edge is stitched, trim away any excess fabric.
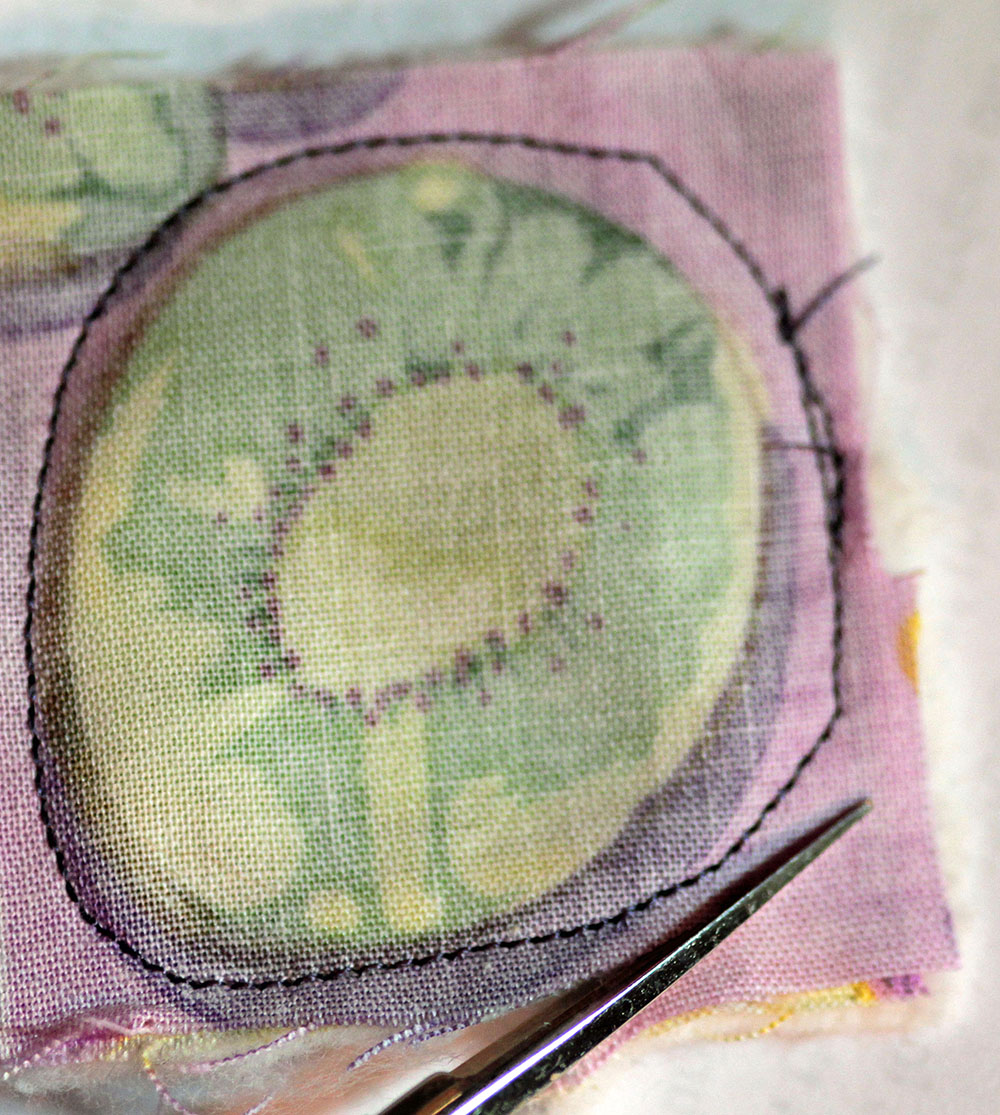
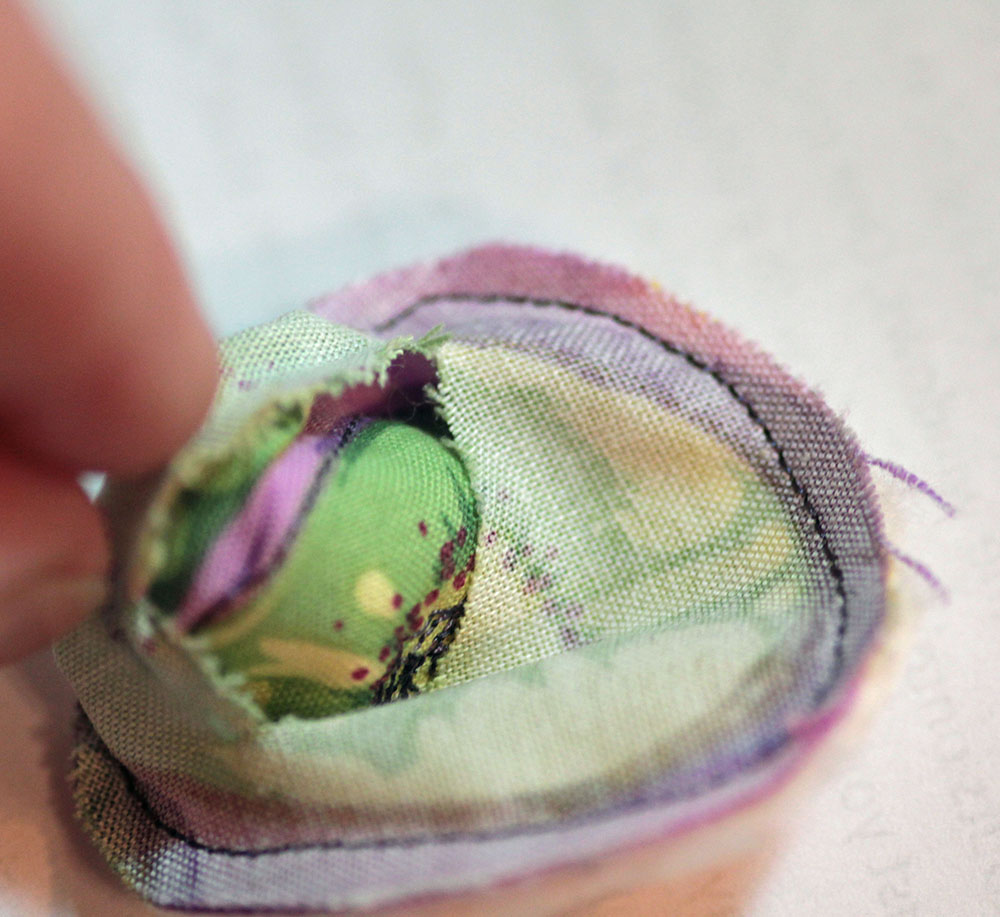 Step 7: Next, gently pull the backside fabric away from the quilted construction. With a sharp scissors, clip a small slit in the backside fabric, then pull the inside quilted fabric through the slit.
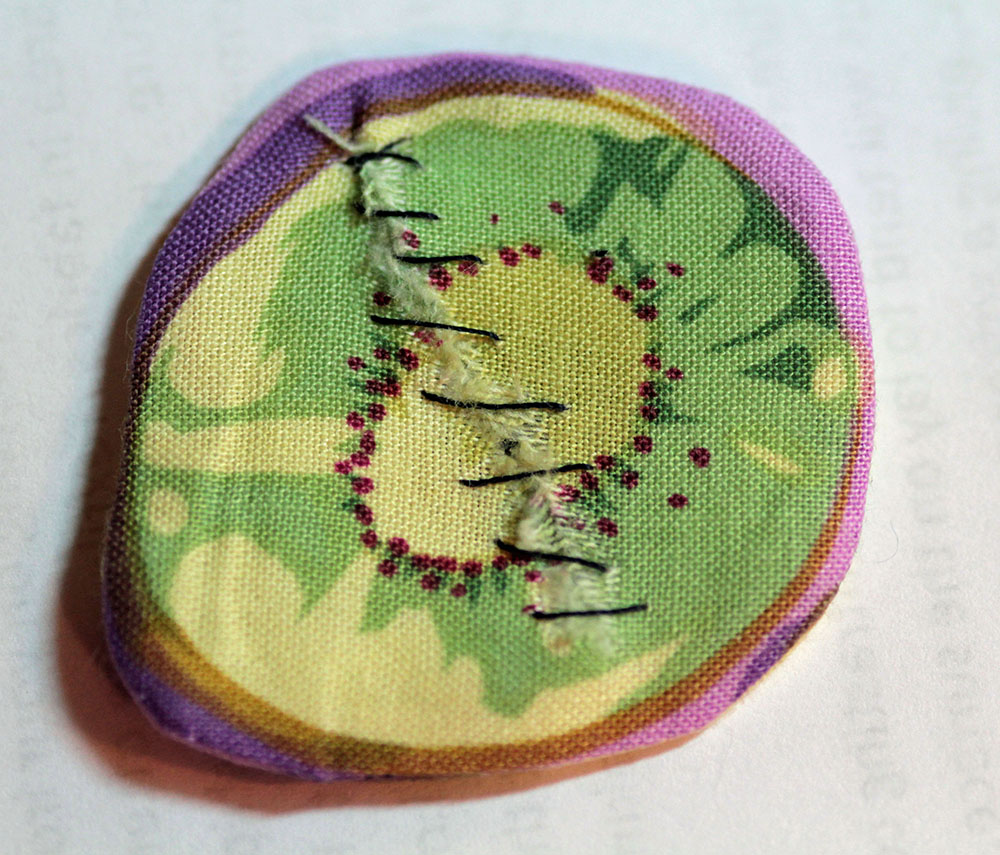 Step 8: Once the quilted fabric is pulled to the outside, gently press the outer edges flat. Hand stitch the backside slit closed, or use fabric glue to seal the edges shut. A small piece of fusible web could also be used to close the slit.
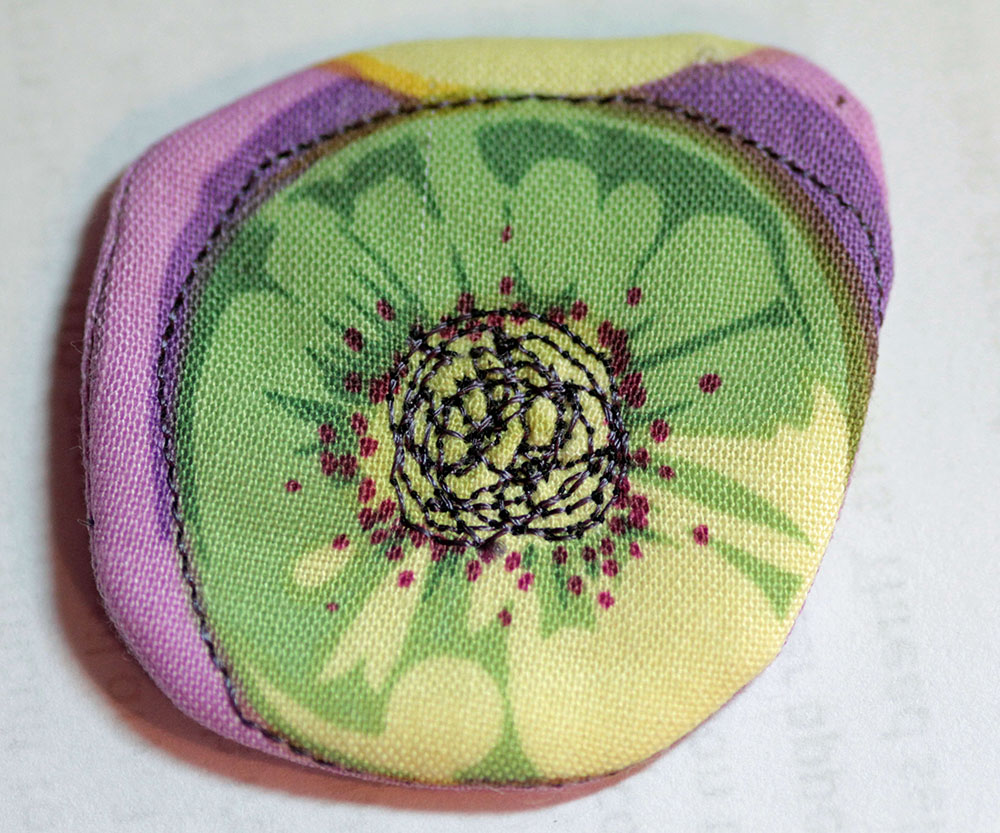 Ta da! You now have your first gemstone completed. How exciting! You’ll soon find that gemstones are fun and fast to make—you can now make several more of them to have on-hand for jewelry projects. They can be used as a pendant on a necklace, applied to bracelets, embellished to a hair band, or placed onto hats. The sky is the limit! You might think of many other ways to use these embellishments, but here are some ideas to get you started:
Gemstone Necklace
Cut a piece of cording (example: 1/8” diameter parachute cording) to 24” long. Select 1 or more fabric gemstones. The gemstones will need a tab so it can hang from the cord. To do this, cut a piece of fabric 1” wide by 1½” long. Fold it in half lengthwise, then press. Fold the raw edges inside of the fold and press. Make a loop and stitch it to the gemstone. String the cording through the loop, and after securing the ends of the cord with a knot, it’s ready to wear!Gemstone Bracelets
Bracelets can be made in a variety of ways. One fast and easy method is with elastic as the band. Measure your wrist and add ½” to the measurement. Snip a piece of elastic to your personal measurement plus ½” for seam allowance. Stitch the ends of the elastic together to make a band. Stitch several gemstones onto the elastic. Four or five gemstones evenly spaced should cover most of the band, or perhaps you may prefer to let the band show. Try covering the elastic with cloth for a different bracelet variation. If you like bracelets but want a different look, use a stiff substrate (example: Peltex brand) then cover it with cloth. Apply Velcro hook and loop as a fastener. Then stitch one or several gemstones onto the bracelet band. Have fun and feel free to be creative with your gemstone jewelry! A word of caution though: once your friends see your wonderful creations, everyone will want them!Related Videos:
Using Scraps of Quilt Fabric to Make Fabulous Fabric Necklaces
Hand Beading on Fabric with Bugle Beads and Single Stitch
3D Quilt Ideas: Creating 3D Flowers for Quilts
Have something to add? Leave a comment or email editor@nationalquilterscircle.com.
Such great ideas. Your instructions are very easy to follow. I have arthritis, and wearing regular bracelets make my wrists ache. These should be light enough and soft on my wrist to alleviate this problem. I love the idea of adding the seed beads for some " bling". Lots of great ideas on using them on various items. Thank you for this article.
nice
would like to see Video on how to make these
I agree. the ends of the "ring" or bracelet could be inserted and sewn shut. Of course it could also be tacked on to a ring of fabric with other embellishment like actual beads complementing/contrasting with the gem fabric!
thank you for the great idea definitely going to try making these not5 only for myself but for family Christmas gifts
Colleen - what a surprise to see an article by someone I know. Good for you. I need to find Part 1 somewhere.
Really like this, thanks
Another fabulous project...ahh! Like a kid in a candy shop surrounded by all these delicious ideas, it's difficult to know which to do first. So much to do, so little time. sigh
For the back of the gem I think I would rather leave a small opening in the side seam to turn it out &a hand see the opening rather than cut a hole in the back. I think I will use the gem idea for decorating my grand daughter s fairy garden. Thank you for the wonderful ideas ??