This article has been re-posted with permission from The Nifty Stitcher.
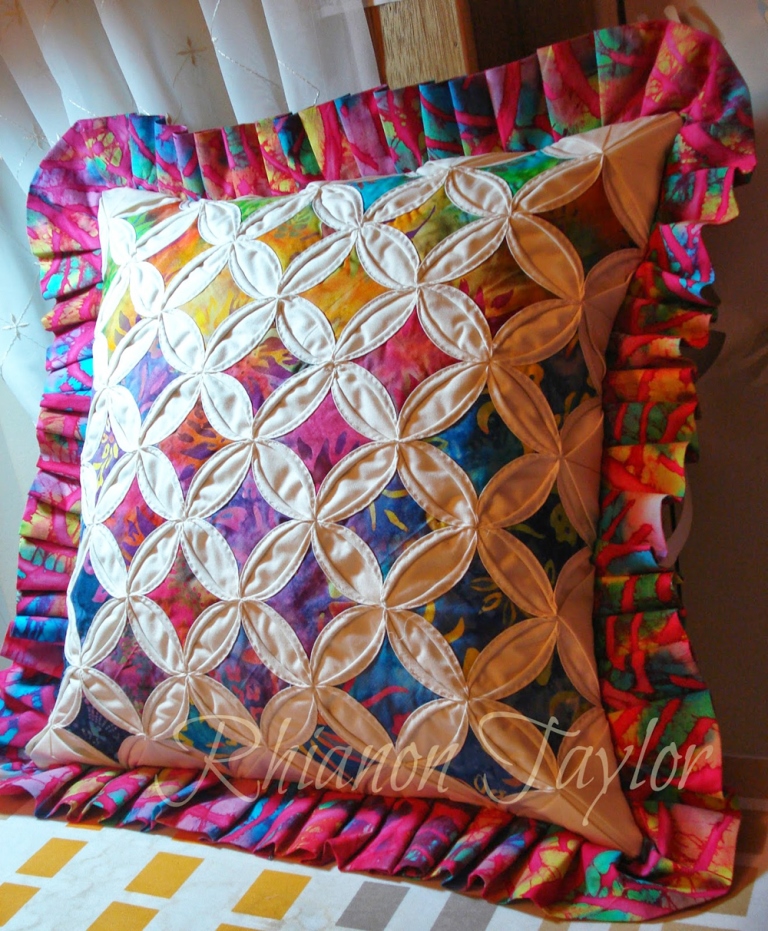 Here is a great cathedral window pattern that will let you brush up on your hand sewing skills. Use these techniques to make a fabulous ruffled pillow with the colors and fabrics of your choice!
This particular pillow finishes at 18” square. To make it, you will need:
• 25 8” squares for the background (a little over a yard of fabric should be enough)
• A little over a yard of fabric for the ruffle and back
• A pillow or cushion form
Sewing the Squares
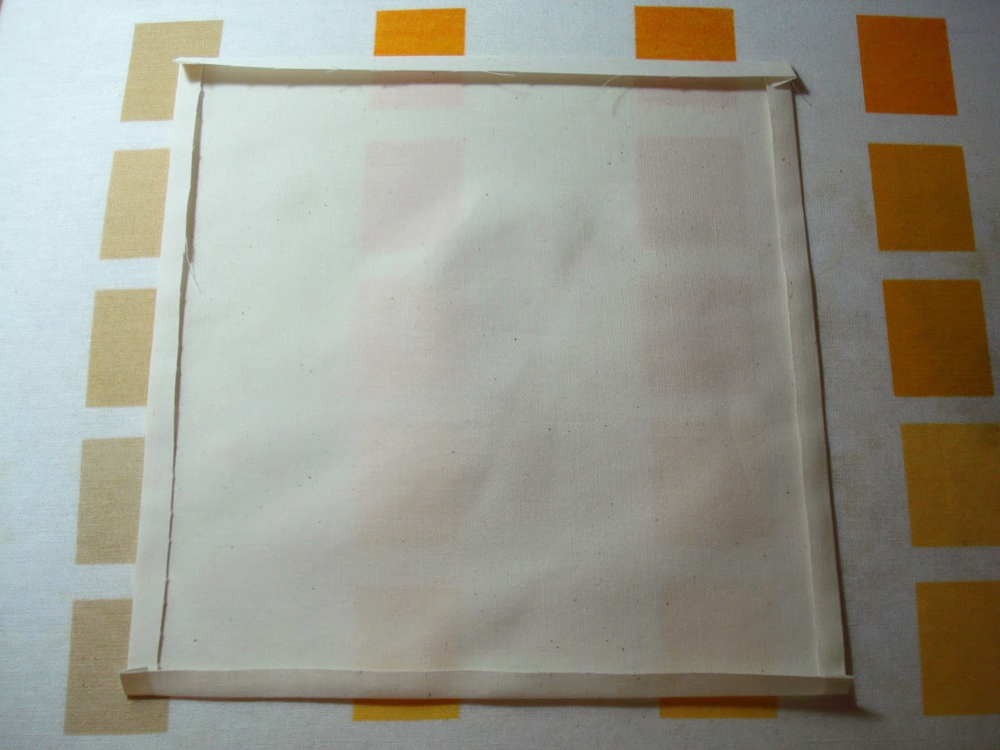 Step 1: We will start by working on our individual squares. Make sure you have cut out 25 8” squares of fabric. Then, take one square and fold over 1/4″ on all sides and press.
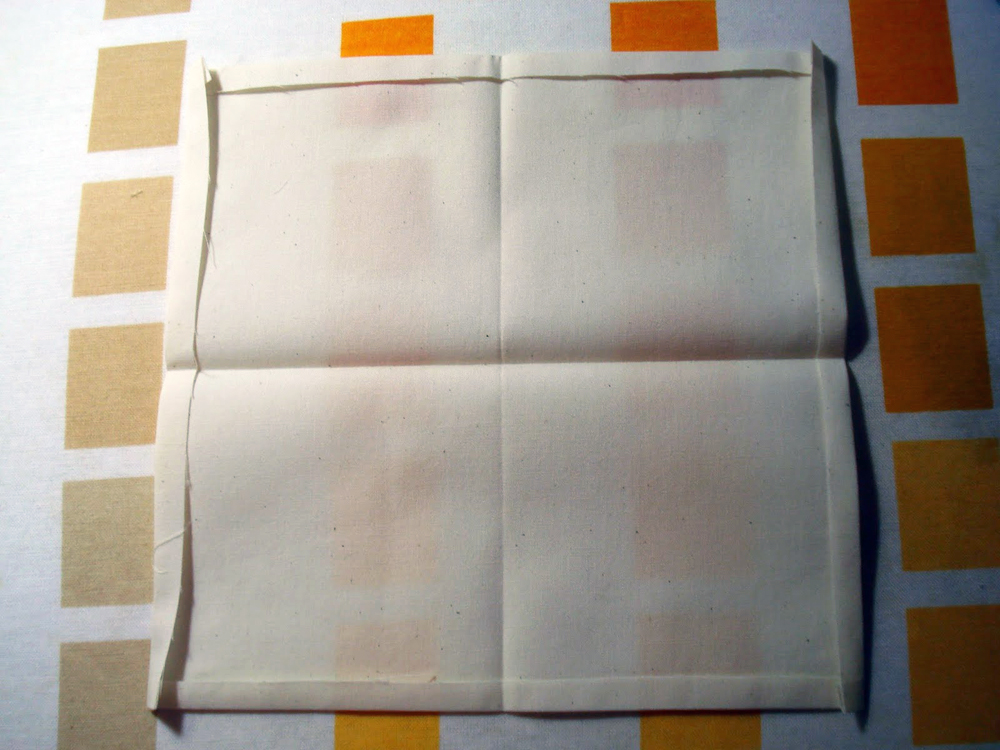 Step 2: Fold in half and press, then fold the opposite way and press. You want crease lines here.
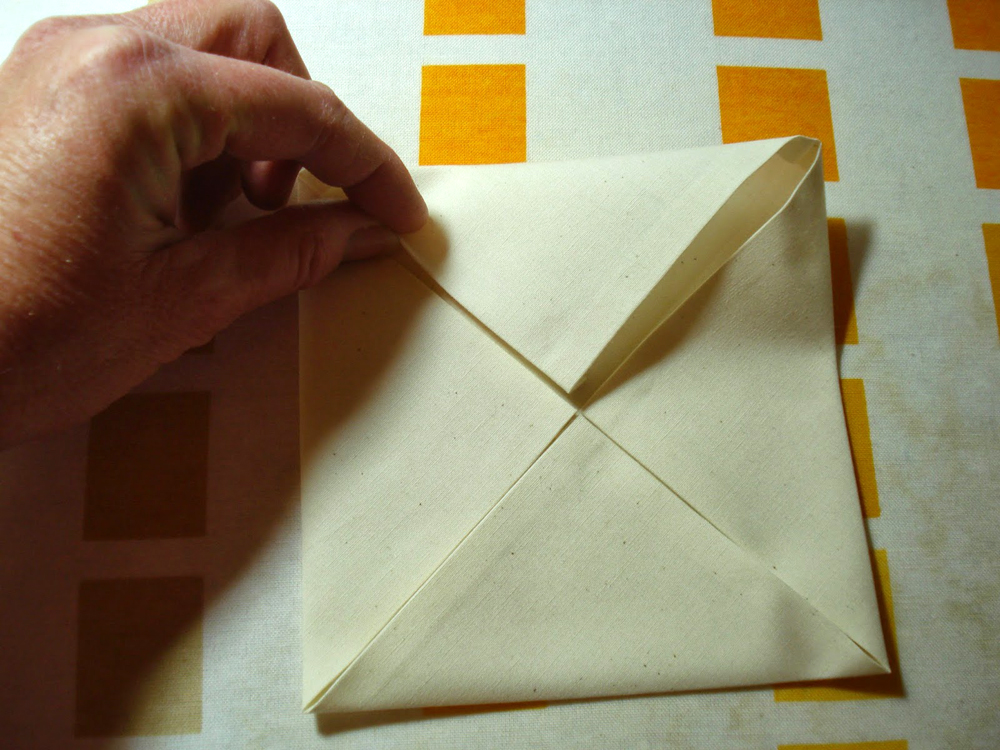 Step 3: Fold each corner into the center and press. Aim for nice sharp points on each corner!
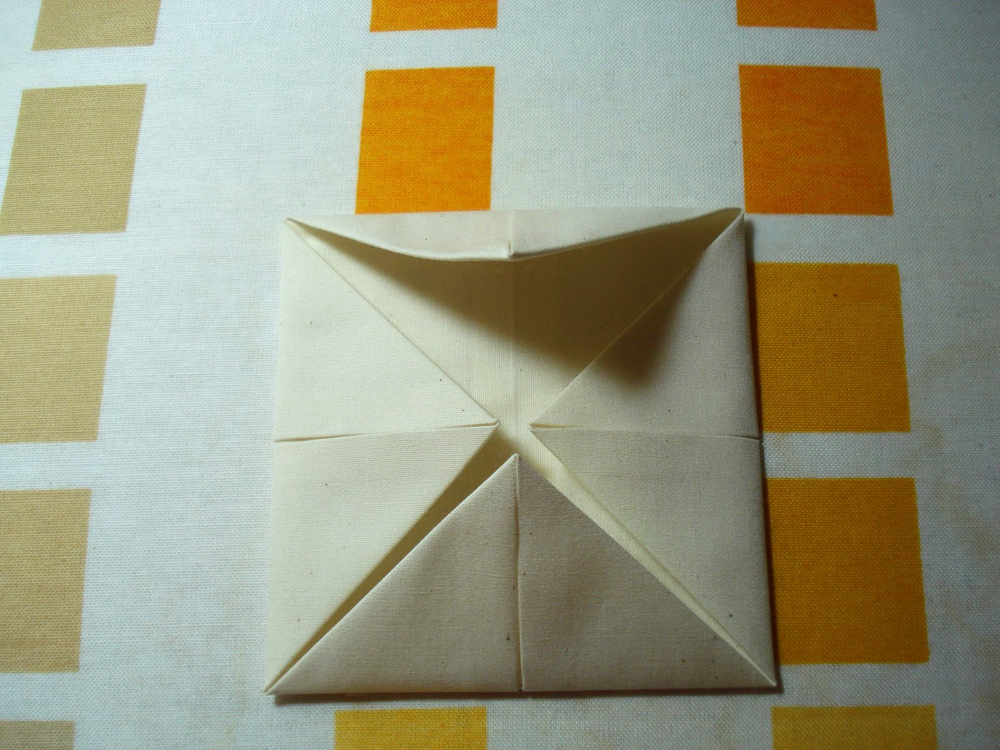 Step 4: Next, flip the square over and fold each corner into the center again.
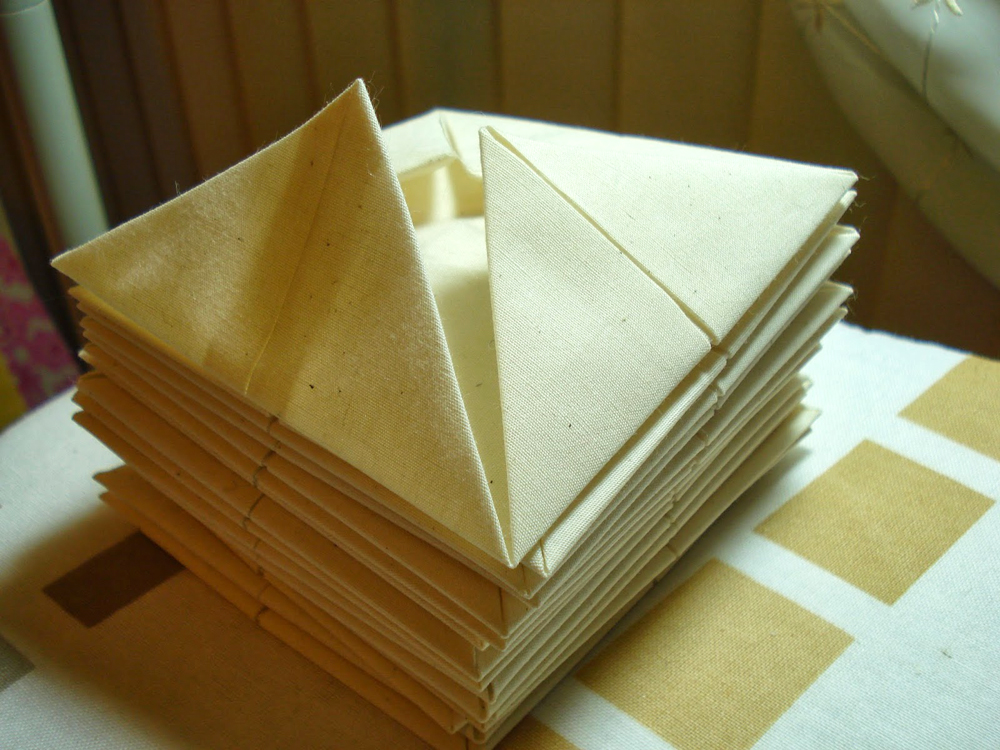 Step 5: Repeat until you have done this for all 25 squares. (If you want a smaller finished product, 16 squares total will give you a 14” pillow.)
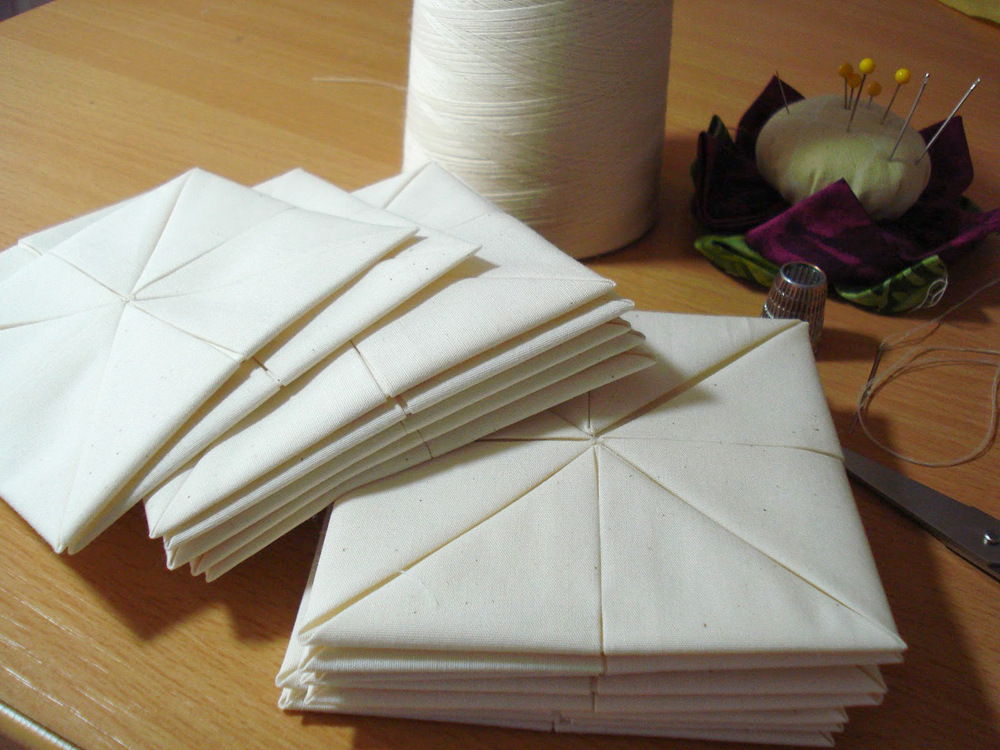 Step 6: Using your thread doubled, secure the points of each square with some small stitches.
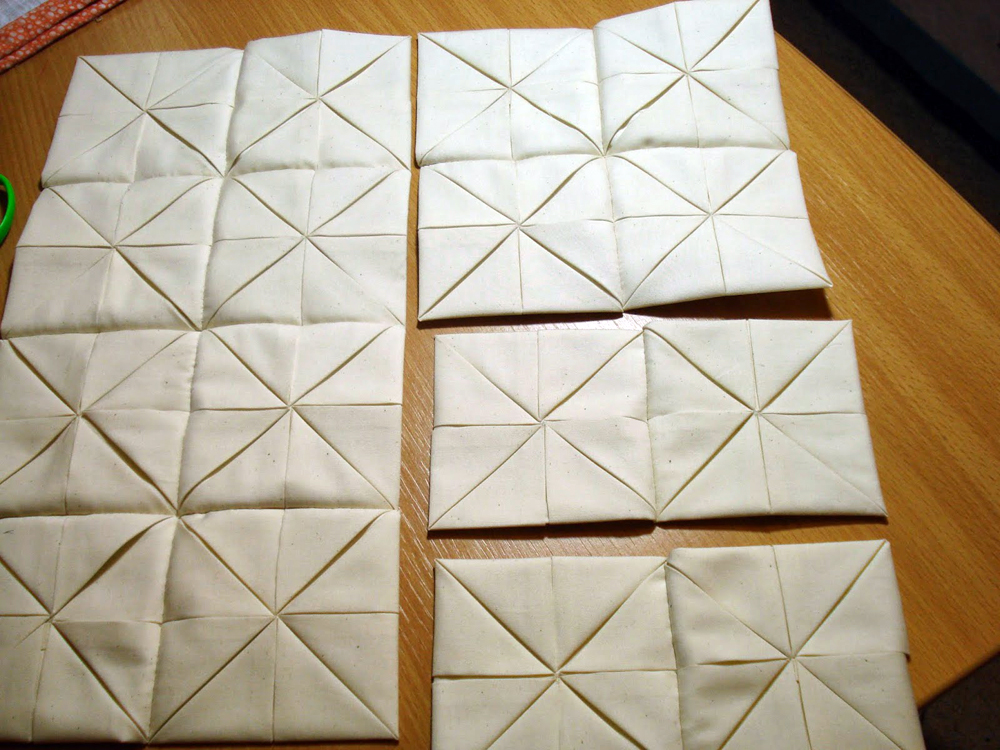
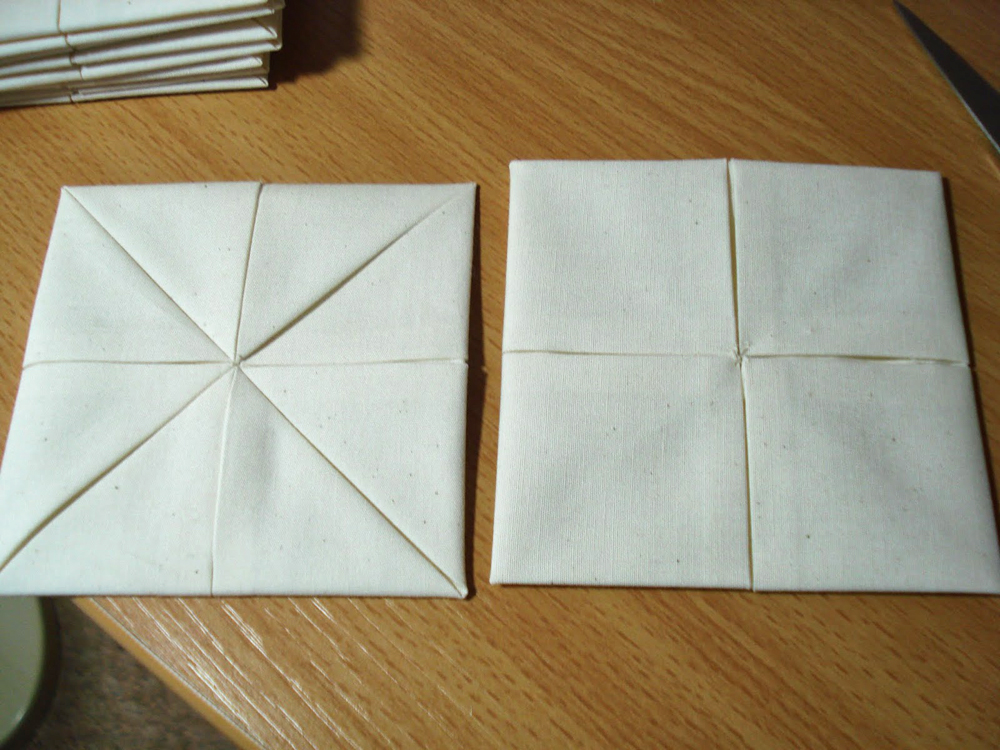 Step 7: This is what your squares should look like now. The square on the left is the front and the square and on the right is the back.
 Step 8: Now take 2 squares with right sides together and sew together. Double your thread for extra strength. Don’t worry too much about your stitching here as this won’t be seen.
 Step 9: Then sew all your squares together in this way to give you the face of your pillow.
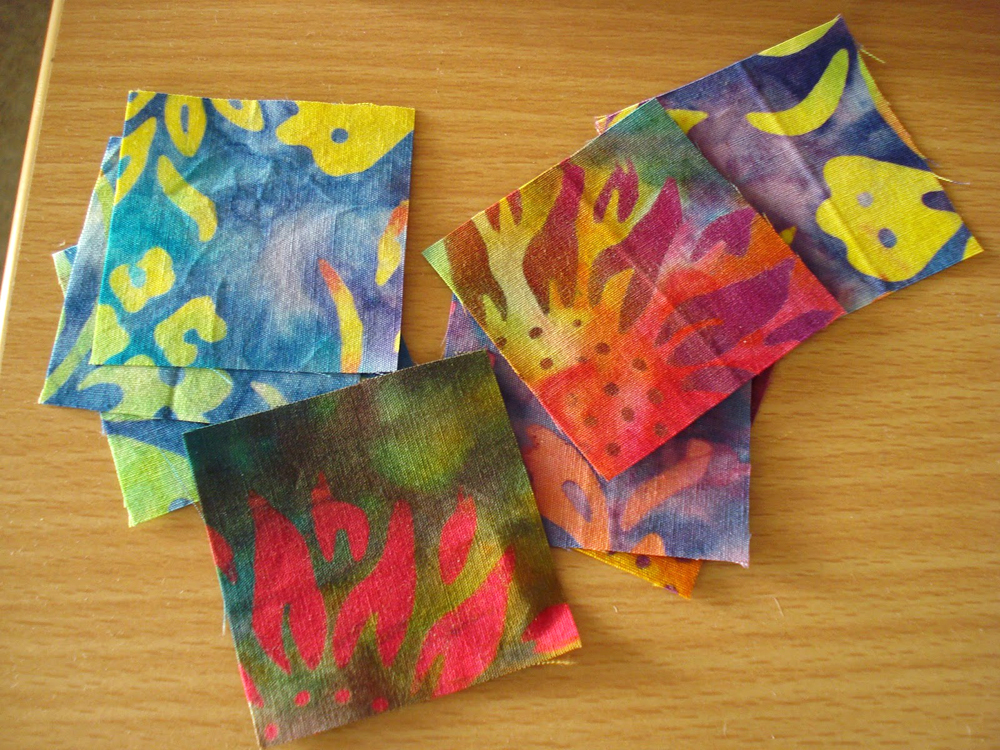 Step 10: Now it’s time to add the windows! You will need a selection of 2″ squares. I’ve used some colorful batiks for my pillow.
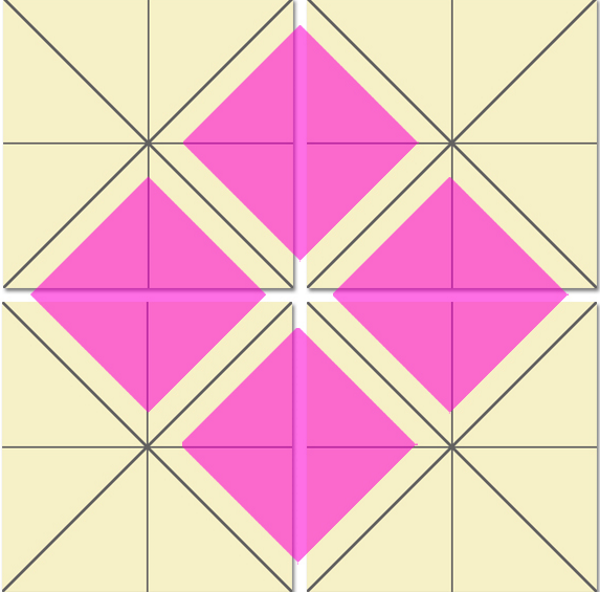 Step 11: Place your 2″ colored squares on your folded squares as shown in the diagram. (The pink diamonds represent the 2″ squares – they should be placed essentially in between the sewn edges of your first set of folded squares.)
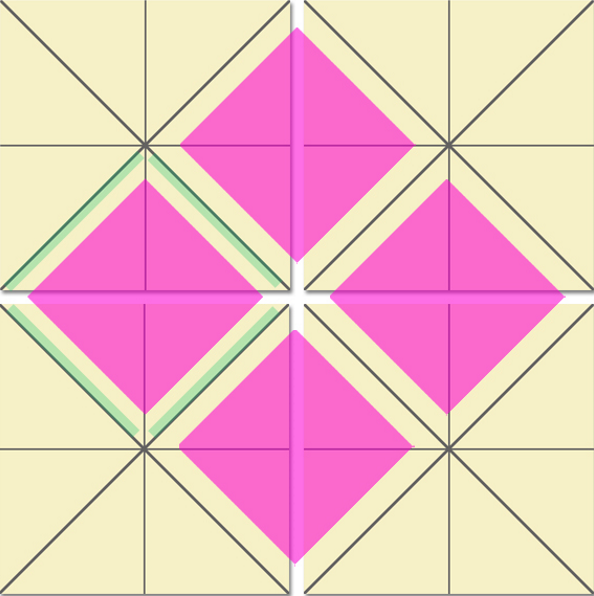 Step 12: To “frame” the window, you will take an edge of your folded fabric that is underneath your 2″ square (represented by the green line in the diagram) and carefully fold/roll it over the edge of one of your 2″ squares to get a nice curve. Pin in place.
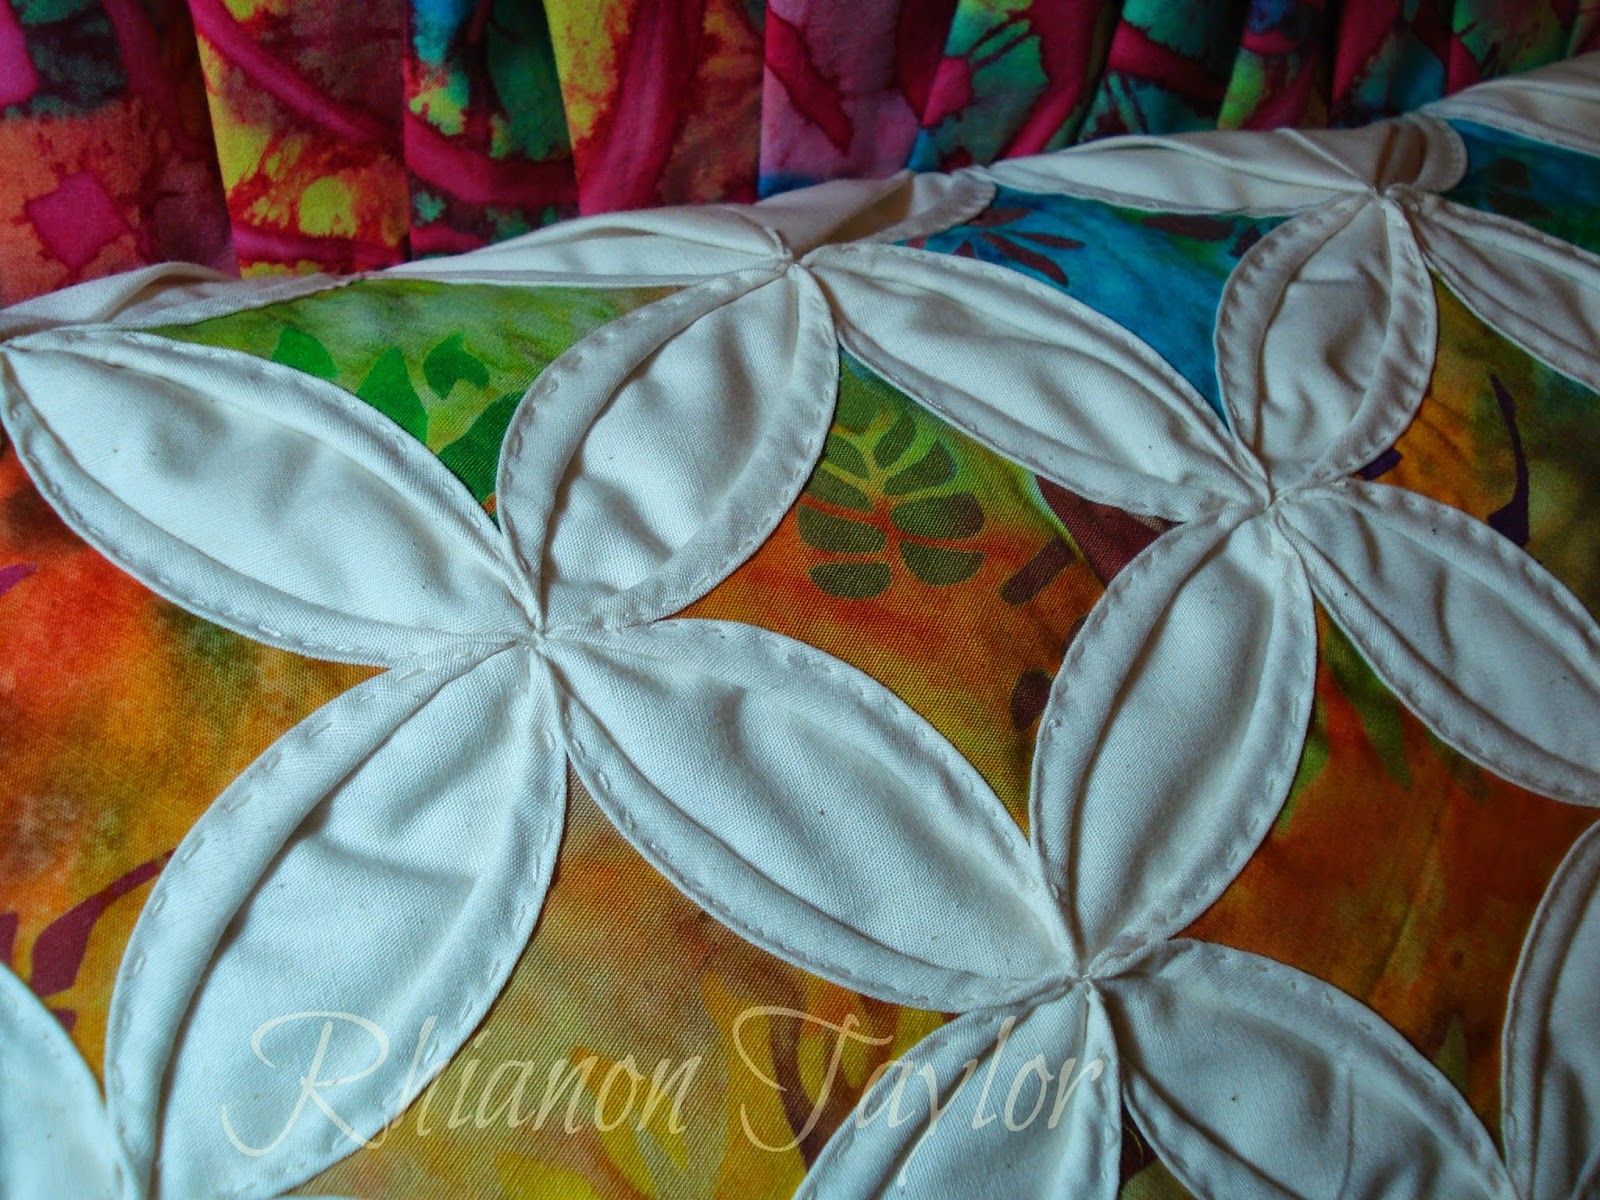
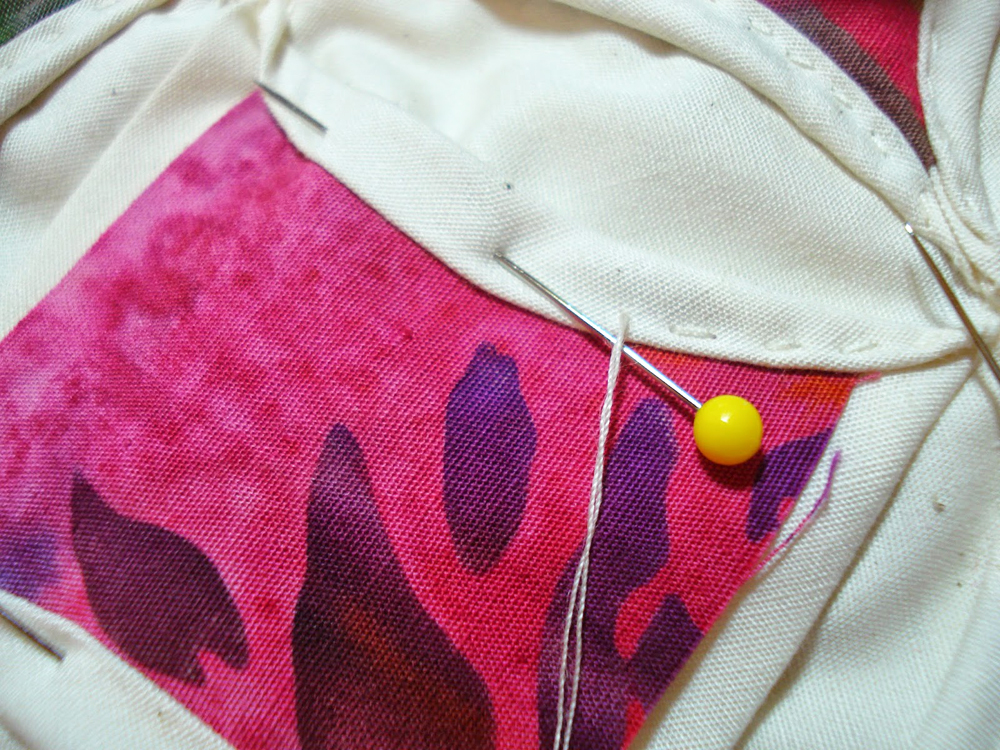 Step 13: Then you will work a running stitch along your curved edge. Try to do this very neatly, especially if you are using a contrasting thread!
 Step 14: Keep this going until you have filled all the boxes. Isn’t it beautiful?
Making the Frill
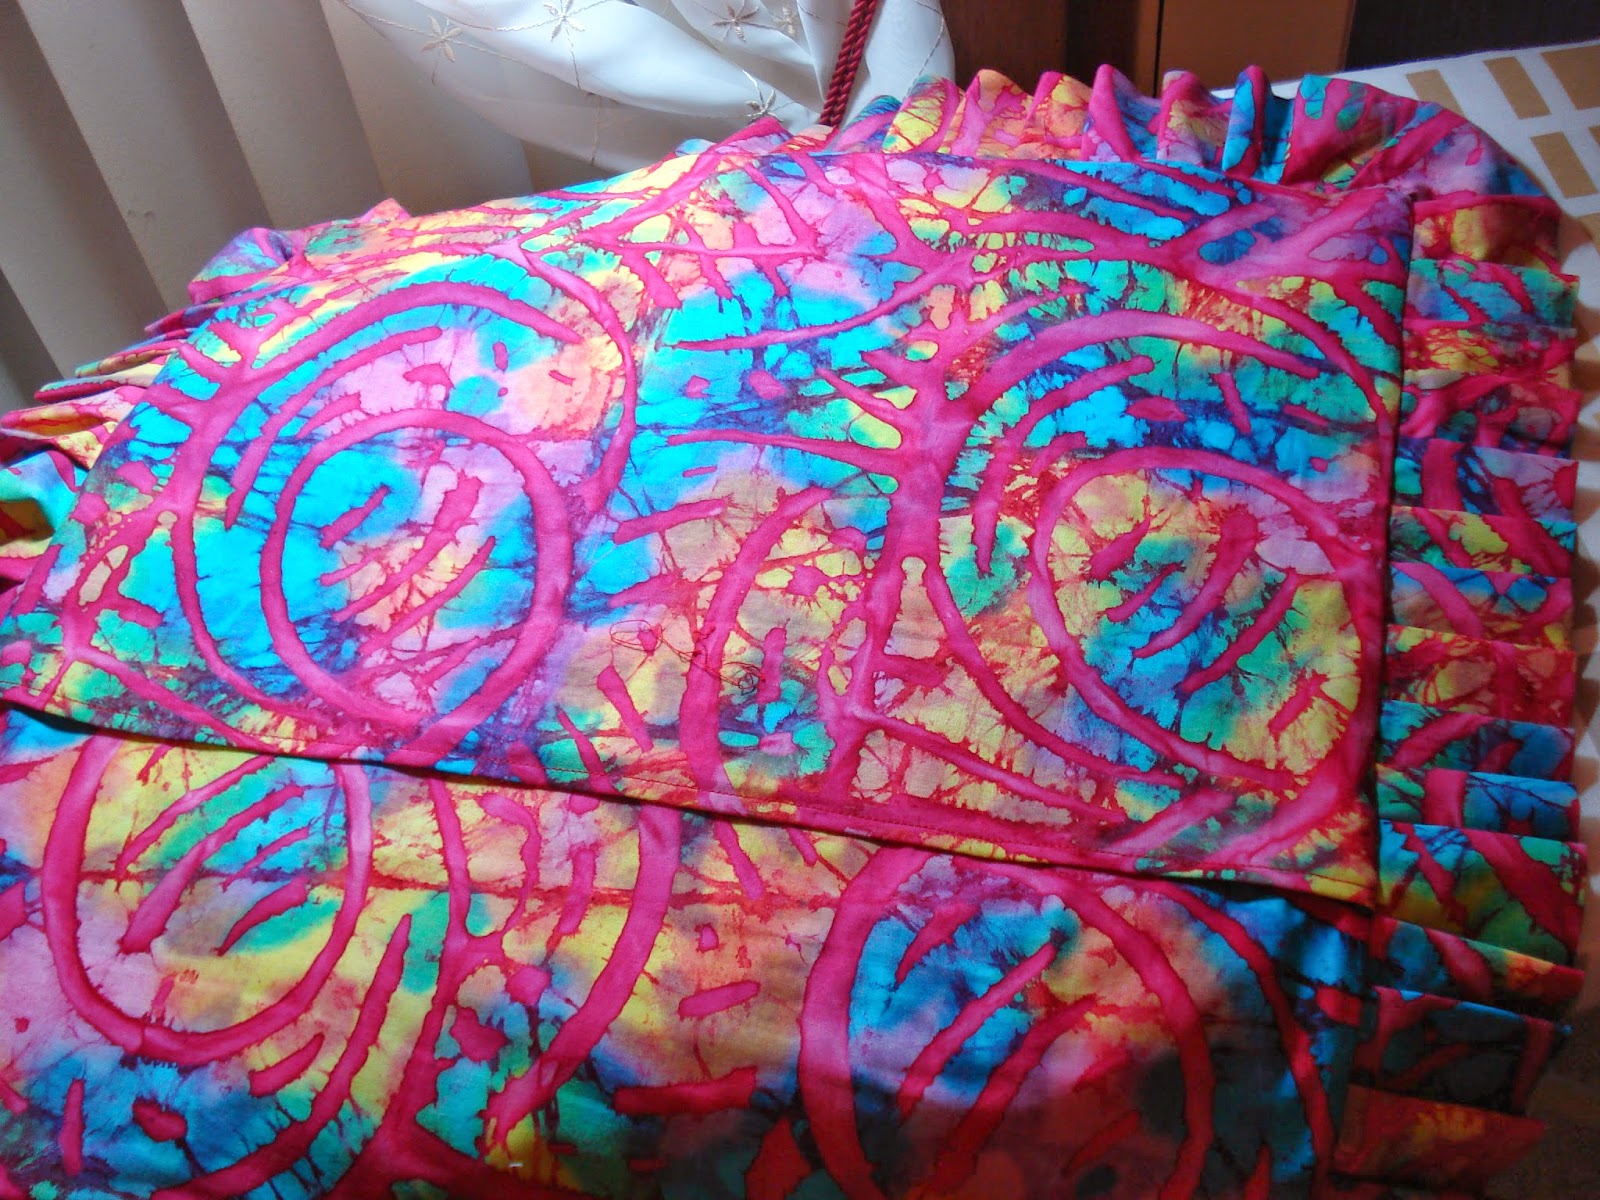
 Step 15: Now we’ll move on to the frill. You will need double the length of each side. First cut 5″ strips, join them together, fold over, and press. (Hint: it’s just like making binding.) If you want a smaller ruffle, simply cut your strips narrower.
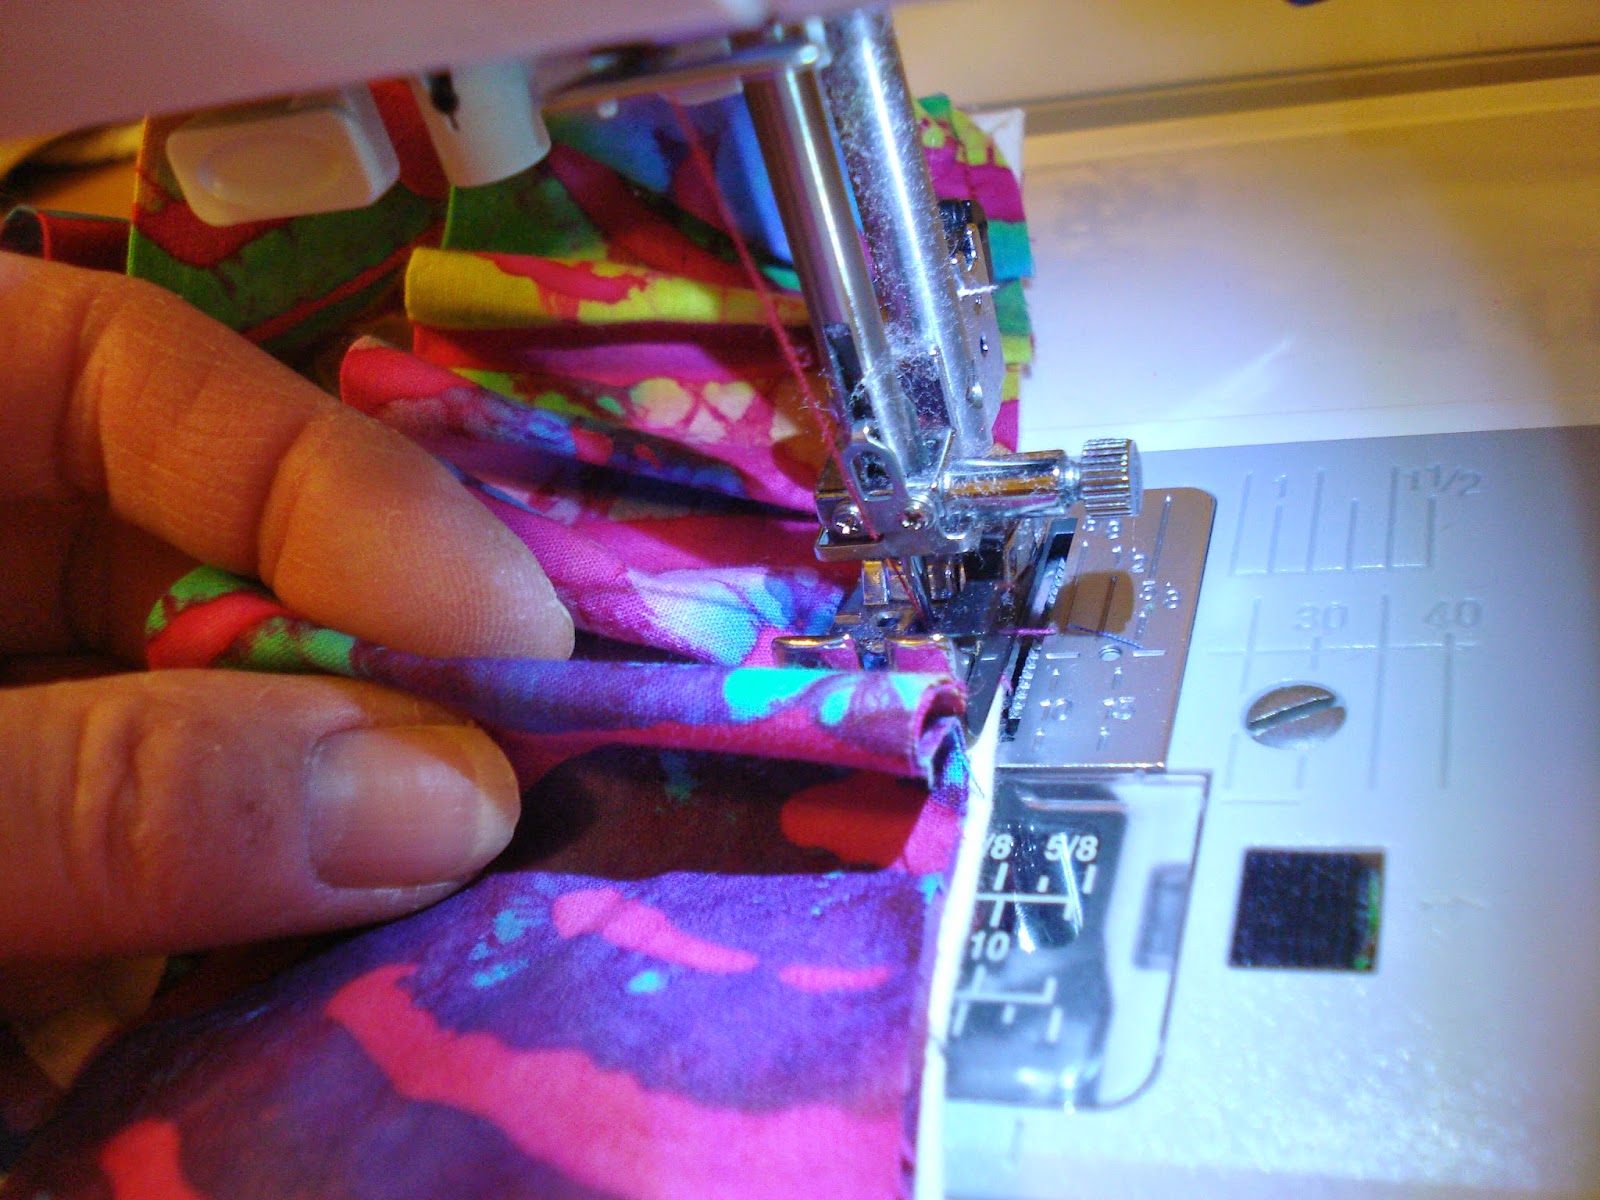
Sewing it on is also similar to adding binding except a small pleat is added every inch or so. Don’t forget to fold over your ends at the start and finish of adding your ruffle. This will be hand stitched together at the end. (For more tips on adding ruffles to pillows, check out my Dresden Plate Cushion tutorial.)
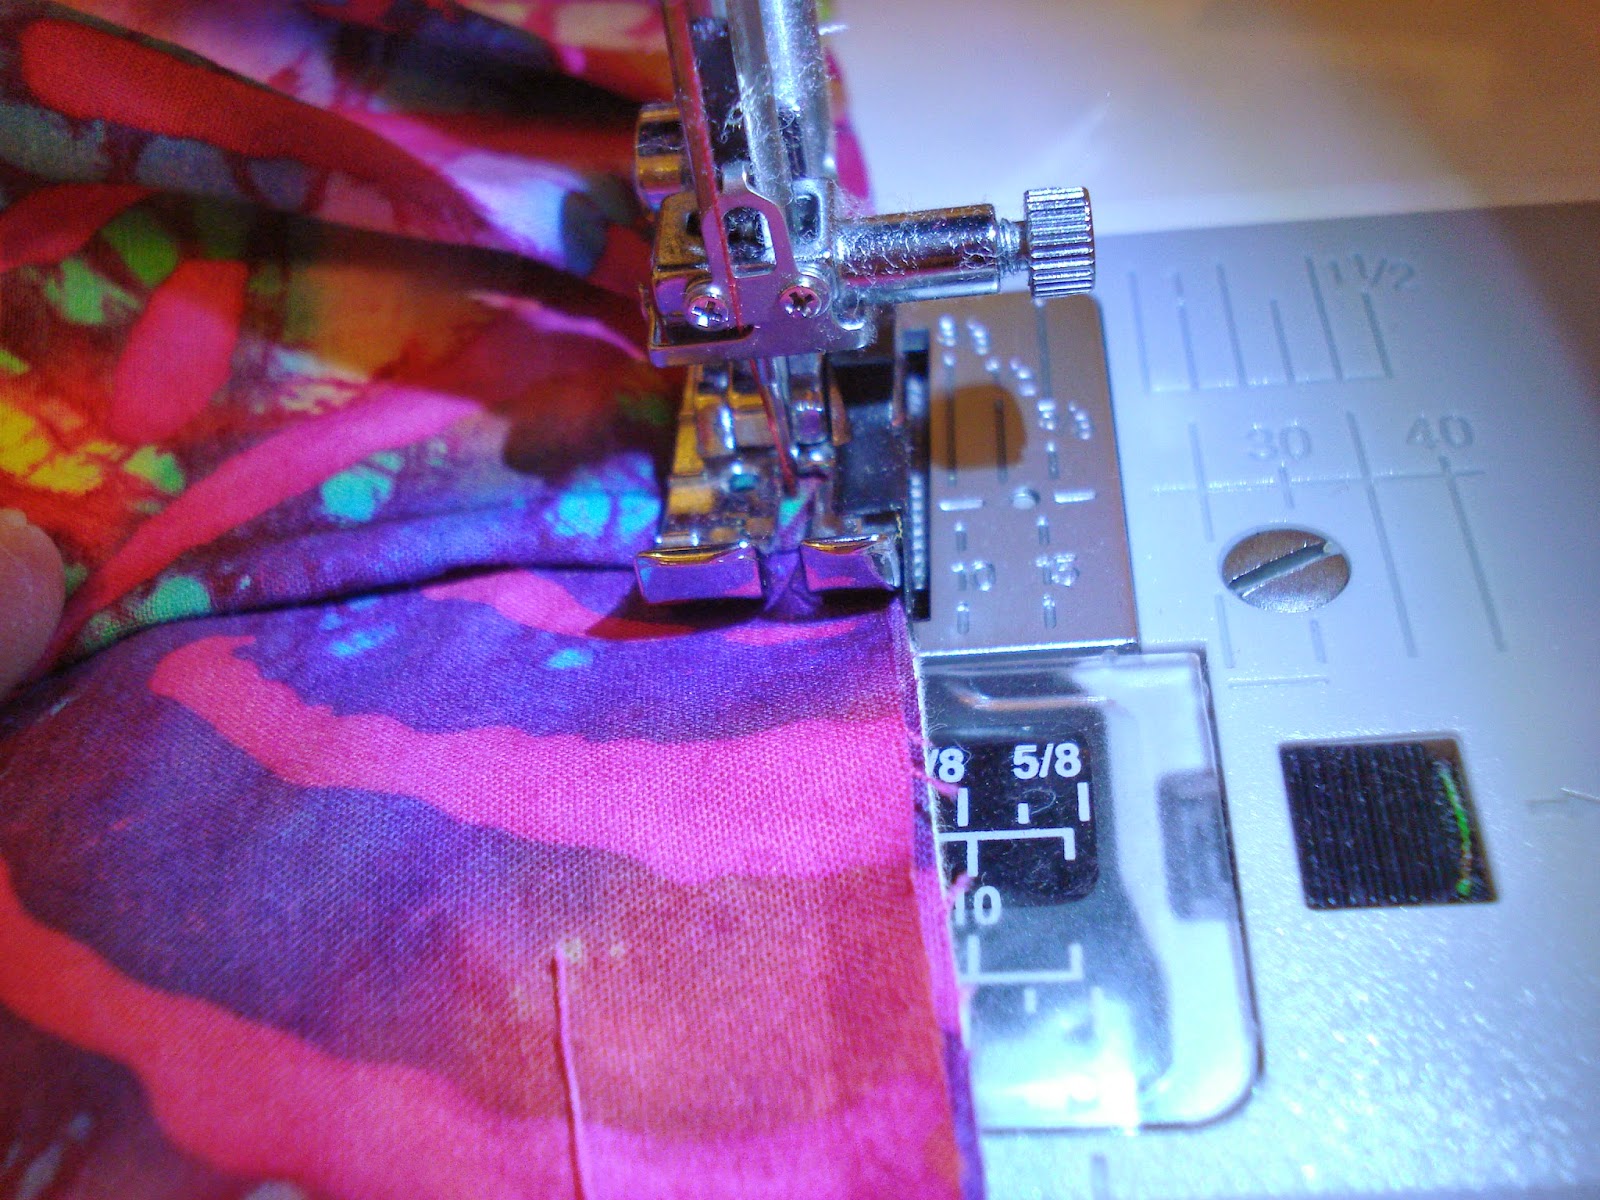 Step 16: Pause with the needle in the down position (if your machine has that function, otherwise do it manually) of the previous pleat, and make the next pleat. Continue all the way around. At the corners, make a pleat as close to the corner as you can, turn the corner, and immediately make another pleat.
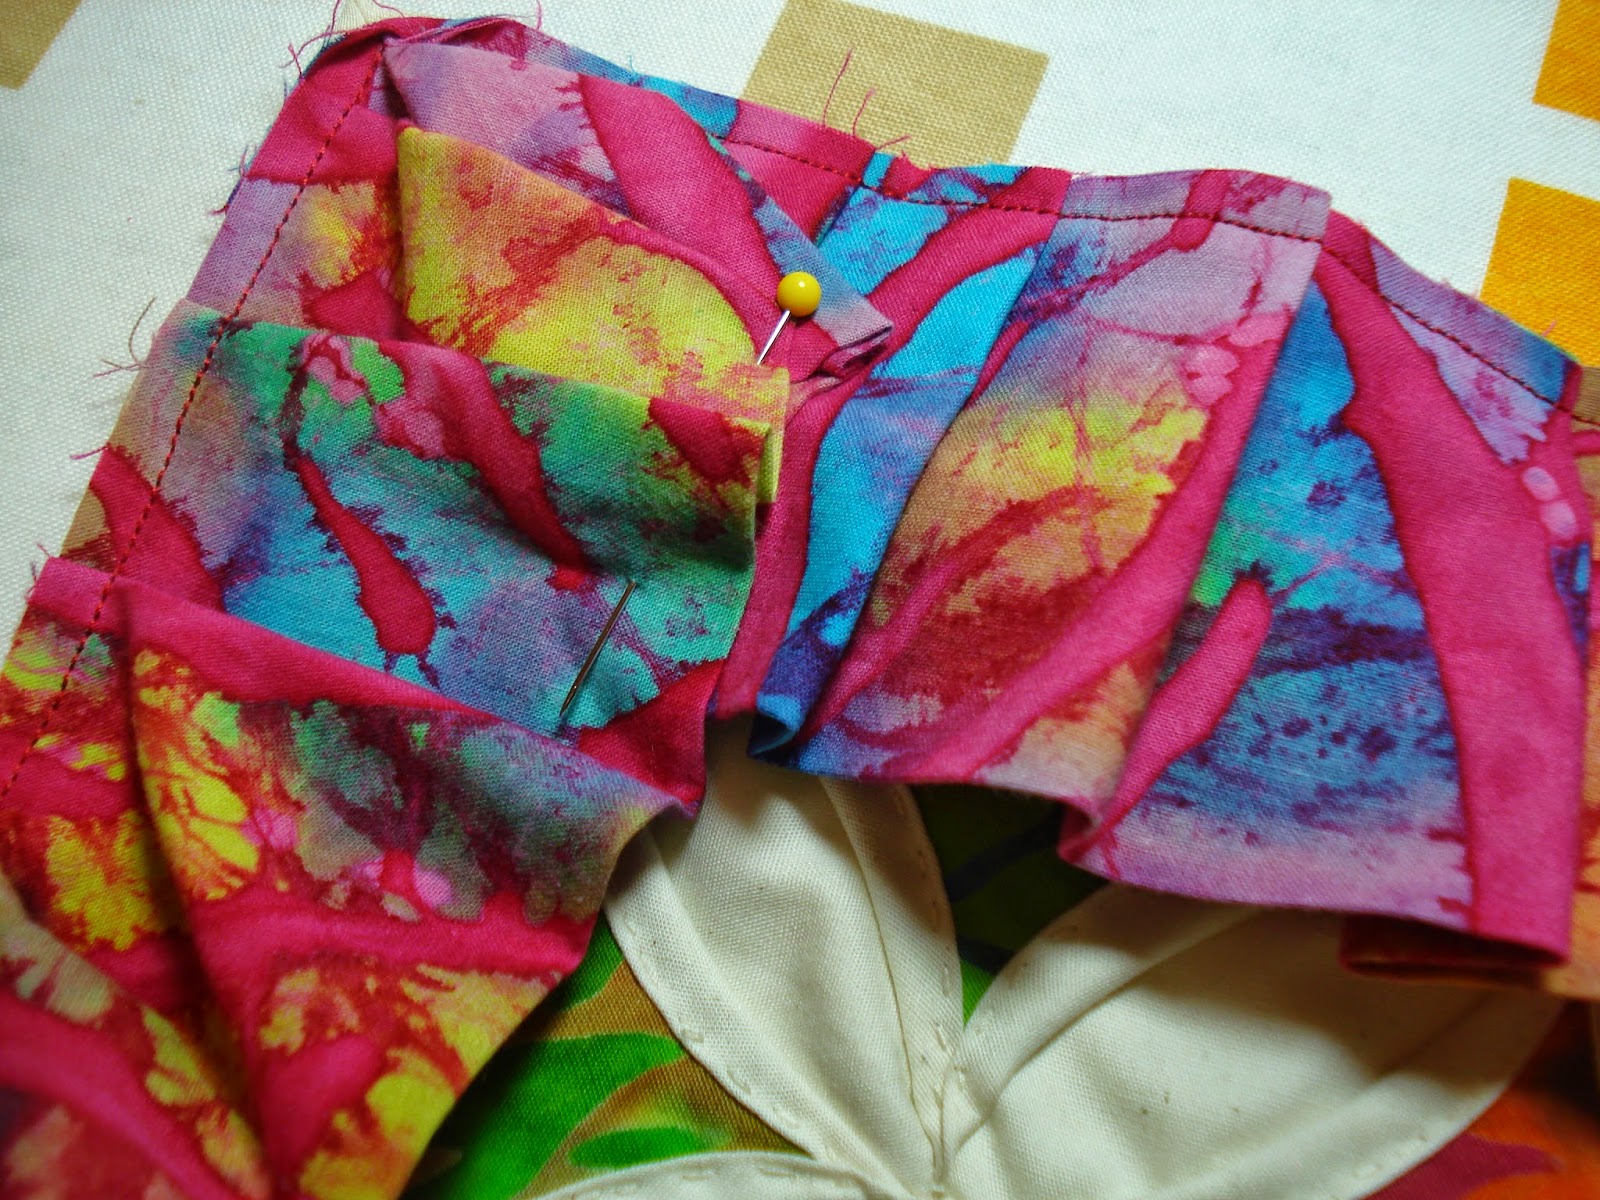 Step 17: Before the backing is added, pin the ruffle at the corner neatly so as not to catch it when stitching down the backing.
Add the Backing
 Step 18: For the backing cut two rectangles the width of the pillow and about 12″ long. Fold and hem the width of your pillow edge on one side of each piece. With right sides together, pin the top piece first and stitch, then add the second piece. Turn it right side out and add a pillow form.
Finished!
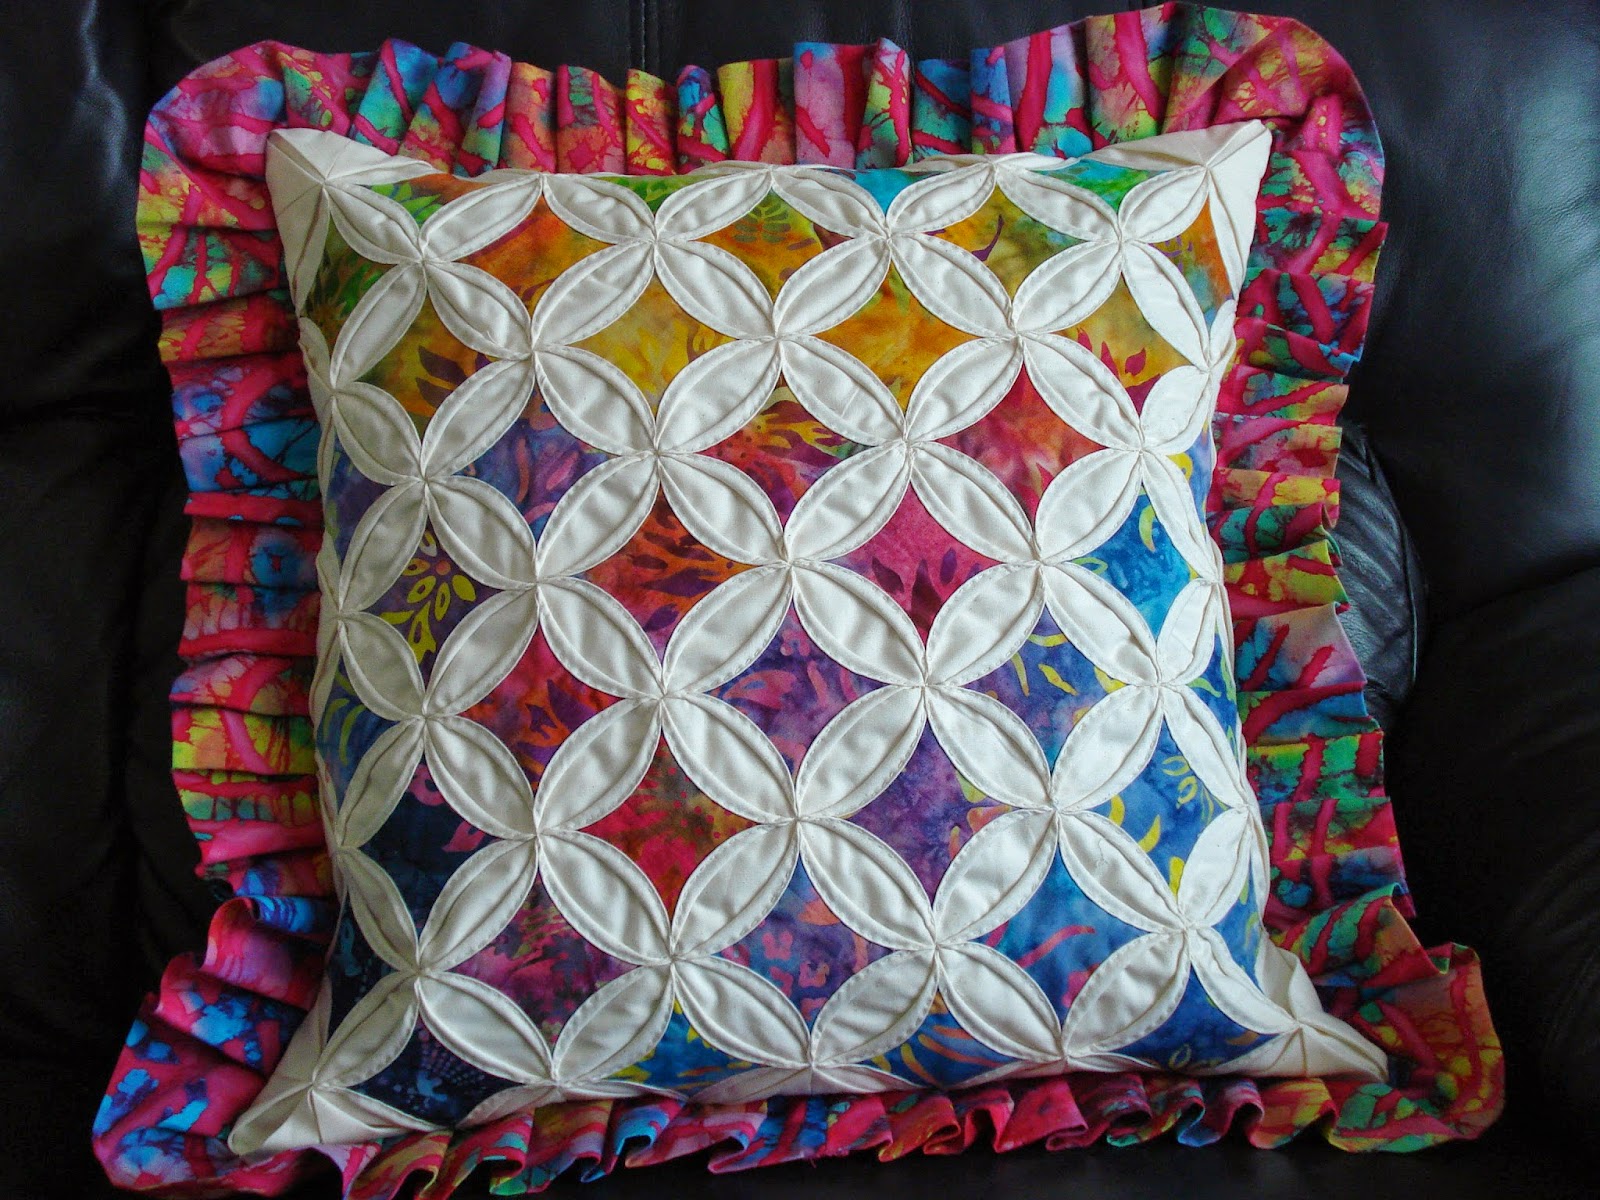 And there you have it! A beautiful quilted pillow to show off your handiwork. Something to note: A quilt made using this method would not need batting or backing. (Something I’ve yet to do!)
 Hope you’ve enjoyed this tutorial! To see more of my quilting and sewing tutorials please visit my blog, The Nifty Stitcher.
Get in touch! Leave a comment or email editor@nationalquilterscircle.com.

Thank you-very easy instructions!
It was very easy to understand, especially for a beginner which I am,
I need a changle
My mom made a king size Cathedral Window quilt then 2 more for her sisters. They are too heavy to sleep under.
Looks challenging but I love the completed pillow.
<strong> I love the bright Batik with the ruffle. I've been afraid to start a quilt but the thought of pillows as gifts is exciting and a good place to start. Thanks for the hints as to how much fabric is required per size.
This has been the best tutorial for steps (with pictures) on making the Cathedral window pattern that I have ever reviewed. It makes me want to start right now!!
Have to try this. Beautiful
Fantastic
Love Cathedral Windows. Thanks for the pattern. Margaret Anderson.